

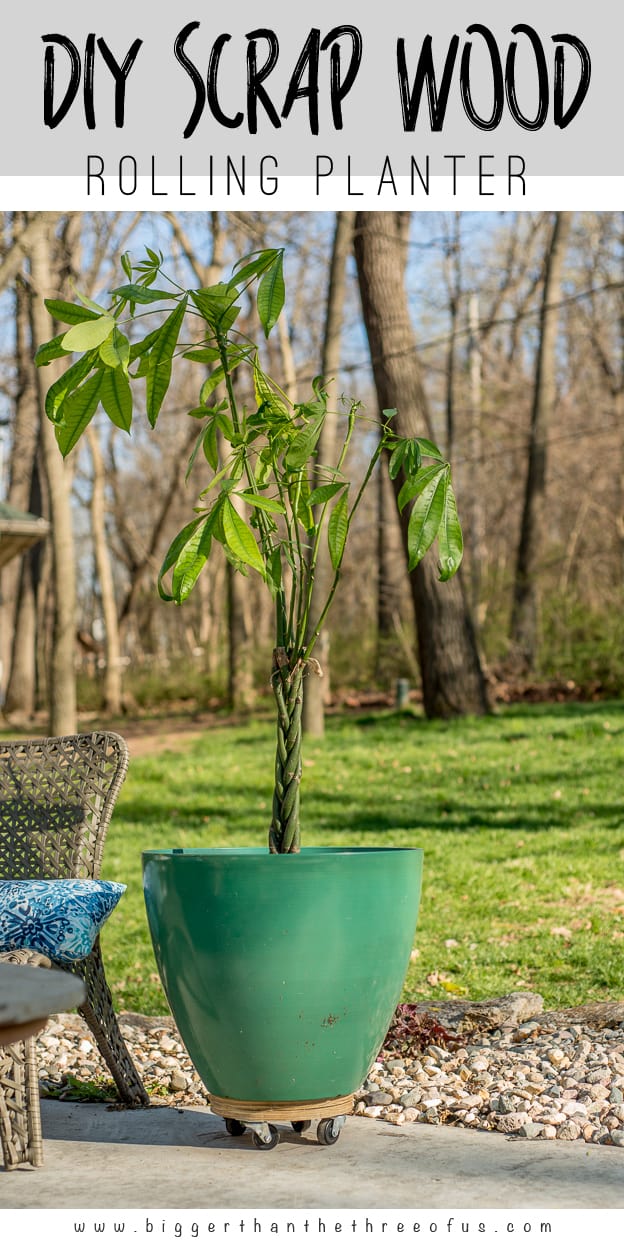
It's the second week of patio spruce-up on a budget. Check out the first week of patio spruce-up if you missed it. Today, I want to share a much needed but SIMPLE project - a DIY Plywood Plant Stand On Wheels. We have a few larger planter pots and need to be able to move them around a bit on the patio. Those suckers are heavy, so we needed a rollable plant stand. If you've been a reader since last year, then you know that we created this DIY Plant Stand:
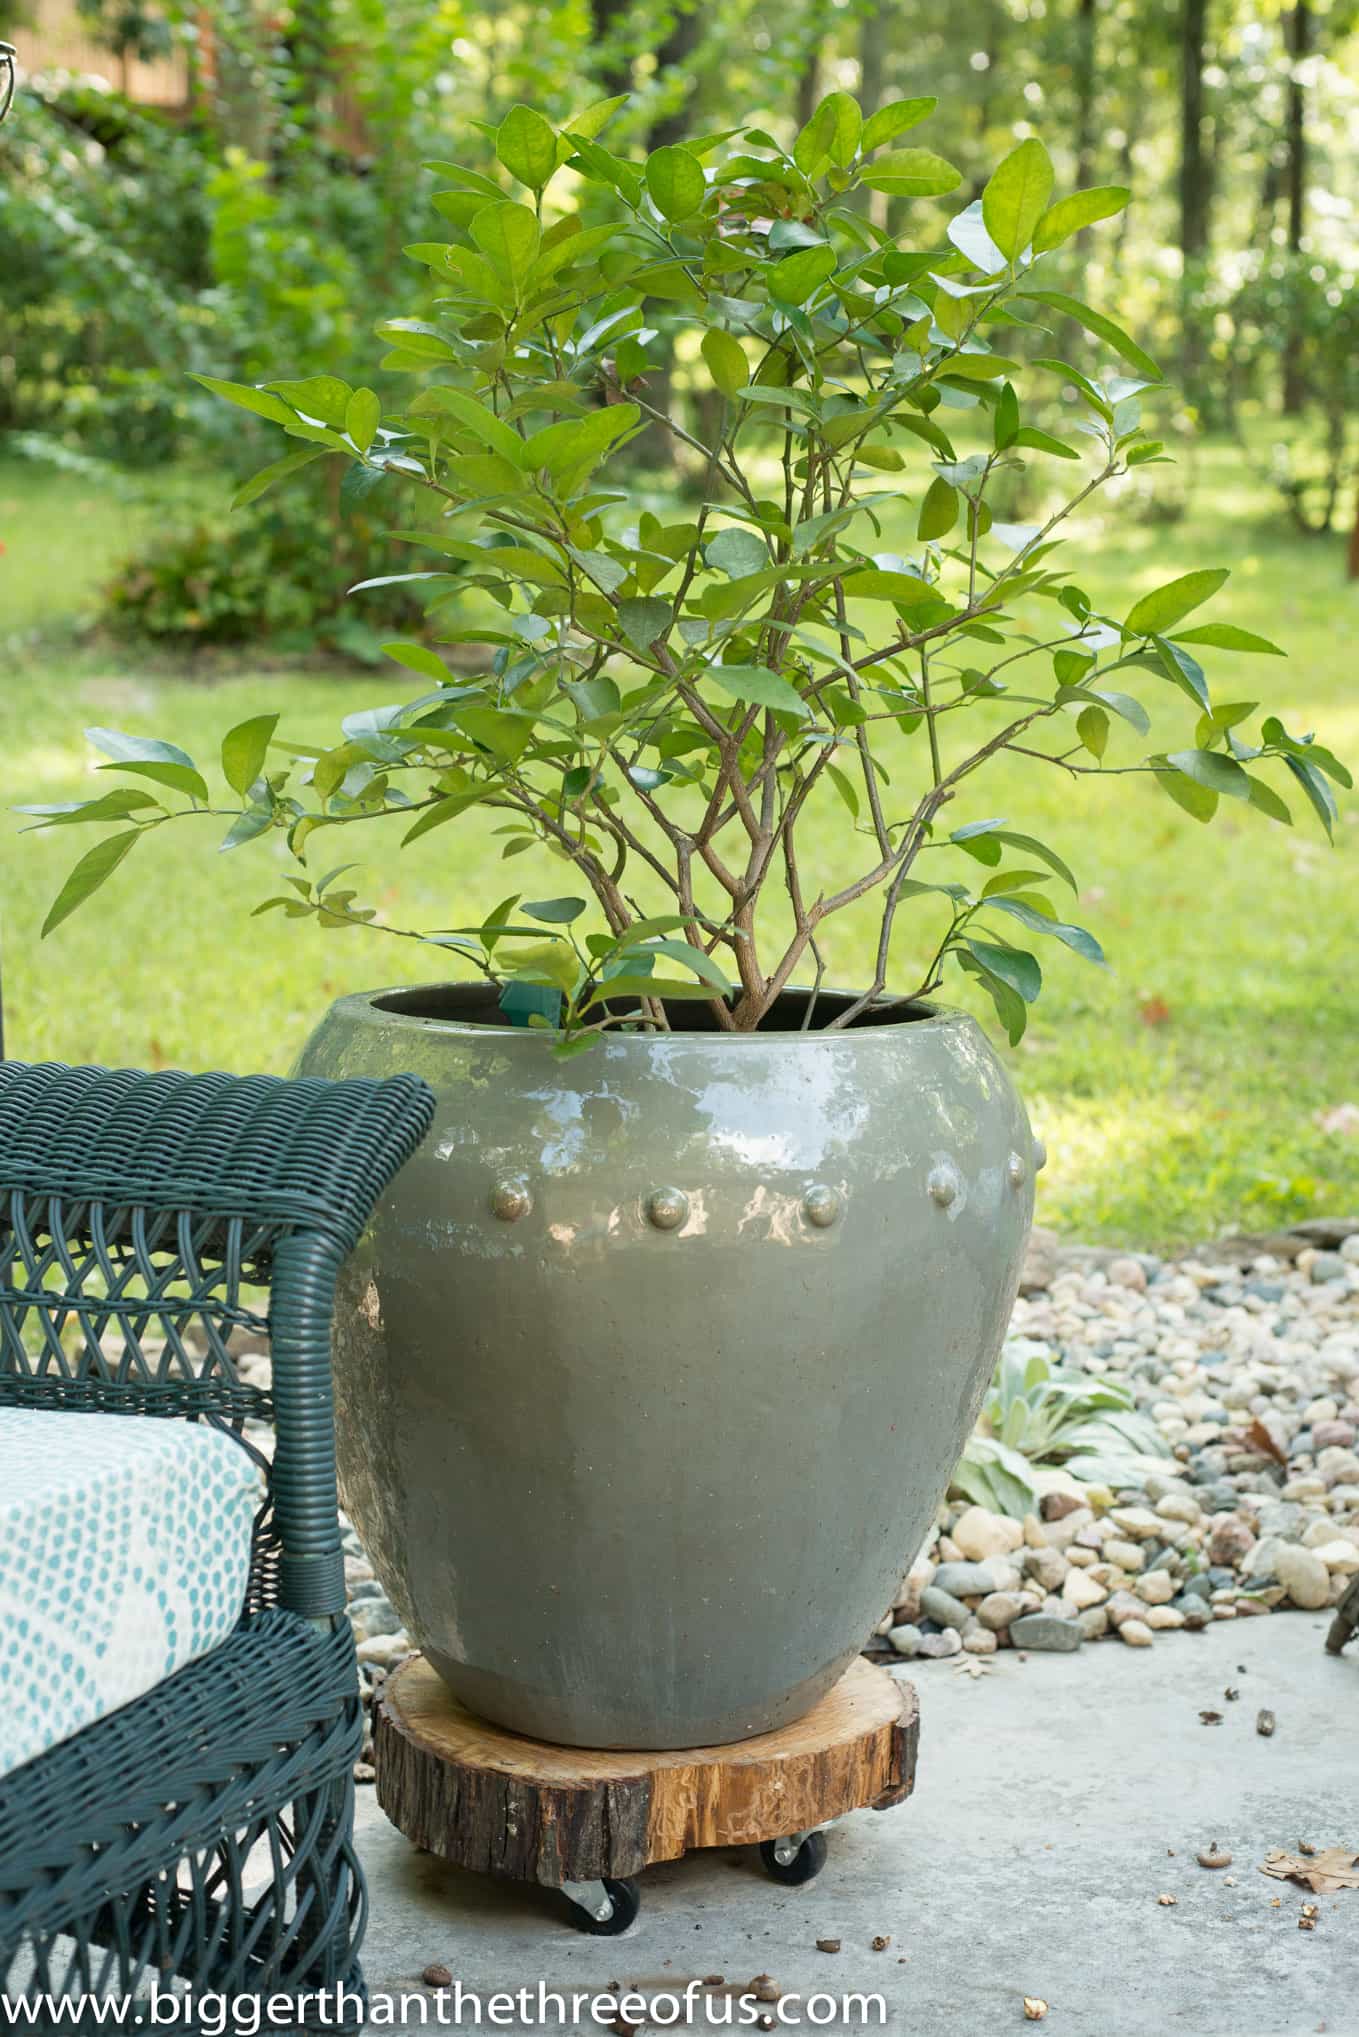
Today's project has the same idea but is made using scrap wood. We tend to have scrap plywood around and I was curious to see if I could solve a problem and use some of it. The outcome isn't quite as cute as the DIY stump roller, but it's functional and definitely more heavy-duty than the plant stand rollers that you find at the hardware stores.
Ready to see?
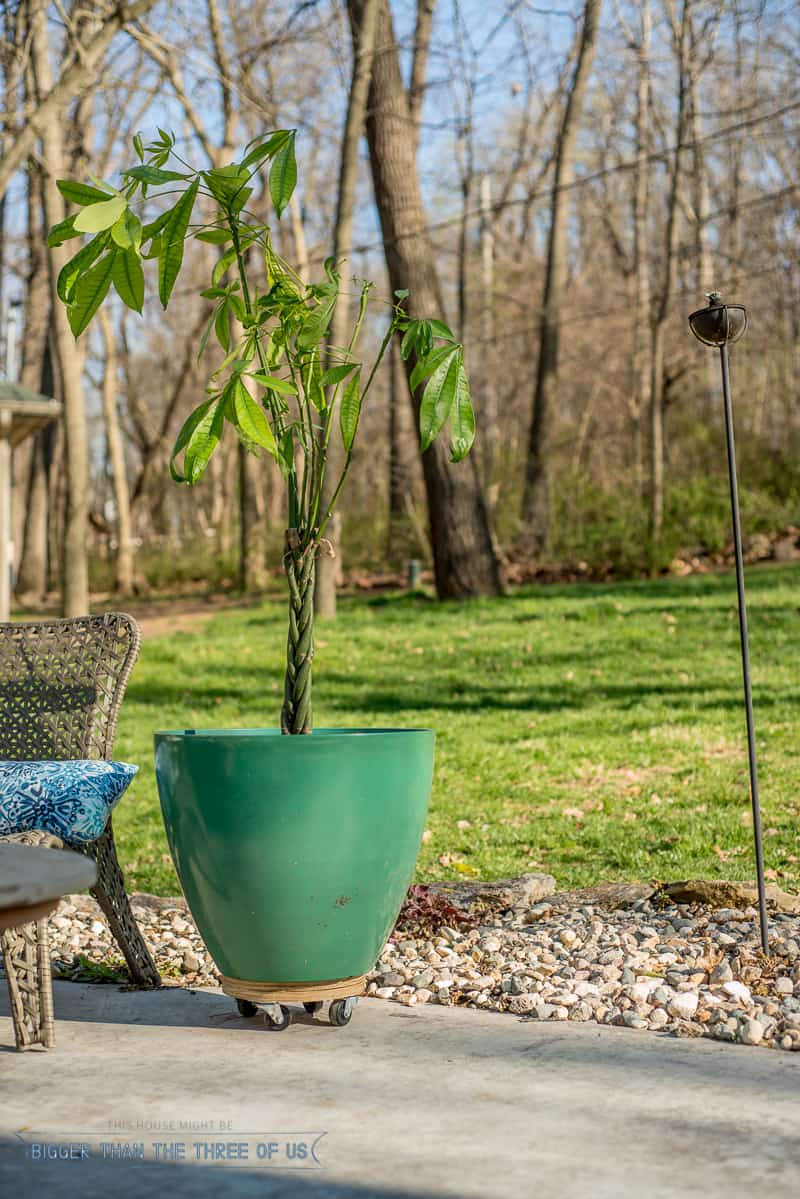
Before we get into the tutorial, how sad is our money tree? I could never find a good home for it over the winter and it just lost more and more leaves. I'm hoping it will perk up over the summer.
Step 1: Gather Your Supplies
Affiliate links below - Read my Disclosure policy
Scrap wood (large enough for your base) - I used some scrap weather-treated plywood
Jigsaw
Plate/Pencil
Clamps
Wood Glue
Casters/Screws (under $7 for 4 or you could grab some at Harbor Freight)
Drill (I have this exact one and love it because it's small enough for me to handle easily)
Sanding pad (lightweight)
Stain/Poly
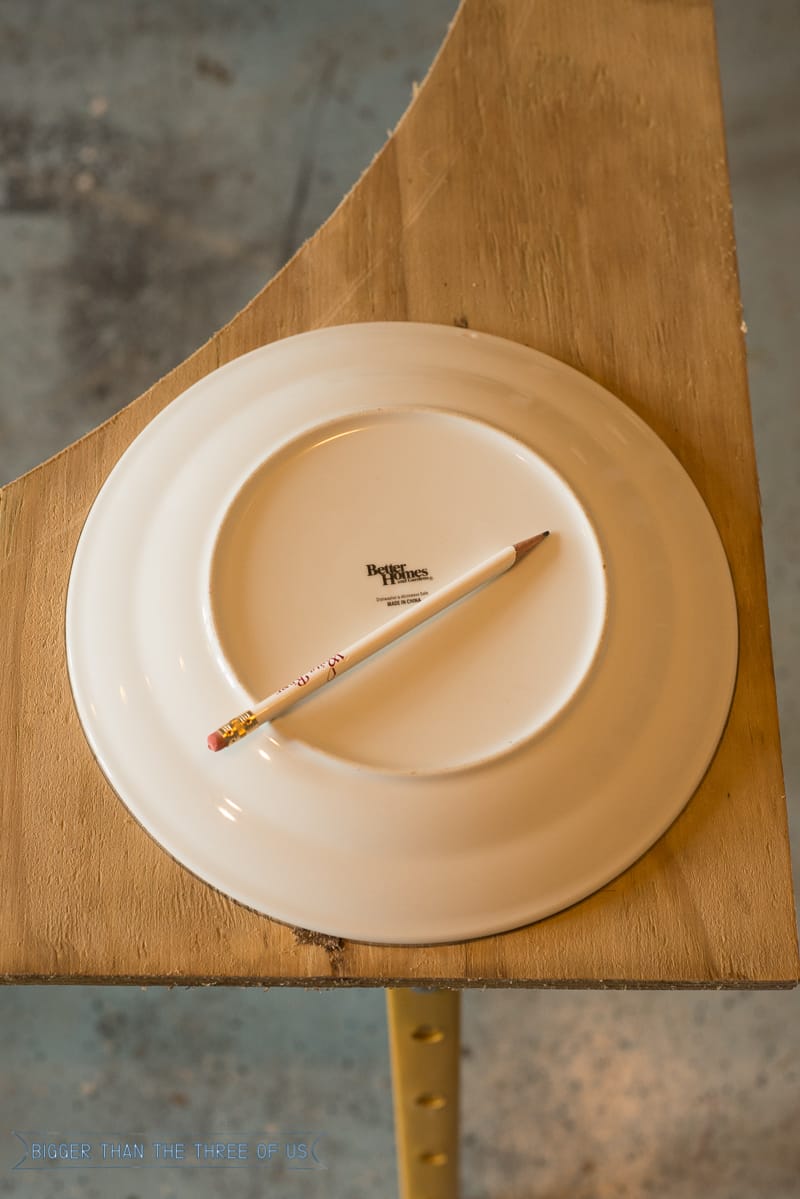
Step 2: Draw your Base Shape
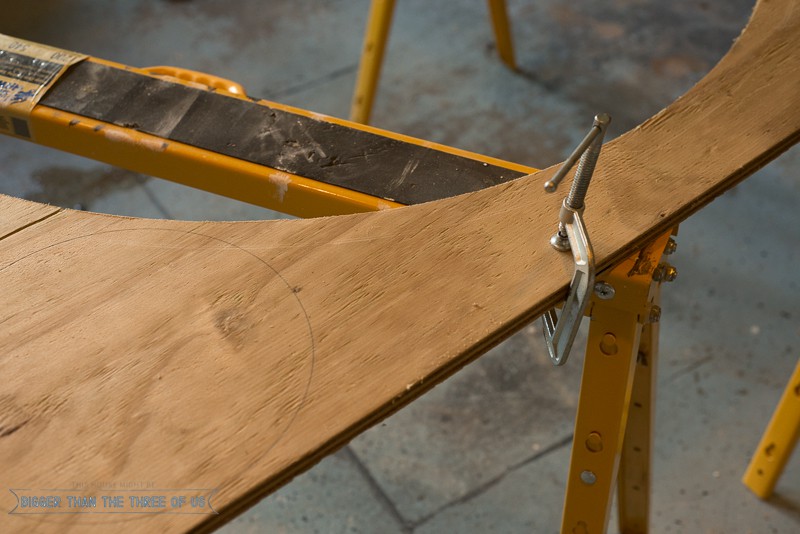
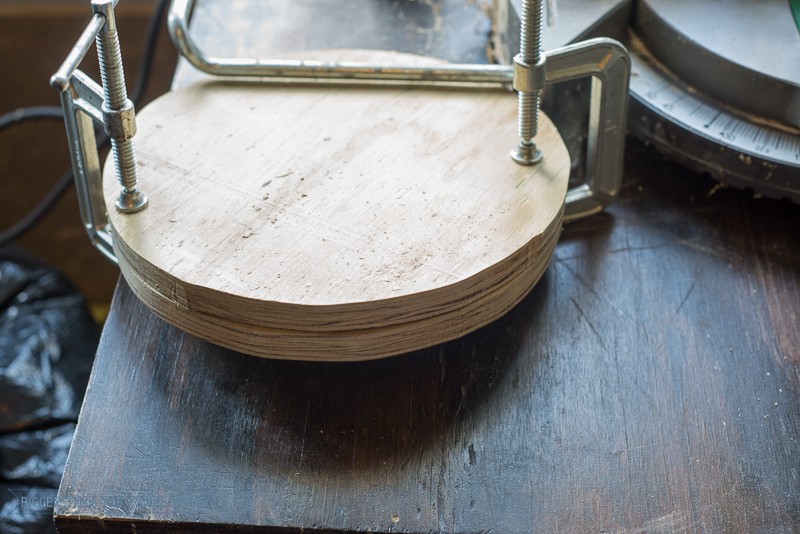
I laid my plywood scrap piece over sawhorses.
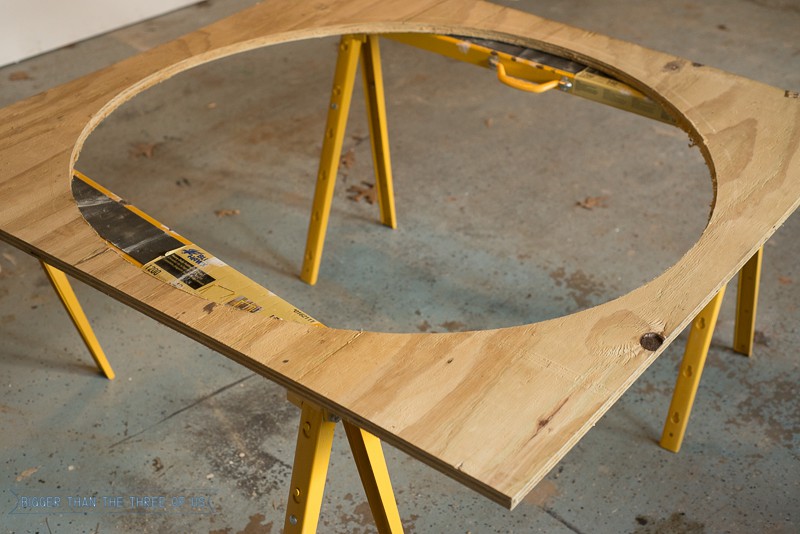
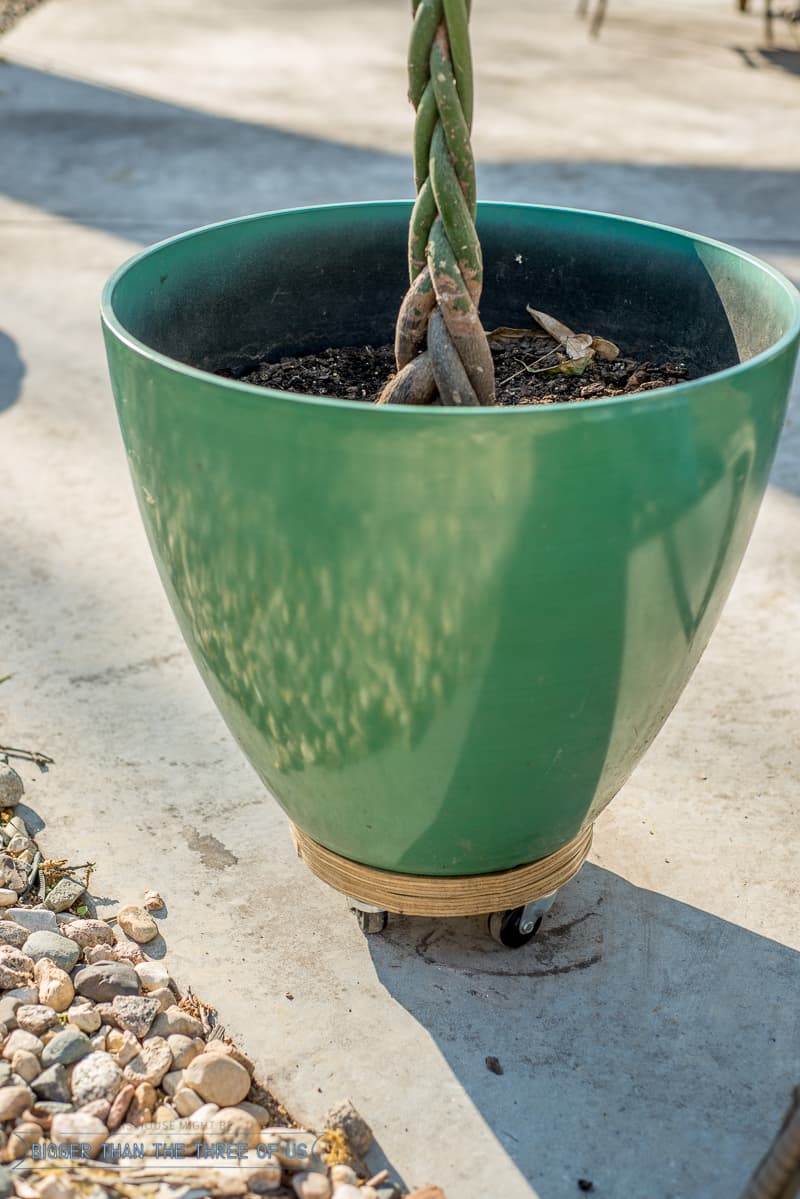
I wanted the largest base pieces I could have, so I searched the house for circles for my template. I ended up using a dinner plate and drawing a circle around the plate onto the wood. I did this twice so that I would have two circles because I knew my planter pot weighed quite a bit. I decided that I was going to stack my circles on top of each other to, hopefully, let it hold more weight securely.
Step 3: Cut the Circles
After making sure you have clamped your scrap wood to your sawhorses securely, start cutting on your circle markings using the jigsaw.
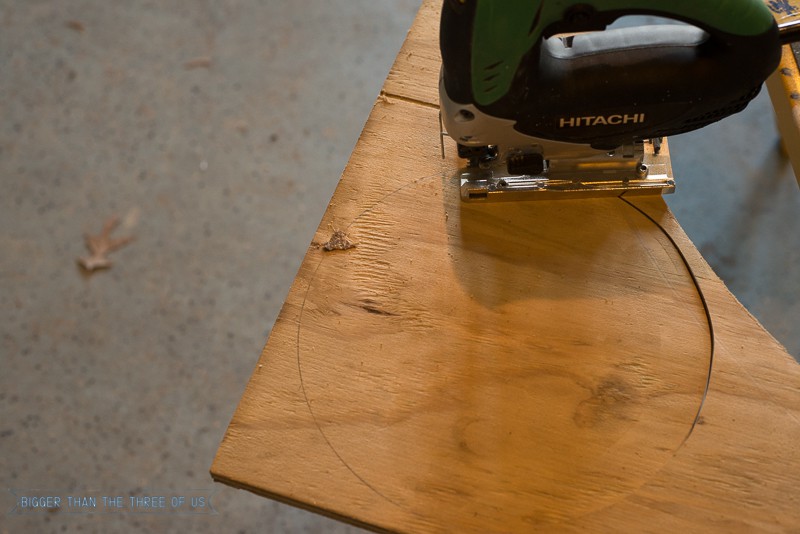
If you have a smaller scrap wood piece (like me), you may have to stop partway through and reposition your scrap piece so that you can continue your circle cuts.
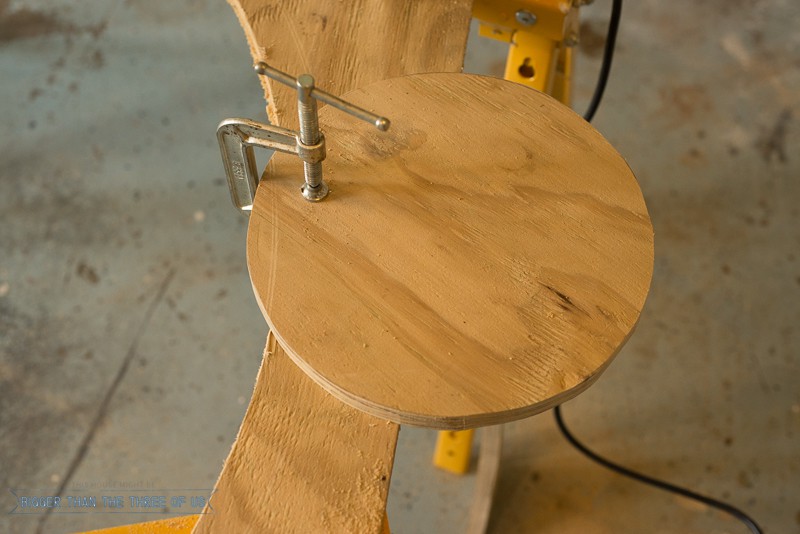
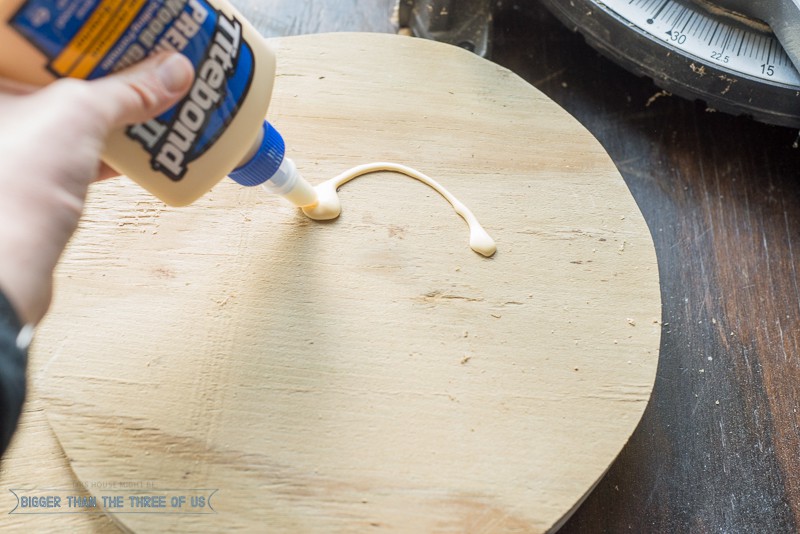
Step 4: Glue and Clamp
Spread wood glue on top of one circle and place the other circle on top. Clamp together and let is sit a few hours to dry.
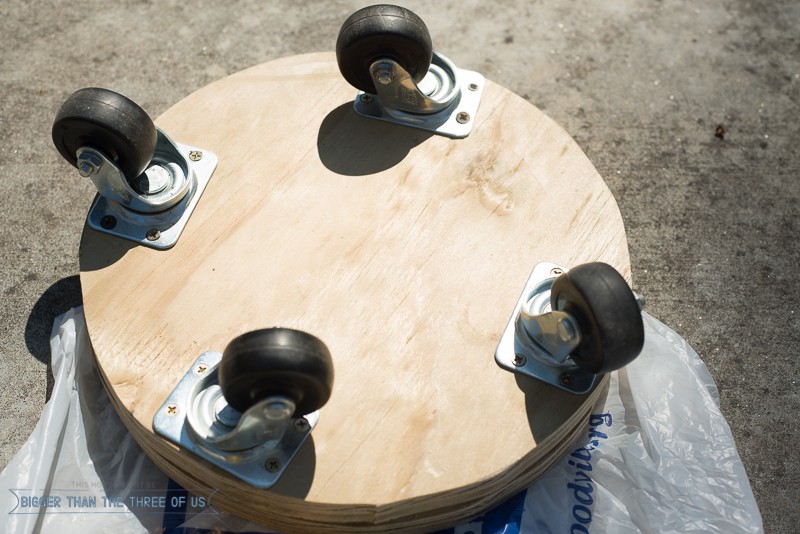
Step 5: Attach Rolling Wheels
Using a drill, attach four wheels to the bottom. Spread the wheels out so that they are to the edge of the stand (this will ensure the most stability).
Step 6: Topcoat
I decided to leave mine naturally colored. You could apply a stain if you wanted yours to be a specific color. Then apply a poly over the top.
This part isn't hard and is a great project for kiddos (with adequate ventilation).
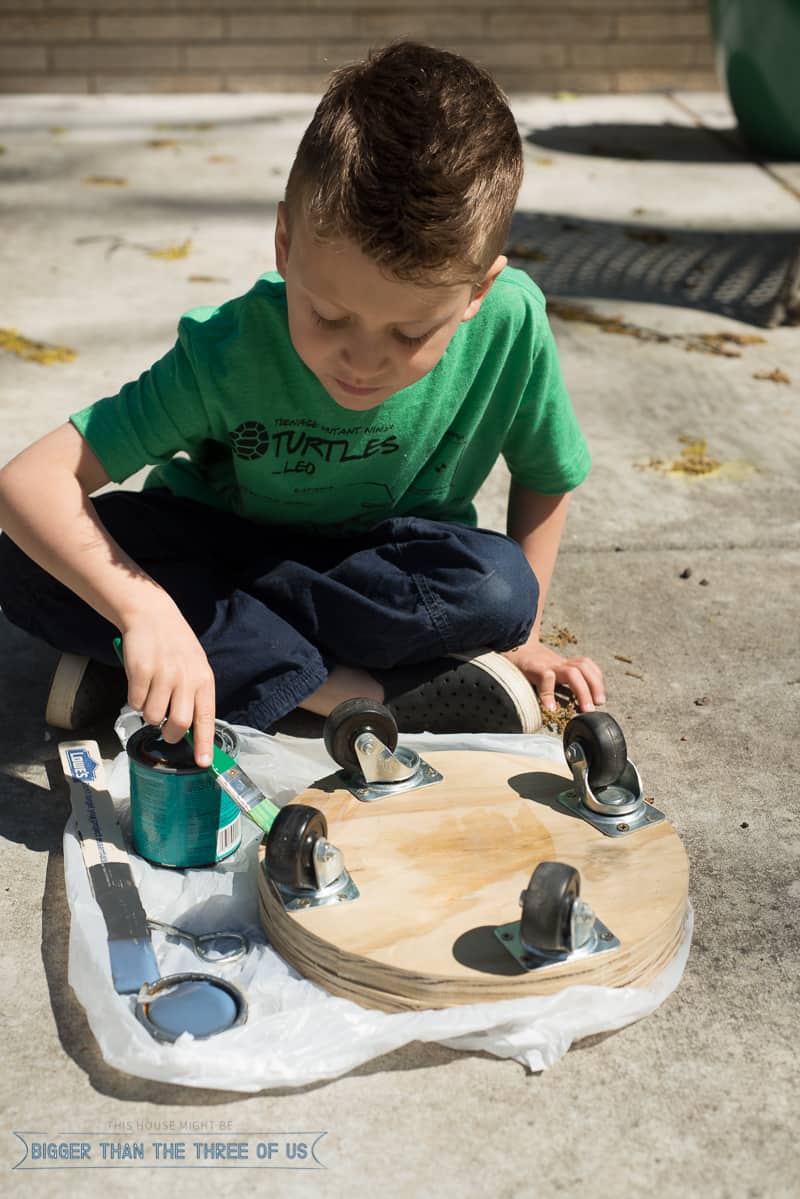
Make sure to get all sides. Let dry. Lightly sand and re-coat.
This project served a need for us and ended up costing around $5. Use what you have on hand, feel free to paint the stand if you'd rather have paint. You could even spray-paint it. Be creative.
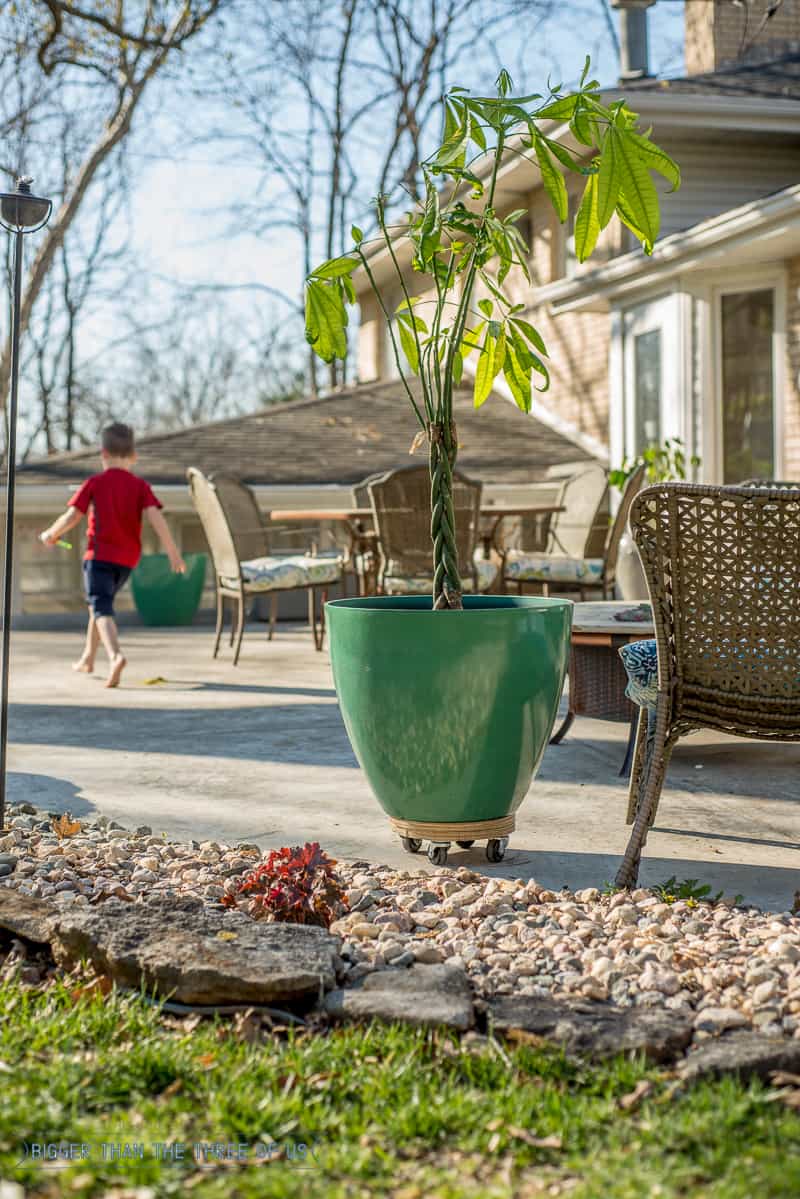
For about $6 and under an hour, I'd say this is a winner. Plus, it's something Greyson could help with and was a perfect teachable moment. I try to grab those when I can.
*If you have a larger scrap piece, feel free to make yours a bit larger. I think it could probably even look cuter if it overhung the planter a bit more than mine does, but work with what you have. Have fun!
Julia@Cuckoo4Design
Love this idea and I'm sure your tree will perk up again. It happened to us and it looks better than ever now.
Ashley Mayes
I hope so! It looks even worse now. I'm holding out hope though.
BJ Sagmoe
OH, MY GOSH!!! Now I have to find someone that has a tree to cut down! Lol... I love the 'Stump Roller'.
Ashley Mayes
lol! Yes, do it!