

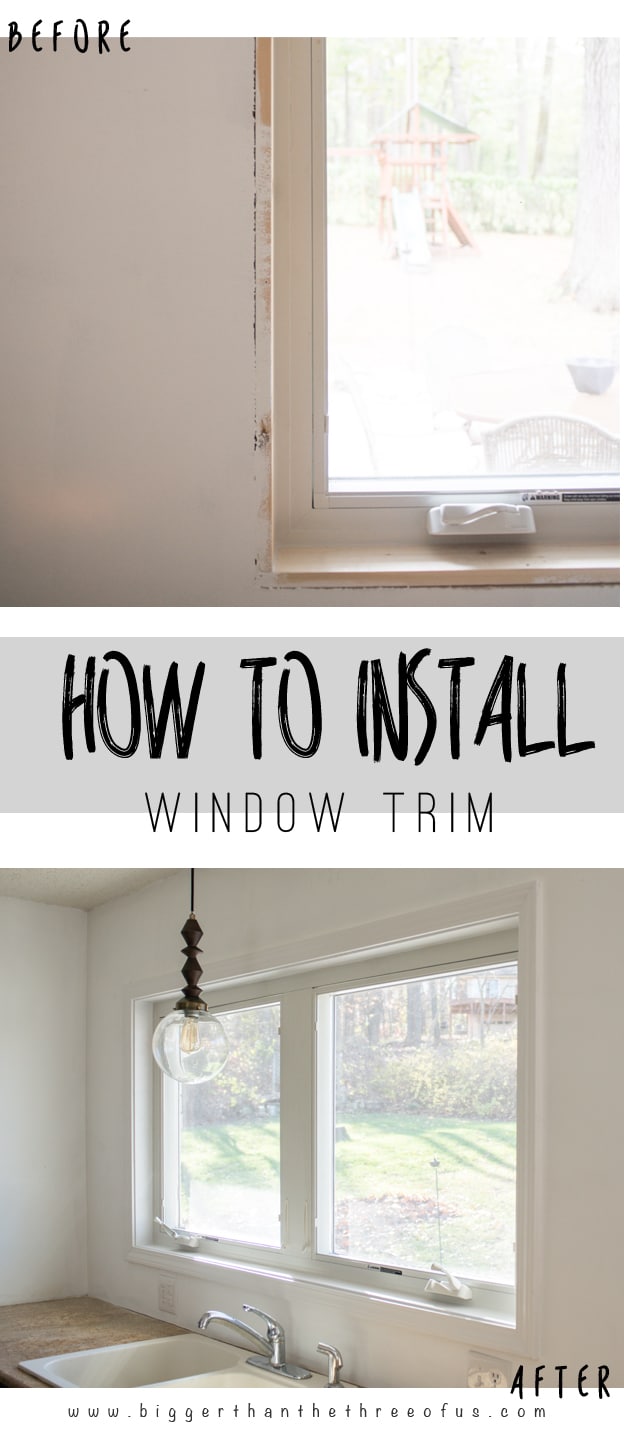
It's been busy, busy, busy over here. Can you tell? Wow, I have so much to share and just need to sit down and write. But, I'm taking one day at a time and just trying to enjoy the season, enjoy the projects that we've completed and just enjoy life in general. Today though, I wanted to share a new tutorial for How To Install Interior Window Trim that I posted over on eHow.
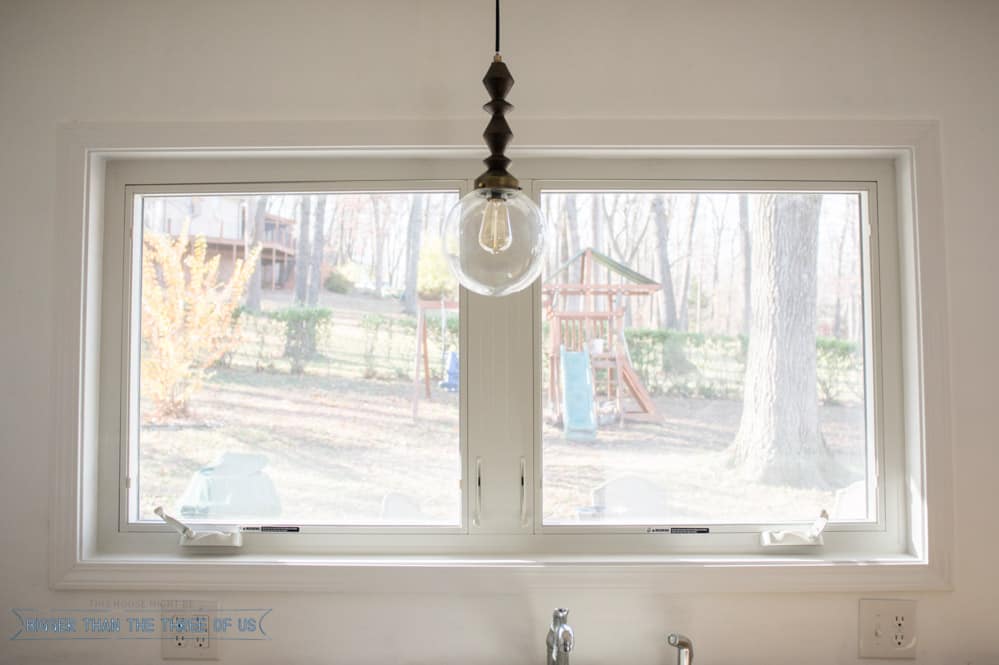
Spoiler alert, I creatively shot this photo so that it would make it appear that the room was getting closer to being done. We would absolutely recommend enlarging windows, but just know that it's a bit of a process. 100% would do again though! See more on my post on All the Details About Enlarging a Window.
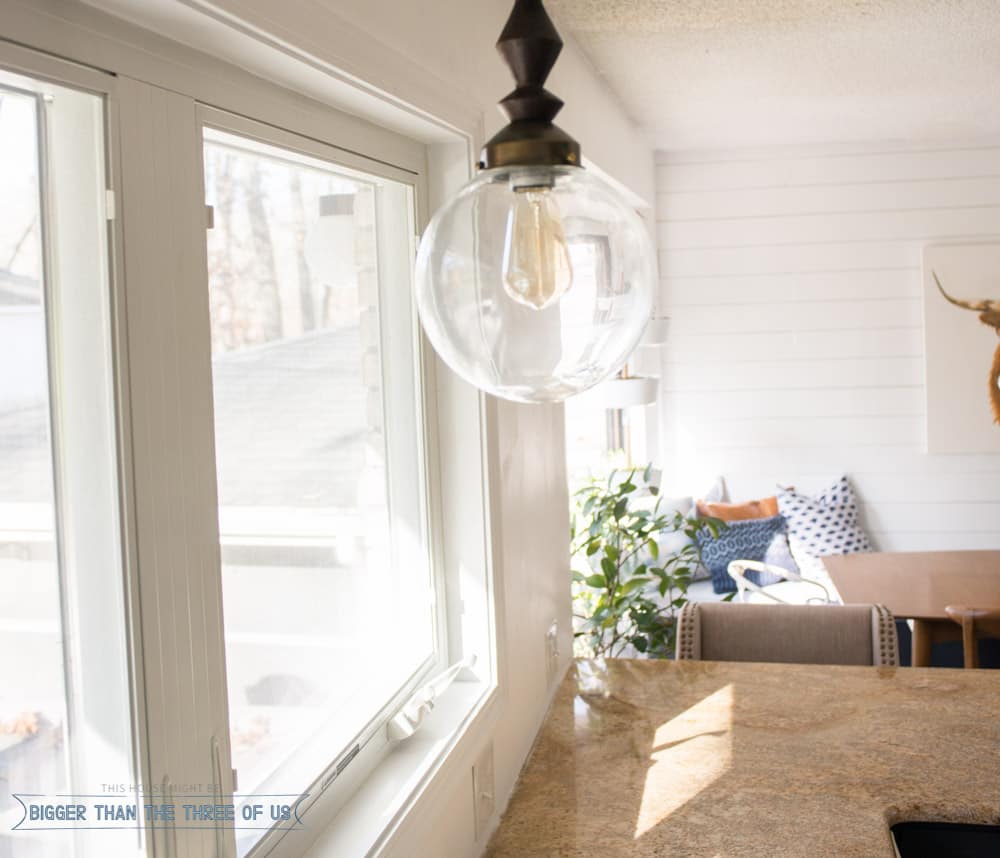
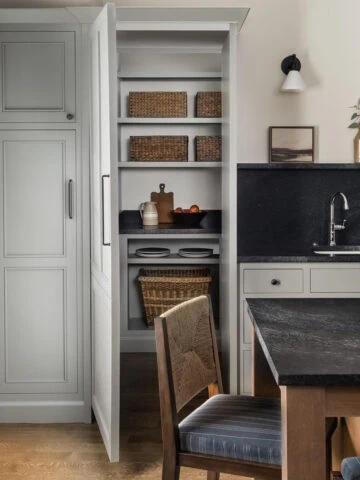
If you squeeze one of your eyes shut, hop on the counter and get close to the window and gaze to the right... the kitchen is looking pretty darn good. Haha.
Actually, we are getting closer... much closer. Just not close enough. I really really need to get a blog post up about our cabinet doors. They are looking so good! I promise, that post will be coming soon as well as the DIY bench seat that we revealed for the Eat-In Kitchen Reveal.
But, let's not underestimate the appeal of window trim.
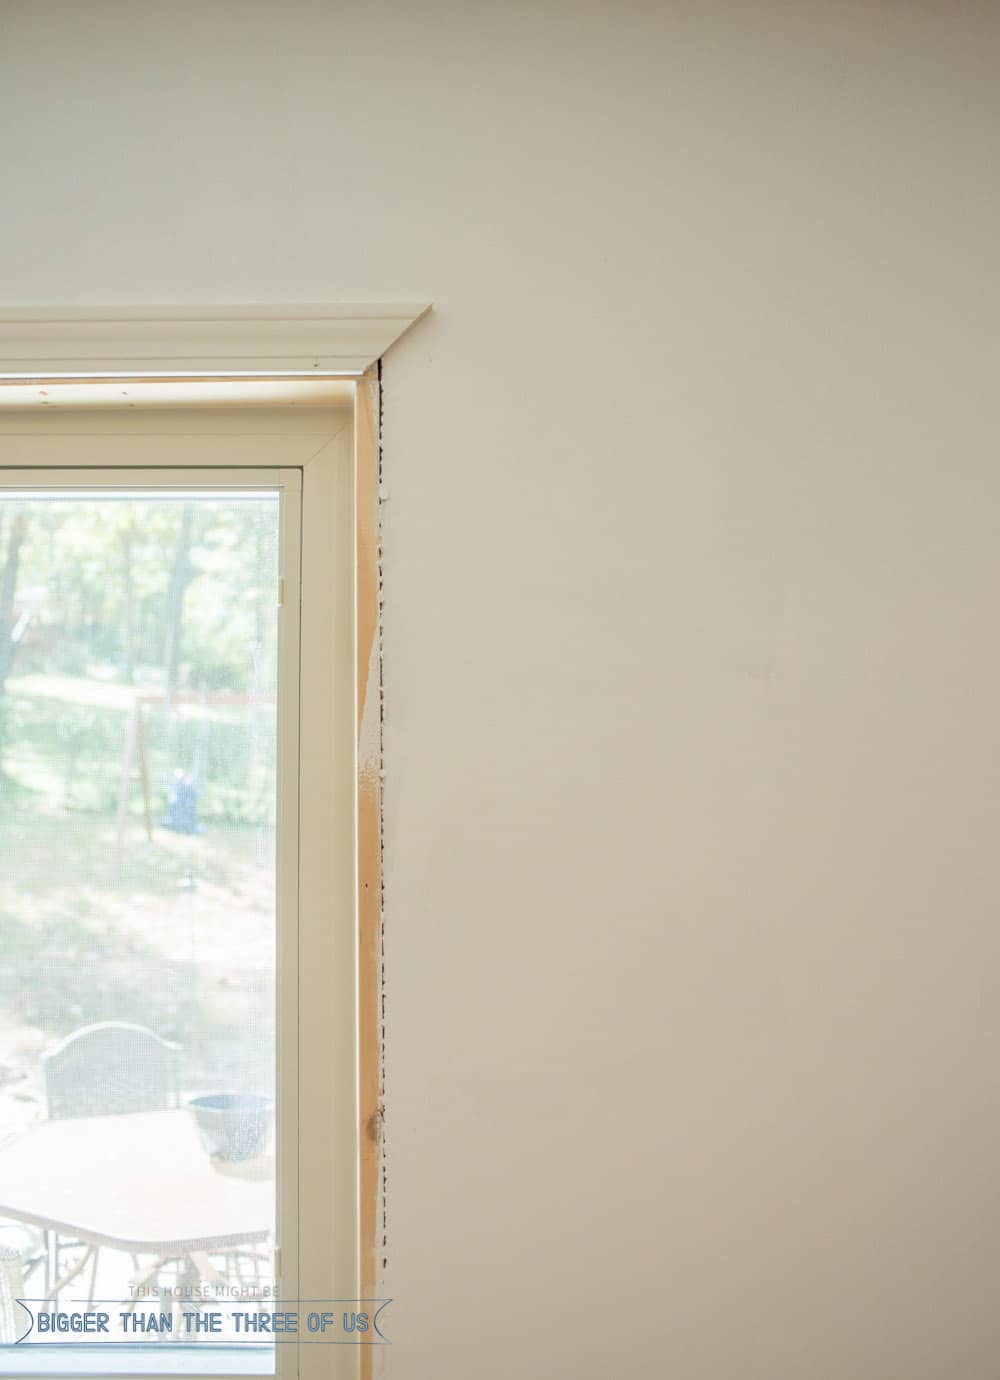
The installation of the window trim was pretty painless (minus me cutting my last board too short and having to make another trip out to Lowes). It can definitely be completed in an afternoon or two. The hardest part is probably waiting on the clock for your wood filler and glue to dry.
So, don't be intimidated by replacing your window trim. Hop on over to eHow and save the tutorial because it's definitely an easy one to complete.
I'm off for the rest of the week. Enjoy Thanksgiving with your family and friends.


[…] not going to give you a full step-by-step tutorial on the install but you can check out my tutorial for installing window trim in our kitchen if you’d […]