

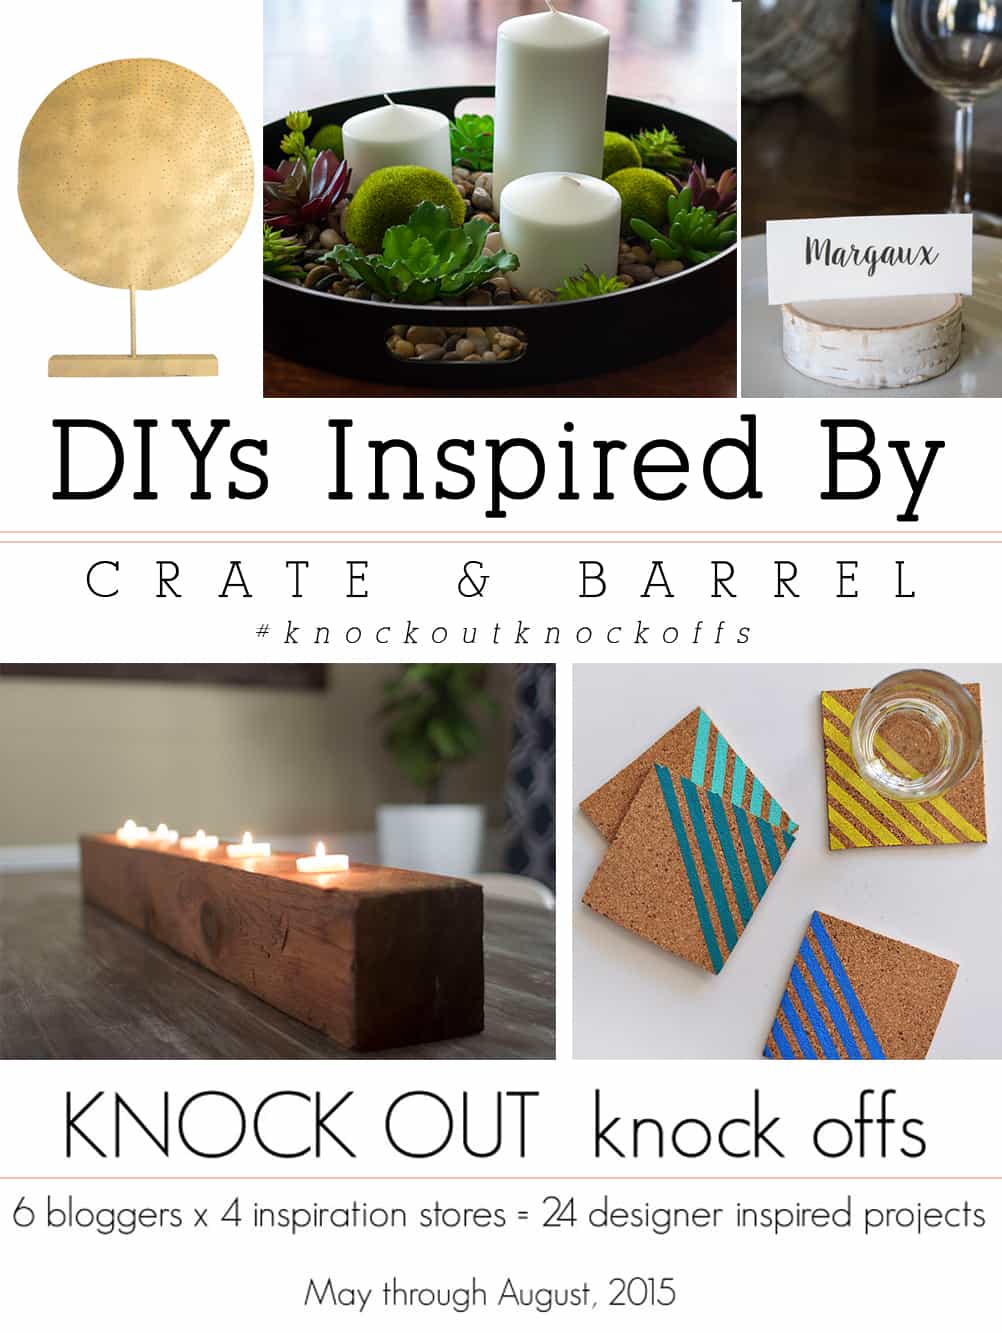
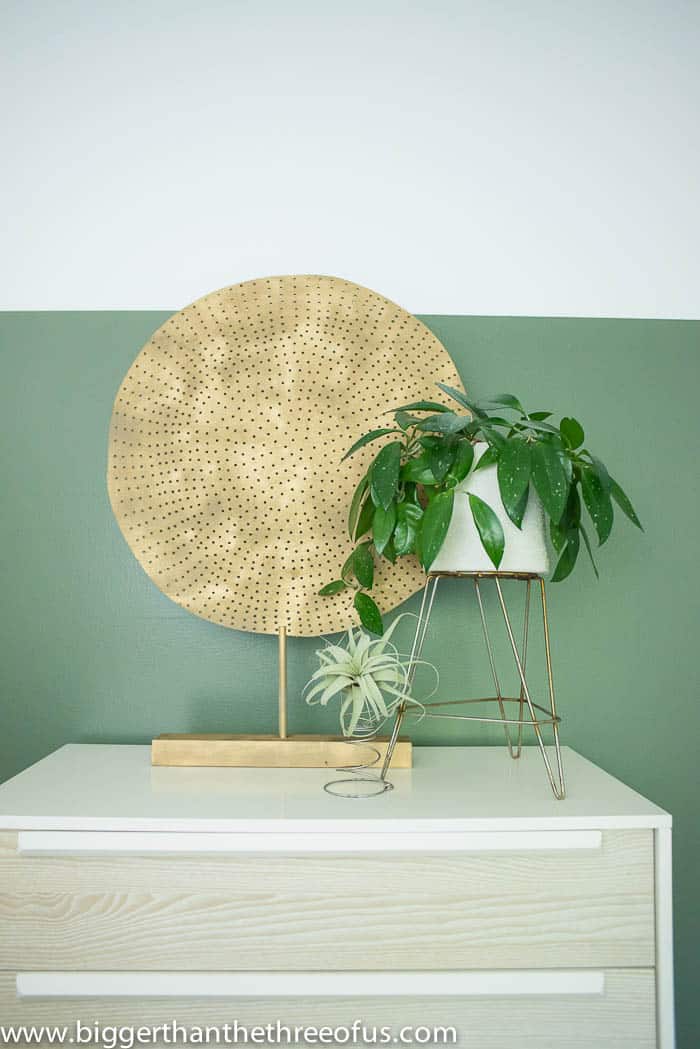
It's the last #knockoutknocksoffs of the year. Depressing, right? The answer to that is YES! But, we are all going out with a bang today. Today, we are sharing "DIYS Inspired By Crate and Barrel" and I'm sharing a DIY Round Medallion Art piece. I wasn't sure how my project was going to turn out, but in the end... I'm surprised to say that I really love it. Yay!
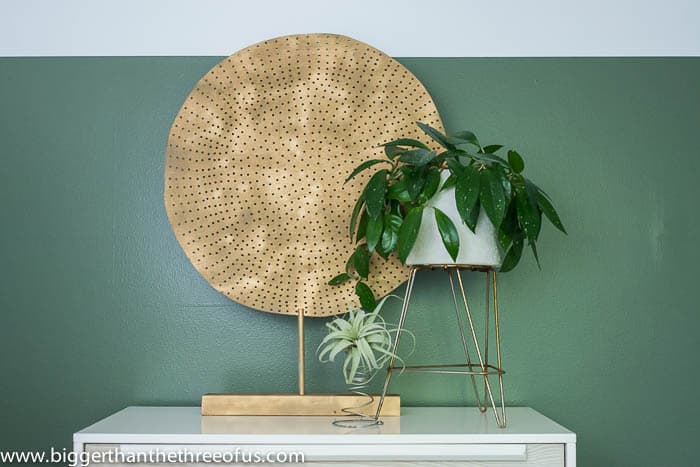
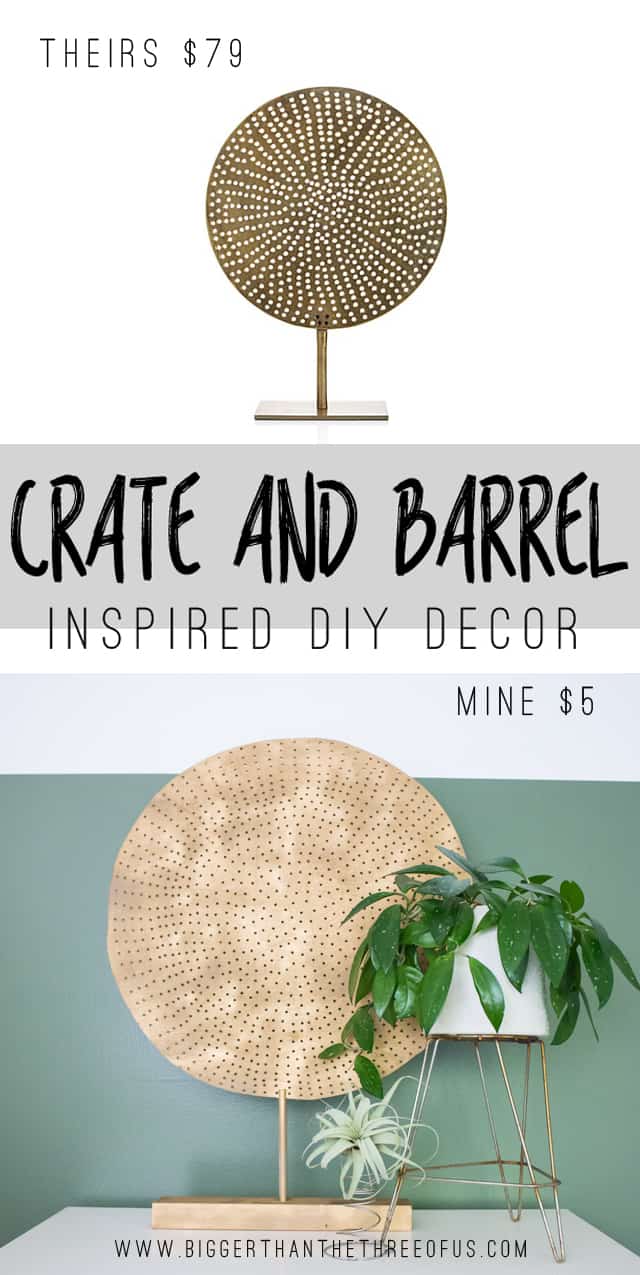
I really loved this brass circle art at Crate and Barrel, but I wasn't about to spend that on one decor item. So, I decided to DIY it and it turned out pretty darn good!
Do you love it? I hope so!
Let's get to the tutorial!
Step 1: Gather Supplies and Tools
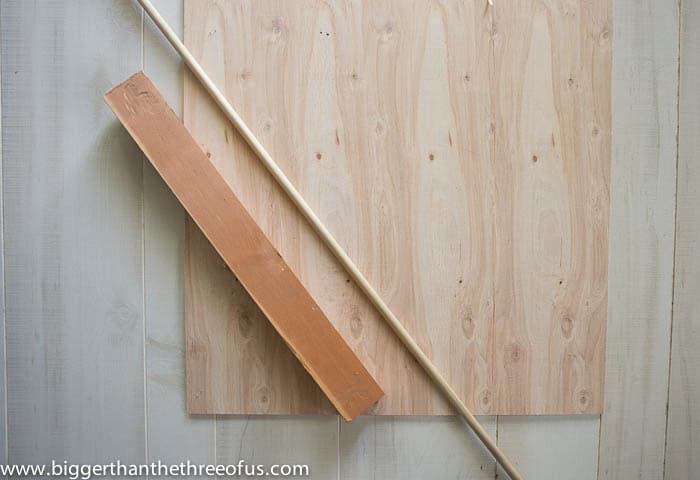
The first thing you need to do is to gather your supplies and tools.
You will need:
Cheap plywood ( I used lauan plywood 5.2 mm x 2 x 2) - $3.35
2 x 4 scrap piece of wood
Dowel Rod ½ inch - under $2
Tools needed:
Miter Saw (or some other saw to cut your scrap wood to size)
Pen and string
Jigsaw
Wood Glue
Clamps
Drill and bits
Sanding pad or orbital sander
Coping Saw
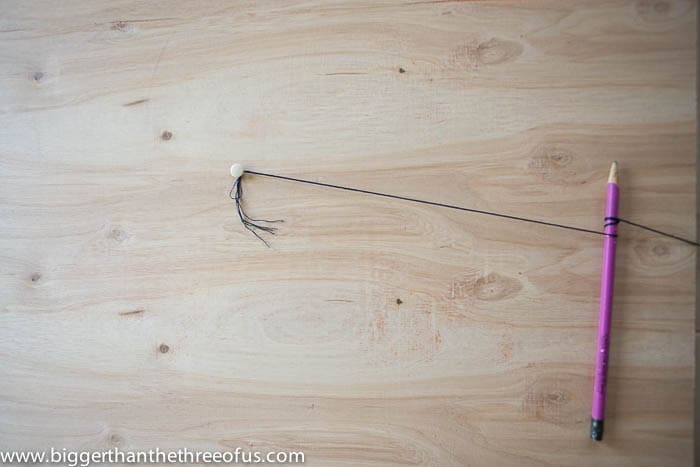
Step 2: Make your Circle
Decide how big you want your circle to be. Once you have decided, use a push pin, pencil and string to make your circle.
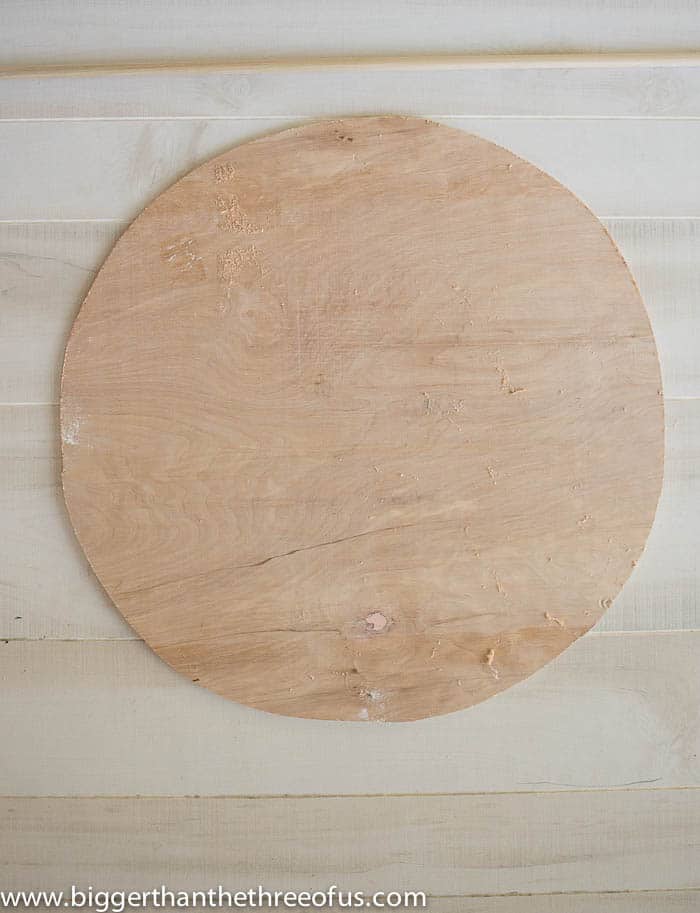
Step 3: Cut your Circle
Use your jigsaw to cut your circle.
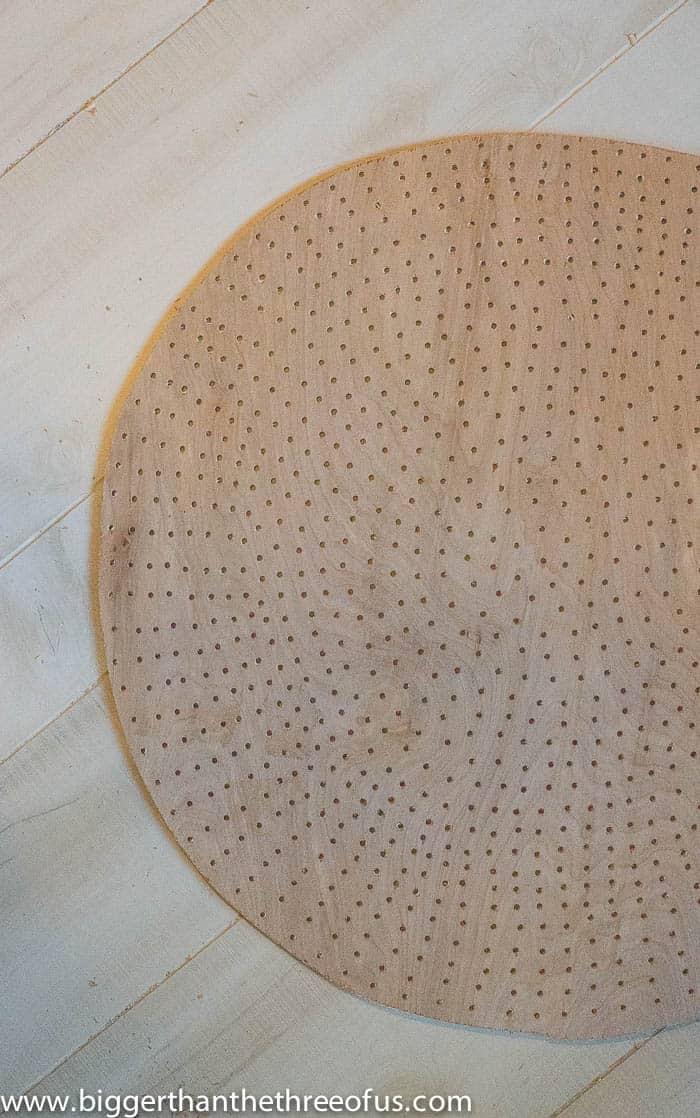
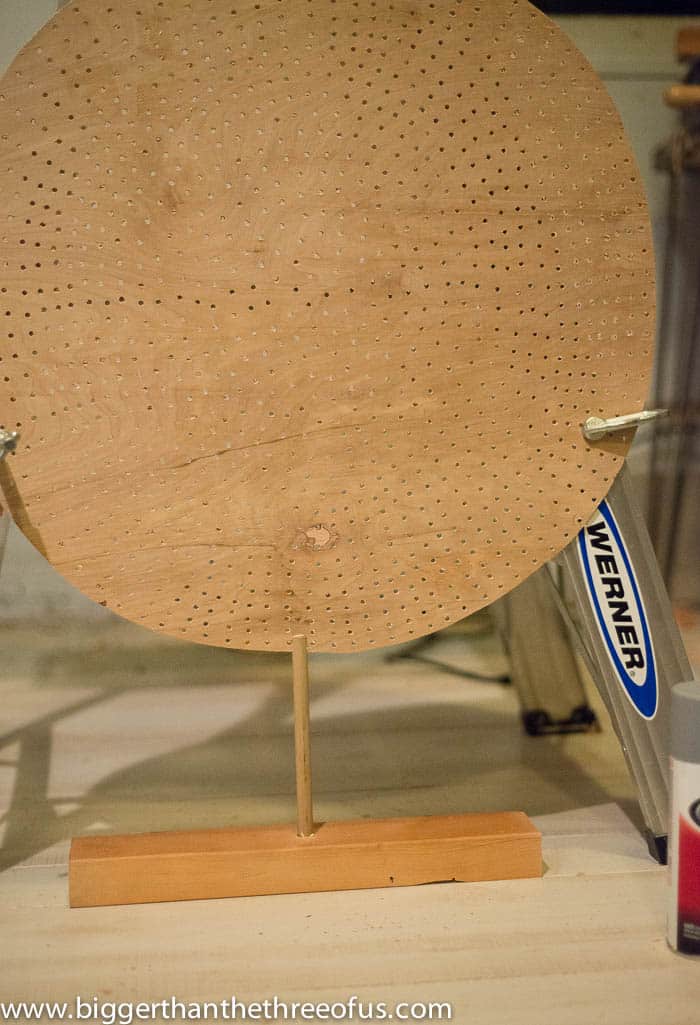
Step 4: Drill Your Holes
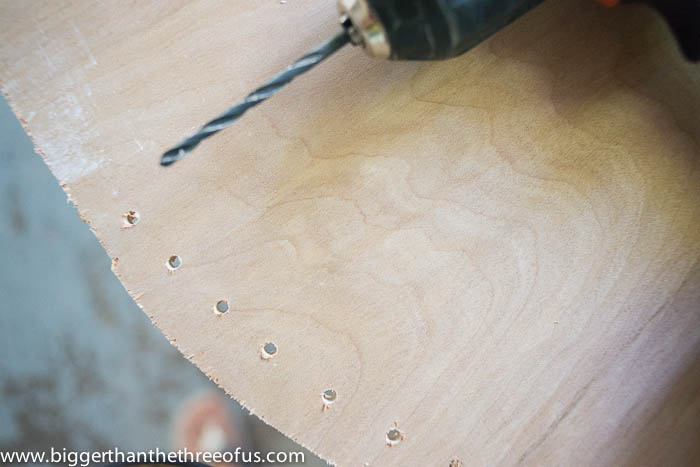
*Tip: Using a scrap piece of your plywood, figure out what is the largest drill bit you can use without splintering the plywood all over the place. The larger size you use, the less time you will have invested in drilling the holes.
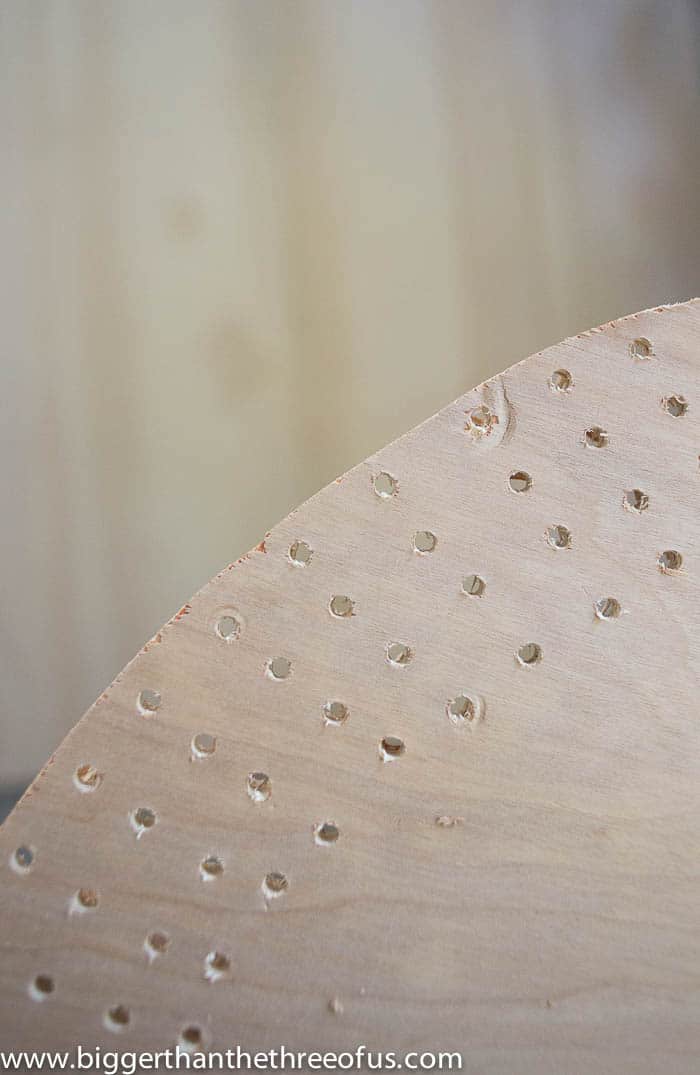
Around the outside of the circle, I was able to line up the holes as I got around. Once I got to the inside of the circle, I had so skip every other hole or merge them. The inspiration piece showed the same pattern.
Step 5: Sand
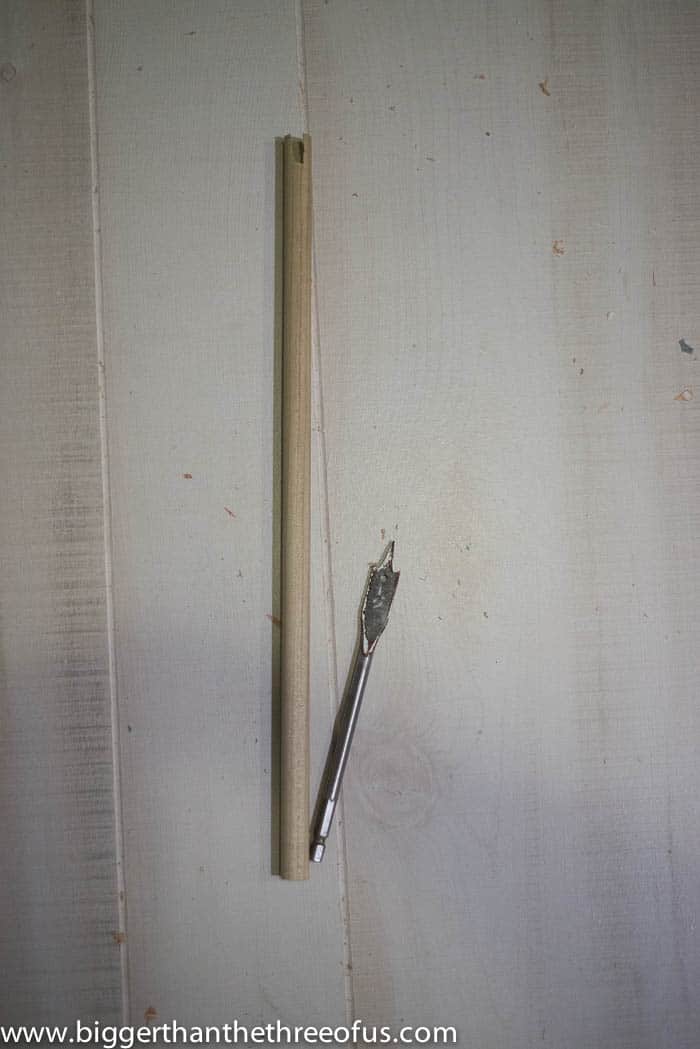
Step 6: Prep and Cut your Dowel
Using a coping saw, notch out your dowel stick.
You are notching out enough so that the circle can sit in the middle of the dowel rod.
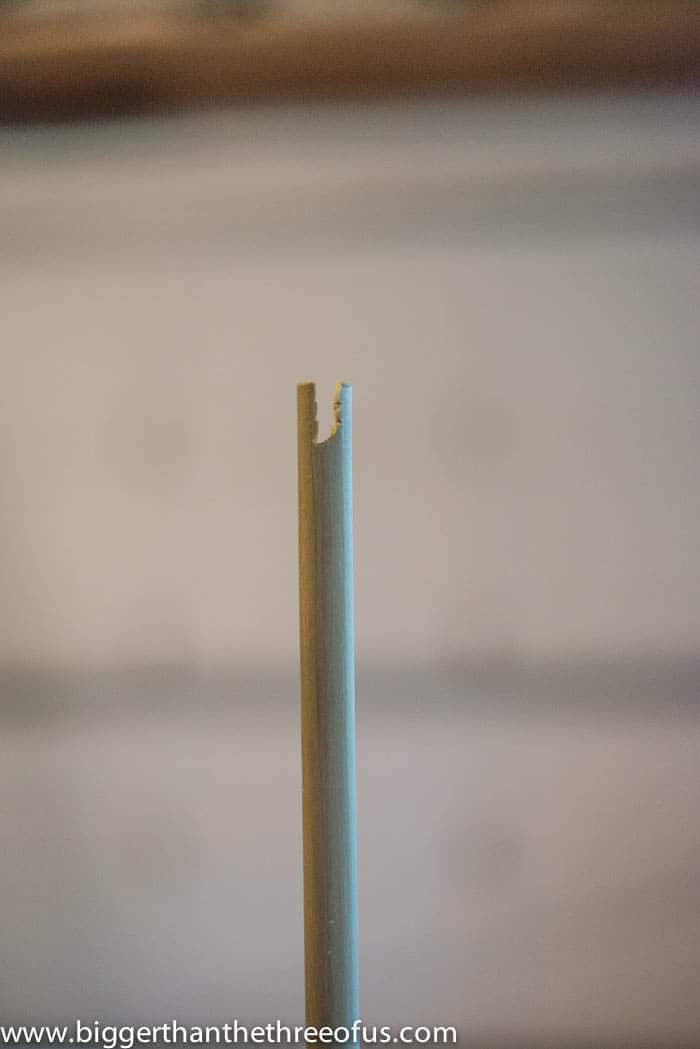
It doesn't have to be perfect! Test to make sure the circle fits in it and if it doesn't, keep notching. If it does, go ahead and stop.
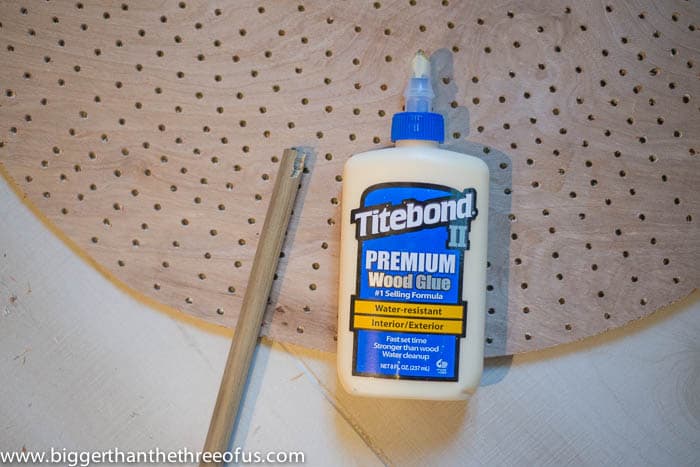
At this point, you need to decide how tall you want your circle to stand. Once you decide, cut your dowel rod to size but make sure you allow a few inches of the rod to go inside the base (see next step). Our rod ended up being about a foot in length.
Next, apply wood glue in the notch to attach the circle.
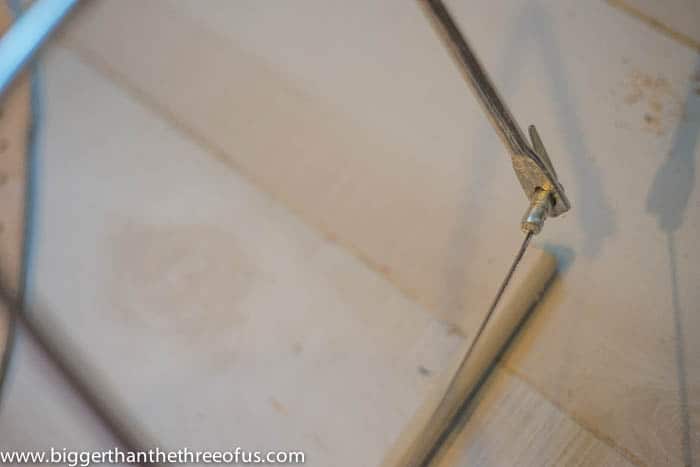
Step 7: Make Your Base
Get our your 2x4.
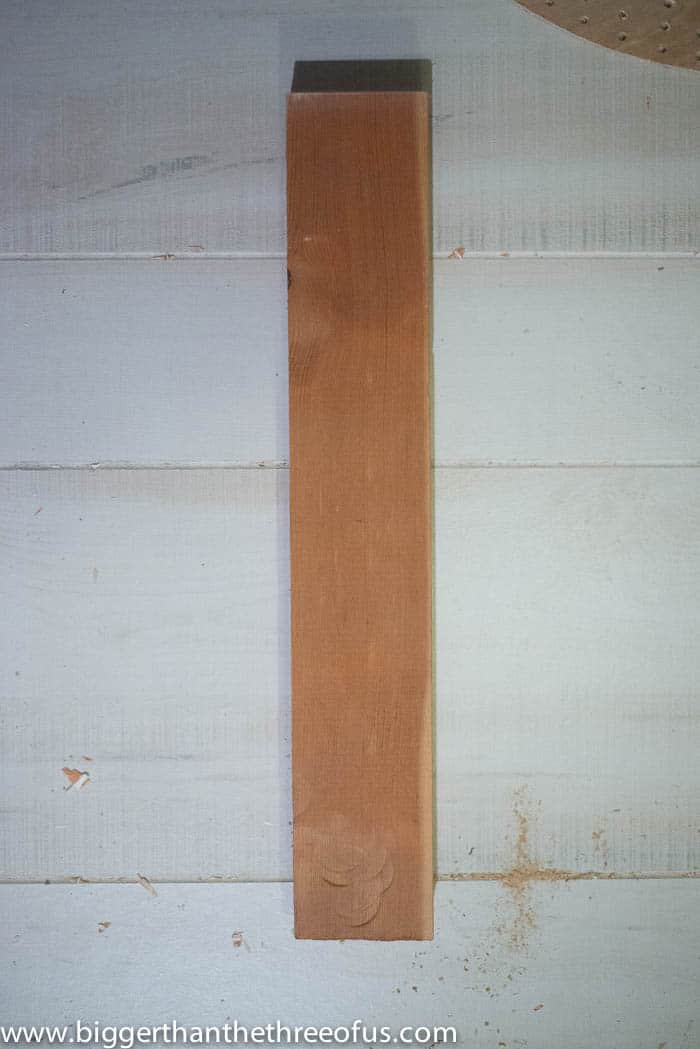
Measure the center of your board both ways. From there, grab your dowel rod and find a drill bit about the same diameter as your stick.
Using your drill bit, drill in to the 2x4.
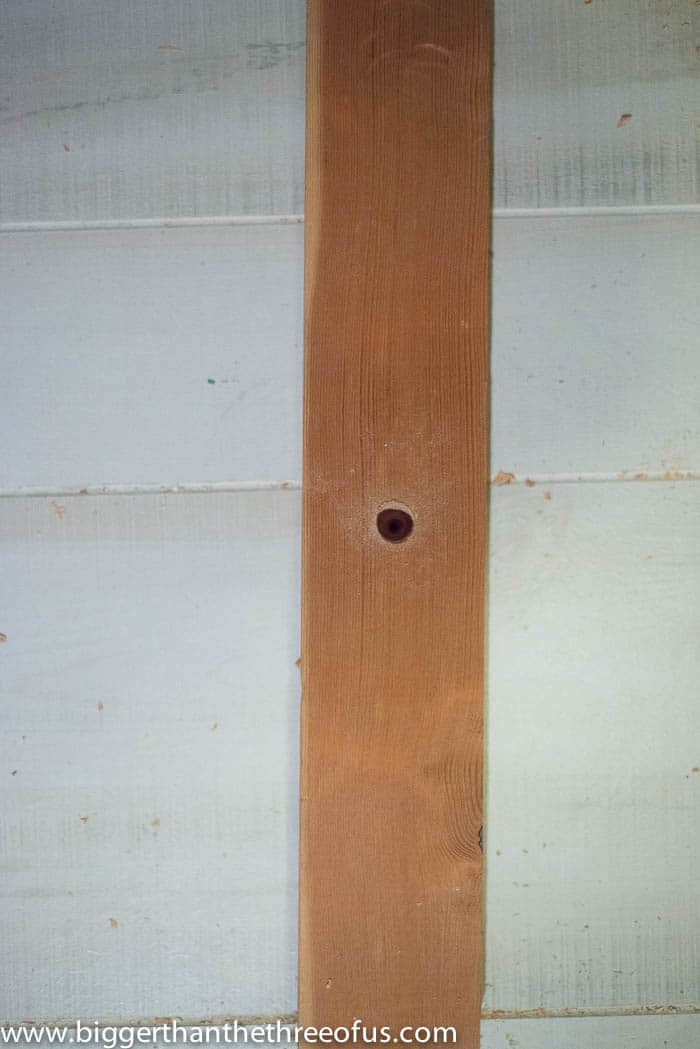
Test to make sure your dowel rod fits. If it does, stop and if it doesn't, readjust.
Step 8: Attach and Clamp
Apply glue inside your 2x4 and stick your dowel rod in it. Clamp until the wood glue is dried.
Step 9: Prime and Paint
I sprayed on primer and paint. It needed quite a few coats to coat.
*My top coat did not go on smoothly. I kept reapplying using the guidelines and eventually gave up. Overall, I really like how uneven the gold looks. Just wanted to be upfront by saying that it is not one constant color.
I really like how it turned out! Want to see what the other girls have been up to this month?
The Gathered Home - Succulent Rock Centerpiece
Designer Trapped in a Lawyer's Body - Place Card Holders
Upcycled Treasures - Rustic Tea Light Candle
Delineate Your Dwelling - Colorful Striped Coasters
I hope you all enjoyed all the #knockoutknockoffs (look that up on IG) this summer!
Linking up to:
Found and Foraged, Hit Me With Your Best Shot, Work It Wednesday, Think and Make Thursday, The Inspiration Gallery, Creativity Unleashed - The Bold Abode, and Remodelaholic.
}

Katie @ Upcycled Treasures
Wow Ashley you could have fooled me into thinking this was the actual medallion art from Crate and Barrel! I've never used a coping saw before but it looks pretty interesting and I also like how the gold paint didn't go on evenly. I didn't even notice until you mentioned it. I just thought the gold was glistening which looks pretty cool.
Ashley Mayes
Thanks Katie! The coping saw is super cheap ($3 or so) but is mainly used for baseboard cuts (the tricky ones). I was super worried about the paint, but I really liked it in the end.
Trisha D. @Black and White Obsession
Such a happy accident when the spray paint didn't go on as evenly as anticipated, it sort of looks 'shimmery' at least in the photos. Great work, sad I'll have to wait until next year for another round of knock offs! You ladies always inspire!
Ashley Mayes
For sure! I'm sad it's over!! It always pushes me outside my comfort zone, which is always a good thing.
Tania // Run to Radiance
Wow, love this!!! Looks just like the original. What a smart idea. 🙂
Ashley Mayes
Thanks Tania!
Brynne@TheGatheredHome
Oh wow! This turned out so great, Ashley! You must have needed a ton of patience to drill all those holes, but it was so worth it! I was really tempted by this inspiration piece as well. Great job!
Ashley Mayes
Oh my gosh, the holes just about killed me. I underestimated how long my patience would last doing those! I worked on them for 5 min at a time and then my hubby finished them up for me while I was out on a photoshoot this weekend. A larger drill bit would be the way to go. Live and learn.
Amy W
Wow, love how this turned out and so so simple! What a great DIY.
Ashley Mayes
Thanks Amy!
Naomi @ Plaster & Disaster
Wow, the patience of drilling all of those holes! DIY is not for the non-committed. But this looks well worth it. What a nice decor item!
Ashley Mayes
Yep, that was totally the downside. Ha. I underestimated how long the drilling would take.
Alexis
Wow, I couldn't tell the difference. Great job Ashley!
Ashley Mayes
Thanks Alexis!