

Happy Monday! Hope you all had a great weekend. Have you guys noticed that I've been posting a bit less lately? Probably not, but if you did... sorry for the silence! We've had a lot going on! My little guy had an outpatient surgery done last week, so we had lots of cuddles on the couch for a few days. Then, I've been helping my sister get ready for her wedding. That mixed in with regular work photo sessions has been keeping me busy. We haven't stopped projects around here, but we just have a few hiccups in like three different ones. So, as soon as we get those worked out, there will be a slew of projects coming. Yay!
I realized last week that I haven't posted anything about our kitchen remodel in ages. Seriously, I think the last update was back in November. To be honest, we haven't made a ton of progress but we have made a little. So, today I thought I would share the progress on framing the kitchen doorway. I'm not sharing a tutorial, because it's the first time we've ever done something like this. Trust me, you wouldn't want a tutorial from us on this, but there are quite a bit of great tutorials out there.
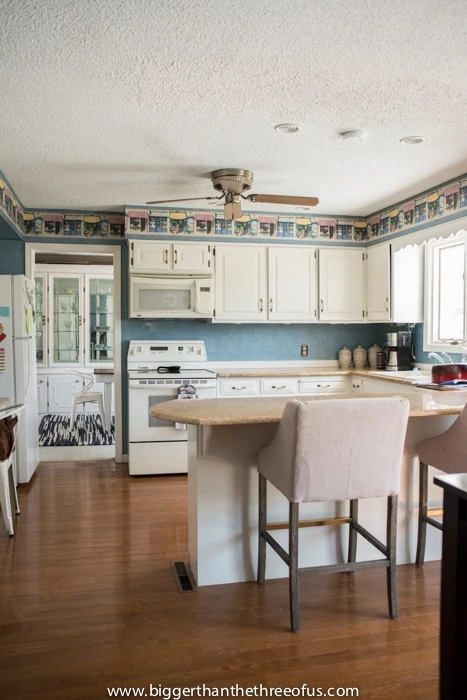
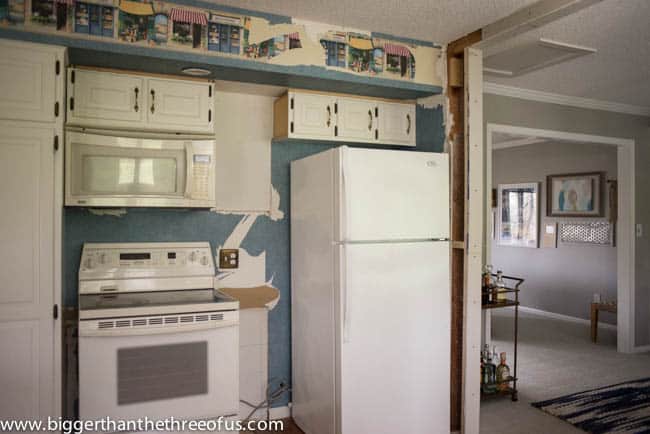
To jog your memory, this is the kitchen area that we are talking about.
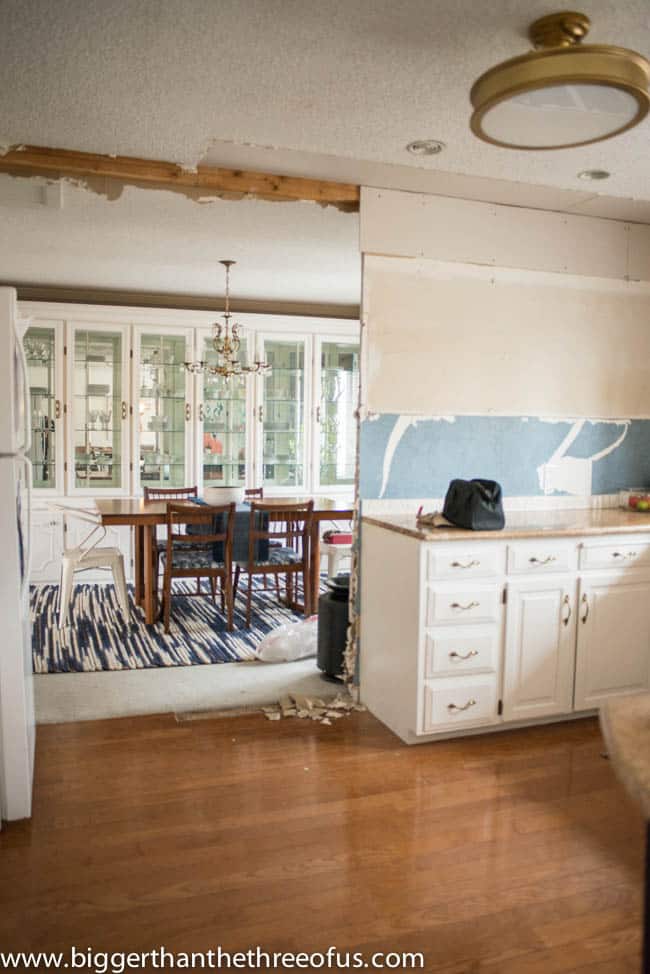
From there, you know we took the cabinets down, moved the electricity with the stove to the wall on the left and took the bunk head down. Once everything was moved, we demoed the wall 'till the end of the cabinet. After that, we installed drywall where the bunk head was.
We had to clean up the extra jagged edges of the drywall all around the 2x4s. To do that we used a utility knife and a drywall plane (they're cheap and worth buying).

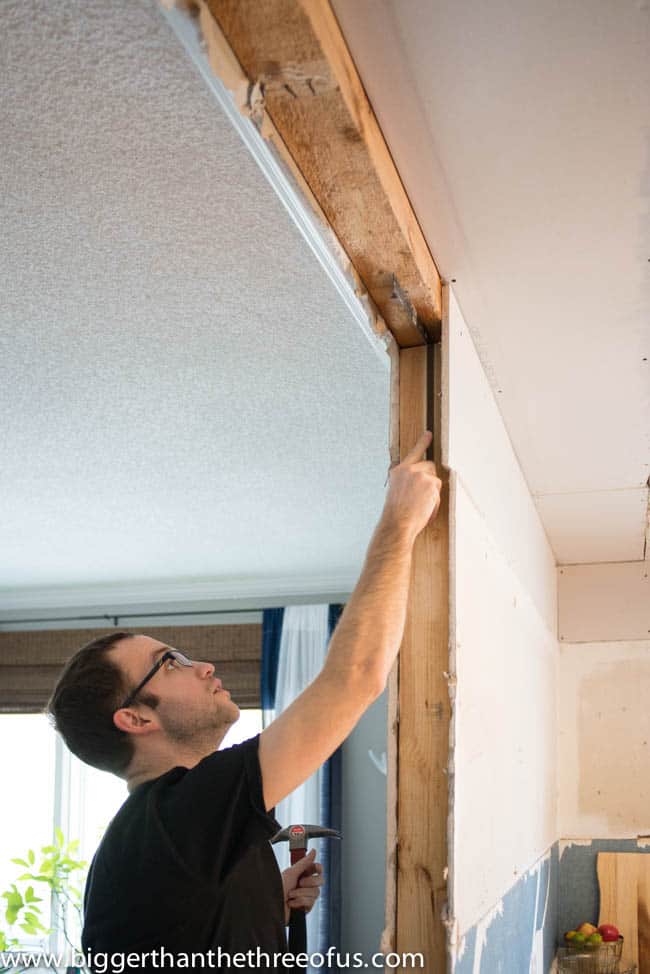
We had to take a 2x4 stud out of the wall to enlarge the opening, so that meant that we needed to put it back in (further back).
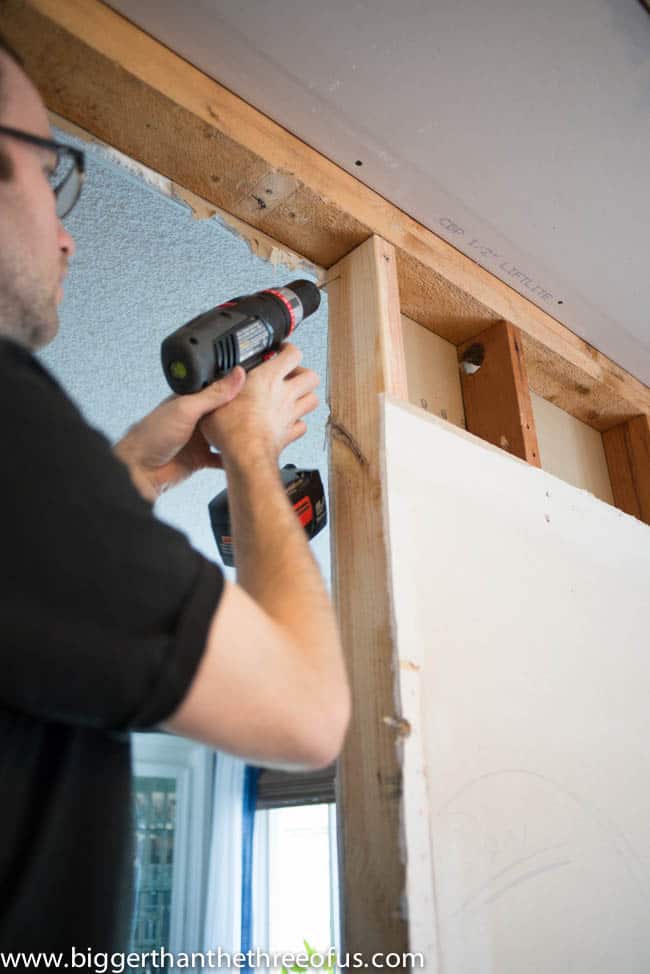
Using a square, we made sure we had it straight. This part had to be repeated on the other side of the doorway and should have been pretty straightforward, but for us beginners, it was difficult.
For the other side, we had to take out a partial 2x4 (which was a partial because of the bunk head) and extend the wall about 8 inches. I wanted the wall (looking into the kitchen from the dining room) to be flush with the fridge. Once we opened the wall up, it was about 8 inches too short, meaning the fridge stood out.
We added drywall to the whole surround.
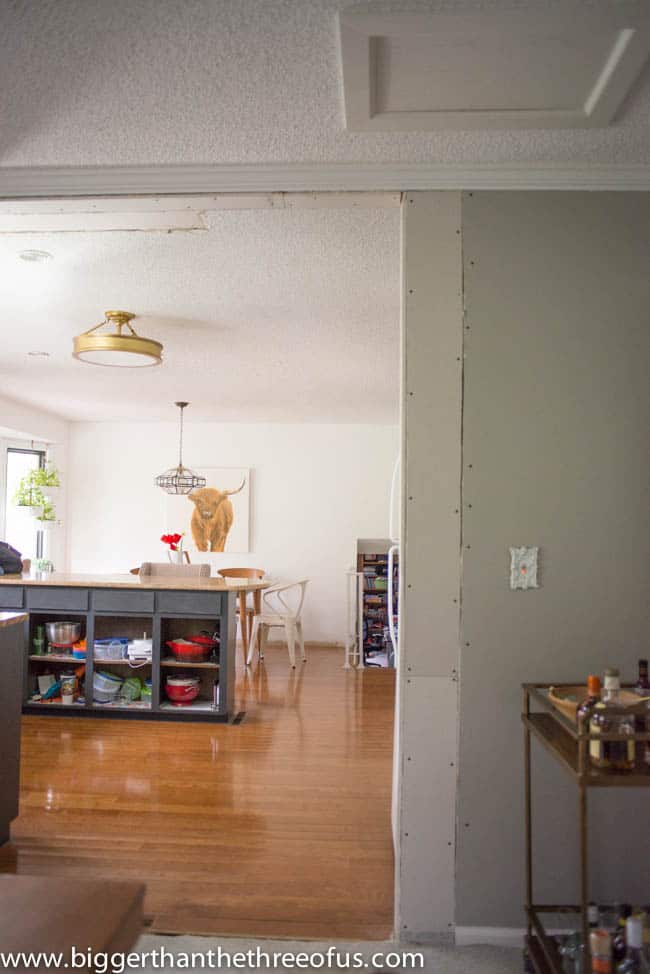
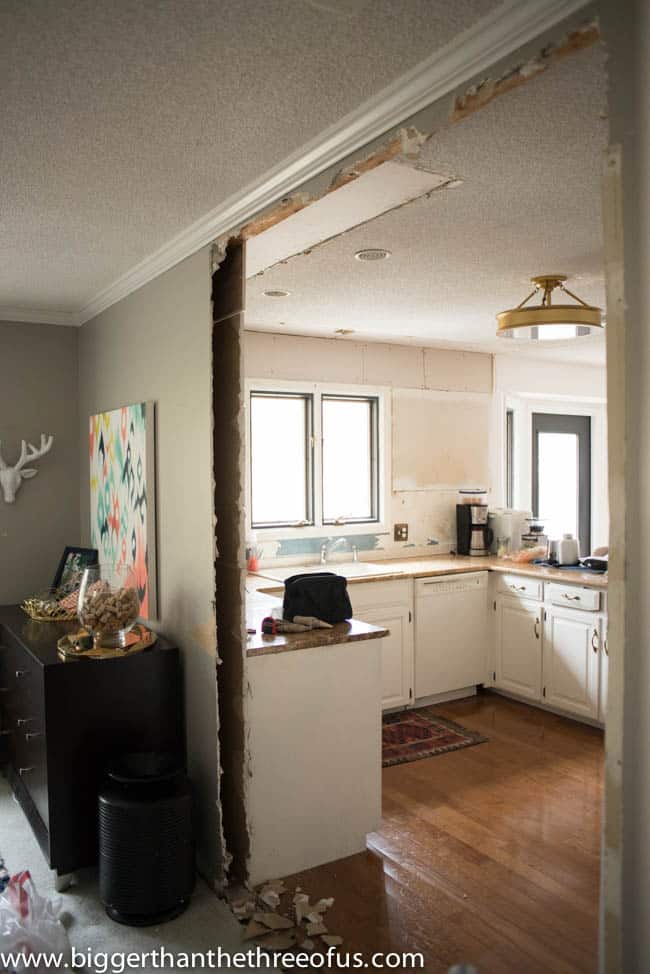
I made it sound pretty easy, right? Ha. What I showed you today took us about 6 weeks! We worked on a bit, got frustrated, went to something else, and repeated. Oops. But, at this stage, you can definitely see an improvement. #smallvictories
}


Charlotte W
oh my gosh! I LOVE how open it looks. What a difference just adding a few feet to the doorway can make! And I love the sneak peak of the dark lower cabinets. I can't wait to see them finished. I would not be looking forward to all that drywall mudding though, ugh 😉
Ashley Mayes
Thanks! It really makes a big difference. The cabinets are having issues...grr. Major annoyance. The drywall mudding probably won't be till the end of summer. I think we are going to do it all at once and we haven't touched the bunk head on the stove wall yet.
Charlotte W
I was wondering if you planned to remove that bunk head. Makes sense to do the mudding all at once. The sanding makes such a mess!! Sorry the cabinets are having issues, it's always something isn't it!
Ashley Mayes
Yes, totally!
Corinna - For My Love Of
You guys are doing better than I would! Loving how much more open it is! Want to come do mine next? 😉
Ashley Mayes
Only if you like long-term renovations! This one seriously, will probably take us another year. We are SOOOOO slow.
Julia@Cuckoo4Design
Yay to small victories! It looks so much better already.
Ashley Mayes
Thanks!! Have a great weekend!