Step by step tutorial for how to cut baseboard corners; including general baseboard tips like what baseboard saw to use, what a coped joint looks like when finished, and more!
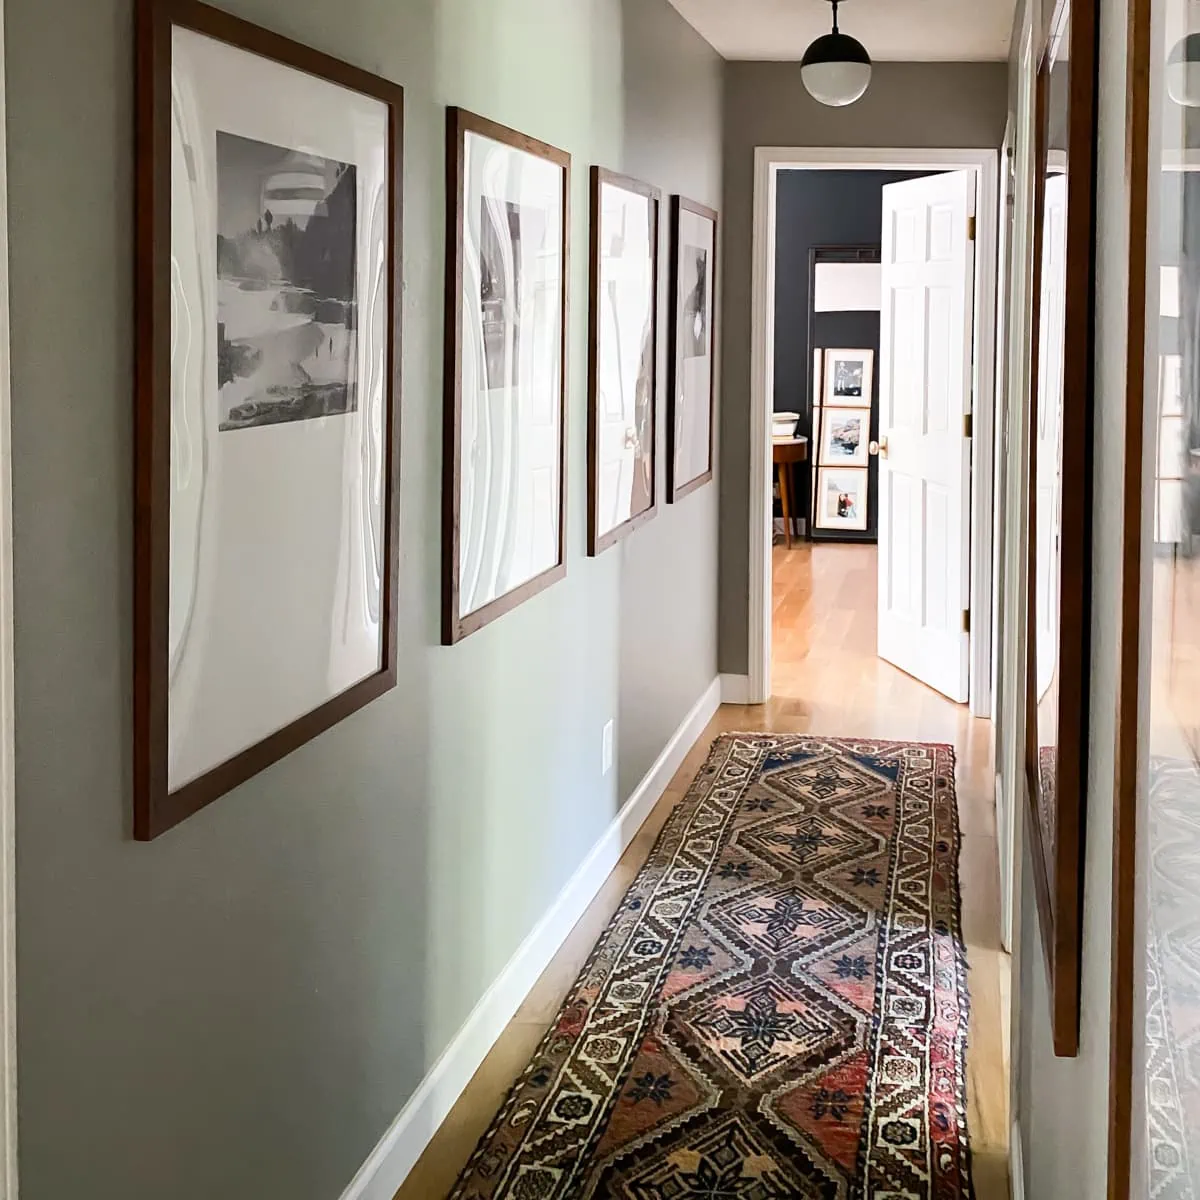
Details like cutting trim angles matter
I get excited about sharing nitty-gritty how-to projects like this one, about coping trim. Baseboards are one of those projects that tends to be put off, when in reality they don't take that long, don't cost that much to install and add so much to a space. For some reason though, we (and I know some of you) put them off still. Weird, right?!
Let's just agree to not put them off any longer! I'll teach you how to do a coped joint and, I promise you, it seems more intense than it actually is.
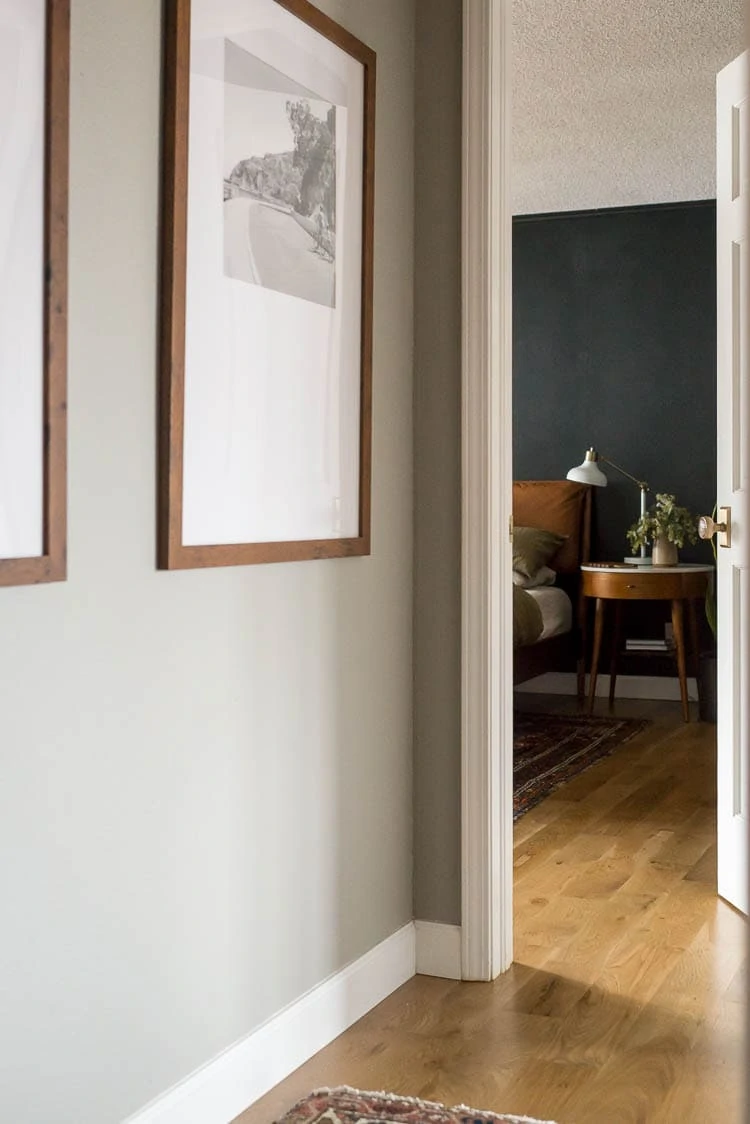
Consider taller baseboards
Every time we replace baseboards in a new room, we feel like it's a great investment and adds value to the house. It's been a natural fit for us because we've replaced a ton of our floors, but even if you were keeping your floors... adding a chunky baseboard (I really like 5" baseboards for 8' ceilings) instead of a 3" baseboard can drastically "up" the modern appeal in a space.
Why should you do a coped joint?
When you have two walls that meet in a corner (an inside corner), one baseboard should be "coped" to fit into the other baseboard so that you have a seamless look.
I'm going to breakdown each step for coping baseboards with pictures and lots of information below, but here's a quicker timeline of what the project will look like.
How To Cut Baseboard Corners
- Cut and install one baseboard to the corner (this will be the butt cut baseboard piece)
- Measure and mark where to make the coping cut
- Cut baseboard corner using a miter saw on a 45 degree angle (this should show more of the wood, when viewing from the front of the baseboard)
- Clamp baseboard to workbench
- Cope baseboard with a coping saw
- Finish coping baseboard with a jigsaw (if needed)
- Install the inside corner trim with a nail gun
- Add wood filler, sand and paint
Cutting baseboard corners and installing them doesn't have to be overwhelming. Take one step at a time. You've got this.
Ok, let's get into the project tutorial so you can see each step in action.
*Affiliate links below. Thanks for supporting this blog. Click to read my disclosure policy.
Coping baseboard supplies
Steps for Cutting Baseboard Corners
Step 1: Install ½ of the Baseboard Corner
Measure and cut one baseboard so that it fits on your wall and meets up with the corner. This will be straight cut, also called a butt cut.
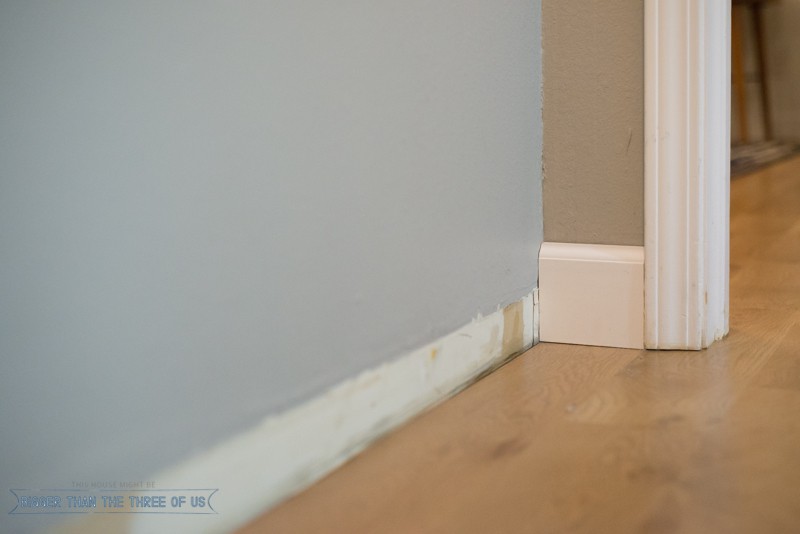
Step 2: Measure and Mark Where to Cope
We're coping the baseboard first (on the right side of the board) and then measure it for length on the wall (to make the straight cut on the opposite end).
To do this, just make sure your board is a couple inches longer than what you actually need on the wall. This will give us a couple inches of grace to do the coping without having to worry about exact measurements yet.
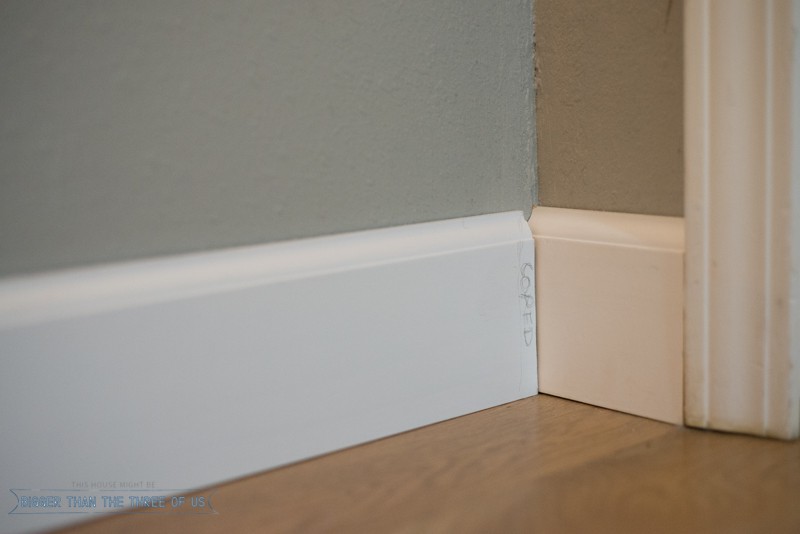
Step 3: Make First Cut Using Miter Saw
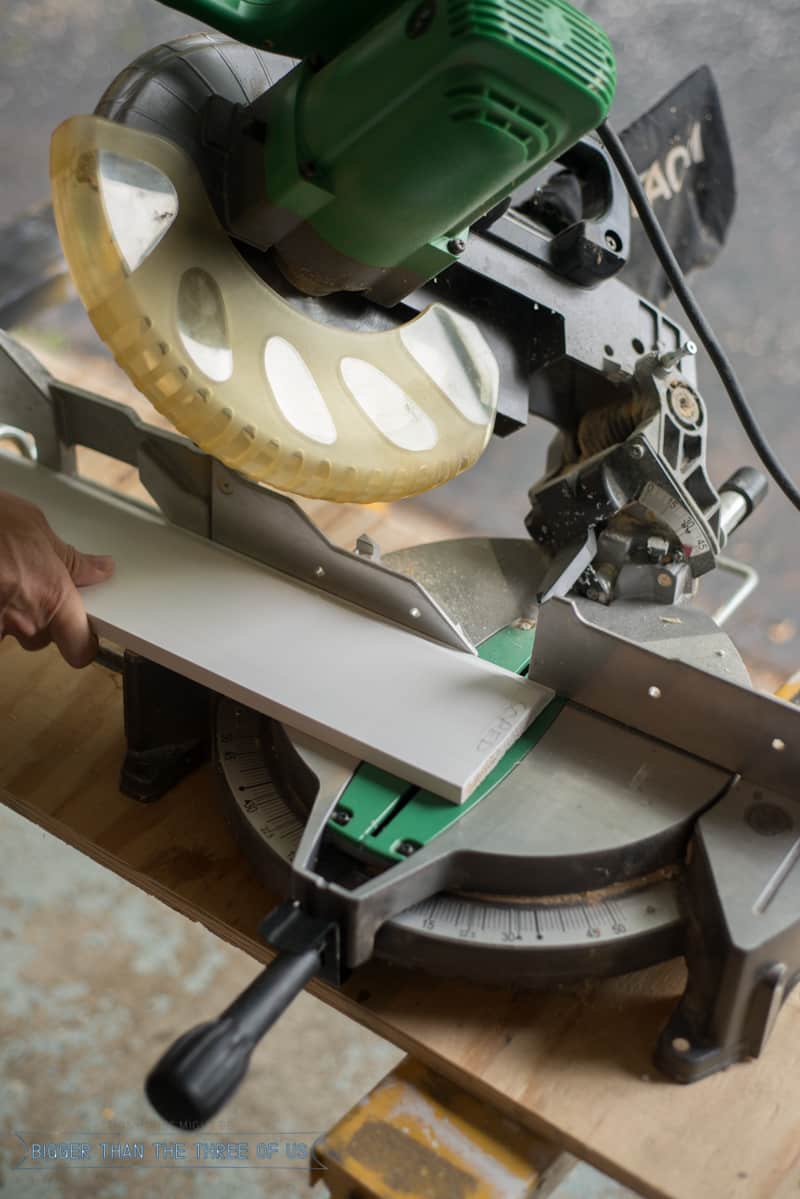
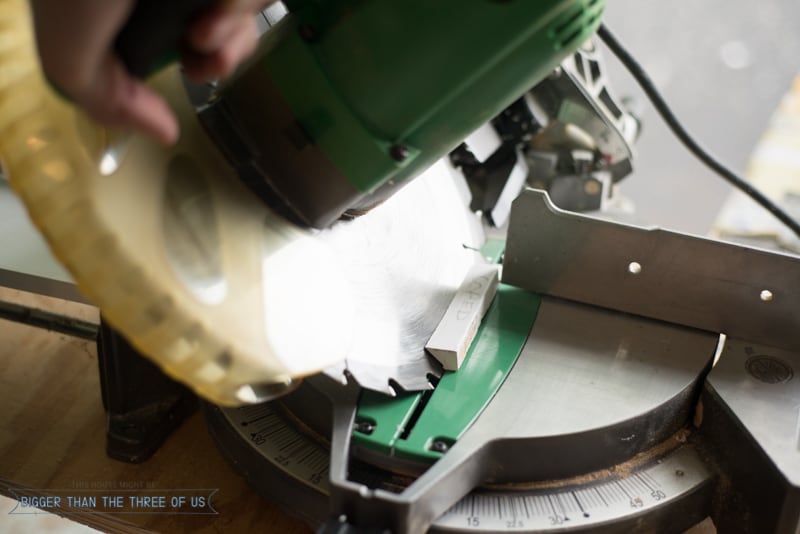
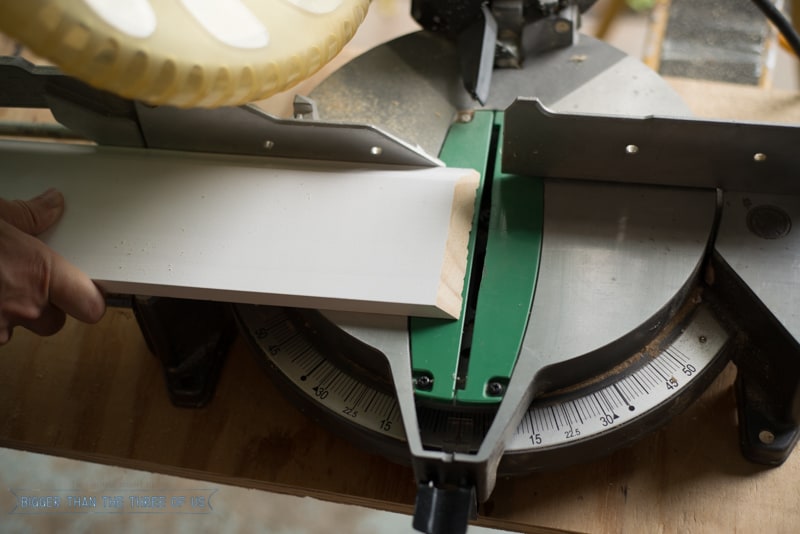
Using a miter saw on a 45° angle, cut the end of the baseboard off on the end you want to cope. The 45° angle should show more wood on the face of the board. See the third picture, below, for a good example.
Step 4: Clamp Baseboard
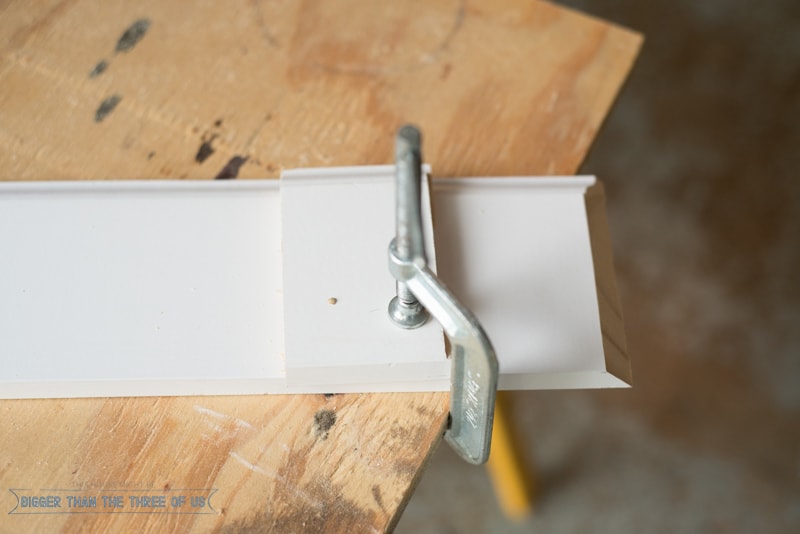
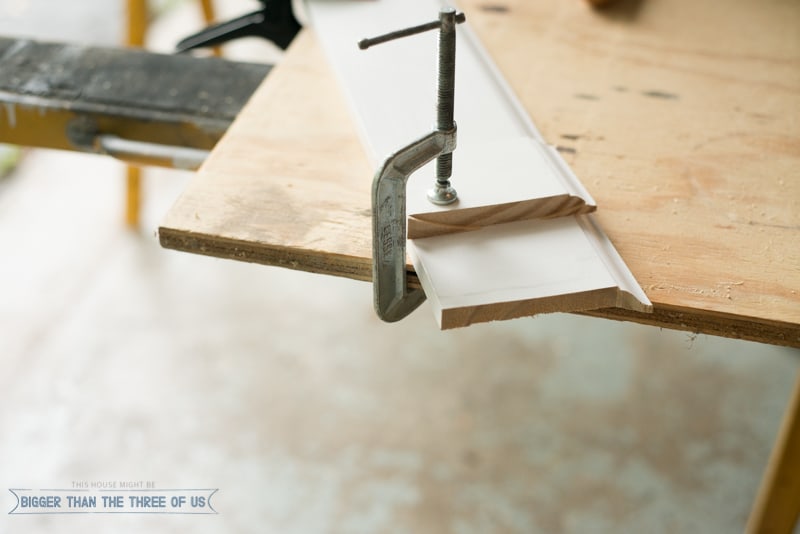
Clamp the baseboard down to a sturdy surface to get it ready to be cut again.
*Tip: Use a baseboard scrap or another wood scrap to clamp the baseboard down. You usually want to do this so that you don't indent your baseboard with your clamp.
Step 5: Coping Baseboard with Coping Saw
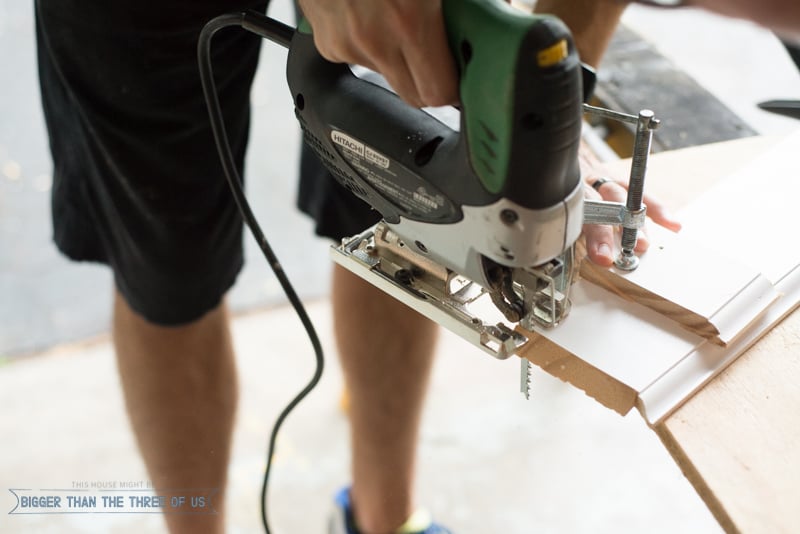
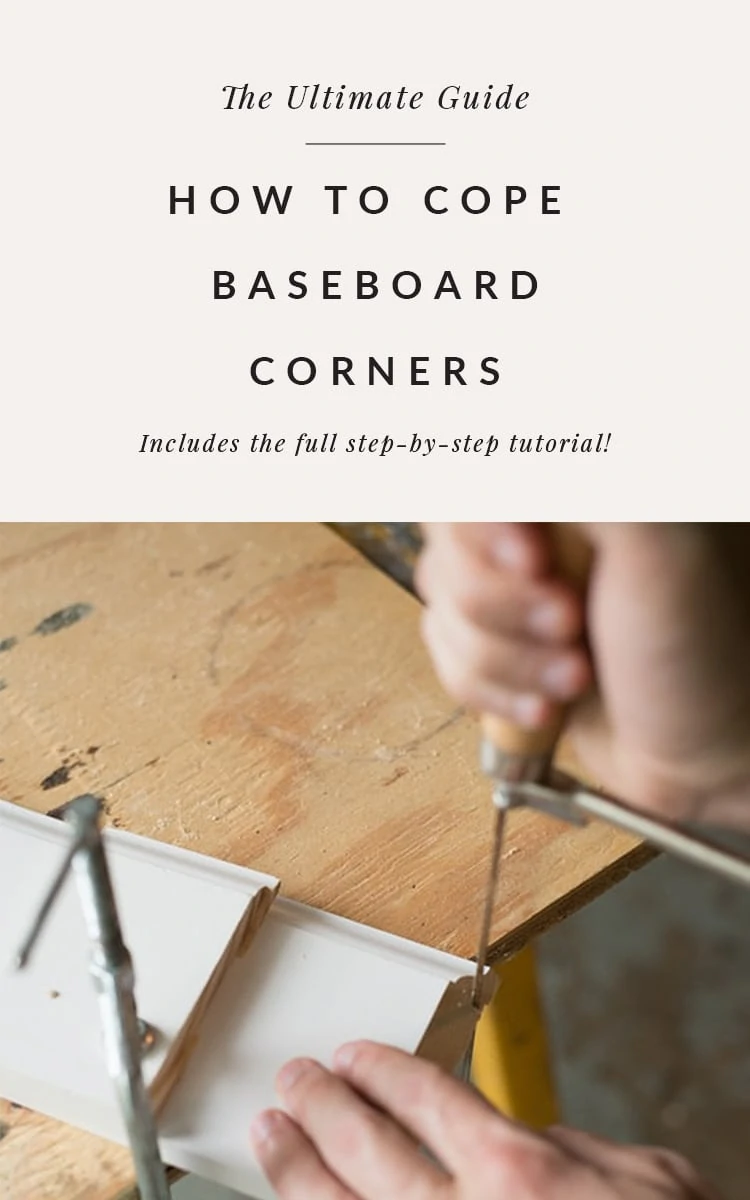
Grab your coping saw and start cutting. We use the coping saw for the decorative piece on the baseboard and then use a jigsaw for the straight part. We find this to be easiest and definitely the fastest way to go.
If you've never used a coping saw before, practice on a scrap piece. You'll get the hang of it. Just make fast, small, up and down movements (it's very similar to a drywall saw if you have used one of those).
The tip my Grandpa gave Luke was: "Focus on moving the saw up and down without pushing it. The saw will move itself in the right direction." Sounds a little crazy, but works for us.

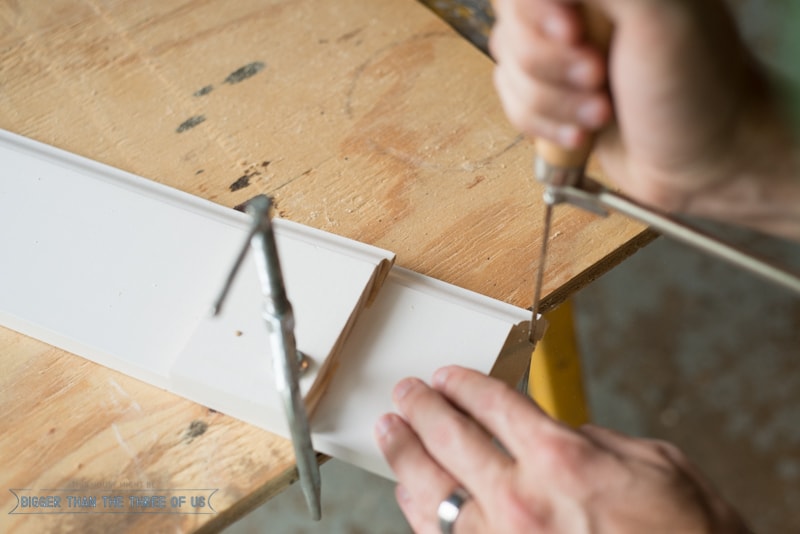
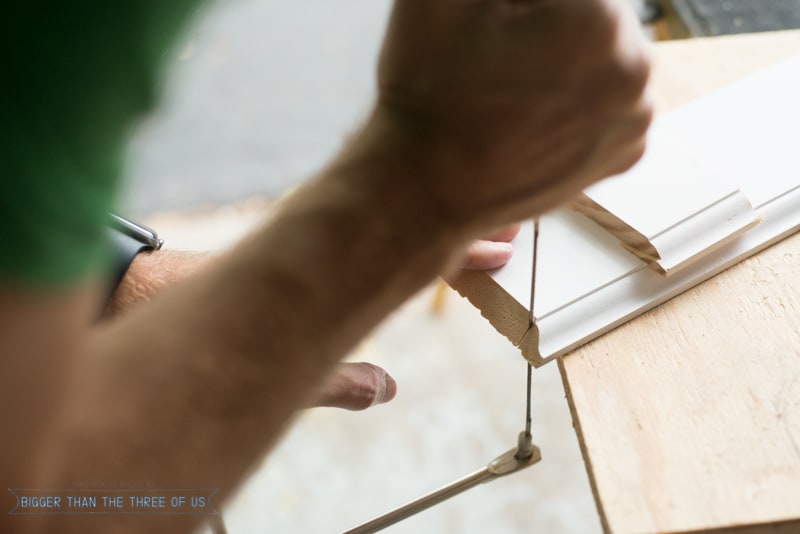
It can help to make a few little cuts up towards any sharp angles or curves on the trim.
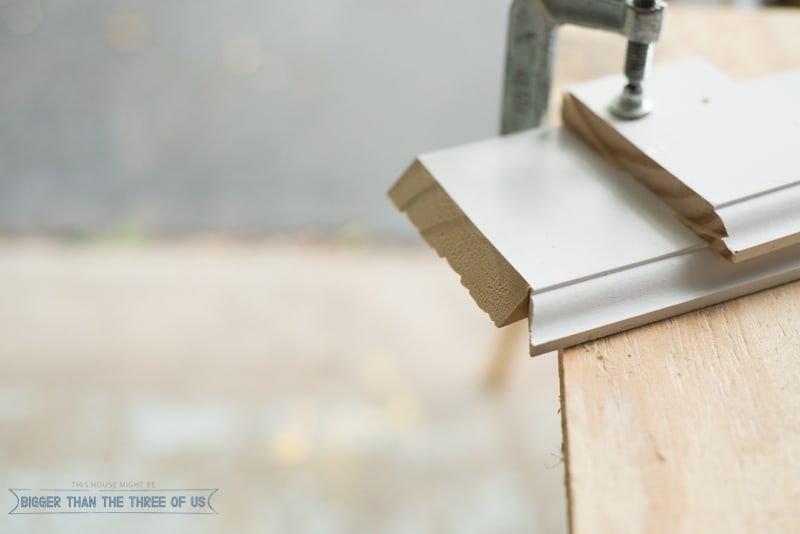
Step 6: Finish Trim Cope with Jigsaw
Grab your jigsaw and finish the line of the area to be coped. When you're done, there should be no wood-grain showing on the face of the board.
Step 7: Install the Coped Joint
Install the baseboard like you usually install baseboards. We like to use this air compressor and nail gun. Add wood filler and paint.
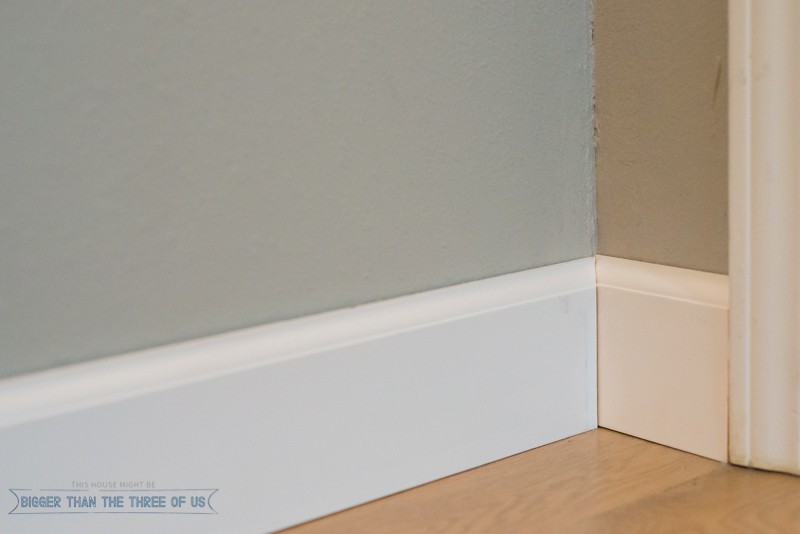
Once you've added the the wood filler, sanded and painted, you are done. You now know how to cut baseboard corners!
A question that I've seen about coping trim is...
How do you cut baseboard corners without a miter saw?
Honestly, I have never not had a miter saw when I started cutting baseboards. We don't own a table saw, but invested in a miter saw very early in our home owner/renovator journey. That being said, I have seen some people use a miter box and handsaw. It looks like you can get those for under $20.
This is the 3rd post in our baseboard series. If you missed the other two posts, check them out:
- Tips for Installing Baseboards (with a photo difference of the 3" compared to the 5")
- How to Install Baseboards using a Scarf Joint (for uneven flooring)
How to Cut Baseboard Corners : Coping Baseboard
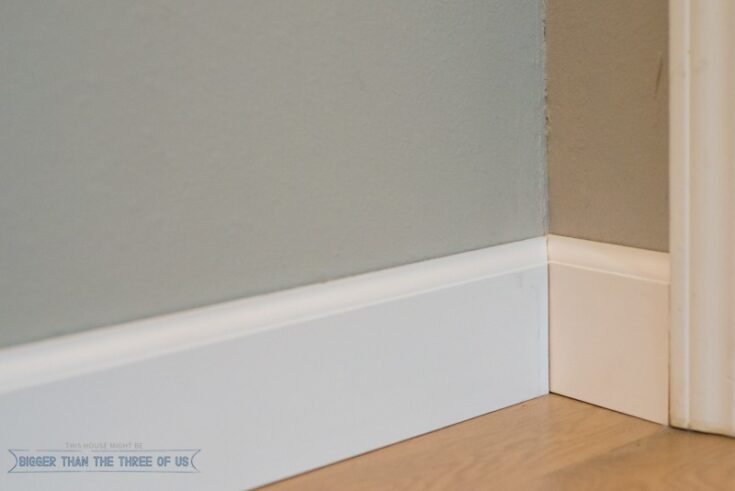
Lear how to cope baseboards including what baseboard saw to use, what a coping cut looks like and what baseboard corners look like when they are finished.
Materials
- Baseboards
- Wood Filler
- Paint
Tools
- Miter Saw
- Coping Saw
- Jig Saw
- Clamps
- Pancake Compressor
- Nail Gun
Instructions
- Cut and install one baseboard to the corner (this will be the butt cut baseboard piece).
- Measure and mark where to make the coping cut
- Cut baseboard corner using a miter saw on a 45 degree angle (this should show more of the wood, when viewing from the front of the baseboard)
- Clamp baseboard to workbench. *Tip: Use a baseboard scrap or another wood scrap to clamp the baseboard down. You usually want to do this so that you don’t indent your baseboard with your clamp.
- Cope baseboard with a coping saw (see notes below!)
- Finish coping baseboard with a jigsaw. There should be no wood-grain on the face of the board (see photos in blog post for more details).
- Install the inside corner trim with a nail gun
- Add wood filler, sand and paint
Notes
Coping baseboard with coping saw: If you’ve never used a coping saw before, practice on a scrap piece. You’ll get the hang of it. Just make fast, small, up and down movements (it’s very similar to a drywall saw if you have used one of those).
It can help to make a few little cuts up towards any sharp angles or curves on the trim.



Rebecca
Hi! just a question- why do you cope instead of just miter the corners on both? That's how I've always done it and now I'm wondering if I've been doing it wrong or if it's just a preference thing.
Ashley Mayes
Hi, Rebecca. Coping is completely optional but can have two benefits that often make it the best fit. First, it is way more forgiving of corners that don't line up exactly (i.e. that aren't an even 90 degrees). Second, it can be easier to fit coped pieces into a tight corner (picture a corner where two doors are close together). Simple 45 degree cuts are a bit simpler/faster, but coped corners look more seamless a lot of the time. Hope that helps!!
Brushless Drill
Sometimes the condition becomes in which coping becomes very essential and we can't do cut any edges, so I like the article very much, it was very helpful for me.