Learn all about installing baseboards using a scarf joint including what angle the scarf joint should be, how to fill baseboards and more!

Backstory on our house and why we've learned this skill
We've installed a bunch of baseboards throughout our house. Every time we upgraded flooring in a space, we also upgraded the baseboards. When we had the wood flooring installed, we learned a ton about how to install baseboards because we did it for about 2000 sq feet.
Check out this post if you'd like to see the difference in our 3" baseboards versus 5" baseboards. It honestly has made such a big difference in how fresh and modern our house feels to upgrade the height of the baseboards.
Today, I thought I'd walk you through exactly how I go about making the baseboard scarf joint angle. It's honestly not hard and is beneficial for two main reasons.
Why to do scarf jointing?
The first reason is if you have a room longer than 12'. The two common lengths of baseboards are 8' and 12'. If you have a room longer than 12' then you'd need to join the baseboards together.
Some people may assume that you can just do a butt joint. A butt joint is where two pieces of wood just butt together. This isn't the right joint for baseboards because it's not as seamless looking as what you can do if you just made a scarf joint.
The second reason to do scarf joints is if your flooring is uneven. If you've tried to install baseboards over uneven flooring before then you know that the baseboard can float too far above the flooring in some places and sit directly on the floor in other spots. This project will help you bridge that gap!
Supplies Needed for baseboard installation
- Miter Saw
- 5" Baseboards (my preference)
- Air Compressor (we have this one and it's portable)
- Nail Gun
- Wood Filler
- Sanding Pad
Let's get on to the tutorial! I recorded a video that shares what scarf jointing looks like finished, and then walks you through exactly how to make the scarf joint.
How to Make a Scarf Joint Video Tutorial
As you can see in the video, I was installing baseboards in the guest bedroom. That space really came together last week! If you want to see more, check out the DIY Rug Art that I made for the space.
How to Cut and Join Baseboards
- Decide where you need to join your baseboard.
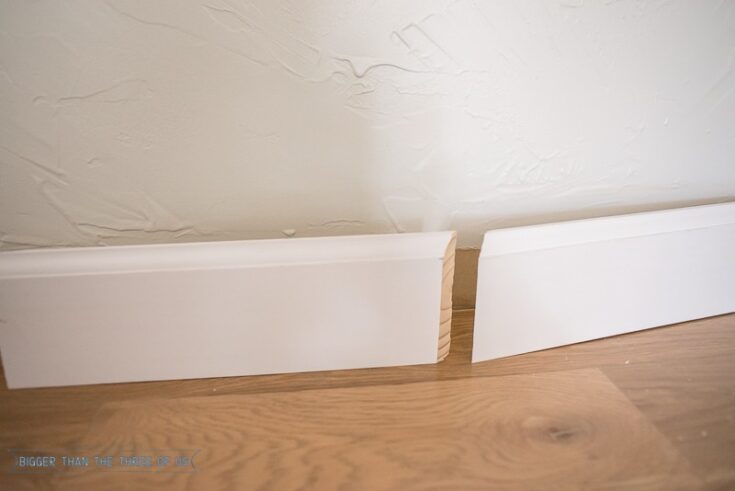
- Set your miter saw to 45 degrees and cut.
- On your next baseboard, use the same angle but cut the opposite side of the board.
- These two cuts will fit together to be the "scarf joint."
- Install using an air compressor and nailer.
- Apply wood filler to the baseboard seam.
- Sand after it has dried and paint.
If you are more of a text reader, I'll walk you through the baseboard install in another room of ours, our entryway.

Bridging the gap with uneven flooring
In this space, we needed to join baseboards not because the wall was over 12' but because the floor isn't level. When we brought in a baseboard and set it on the floor, parts floated way above the flooring and part of the baseboard sat flush on the floor. So, that told us that a scarf joint was needed to help bridge the gap between the uneven flooring.
Determining if you have an uneven floor
To determine if your flooring is not level, grab a long baseboard and lay it on your flooring where you are going to install the new baseboards. If you notice a gap between the flooring and the baseboards in some places, but it's sitting flush in other places then you need to consider doing scarf joints.
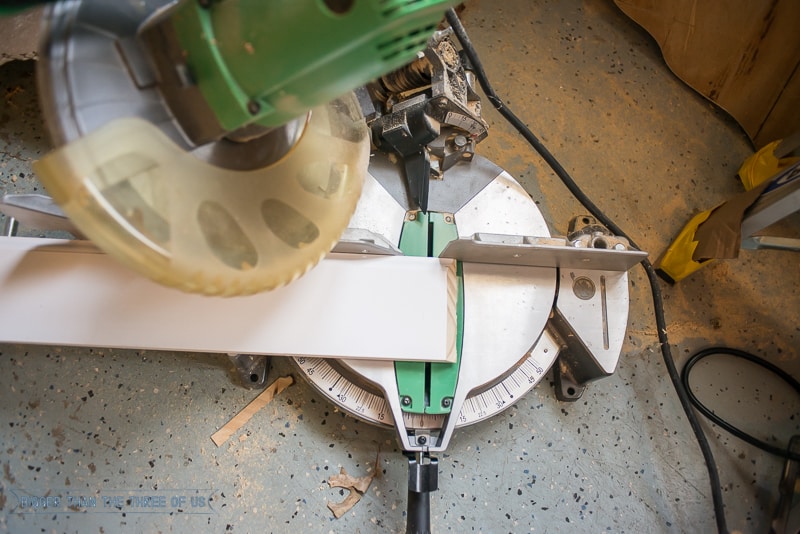
Measuring and cutting at a 45 degree angle
I'd always recommend cutting your 45 degree angle side FIRST and then cutting the straight cut on the opposite end of your baseboard next. This allows you to correct yourself if (WHEN) you make a mistake in cutting the 45 angle the wrong way.
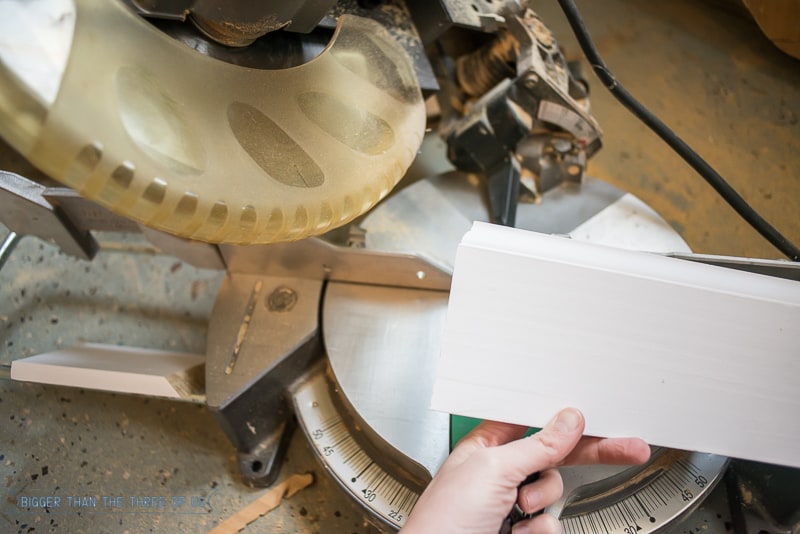
Cutting the opposite 45 degree angle baseboard
Now that you have your first baseboard cut, you are going to cut another baseboard on the opposite end of the baseboard leaving the saw set at the same degree that you used on the first baseboard cut.
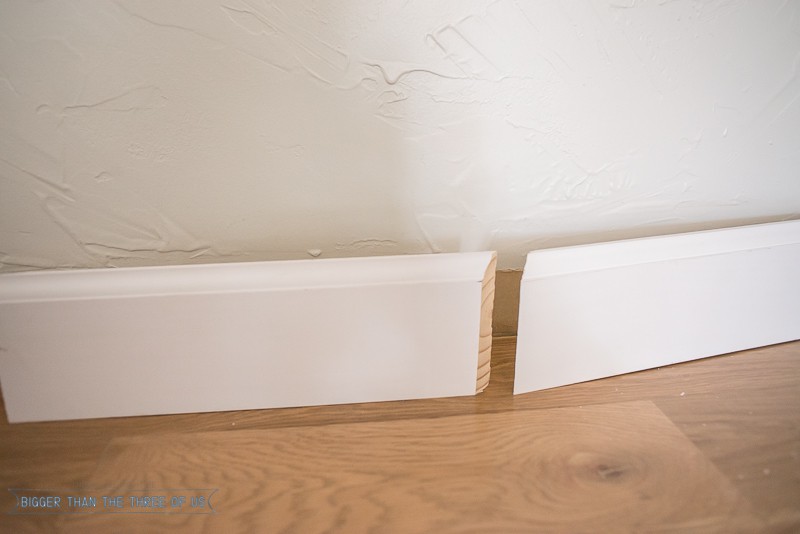
Checking for fit and finishing the job
Check for a seamless fit and then cut the rest of the second baseboard using a butt cut to finish off the end of the baseboard. Install using the directions above.
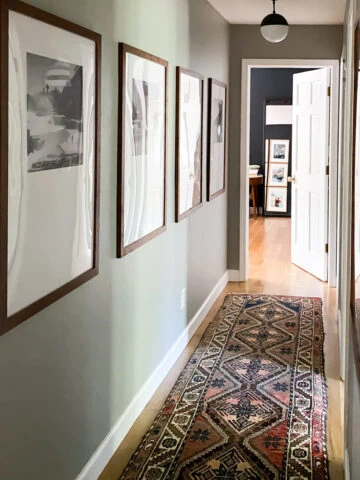
See if you can spot any of the baseboard joints below! There are three of them in this space.

If you are on your hands and knees and are looking for the scarf joints, you can definitely see them but most of the time... the eye doesn't pick them up. That's the goal!
A common question that I get is...
How do you fill baseboard joints?
You'll need a tiny bit of wood filler to fill the joint. Apply with a putty knife and let dry. Sand and then paint. It's easy!
Are there other types of scarf joints?
When it comes to woodworking, there are lots of different methods for joining wood together. Here's a technical breakdown of different types of splice joints if you want to read more about it.
Here's the living room. It's the space that showed up in the video where I pointed out the scarf joint. It's right underneath the far side of the Korhogo cloth. Not at all noticeable from this view, right?!

I hope you feel empowered to try to install baseboards yourself!
Want more baseboard installation tips? Check out my post on How to Cope Baseboards. Coping baseboards may seem tricky or scary at first, but I promise you, it's easier than you might think!
Pin for later:
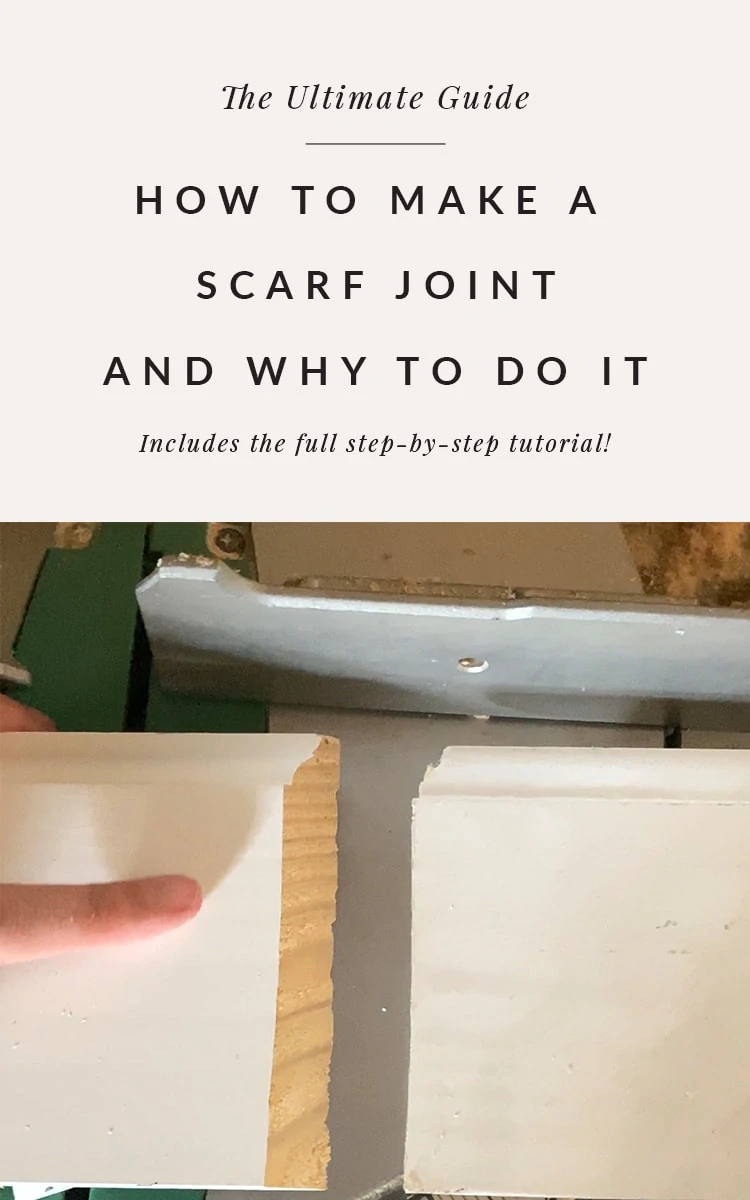
How to make a scarf joint for baseboard installation
Learn all about installing baseboards using a scarf joint including what angle the scarf joint should be, how to fill baseboard joints and more!
Materials
- 5″ Baseboards (my preference)
- Wood Filler
- Paint
Tools
- Miter Saw
- Air Compressor
- Nail Gun
- Sanding Pad
- Paint brush
Instructions
- Decide where you need to join your baseboard.
- Set your miter saw to 45 degrees and cut.
- On your next baseboard, use the same angle but cut the opposite side of the board.
- These two cuts will fit together to be the "scarf joint."
- Install using an air compressor and nailer.
- Apply wood filler to the baseboard seam.
- Sand after it has dried and paint.
Notes
Why are scarf joints needed in the first place when you do a baseboard installation?
The first reason is if you have a room longer than 12′. The two common lengths of baseboards are 8′ and 12′. If you have a room longer than 12′ then you’d need to join the baseboards together.
The second reason to do a scarf joint baseboard is if your flooring is uneven. If you’ve tried to install baseboards over uneven flooring before then you know that the baseboard can float too far above the flooring in some places and sit directly on the floor in other spots. To help bridge this gap, you can add in a few scarf joints.
Why wouldn't you just do a butt joint?
A butt joint is where two pieces of wood just butt together. This isn’t the right joint for baseboards because it’s not as seamless looking as what you can do if you just made a scarf joint.
How do you fill baseboard joints?
You’ll need a tiny bit of wood filler to fill the joint. Apply with a putty knife and let dry. Sand and then paint. It’s easy!


Josie
This is a great resource! Also, love that wall color in your living room!
Ashley Mayes
Thanks Josie!!
Mike Literous
"Set your miter saw to 45 degrees"
You need to inform people that you are setting thr BEVEL to 45 degrees.
The saw angle and bevel angle are 2 different things. Your saw blade is at 0 degrees.
Martin
Maybe "how . . . modern our house feels" is an emotional error. Wainscoting goes even higher, but it's not quite "modern." "Modern" more typically would mean no baseboard. Check out the recent Times article on the Breuer house on Long Island to understand "modern" values.