Learn how to hang a rug on the wall by framing it! From torn rug to a beautiful framed-rug wall hanging in just a few steps; learn how to mount a wall rug that looks great!
Framed textile art pieces add the perfect touch of interest to your walls. This tutorial is great for showing you how to make a DIY rug frame but would also be great for scraps of fabric or other textile.
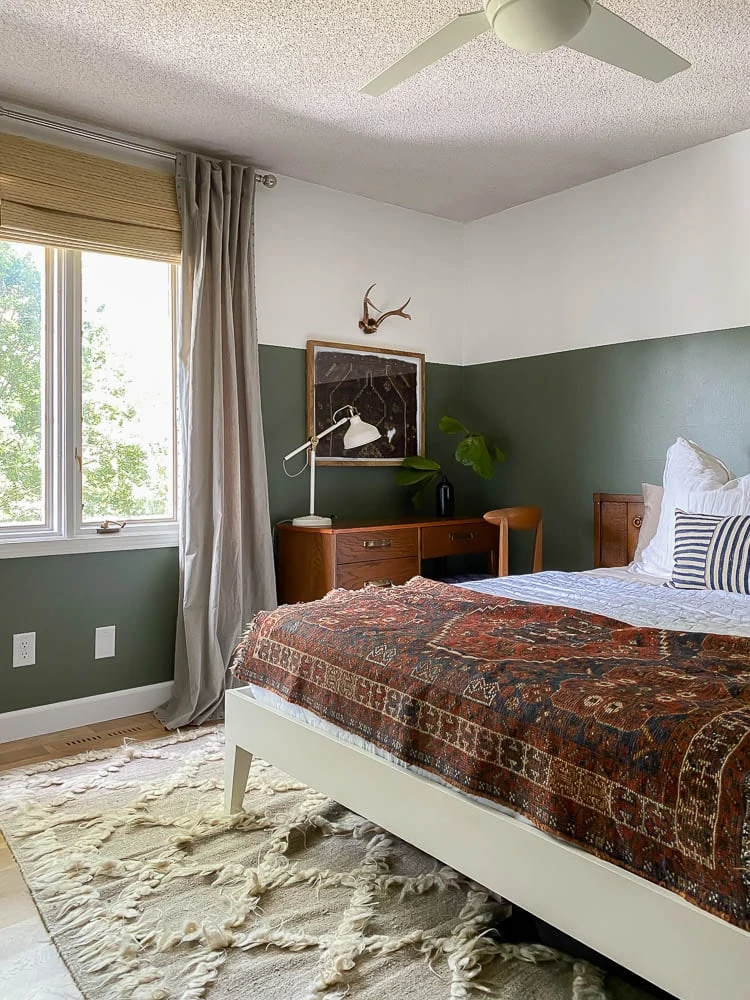
Backstory on the rug art project
During 2020, I noticed that we desperately needed another virtual learning desk setup in our house. The guest bedroom seemed like a logical space so I set out to tidy up the space first (it was a HOT MESS), install baseboards (that never got done when we had the wood flooring done two years ago), and make the space calming and workable. I was hoping that the space would end up feeling like an extension of our home style when I was done but, honestly, I thought that hope was a bit too high.
The first thing I did was to install baseboards. If you want to see more details about the baseboard install, I recorded a video on how to do scarf joints.
After I finished the baseboard installation, I started playing with furniture and decor. Honestly, I wasn't looking to "makeover" the space, I didn't want to spend any money at all, I was just aiming for a space that felt more cohesive in our home. And, one where one of us could work and feel like it wasn't just a hodgepodge of junk.
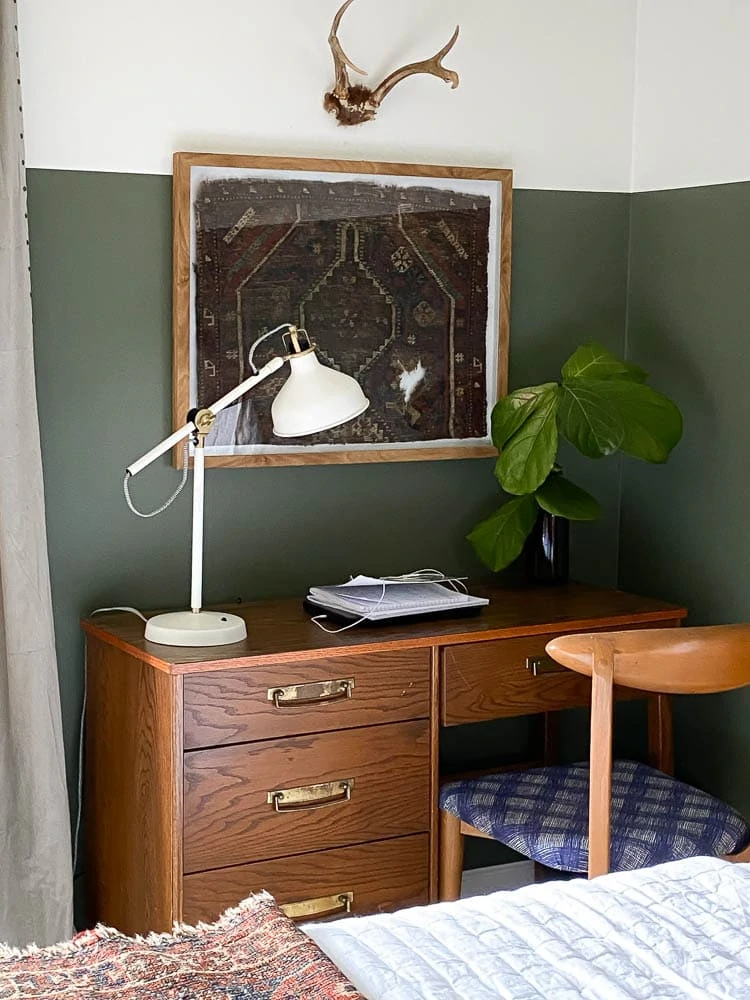
The rug frame was born out of not having any art pieces that I loved for the space. I had thought of doing this project last year but then was concerned that the frames that I had would not be big enough for the rug that I already owned.
When you are trying to be creative and not spend money, sometimes you just go for things though and sometimes (in this case), that results in a huge win.
Enough yapping on my end, let's get to the framed rug tutorial!
Affiliate links below. Thanks for supporting this blog! Click to read my privacy and disclosure statement.
Supplies needed for wall hanging rug project
If you are specifically looking to buy a vintage Persian rug for this project, I'd recommend looking on eBay using adjectives such as "old worn antique rug". Or, I have a blog post on how to find affordable vintage rugs.
When I shared about the idea of this project on IG, I received this question a few times...
Can you frame a rug?
Yes! To make sure your rug isn't too thick for your frame, the key is buying a float mount frame. If you buy a regular frame, the depth of the frame won't accommodate the rug. A float mat means that the art piece "floats" on the mat board. When you attach the rug to the mat board it also, will "float".
Apparently, a few people had tried to hang a rug on a wall in a frame and had not had success. I knew, from trying to frame heavier textiles, that the float frame was key to making this project work.
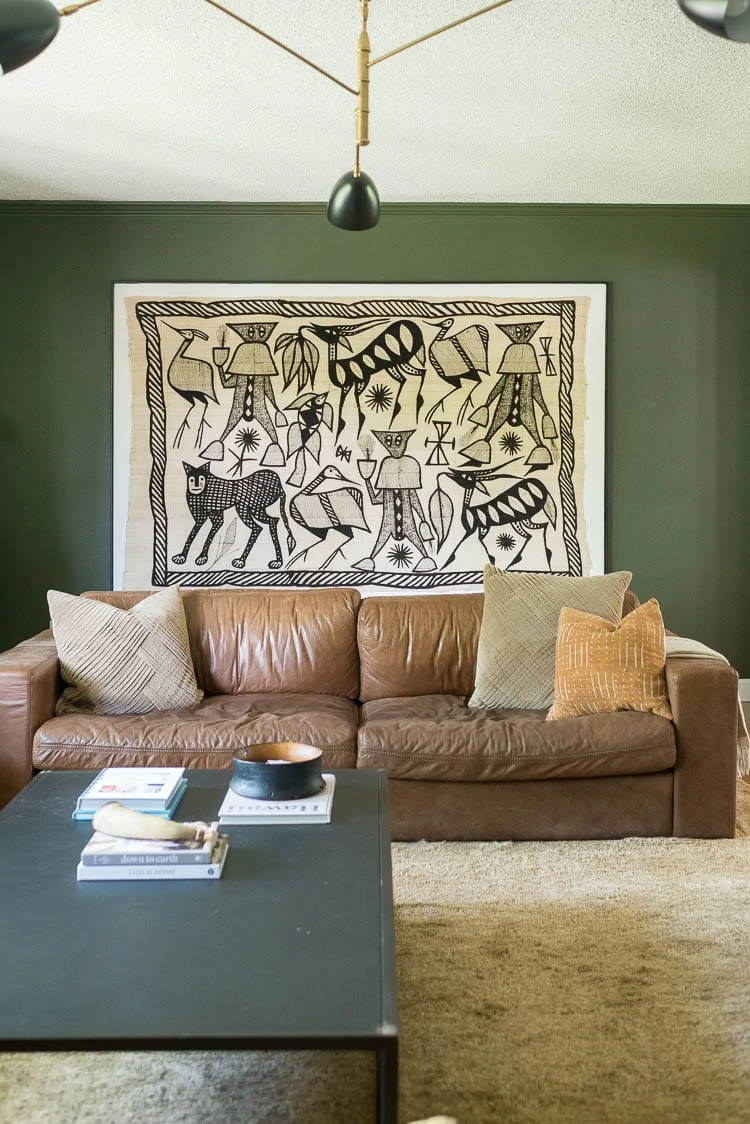
If you are wanting to frame a vintage cloth or textile, check out my Korhogo textile art. It's another way to frame or display a textile in a cool way.
Now that you have all your supplies to hang a rug on a wall, let's get started! If you want printable instructions, find those at the bottom of this post.
How to Hang a Rug by Framing It
- Grab a floating frame and take it apart.
- Pull out the staples with pliers.
- Take off the art piece that was originally in the frame.
- Lay out your rug on the mat to decide where to cut.
- Think about the pattern of the rug and then cut the rug based on your frame.
- Using hot glue, attach the rug.
- Put the frame back together.
- Hang on wall.
I think this framed rug project is definitely more geared to learning how to frame a small rug. If you had a larger rug, I would recommend using hot glue plus hand-stitching the rug in place or maybe even using construction adhesive?! Just think about the size/weight of the rug you are working with and upgrade the adhesive if you want a larger rug wall-hanging framed on the wall.
This same concept would work and look great with Indian block print fabrics as well. Or really, any type of unique textile piece.
Anyways, I'm totally smitten with how the framed rug looks in our space! Greyson (our little guy) loves his desk setup so much that I didn't even have time to photograph it completely before he started to move his stuff in. =) Makes me feel great because our homes are supposed to be in-use, be loved on and be enjoyed!
Looking to buy a framed textile instead?
Here's a few of the ready to buy pieces that caught my eye:
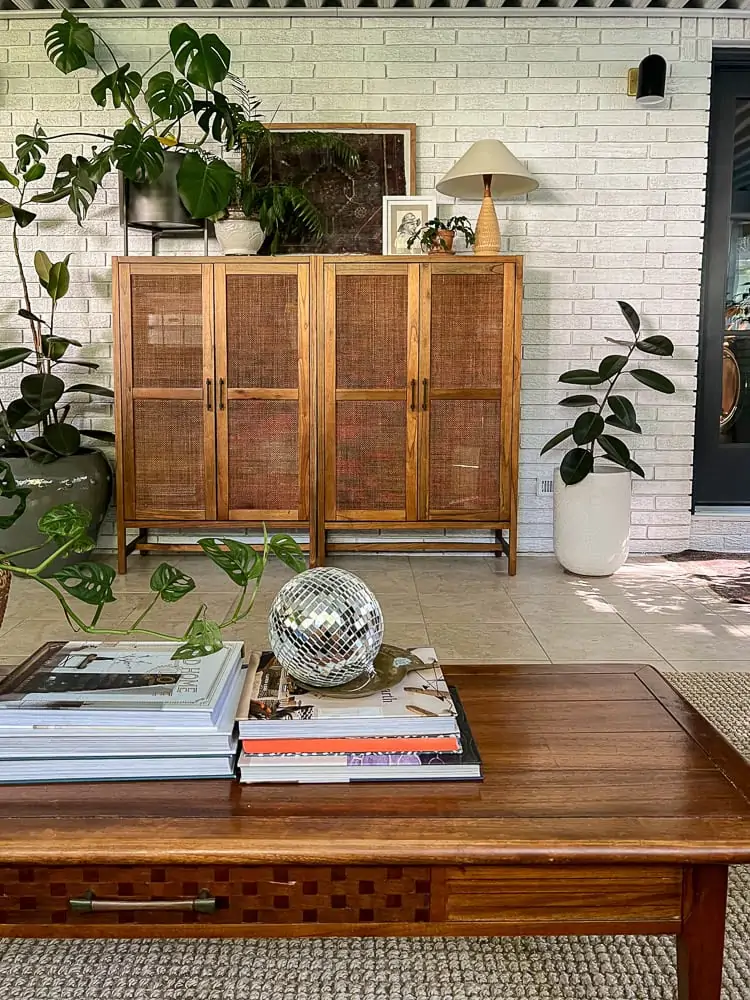
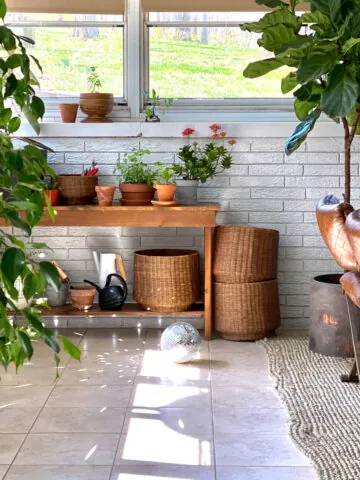
p.s. The other framed wall rug art piece made it in to our sunroom. I think it looks so great layered in there, don't you?
Rug Wall Hanging Project Made By You
I love when I get a reader/follower that shares when they try out one of my projects. A few years' ago, I got a sweet email and a photo of this DIY Rug wall art.
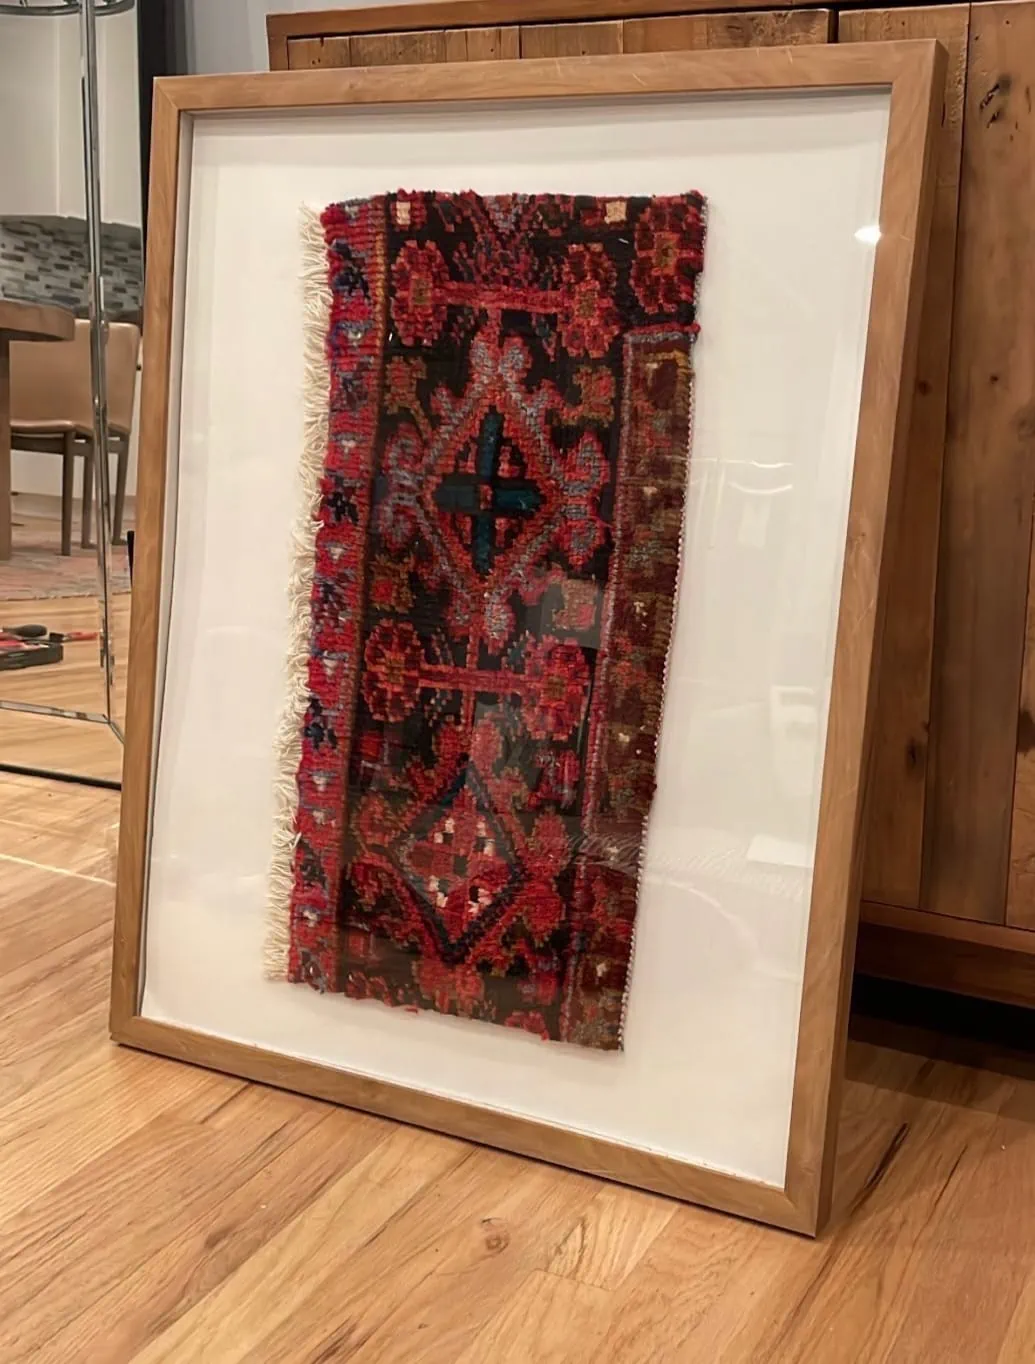
Didn't her framed rug turn out so great? I actually really like her proportions and think that her rug remnant looks better than mine. =)
How To Frame a Rug (Rug Wall Art)
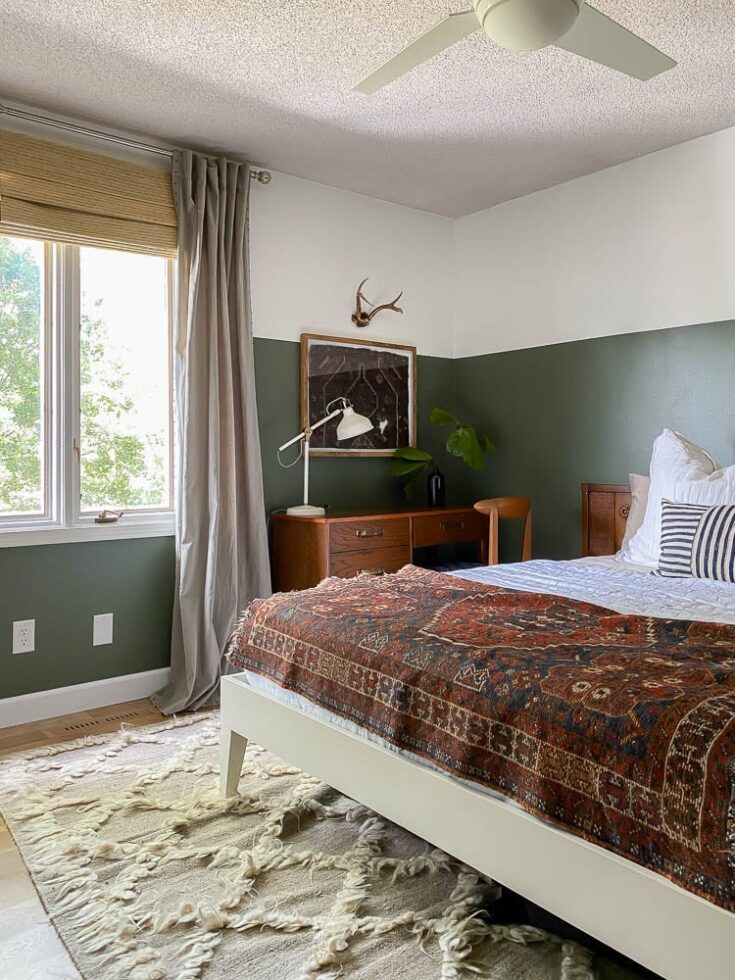
Take a ripped vintage rug and learn how to make a DIY Framed Rug Wall Art piece in just a few steps. Framed textile art pieces add the perfect touch of interest to your walls. This tutorial is great for showing you how to frame a small rug but would also work for other textiles, pillows, etc.
Materials
- Vintage Rug
- Float Mat Frame
Tools
- Fabric Scissors
- Pliers
- Stapler
- Hot Glue Gun
Instructions
- Grab a floating wall frame and take it apart. Remove staples with pliers.
- Remove original art in frame.
- Lay out your rug on the mat (or frame) to determine where to cut.
- Cut your rug to size.
- Using hot glue, attach the rug to the frame.
- Put frame back together.




Dimitri
Hi Ashley, great style! What color of green did you use on the wall?
Thank you
D
Ashley Mayes
Hi,
It's Conifer Green by Behr.
Jennifir
It looks great! Where did you get the float mount frame in such a large size?
Ashley Mayes
Hi,
It was an old frame from Target but they have them all the time. I just saw a different style yesterday.
Jenna
Can you share instructions for putting back together the frame? (And for correctly taking it apart)
Ashley Mayes
Hi Jenna,
I believe we spoke over IG dm's this morning on this. =) Start with the paper backing and that will be trash after you take if off. There should be some hard cardboard next to remove. Gently remove that so that you can put it back in after you replace the rug inside your frame.