

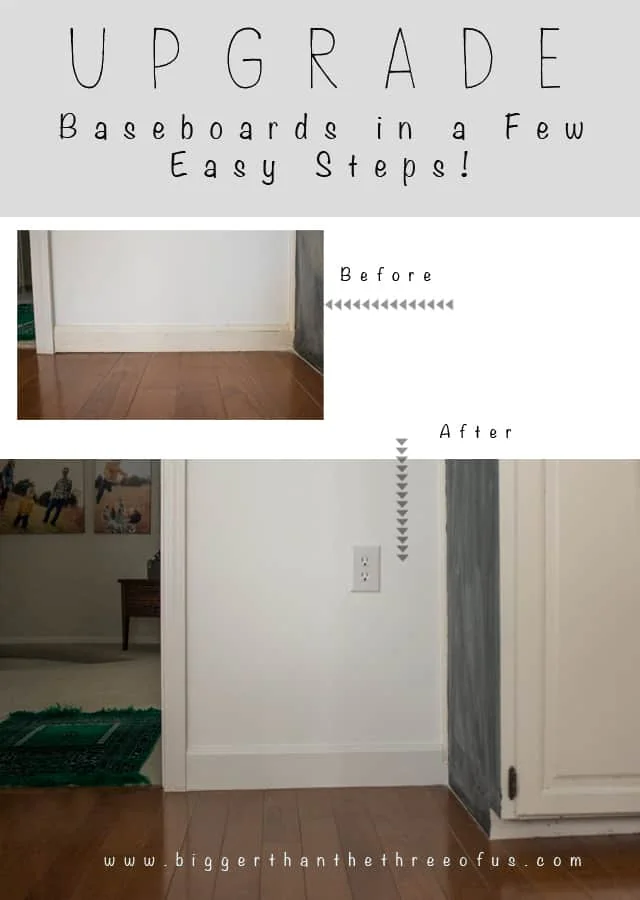
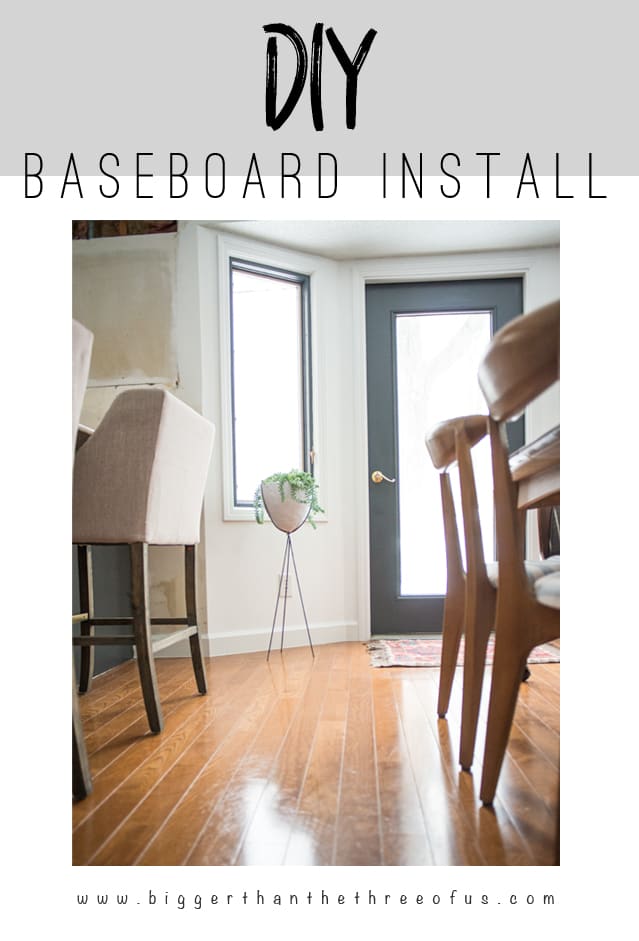
We finished the baseboards in the kitchen and it they look so good! It's simply amazing how much of a change just installing baseboards (or updating them) makes! I'm not going to show you a tutorial for installing baseboards, but I am going to give you some tips to help you with the process.
When you go to the store you are going to be overwhelmed with the baseboard choices. Seriously, they have a ton! We knew that we wanted to replace all the baseboards in the house longterm. To make it easy on ourselves, we decided to pick a baseboard that could go in all rooms. I've heard before that always going larger with baseboards (like so much that you feel they are too big) makes rooms look better. I would totally agree with that in your main rooms. But, we wanted to make it easier on ourself and just choose a middle of the ground height so that it could work in the smaller rooms (bathrooms, hallway, etc.).
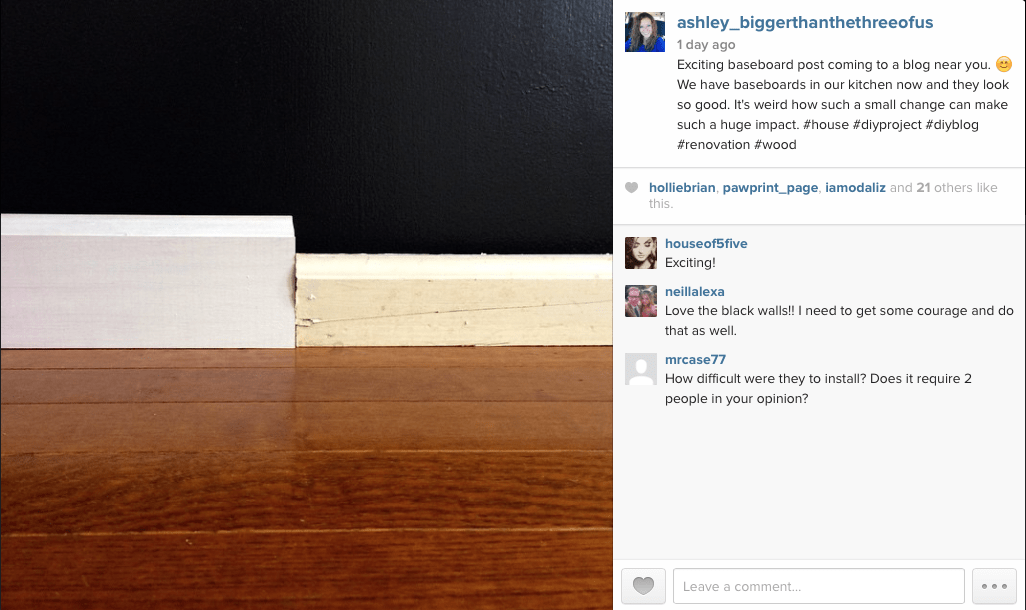
I posted this on IG :
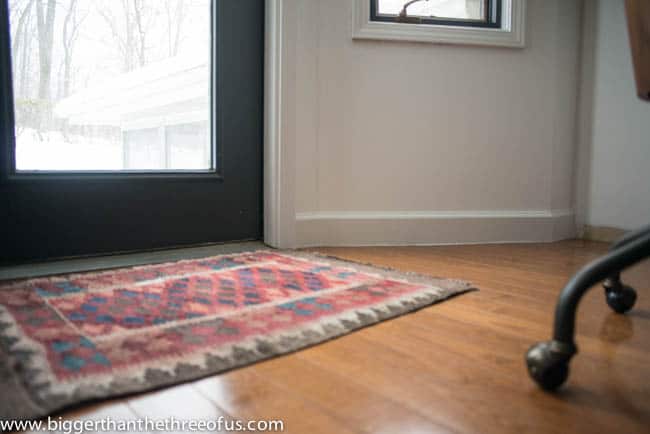
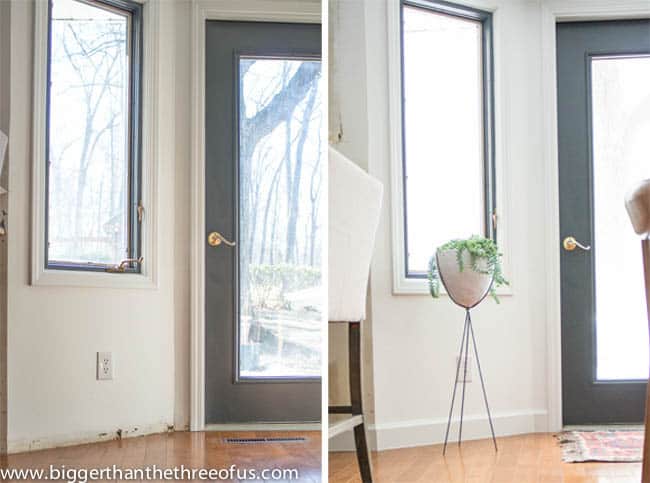
I think you can tell which was one was the old one! =) The old one is about a 3 inches tall and the new one is a 4 inch. Not a big difference, but in a room the 4 inch really pops.
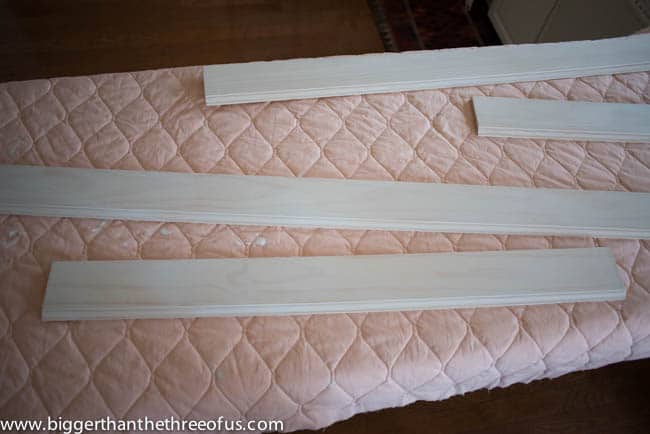
We choose wood baseboards as opposed to MDF. I don't really have a great reason here. Overall, the wood felt and looked a bit nicer and we are trying to make choices that keep up our home value. Would the MDF affect the home value? Maybe not; but we just decided to go with the wood anyways.
I primed two coats on and then I gave them a top coat.
From there, we used a few different tutorials for cutting the baseboards. This was our second time around as we had just finished the baseboards in the bathroom.
The main things to remember are the angles:
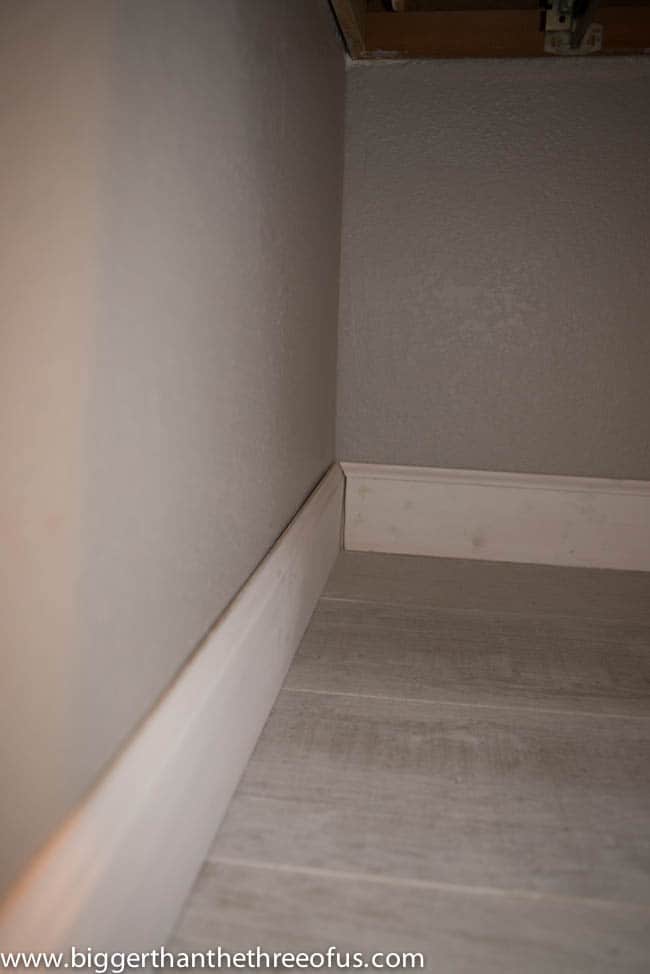
Inside
For inside angles (i.e. all the corners in a square room), you are best off if you use a coping saw or special jigsaw guard and cope out one of the boards. We tried using a coping saw for the first time. It worked well enough that we were able to cover our mistakes with caulk and get a good result. It's the sort of thing that takes some practice and patience though.
Outside
Outside corners are simpler. As long as it's a standard 90 degree corner, you just cut each piece at a 45 degree angle and then slide them together tightly before nailing.
The kitchen caused some trouble because the patio door and window have weird angles. Luke had to fiddle with the angles to get them right. I would love to give advice on how to do this, but we guessed, weren't completely happy, and then covered our mistakes with caulk. If anyone finds a good tutorial, please send it my way.
To install the baseboards, you can use a hammer and finish nails (which Luke did for the whole bathroom) or you can use a nail/brad gun and air compressor (which he did for the kitchen). We just bought the brad gun and air compressor and it saved so much time! That's definitely the way to go but you can do it with just the basics.
Alright, on to the next tip... CAULK!
Look below for example.
See the crack in the corner as well as the gap between the wall and the baseboards? Caulk will fix this! Just line a bead of caulk and let it dry. Put your last coat of paint on afterwards. It looks seamless.
If your baseboards have seen better days, then you should definitely give this a try.
}


Julia@Cuckoo4Design
Looks so great! Caulk is my favorite things ever when installing baseboards 😉
Ashley Mayes
Hides all the problems. =)
Christine from So Domestically Challenged
Your baseboards look great! Thanks for the DIY tips!
Ashley Mayes
Thanks Christine!
Jennifer @ Brave New Home
I'm all for taller baseboards, too. We picked MDF and shorter ones (cheaper) because we aren't planning on staying it this house too long but in our next house I want to go all out! Thanks for the tips and your home is just coming together so beautifully. Love your style!
Ashley Mayes
Those tall ones... love. Thanks Jennifer.