

My sister recently bought a house and she's been wanting to infuse her personality into it with small renovation projects but wasn't exactly sure how/where to start. Since this is her first house, she's never DIY'd before. It's not that she wasn't interested but she just didn't have the opportunity to. So, when I was asked to try out a project using accent planks, I knew this project was a perfect fit to do with my sister at her house.
I'm not sure what your background is with DIY, but Luke and I know from experience that easier projects with a high return on style make us feel really good. They make you feel empowered and motivated to try more.
I knew this project would be really encouraging to my sister because she only had to learn to use a few tools (tape measure, level and miter saw) and the result in her bathroom was going to be immediate satisfaction.
So, if you are new to DIY... try this type of project to get your feet wet. You'll be hooked; and the more confidence you get with tools, the more you'll be willing to take on the next time.

*This is a sponsored post but all thoughts and photographs are my own. Click to read my privacy and disclosure policy.
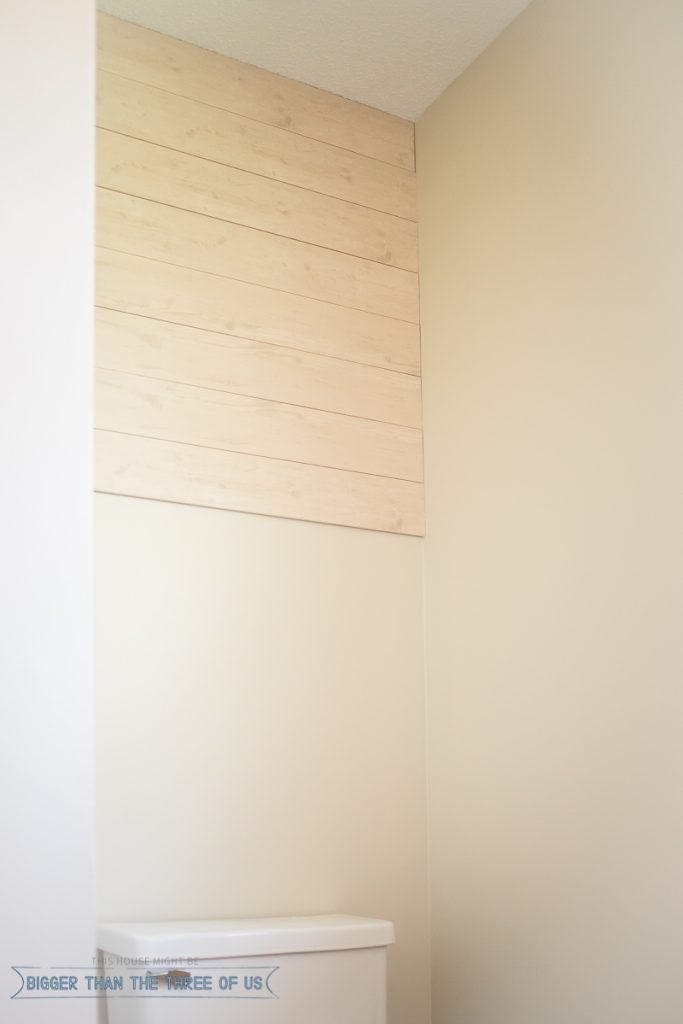
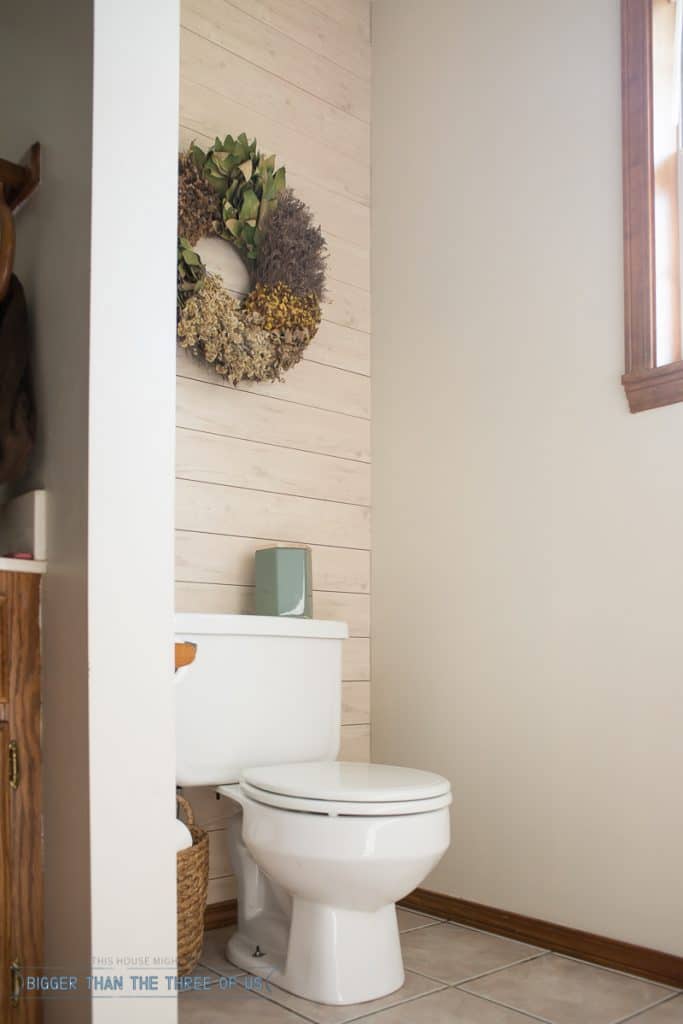
How cute does that look? You can't really appreciate the "After" until you see the "Before".
Boring and bland, right?
We ALL have those types of spaces. You know, the one's that we forget about or just don't address. Sometimes, we forget that just a morning of work can yield amazing results. Within three hours, my sister and I had the accent planks installed and she was fast on her way to being knowledgable about measuring and installing on her wall. Super awesome, right?
Ready to get on with the tutorial?
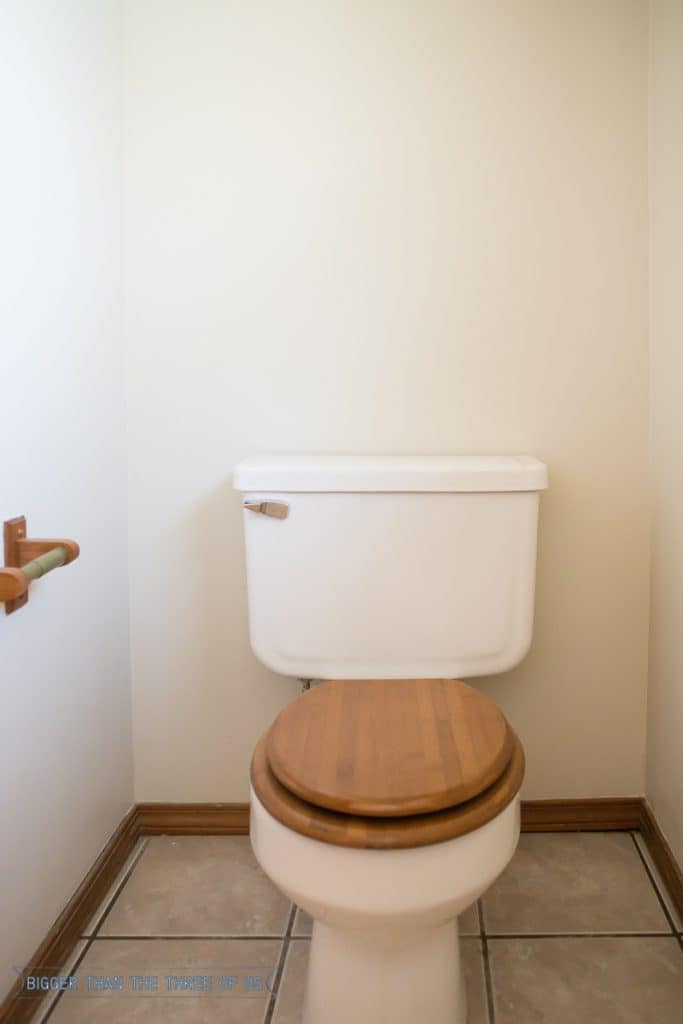
Here we go. This is the space we were working on. And, I'm totally going to apologize for the photos. The space is TIGHT; meaning it was hard to get great photos. But, I think you'll understand how it added a major wow factor to the space even with the less than ideal photos.
BEFORE:
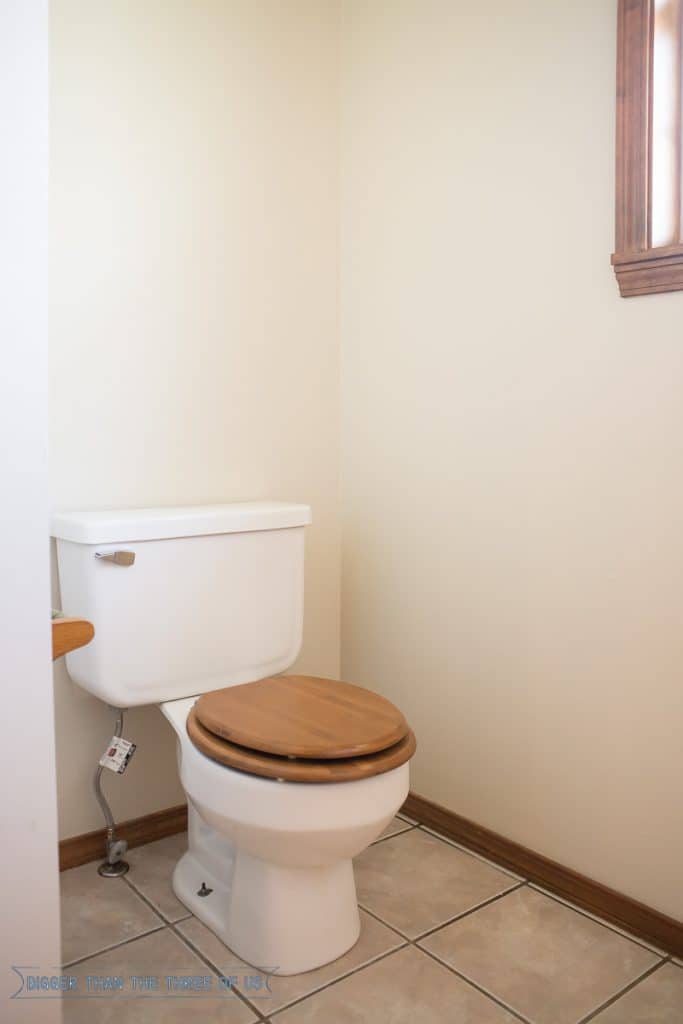
Basically, this was just a forgotten space in the bathroom. To the left of the toilet is a 3 ft wide wall that separates the toilet space from the vanity.
As you can tell, the bathroom hadn't even been touched. Sometimes, when you have a space that is like this, you need a jumping off point with your design and this space desperately needed that.
So, for this project, we focused on the wall behind the toilet.
Step 1: Gather Your Supplies
or
Pencil
Level
Miter Saw
Jig Saw
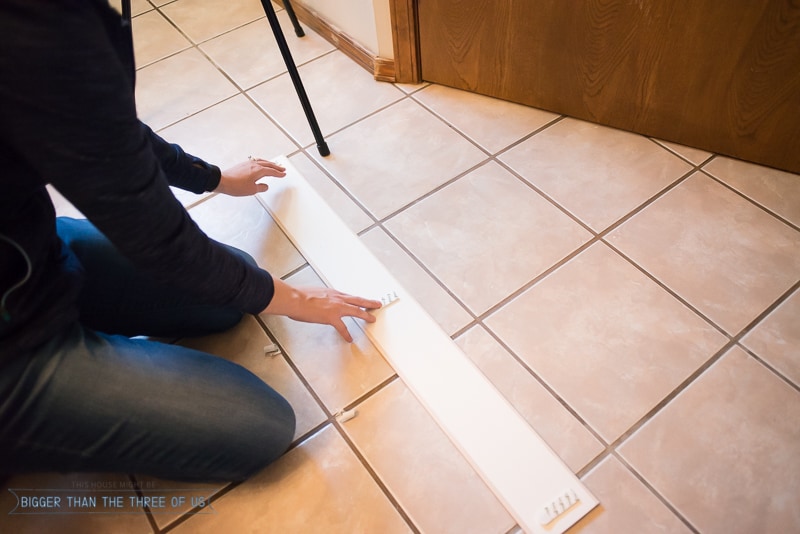
Step 2: Measure
First things first, determine the size of your wall and compare that to your plank size. We didn't care about the height of the wall and how that played out with the planks because the bottom of the wall was behind the toilet. In most cases, I would just start at the top of the wall anyways, and let the bottom board be cut to whatever size you need to make it work with the trim.
So, back to what we did. We measured the wall across. Our wall was short enough that we could just cut each plank to the wall size and install on top of each other.
Some walls will require two or three planks to go across. If that's the case with yours, diagram a pattern for the sizing of your planks (you can look at tile patterns/diagrams if you have no idea where to start).
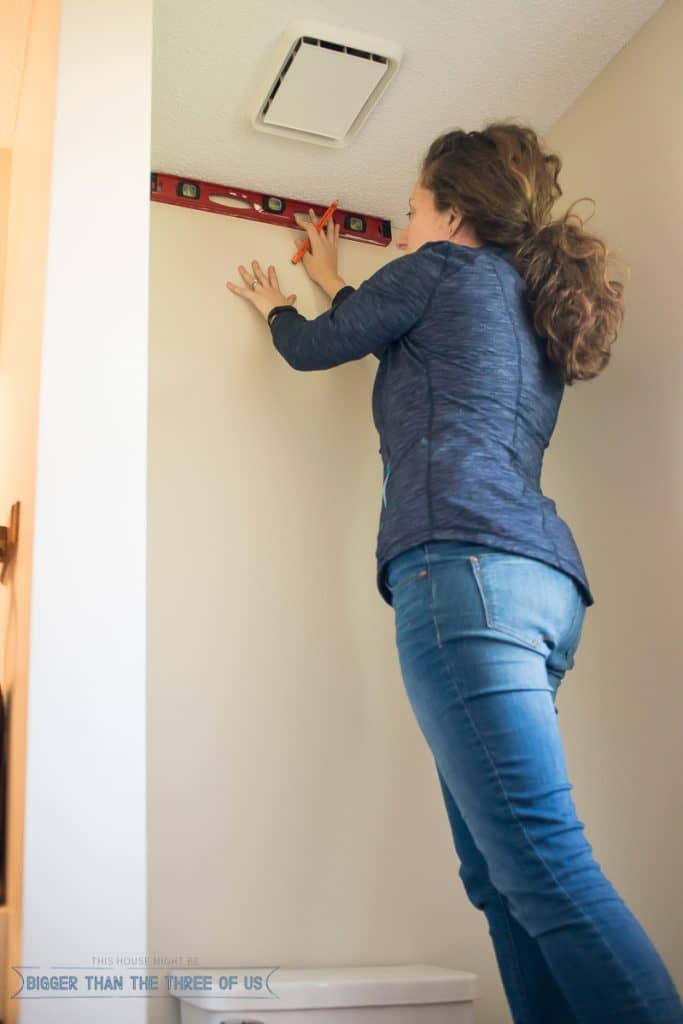
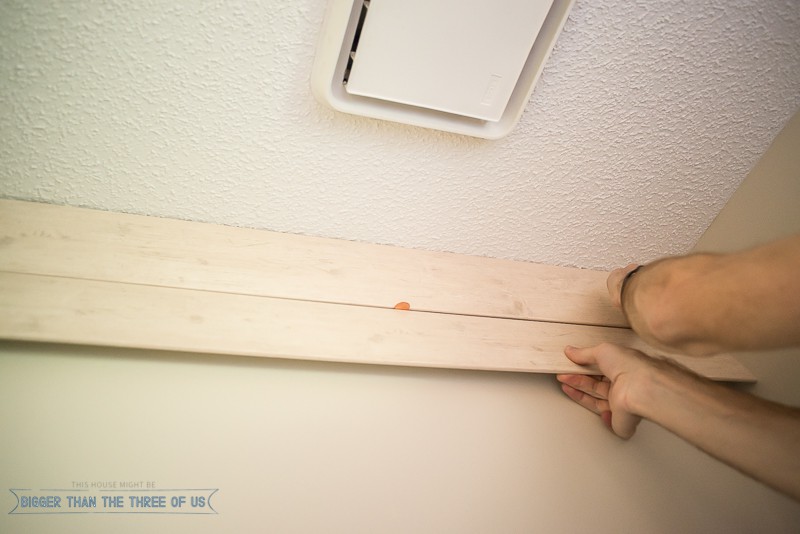
Before you install your first plank, check to see if your wall and ceiling are level. You will probably have to float your first plank from the ceiling just a bit to get it level.
This is REALLY important. If you don't get your first plank level then your lines are not going to be level and it's not going to look good.
**Our ceiling/wall wasn't extremely un-level but if you are working in a space that is not level at all, then you might have to come back in and caulk your line to create a seamless look. This is easy and will help hide the imperfections at the very top.
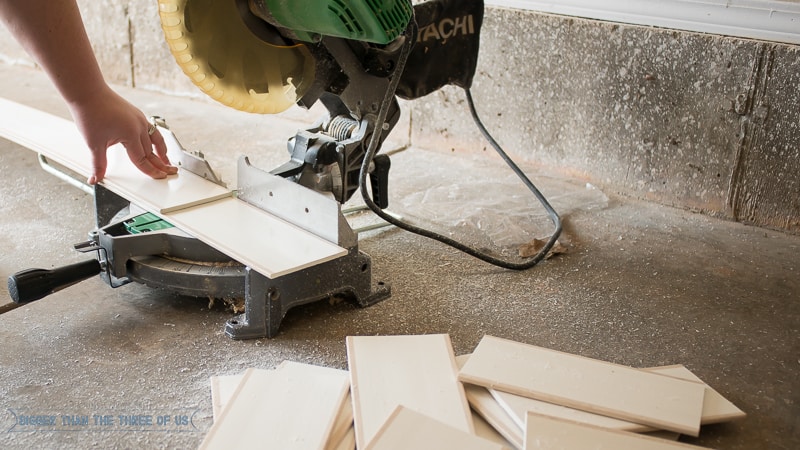
Step 3: Cut
From previous experience as DIYer's we've realized that the miter saw is a good beginner's saw. You can do quite a bit on it and the learning curve is not very steep. So, we used the miter saw to cut the boards. Or actually, my sister used the miter saw with a bit of direction. She was a pro by the end of the day.
Measure your wall across and, using the miter saw, cut a straight cut to the wall size.
We found that our walls weren't straight all the way down, so we measured for two planks at a time and cut two at a time.
*TIP* :: If you have the same cut needed or just a smudge longer, use your already cut board as your template for your next cut. It's much easier than using the tape measure each time.
Step 4: Install
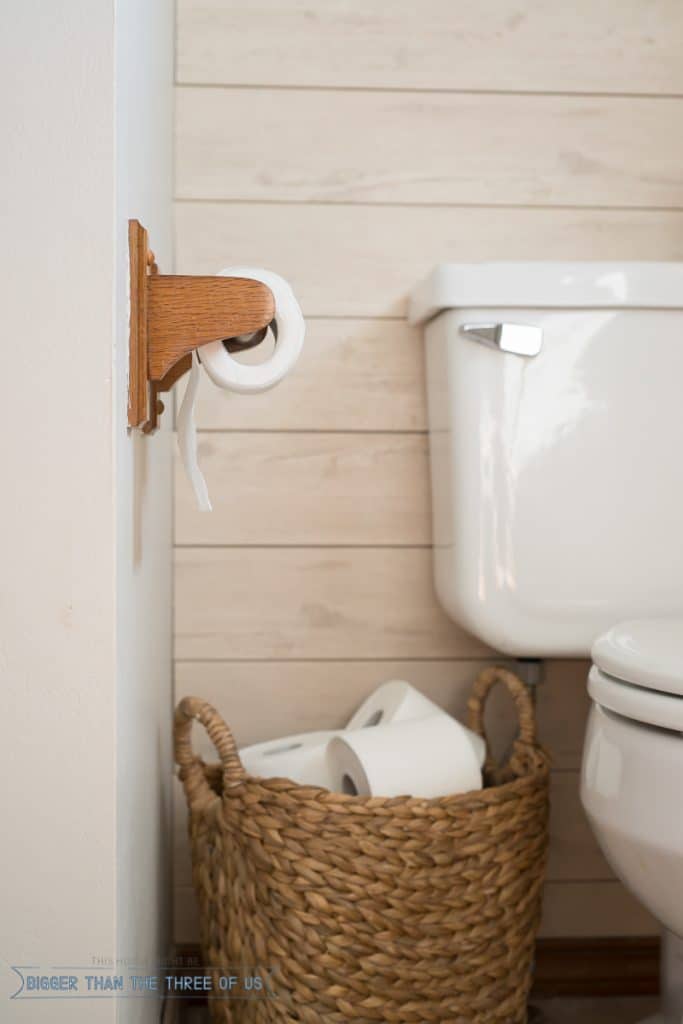
The accent planks come with sticky strips. Follow the instructions on the sticky strips to install. We used one on each end and one in the middle.
Peel off the back of each strip when you are getting ready to hang them. Use a level to make sure you are staying straight and press the strip to the wall.
To create a visual line between the accent planks, we used pennies as spacers. If you want to do this too, grab two pennies and hold them in while you are placing your accent planks. Once you get the accent planks attached to the wall, take the pennies out.
Step 5: Repeat
Repeat all the steps, making sure to check that you are level as you go down the wall.
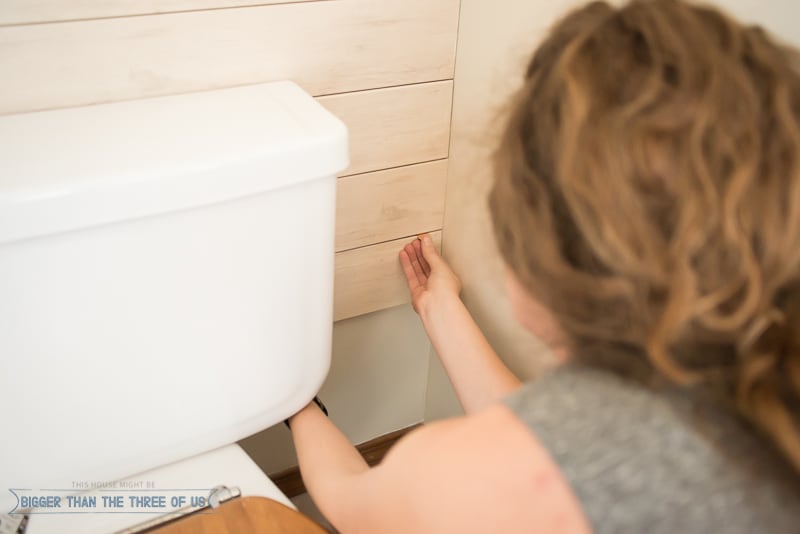
Step 6: Trim Last Piece
Unless you are just super lucky, your last piece will probably not be a perfect fit. If you are installing baseboards over the accent planks, then you might not have to trim the accent plank.
If you are like us and installing the accent plank to butt up to the baseboard, then you will need to cut your last accent plank to fit.
Using a circular saw, jigsaw, or handsaw, measure the space between the baseboard and accent plank. Mark that line on your last plank and cut along the line. Attach to wall as you have been doing previously.
That's it! Seriously, the accent planks add so much visual interest!
You can find them at Lowe's and they come in a whitewashed pine set (which is what we got) or a multi-color set (which is tones of brown).
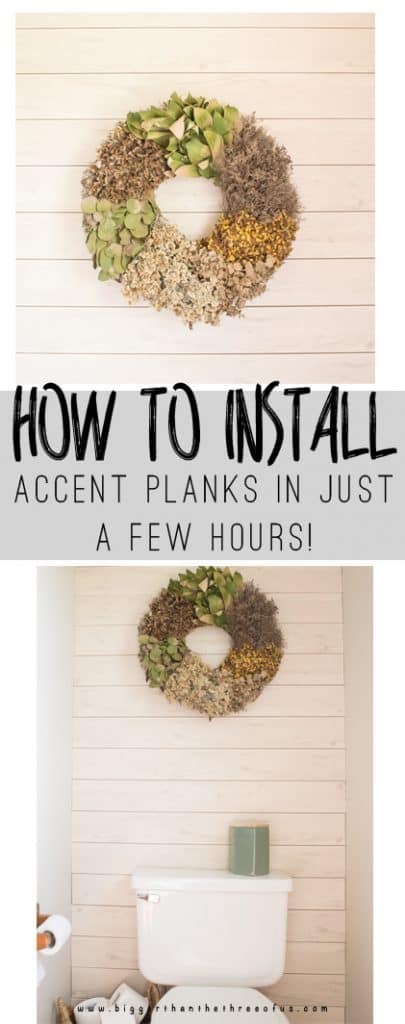
PIN FOR LATER : How To Install Accent Planks
}


Carolann
I am so in love with what you did here. I adore planking and the ones you choose are stunning! What a great idea!
Ashley Mayes
Thanks Carolann! The planking drastically changed the space.
Robin from Frugal Family Times
Looks so great and went up so fast! What awesome payoff for a beginner project.
Ashley Mayes
Exactly! Not all beginner projects are like that for sure.
Carrie
Getting around the toilet is always the hardest part! You made it look easy!
Ashley Mayes
Well, we got lucky there. Sometimes, they are right on the wall but luckily enough this one had clearance.
Jess
Pretty sure your sis and I have the same powder bathroom! It's SO hard to photograph. I did planking on my back wall too! Great minds think alike!
Ashley Mayes
haha! Isn't that funny when you find a replica of your space online?