

We've made some progress on the kitchen tile. I thought I'd check-in and give an update today. I jokingly said that it would probably take us a month or so to get the tile completely done. We are 2 weeks in and that time frame actually seems pretty accurate. It may seem super slow you all (and sometimes, it feels super slow to us) but we try to work only one weekend day and one night through the week. It's really important to us to try to live our lives while the renovation is going on instead of our lives being centered around the renovation. It's all about balance, right?!
So this is Tiling - Part 1, but fair warning: this is our first rodeo on wall tile so this won't be a tutorial. I think we learned a few helpful things that I will share, but we definitely don't feel like we could share a step-by-step.
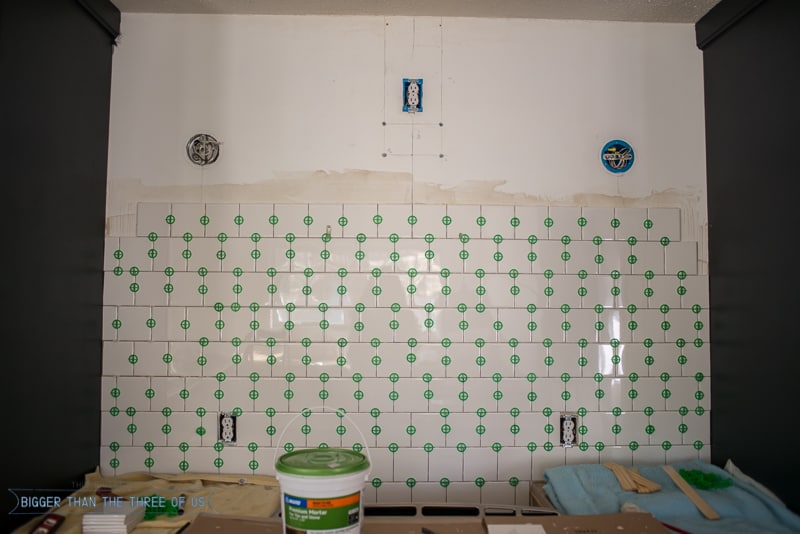
We decided to start with the oven wall. We prepped it by taking the range hood and sconces off the wall.
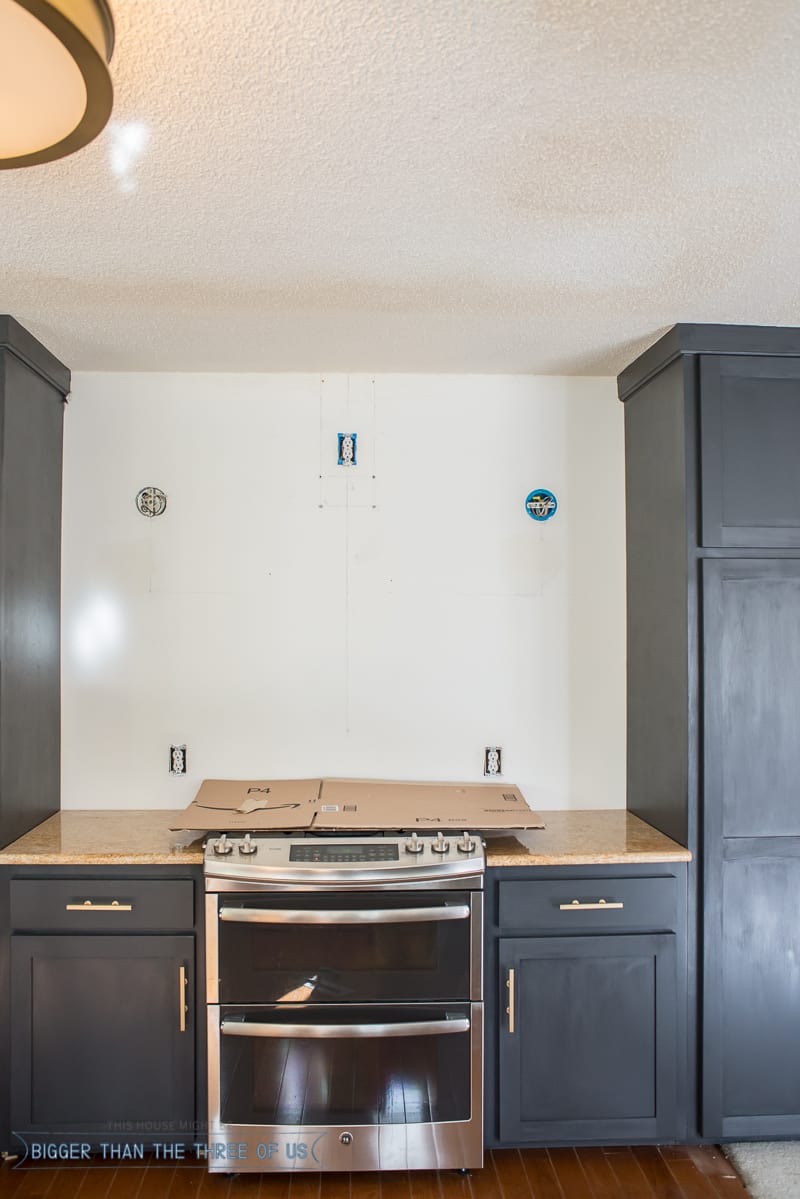
It wasn't our easiest wall because of the cuts, but it was the one that made the most sense for us to start with.
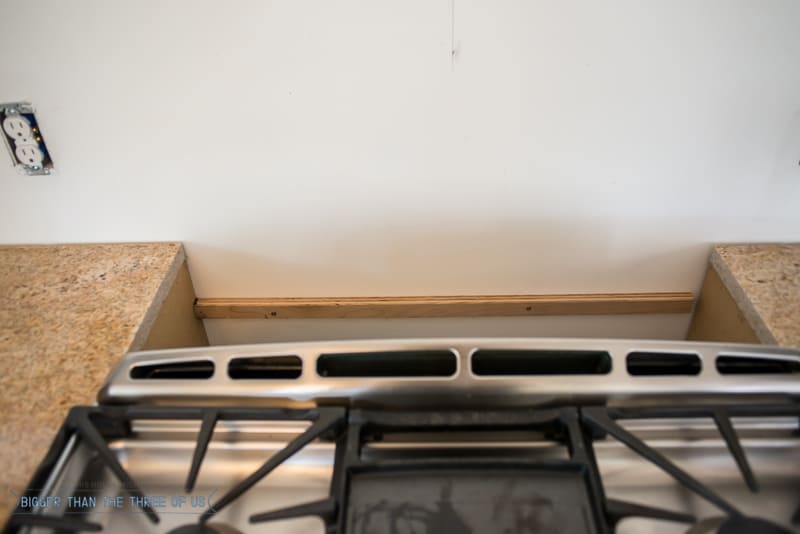
We found our center line on the wall which is where the focal point of the eye would go. We placed a scrap piece of wood on the wall one tile and one spacer below where the tiles would start (a smidgeon above the counter top). We did this so that you saw continual tile pieces behind the stove, you know, in case anyone wanted to look behind our stove. lol.
We bought pre-mixed mortar which is a little more expensive. But, when you are working in batches, it's so easy! It allowed us to work a few hours here or there and just close the lid and save whatever we had left.
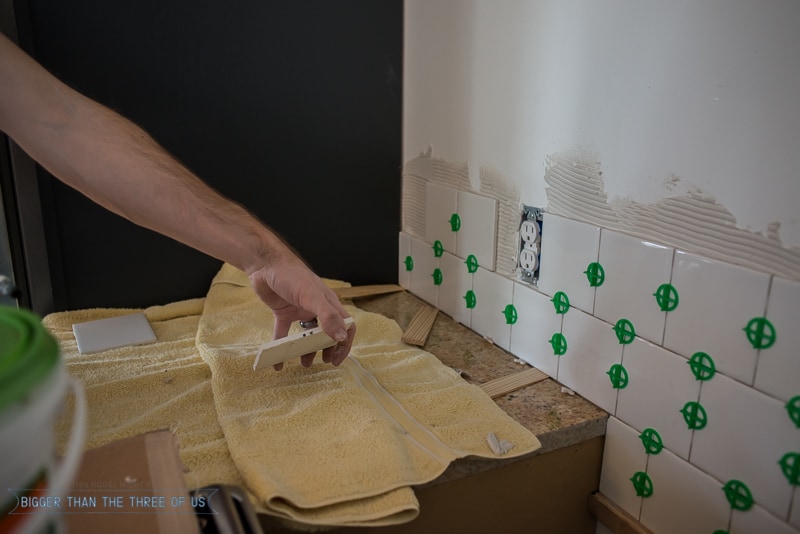
Luke found a good way to mark the tiles for cuts. Use a wax pencil to mark the tile and try to avoid using a tape measure. Wherever possible, place the tile on the wall and mark the cut lines in place. It will take some practice and maybe a little trial and error, but will pay off in the long run with fewer miss-cuts and less time spent.
All in all, this wall had a pretty big learning curve. We were incredibly nervous the whole way through. The wall itself wasn't straight and so that means we got off once or twice in how level our lines were. We made up for it by tweaking the grout line here or there. It turned out fine, but in the moment, it was pretty stressful. If you make sure you start off in a level line and then draw one more level line about half-way up the wall to double-check, you should be able to keep things under control.
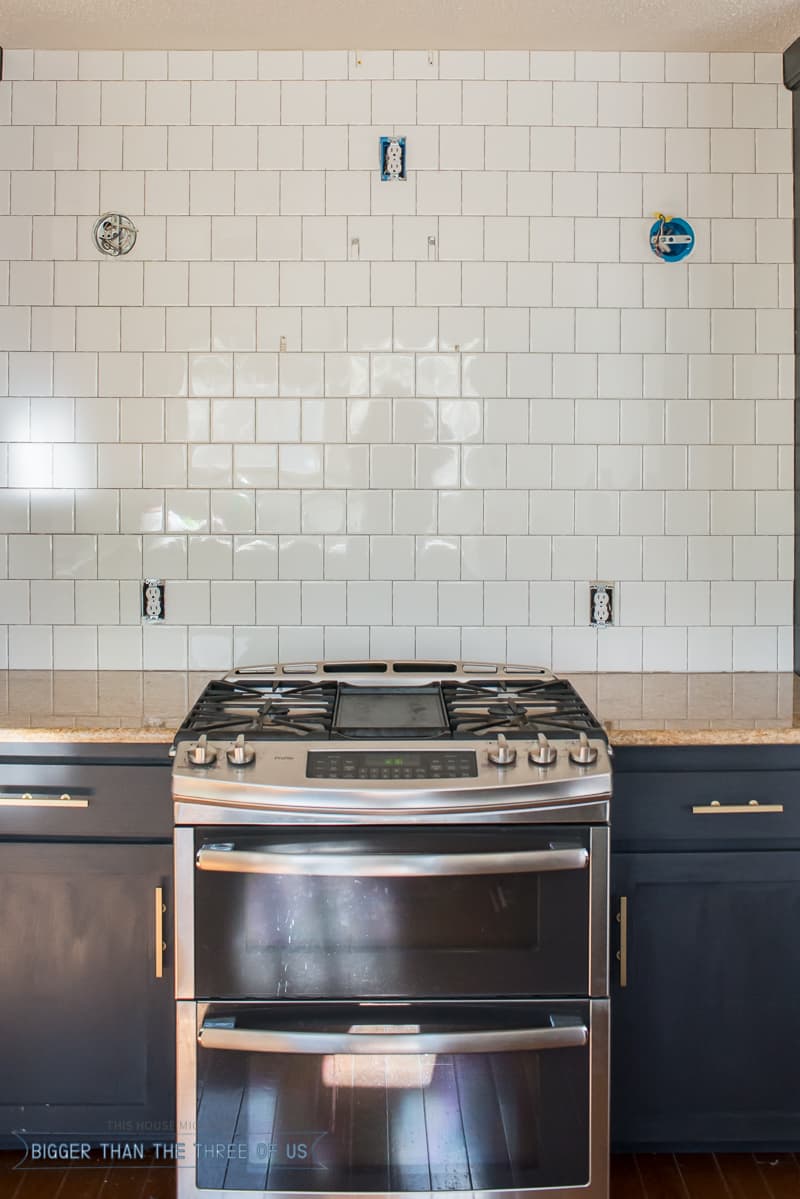
* I'll save talking about the grout another day.
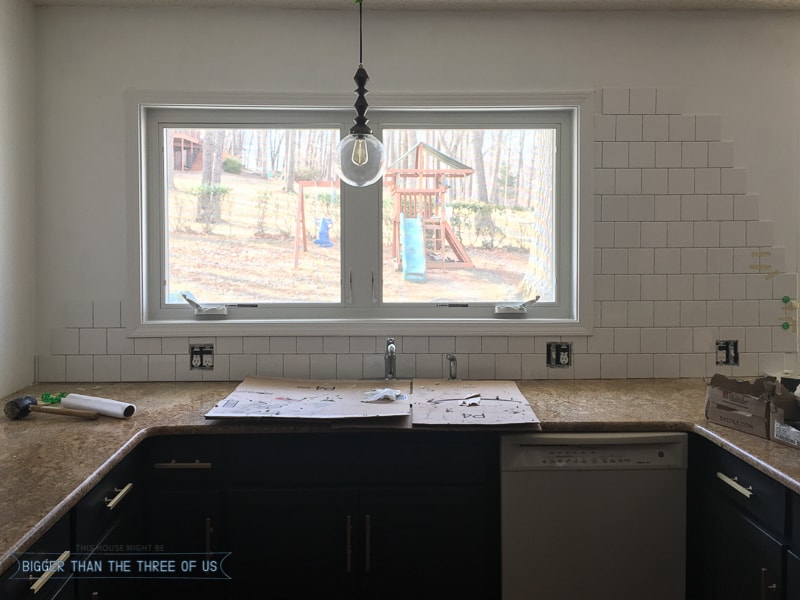
The next wall we wanted to tackle was the window wall. We found the center point and repeated the entire process from the first wall.
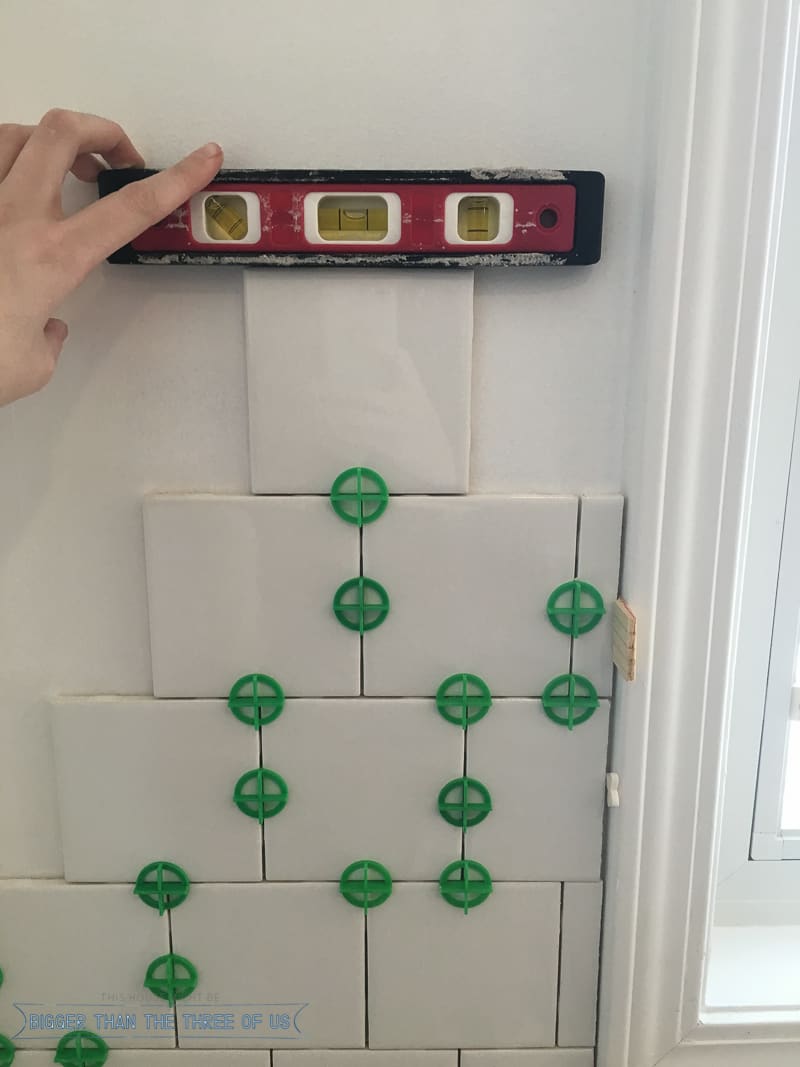
We checked to make sure we were level with three different sized levels multiple times (OCD maybe?).
This wall had quite a few cuts but, overall, the process went much smoother. I think we gained quite a bit of confidence after the first one turned out pretty good.
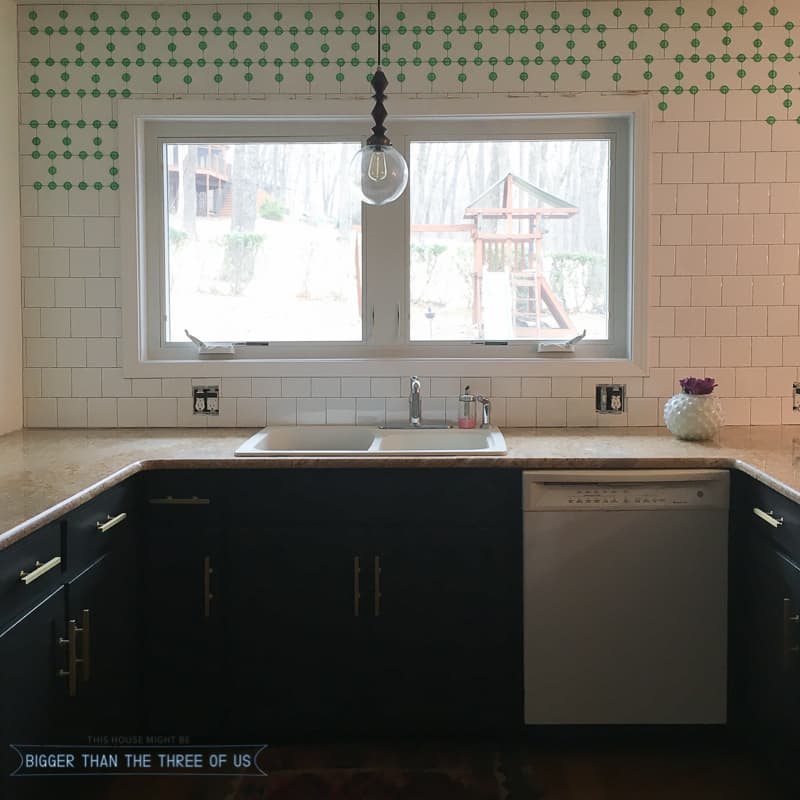
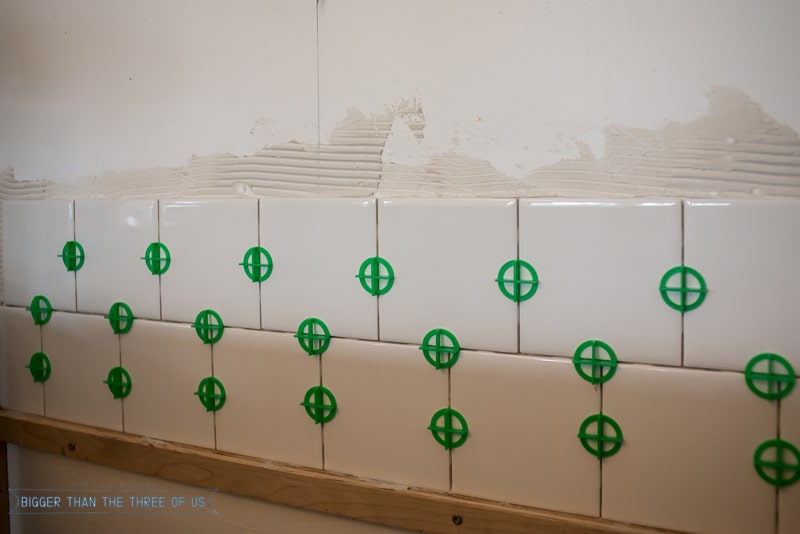
You can see by the spacers above that we did that wall in two chunks. It worked pretty well for us to do it that way. The area without the tile (and it actually extends a bit to the right) took us about 6 hours.
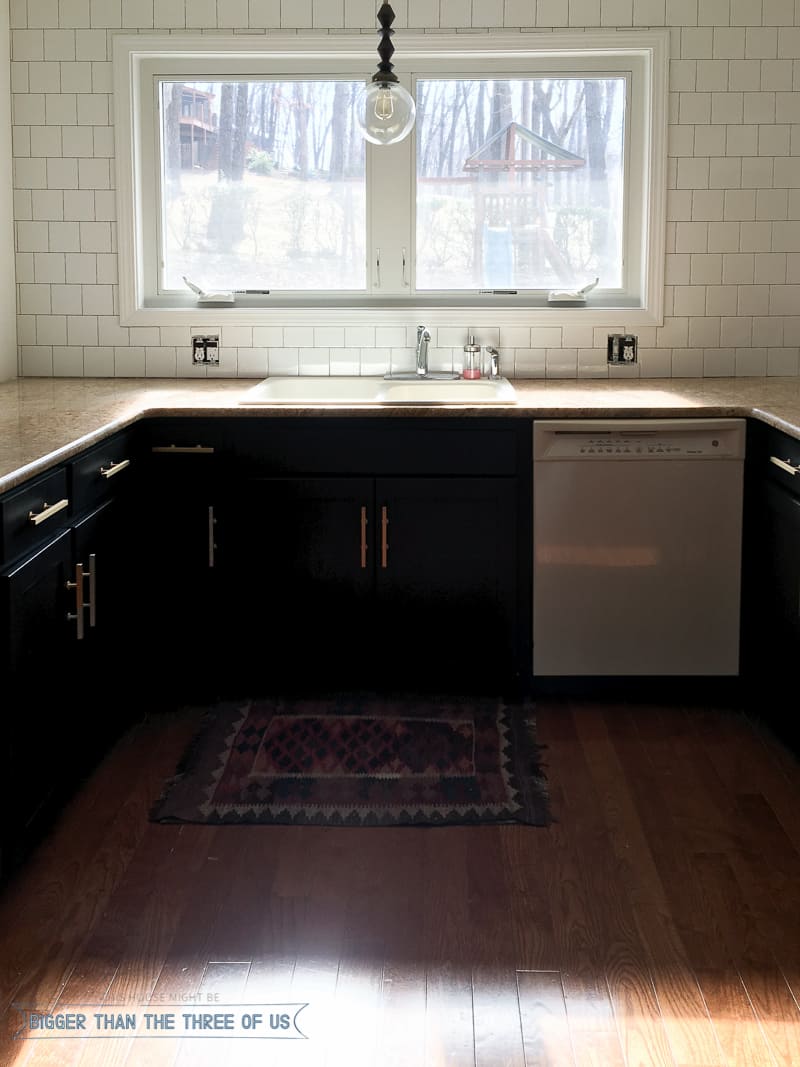
I'd say to lay the tiles and cut them on this one wall, took us about 9 hours. I'm sure that's pretty slow, but we are beginners. Overall though, we feel like it's a great project for beginners. A lot of work, but nothing too unmanageable.
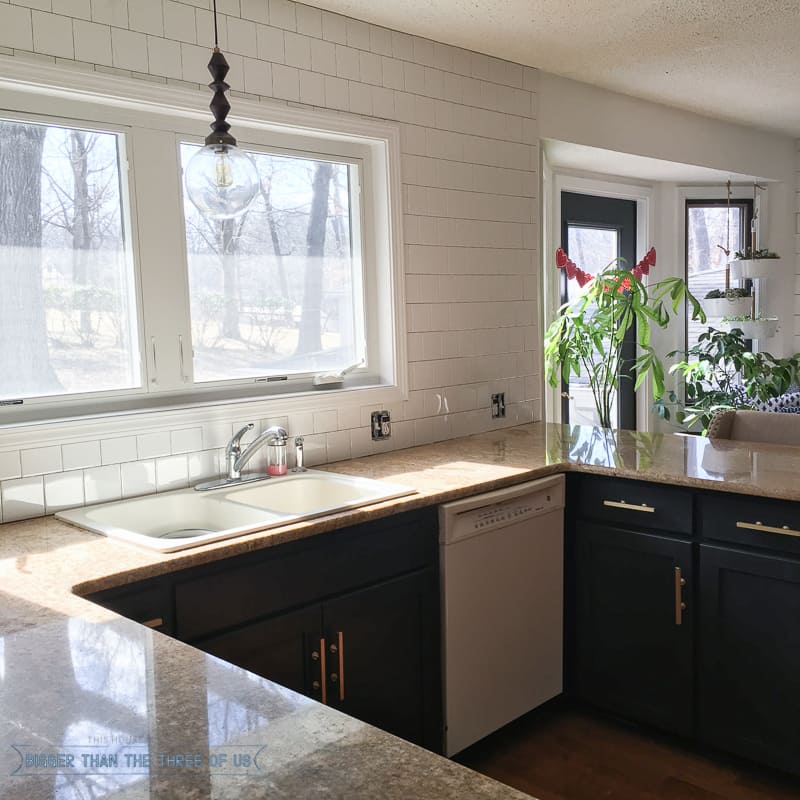
We still have to grout the window wall and tile/grout the wall to the left. I 'm loving the change to the space and can't wait to see more progress. I was a bit worried that the square tile would be too modern for our home but, the more I see it the more I think it just fits this home. Our home seems to be a collection of different styles that somehow are slowly working together. I think just maybe, that this kitchen will be the same way.
}


Leilani
That looks amazing! I remember the kitchen as it was when you guys moved in, and this is a magnificent change. You both are doing an outstanding job! So, when do we come for dinner?
Ashley Mayes
Thanks! I can't wait to finish and the gawk at the before/afters... lol! I think after 2 years, we deserve to be a bit proud of it though.
John Morrison
It looks GOOD to me,"KEEP ON TILLING '
Ashley Mayes
Thanks John!
Amanda
It's looking fantastic!! I can't wait to see the finished product.
Ashley Mayes
Thanks Amanda! I can't wait to get to the finished product. All in good time. =)
Julia@Cuckoo4Design
I love the square tile so much! And how it ends on the right side is perfect.
Ashley Mayes
Thanks girl! The right side was a huge stress point. I wanted it to be perfect!
Keiko
It looks great! I don't think it comes off as modern at all, actually--more boho eclectic, but I think it fits beautifully in your kitchen. What color grout do you plan to use? I know white will look good, but I think something slightly offwhite would keep the pattern of the tiles visible and tie in with your countertops more. It's awesome that your kitchen is still light and airy even with the darker cabinet color. Gorgeous!
Ashley Mayes
Thank you! We went with Oyster Gray on the grout. It's a very light, creamy gray and gives us the pattern of tiles but isn't a dark grout line.
Corinna - A Designer At Home
Oh my goodness it looks SO good! You're a champ for tackling it. I want to try tiling once again!
Ashley Mayes
Thanks Corinna! I'm surprised, but I've actually enjoyed the tiling. Weird, right?!
Chloe
The kitchen looks beautiful! Can I ask where you bought the tiles from and what size they are? Thank you!!
Ashley Mayes
They are 4x4 from Home Depot.
Christina
Hi Ashley! Did you use a wet saw or a manual tile cutter? I'm trying to read up before tackling my own kitchen remodel.
Ashley Mayes
Wet saw for most and a manual for a few harder locations. =)
Maria Lambert
Hi - your kitchen reno updates were so helpful for us! curious what you did on the tile edges to finish it off -- did you use bullnose tile, just caulk, or a metal edge trim?
Ashley Mayes
Hi Maria,
That's great to hear. We used bullnose tile.