

I'm excited to have Sage, from Plaster & Disaster, on the blog today sharing an amazing tutorial for a Modern Floor Mirror. Sage and her bestie, Naomi, blog about DIY Projects but do it in a sarcastic, hilarious way. If you want real-life and I mean real-life (seriously, check out this hilarious Christmas Home Tour that they just posted), ups/downs that come with projects then pop on over. I'm constantly entertained with their humor and the projects are just icing on the cake. I'll round up a few of my favorite posts at the bottom. Without further adieu, here's Sage.
I’m Sage, and I couldn’t be more thrilled to be here sharing at Bigger Than the Three of Us today! Usually you can catch me over at Plaster & Disaster, where my better blogging half — Naomi — and I share our (mis)adventures as first-time homeowners in our fixer-upper houses; without prior experience and with a hefty dose of other responsibilities (like full-time jobs). From small crafts to major home improvements, we chronicle our numerous and incredible successes (while relying heavily on hyperbole), but also the inevitable disasters that happen along the way.
Today I’m excited to be sharing a tutorial for a colorful leaning mirror I recently made for our bedroom. It was such an inexpensive and easy project (just $30 all told), but it makes a big impact in the space:
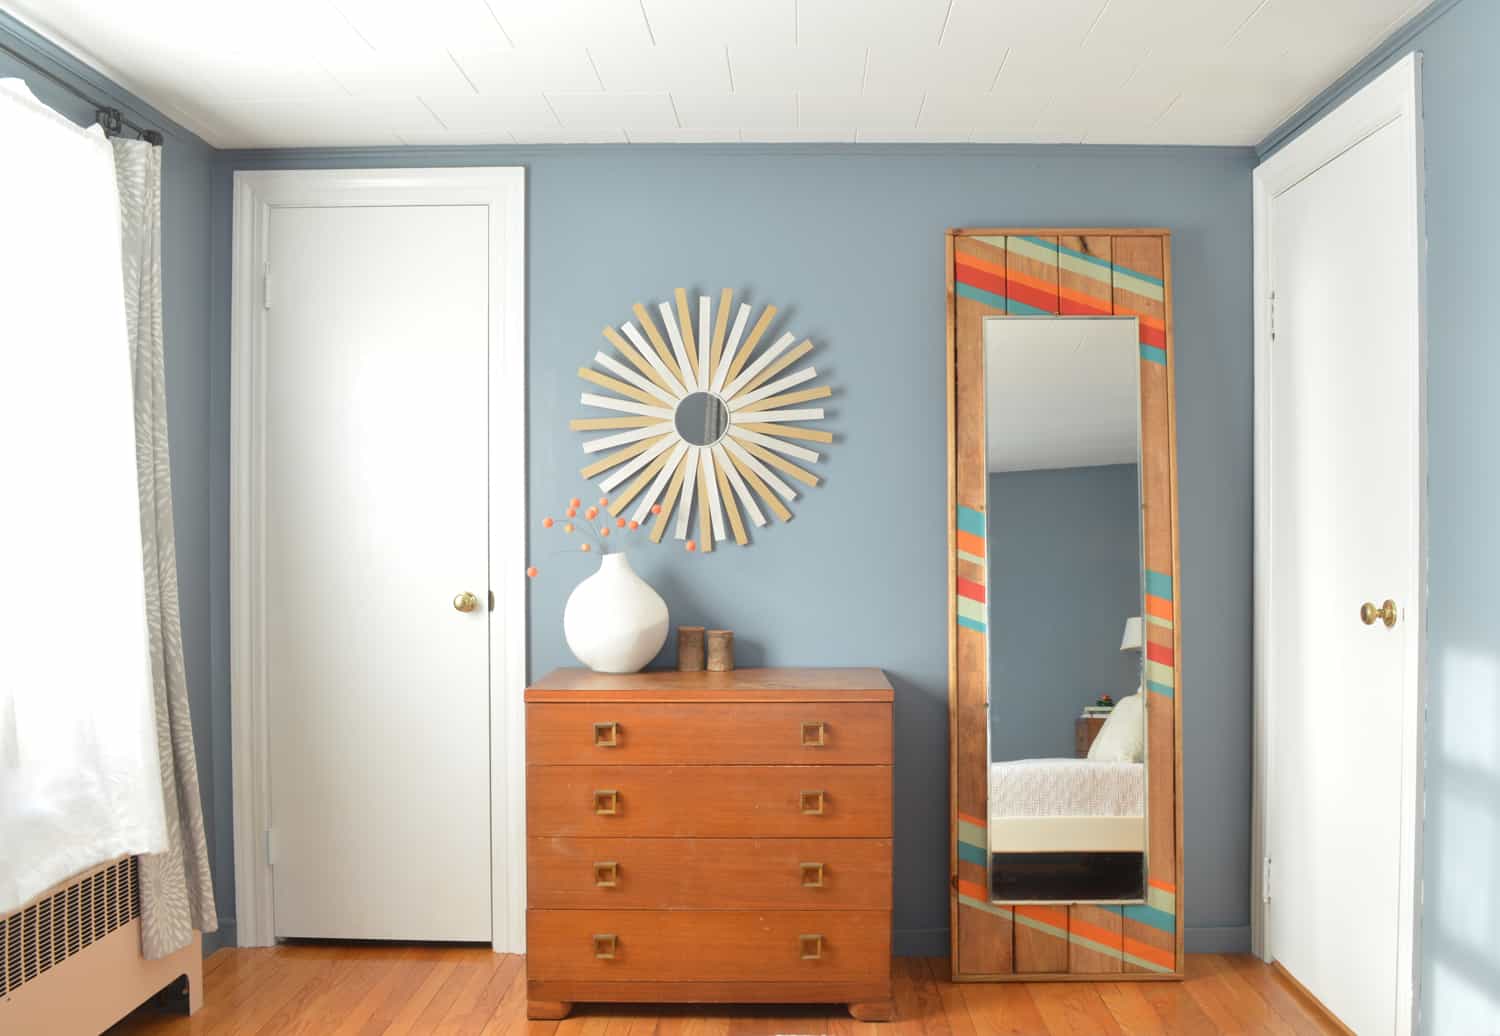
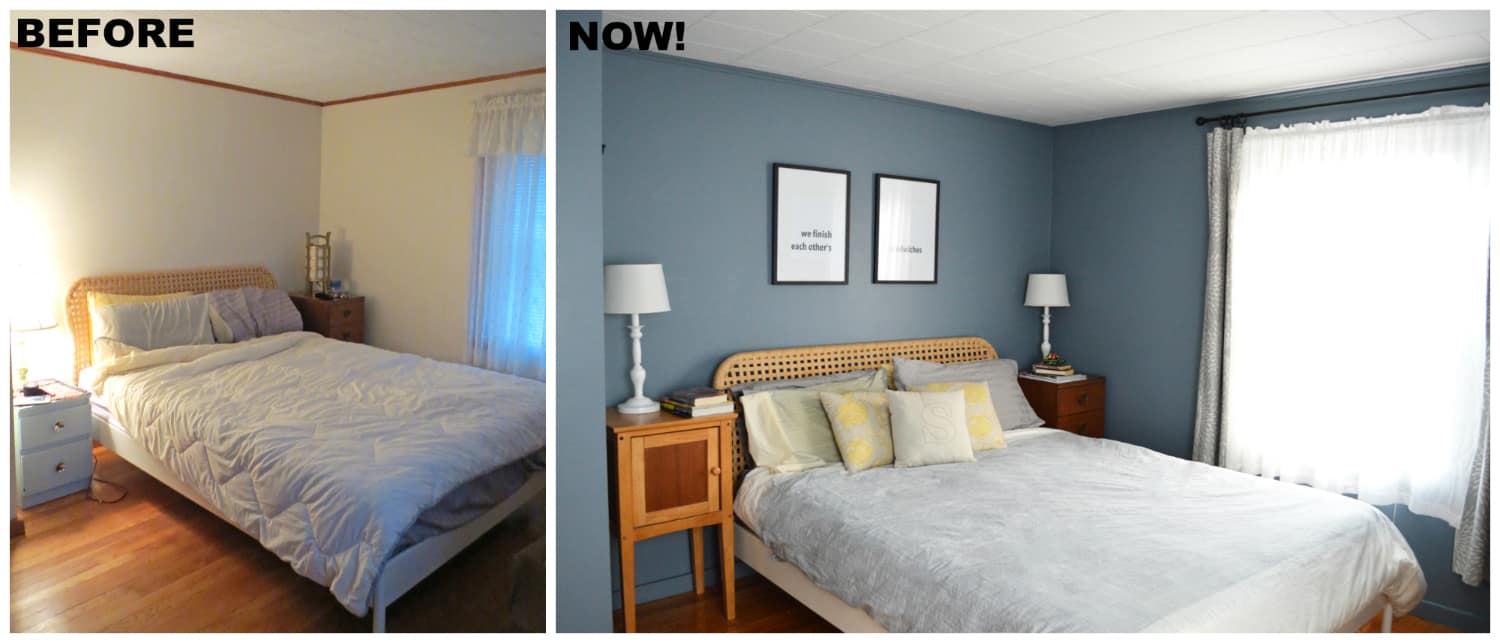
Our bedroom was one of the first rooms we tackled when we moved into our house last fall – with paint and some DIY accessories, we took it from very drab to, what I like to call, our “sophisticated cave.”
But I still wanted to add some more color to the space, as well as deal with the full-length mirror that I just took off the inside of the closet door, when we painted, and leaned up against the wall.
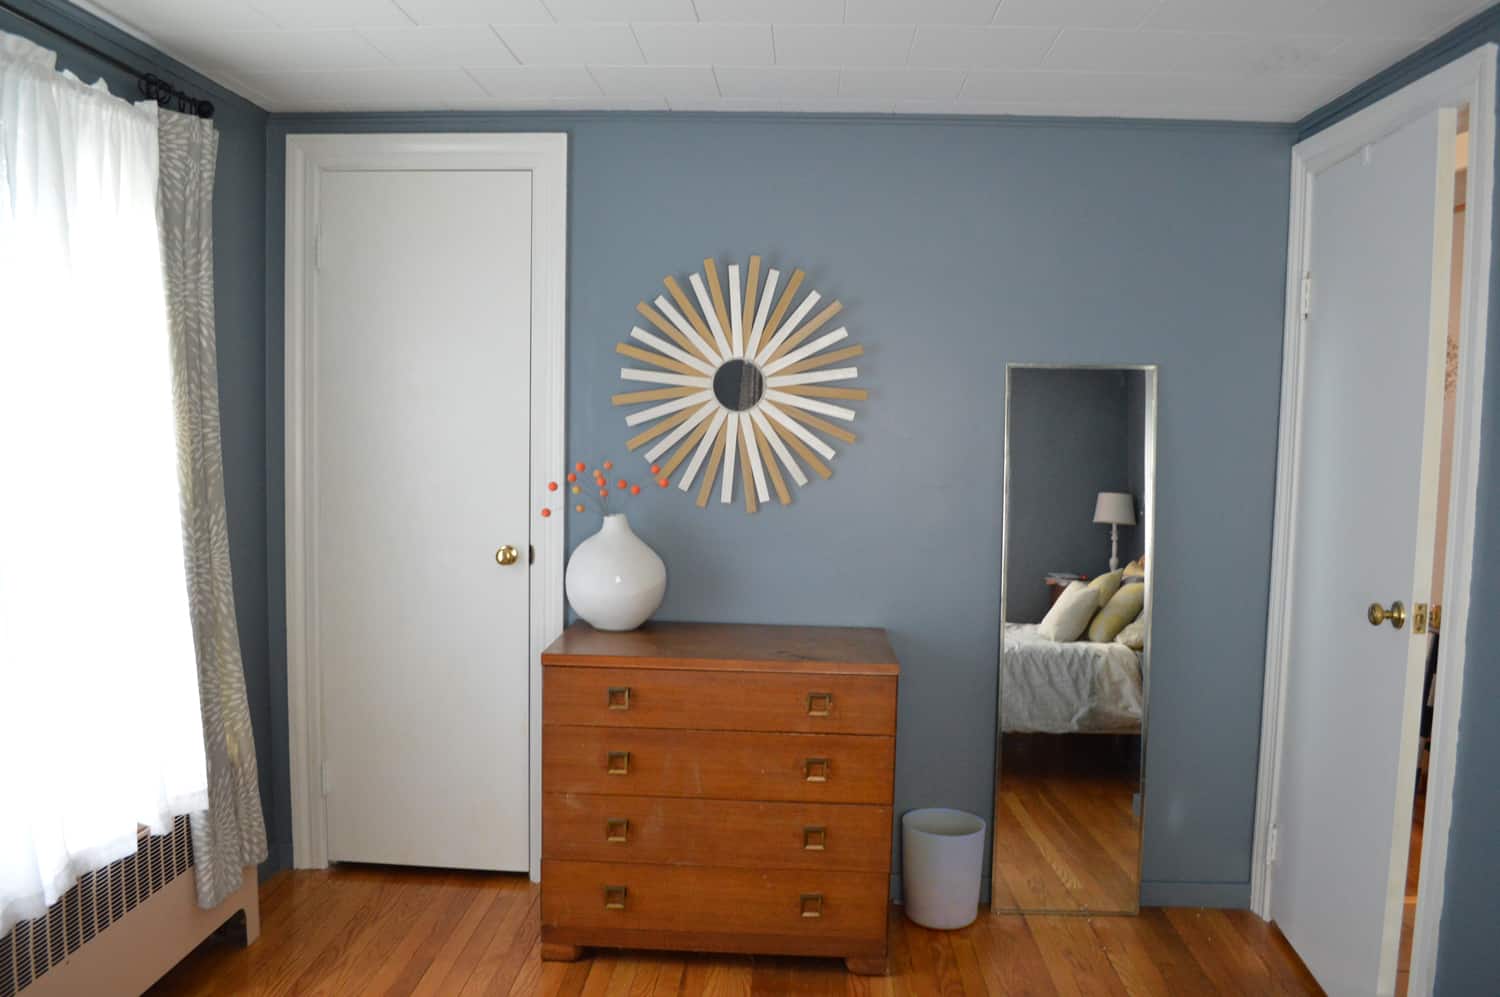
I thought a colorful frame for the mirror would be the perfect way to kill two birds with one stone.
I was inspired by this mirror, from child at heart:
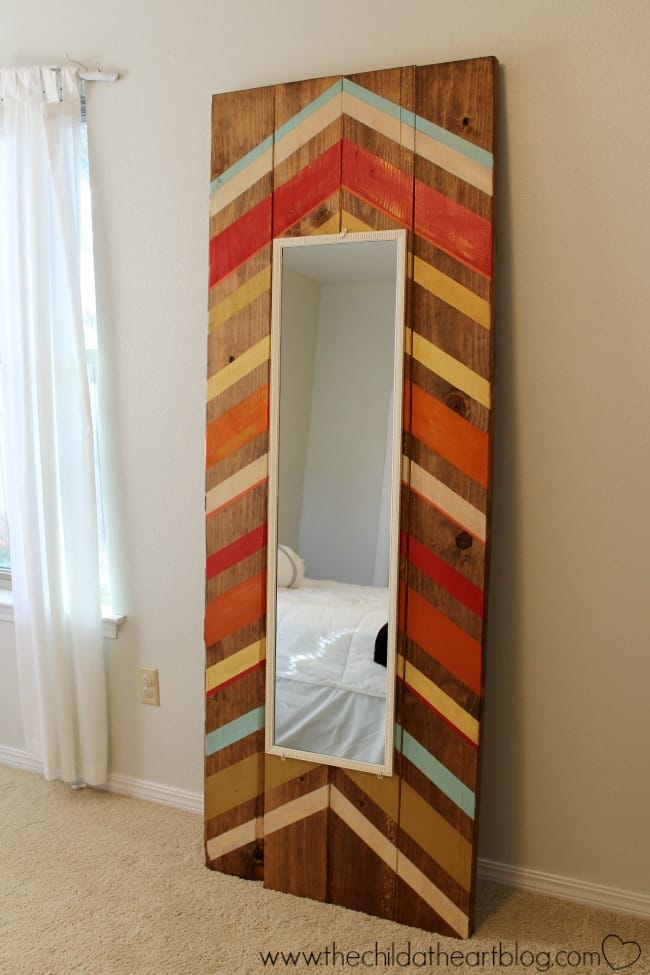
However, I wanted to build my own variation with a different design and look. If you’re interested in following along, here’s how I did it!
Supplies:
- Wall mirror (I already had one, but if you can grab one for very cheap from a place like Target, that'd work)
- Four 5/4” thick boards in whatever length and width you want (I used 5/4"x6"x8' boards from Home Depot, which I cut to 76" long -- my mirror is 60" tall, and I thought that 8 inches overhang on either end would look about right)
- 1”x2” pine strips in whatever length you need to wrap the perimeter of the frame (I used three 8' lengths of 1"x2" pine strips, also from Home Depot).
- Wood stain (I used Minwax "Golden Pecan,” but it ended up being lighter than I wanted so I mixed it with some Minwax “English Chestnut” that I already had)
- Craft paint in whatever colors you want
- Painters tape
- Paint brushes
- 2” screws
The supplies cost me $30, and it would be a bit more if you didn't already have a mirror or craft paint.
Tools:
- Sandpaper or orbital sander
- Power saw (I used my table saw, but a circular saw would also work well – or you can get everything cut at Home Depot)
- Drill
What did I do with all this? Well, first, I lined up my four 76" boards side-by-side. I quickly realized that one of them was really warped (the second-to-the-right in the photo below), which obviously I should have noticed in the store. Such is life. (Note: I recently saw Alison over at Deuce Cities Henhouse mention that she orders her wood online so that she never gets a warped board – what a concept!)
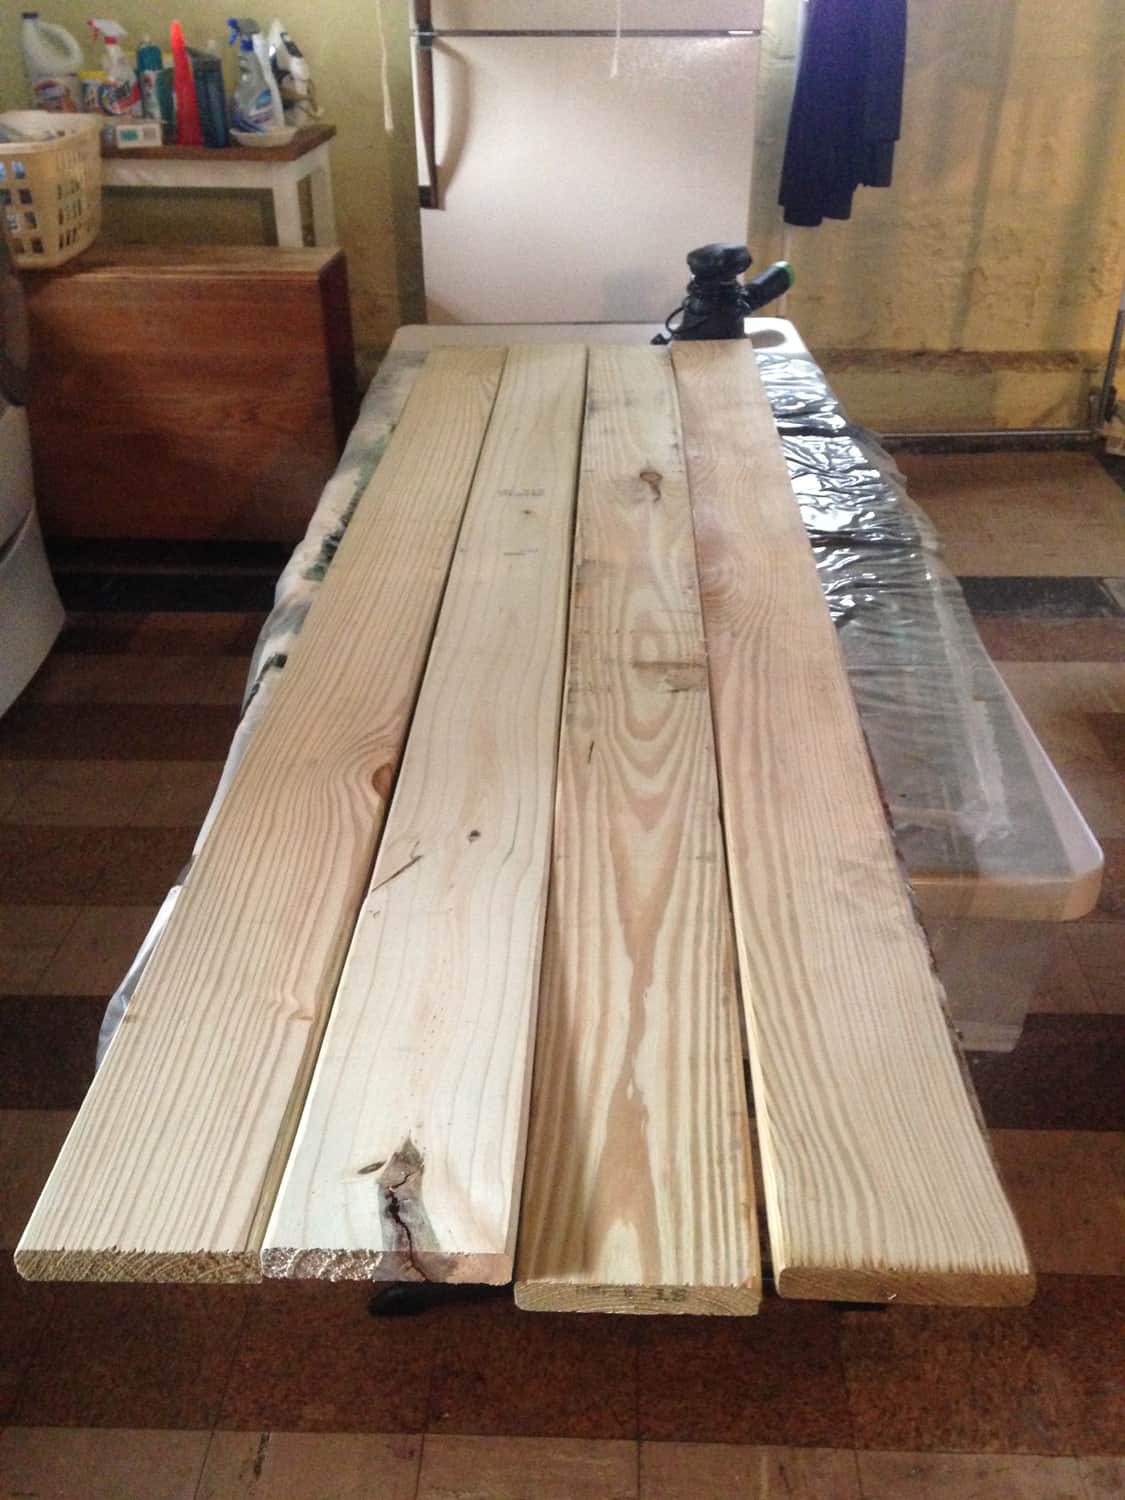
I figured I'd be able to bend it into shape more or less with the plan I had, though. I played around with which side of each plank was showing, trying to minimize any crazy coloring or man-made markings (though some of this can be sanded away). I knew that much of it would end up being covered by the mirror, plus I would be staining it. I had a lot of flexibility and didn't feel the need to buy the nicest looking wood.
Then I whipped out my orbital sander, and gave all the boards a good sanding along the front, sides, top, and bottom. I didn't need to get it entirely smooth for my purposes, but just remove any loose splinters and any markings that I didn't want.
Next up was attaching the boards to one another. The leftover scrap pieces from trimming the boards turned out to be the perfect length to lay width-wise across all four boards. I flipped them all over -- making sure to keep them in the order I wanted -- and then attached three cross pieces along the length of the wood with four screws per cross piece.
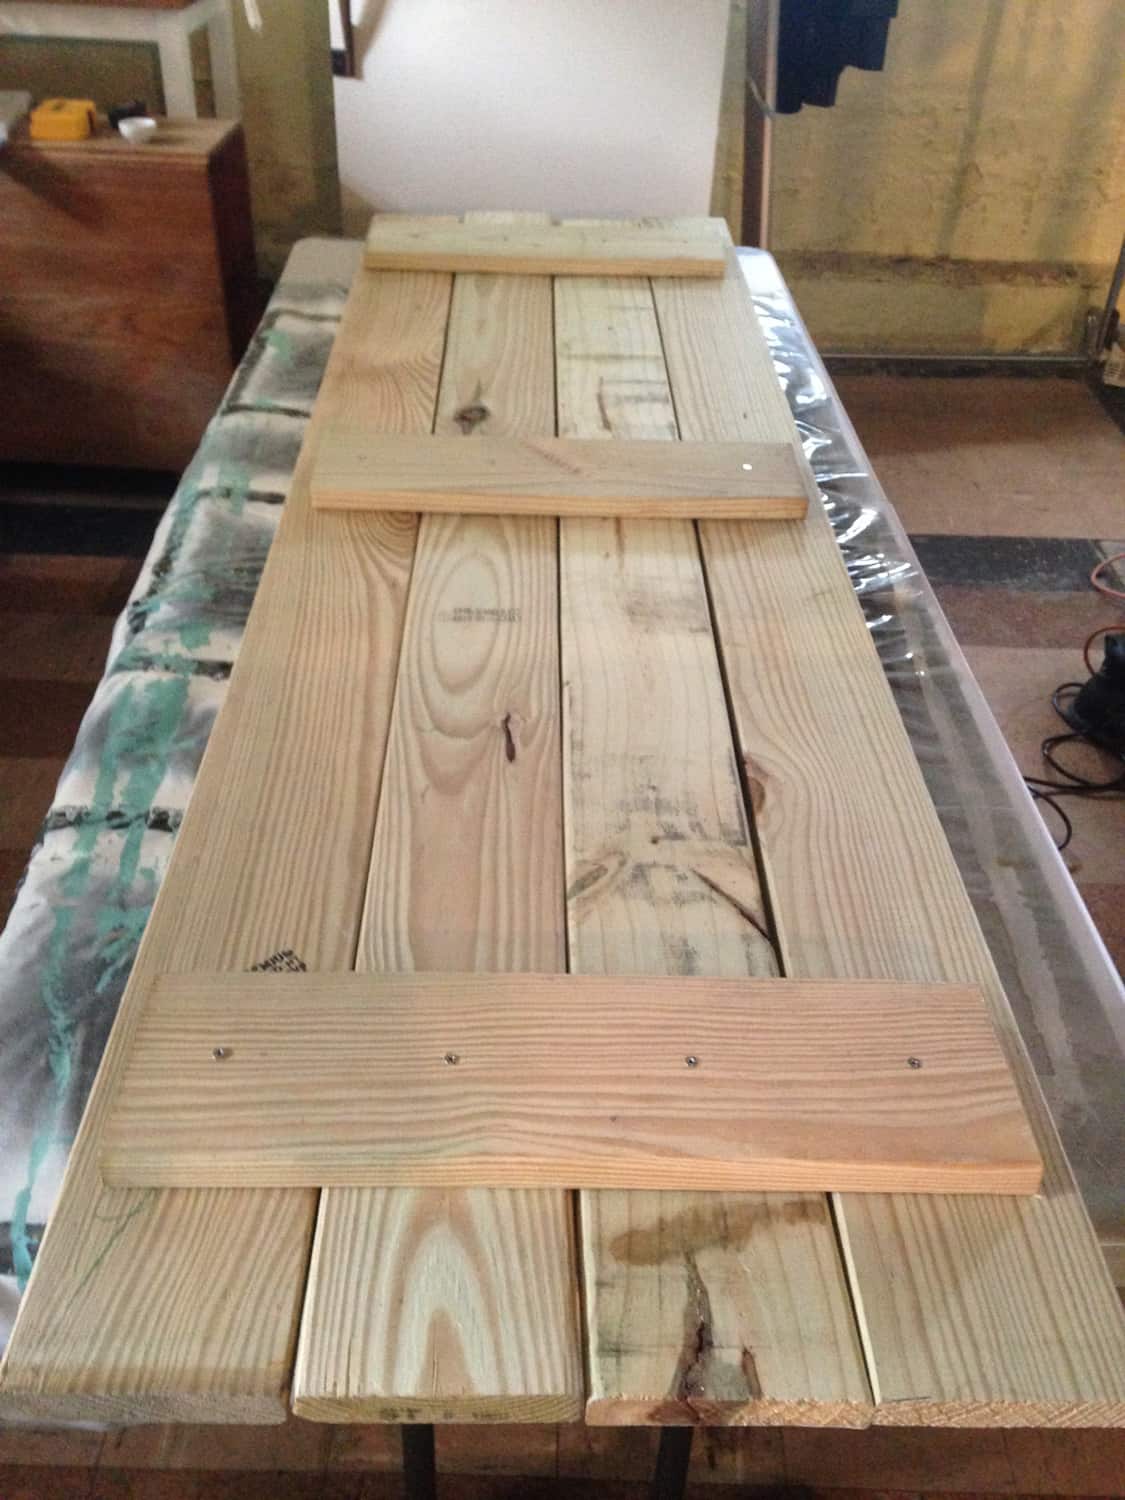
This is how I reduced the warping of one of the boards -- with cross pieces along the top, bottom, and middle, I was able to force the warped board into shape more or less. It isn't perfect, but that’s what we call homemade charm.
Next it was time to paint some colorful designs. Rather than the "V's" down the whole thing like my inspiration image, I went for groupings of diagonal stripes at the top, middle, and bottom. I used craft paint I already had on hand in various shades that I thought would look good together and tie into the quilt my mom is making for our bedroom (turquoise and orange). I used painters tape to create segments and then filled them in with alternating colors.
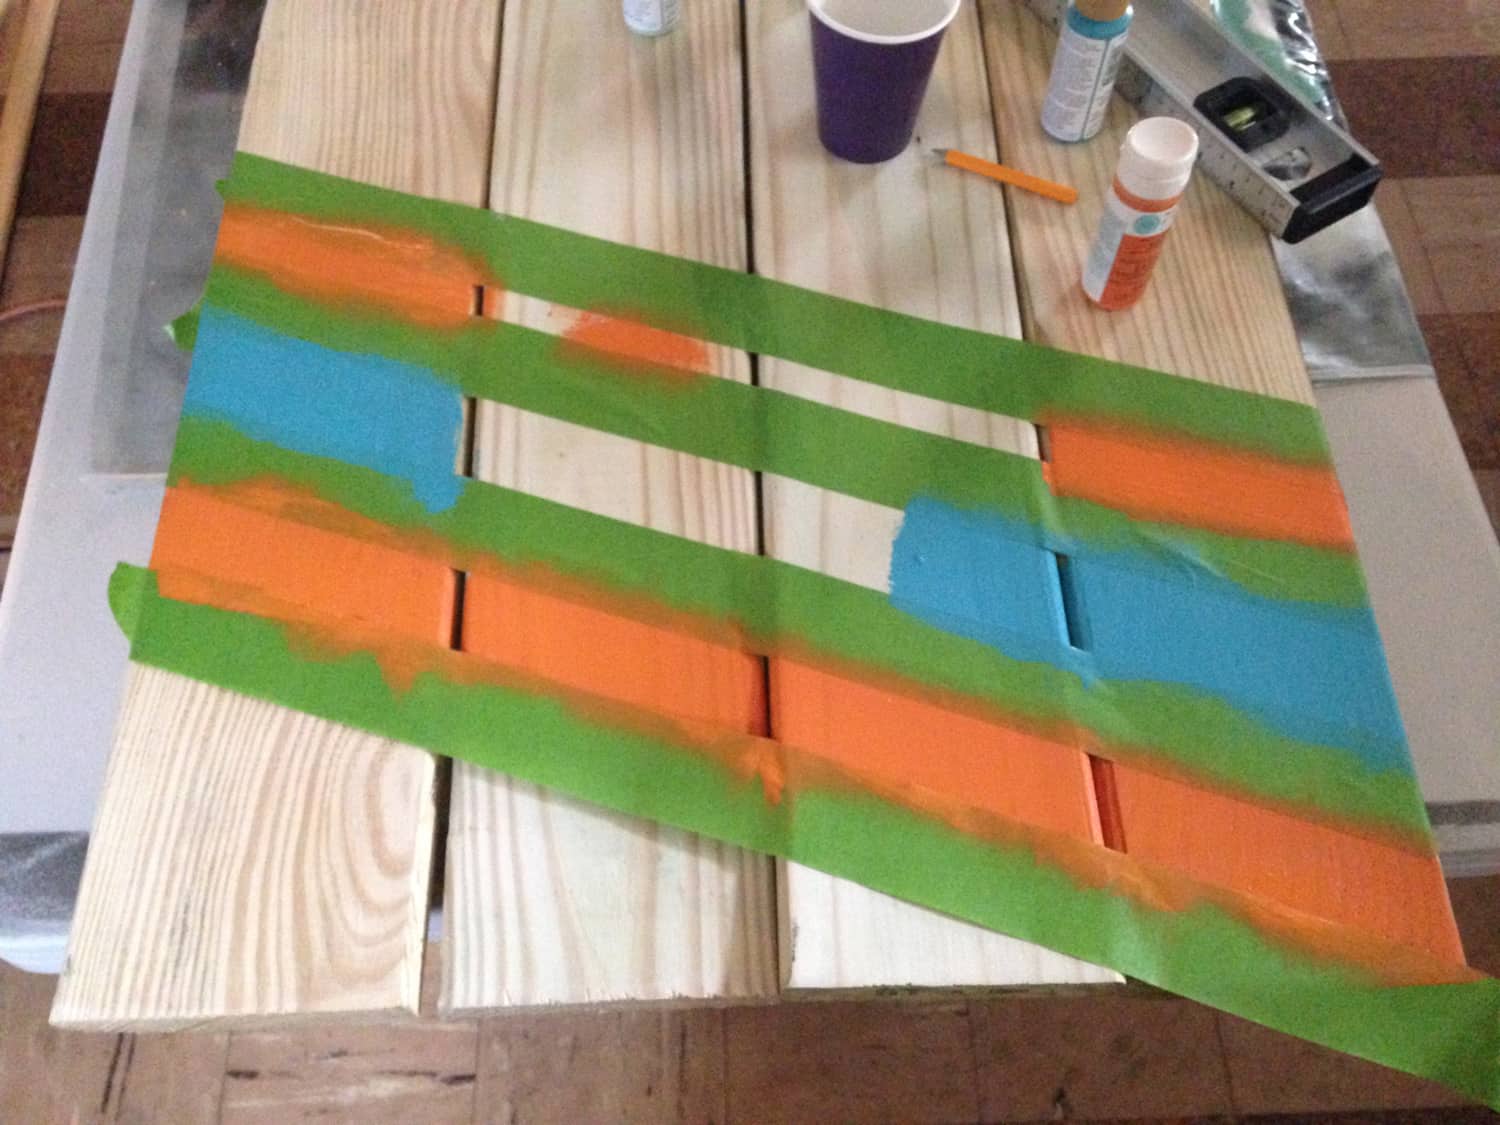
I had to do two rounds of this. Where I wanted colorful stripes next to each other I had to let one stripe dry first before taping it off and then painting in the space around it with another color. I didn't bother painting across the full width of the boards except at the very top and very bottom, since I knew the mirror would cover up the whole middle.
I wanted to create a more finished look to the whole thing, which is where the 1"x2" pine strips came in. I used them to frame out the planks, putting a long piece along each side and a shorter piece along the top and bottom. I used the table saw to cut them to length, with each longer piece requiring most of the 8' length and the two shorter pieces cut from a single 8' strip. The long pieces of the framing were the same lengths as the planks. I cut the top and bottom pieces to reach across the whole width of the planks plus overlap the framing strips along the two sides. I didn't bother to miter any corners, since I was going for a rougher look.
I attached the long ones first, just hammering them in with finishing nails. To make it easier, I clamped the whole thing down along one side while I hammered into the other so it wouldn't slide around.
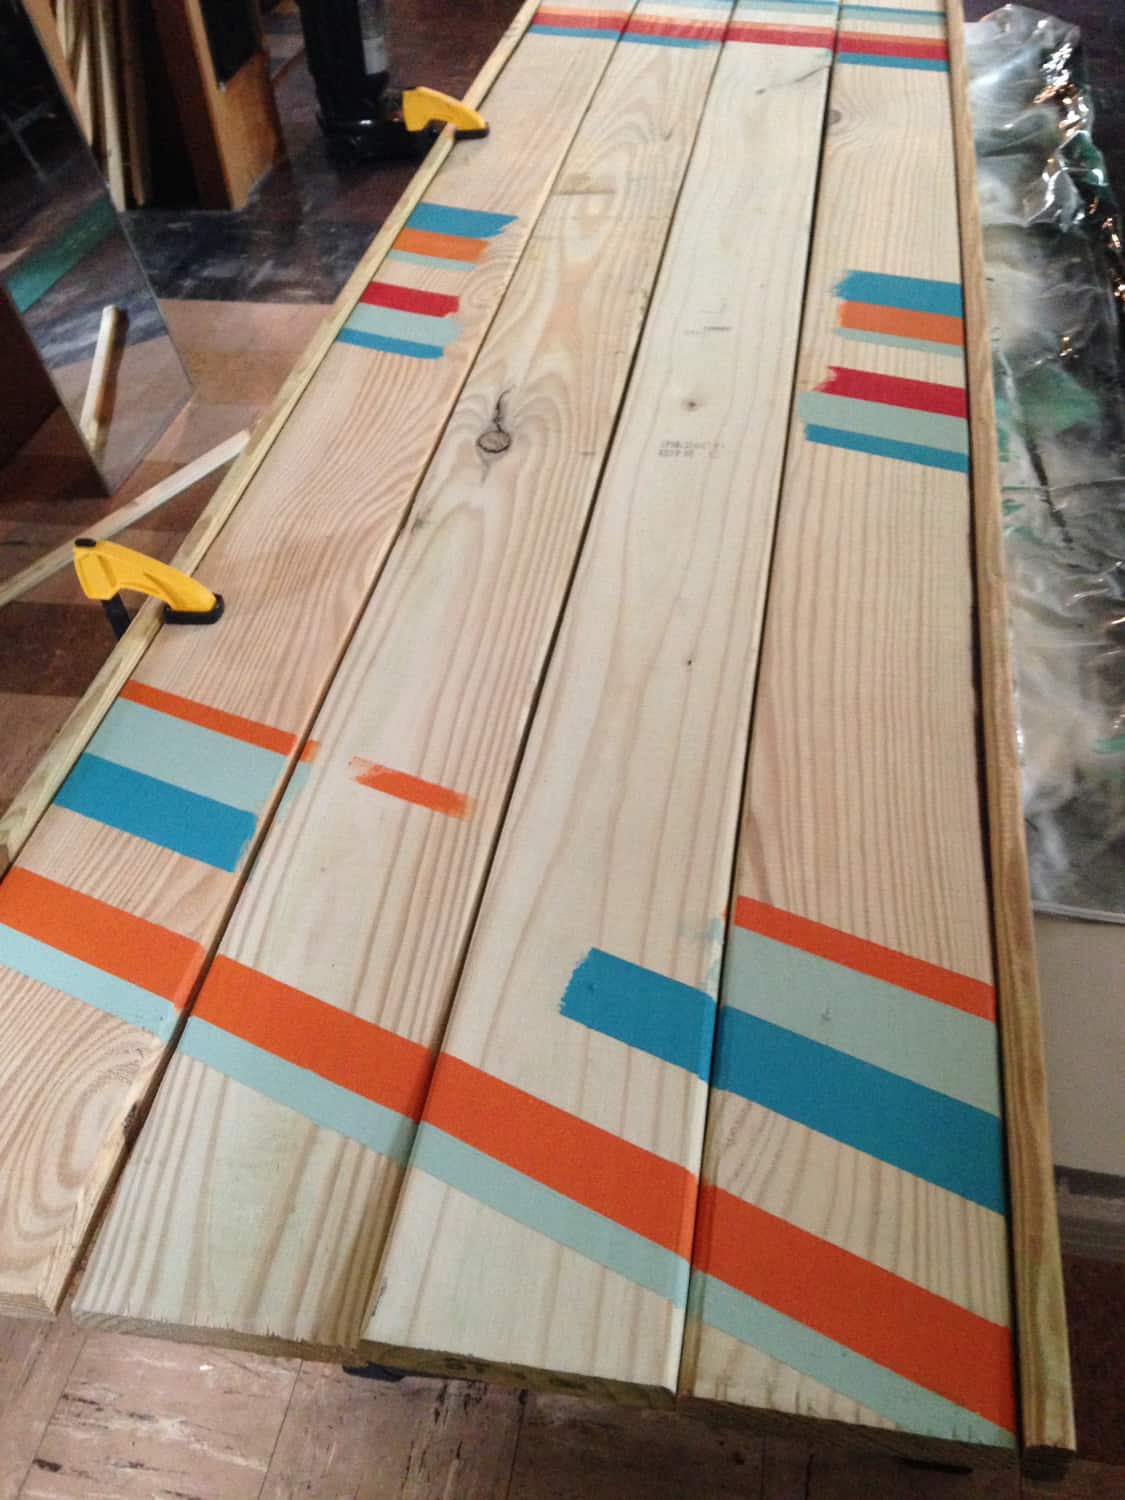
You can see some of the warping at the bottom. "So charming!" is the appropriate refrain.
I also started the nails on each end so that they were just protruding from the framing before beginning to hammer them into the planks, which made it much easier to hammer them in the rest of the way.
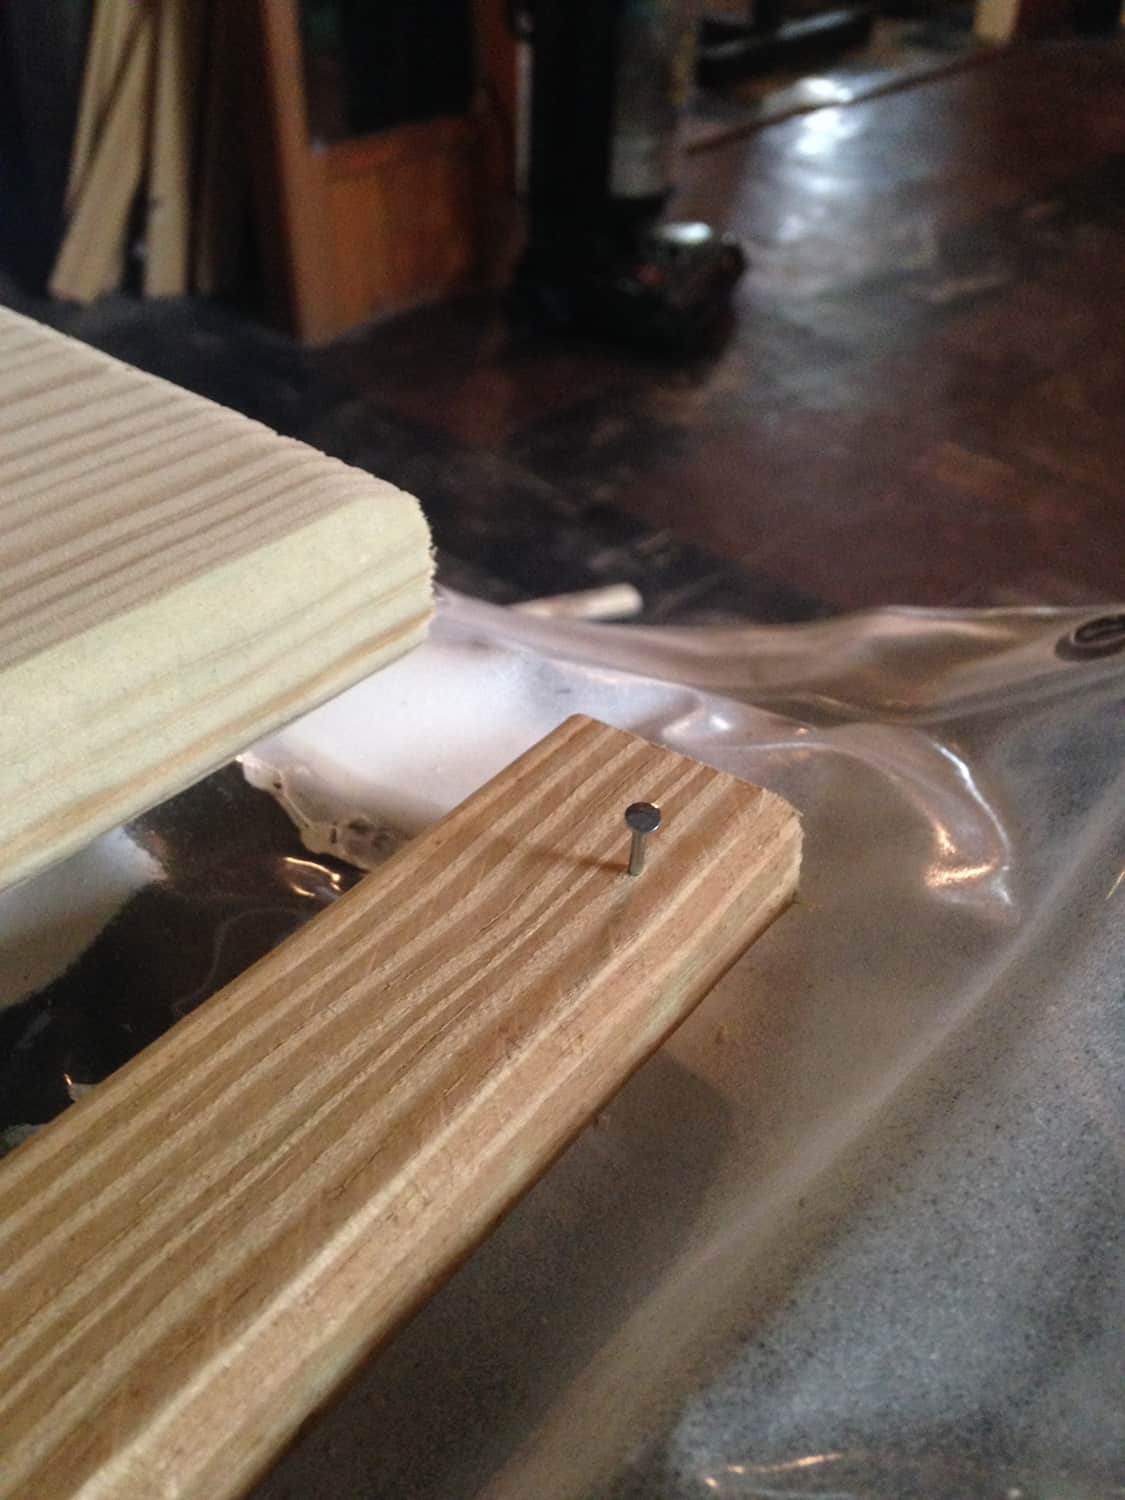
Some of the strips were a little warped, but I was able to hold them in shape while I hammered in the nails and thus forced them to stay straight.
Next I stained the whole thing with my Golden Pecan stain using a paint brush (excluding the middle where it wasn't going to show), which I let sit for 15 minutes and then wiped with a cloth to remove any unabsorbed stain (per the directions).
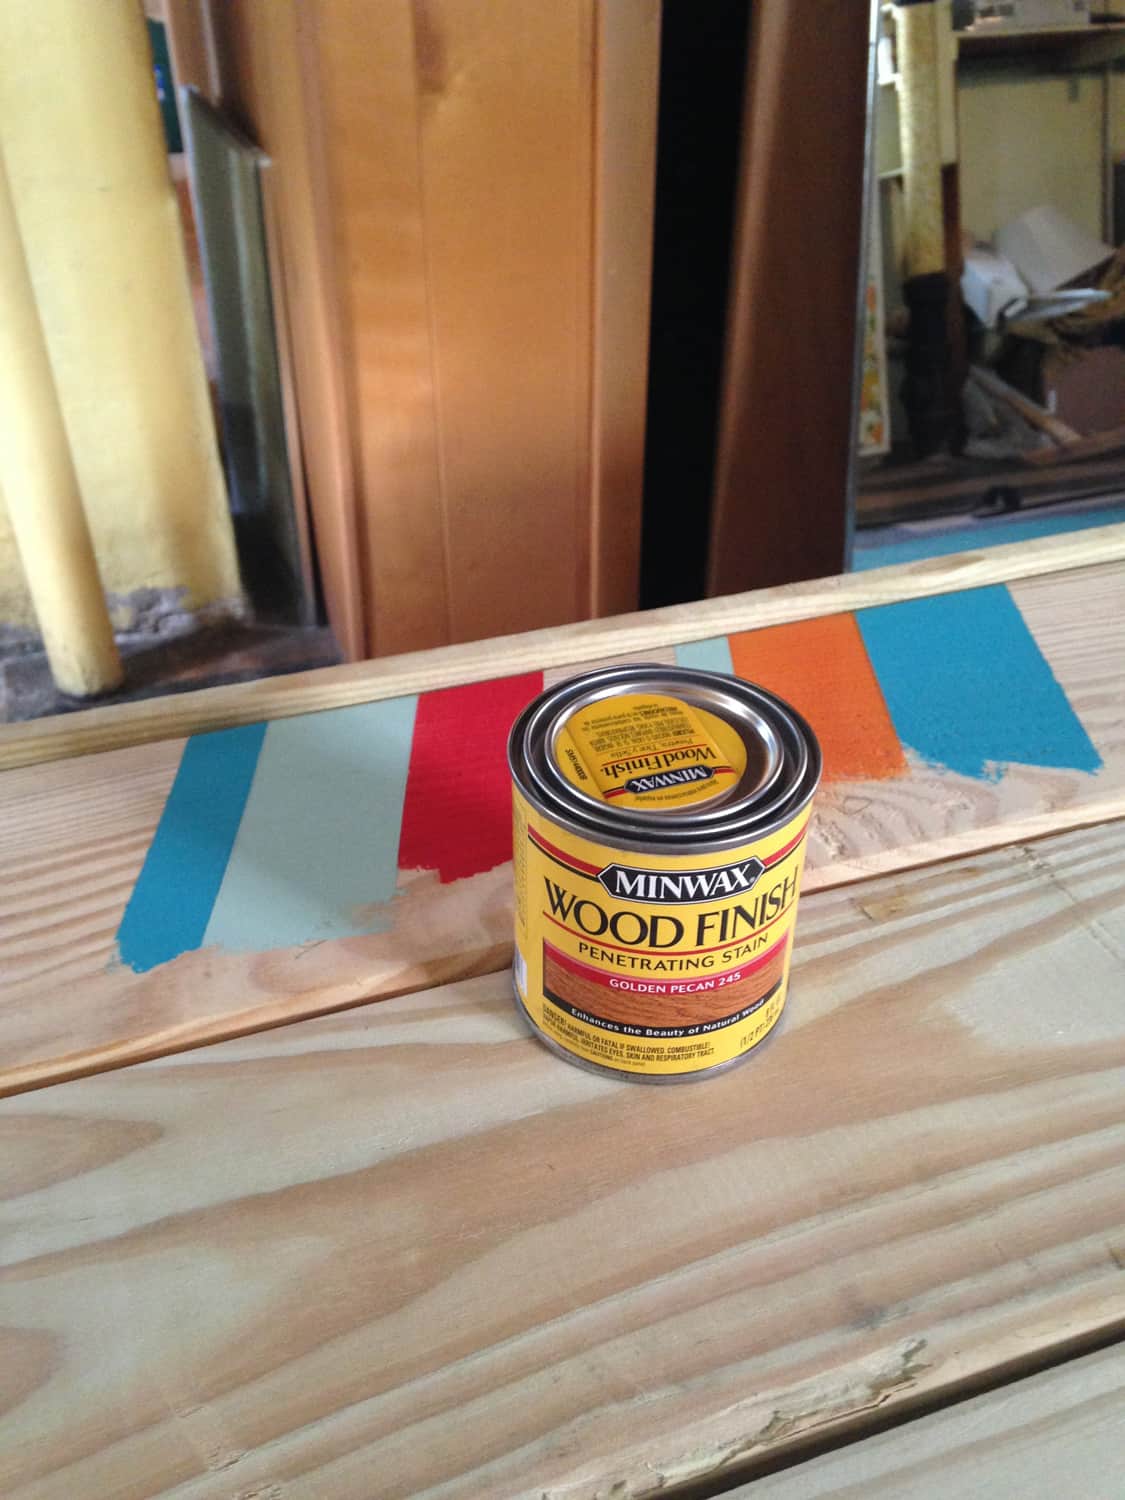
Here it is with one coat of stain:
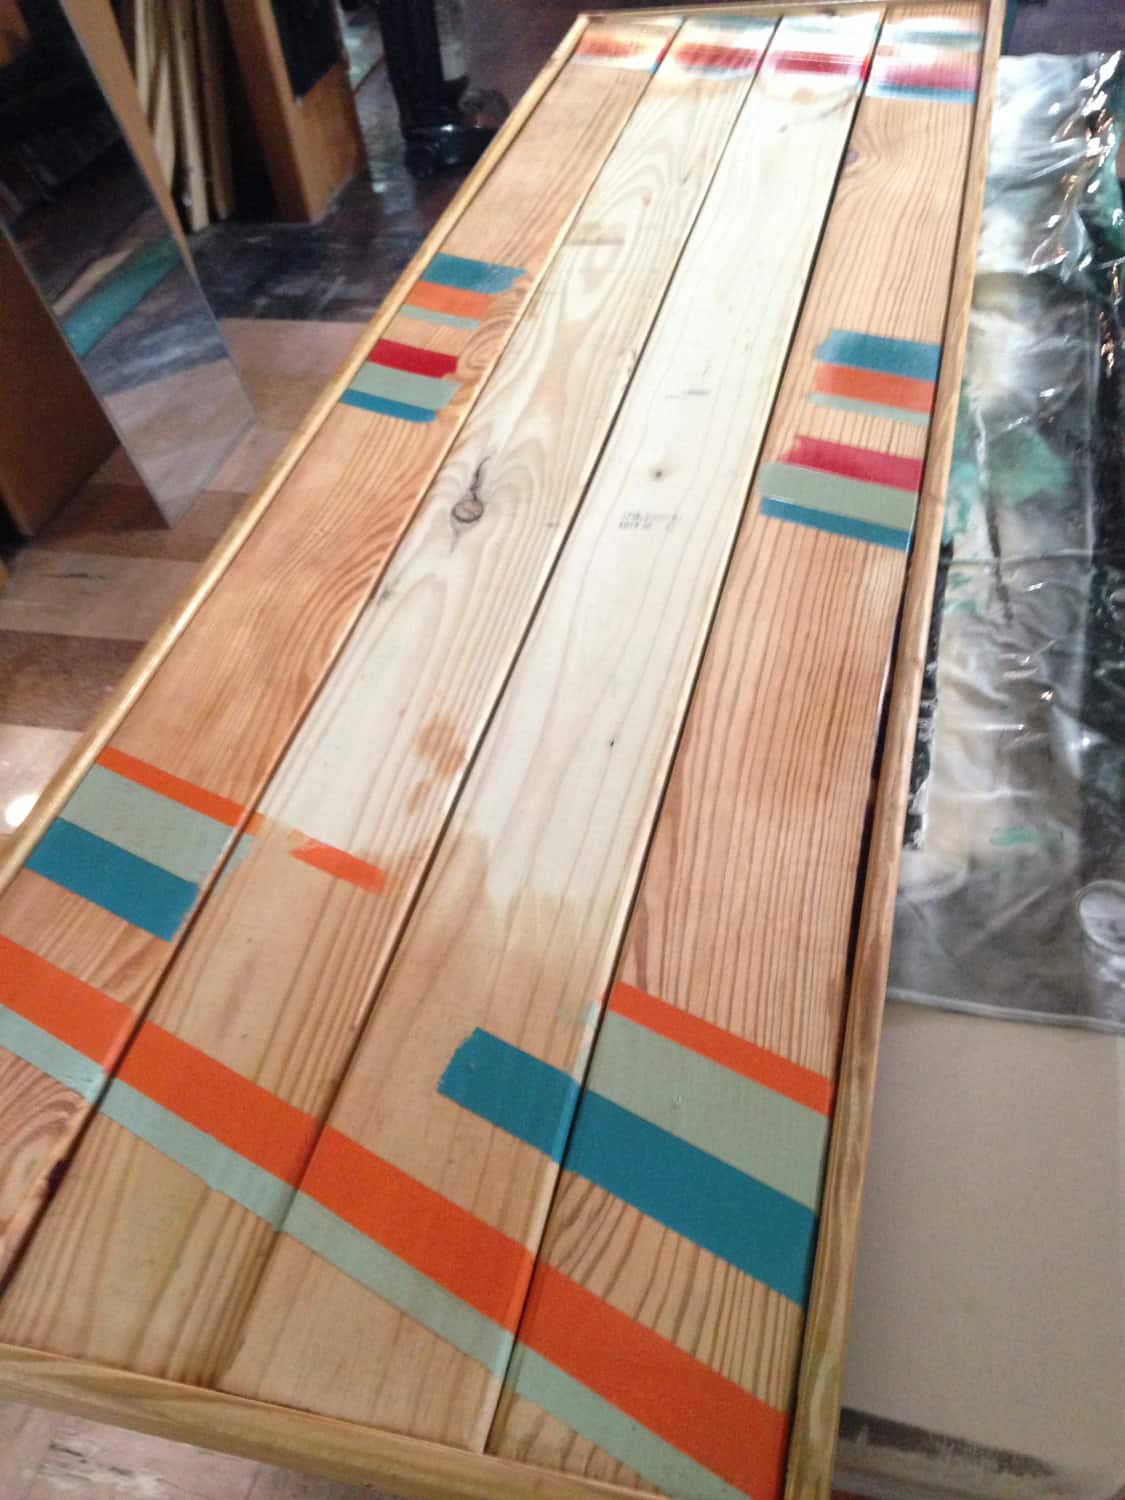
I liked the stain a lot, but wanted it to be a bit darker so for the second coat I mixed my own blend which combined the Golden Pecan stain with just a little bit of some "English Chestnut" Minwax stain that I had from a previous project. This gave a richer tone. I should note that the stain doesn't really soak into the painted sections, so I didn't have to worry about these darkening too much -- when I wiped with a cloth, pretty much all the stain sitting on the painted areas came right up.
Here you can see the three tones: the unstained wood in the center, the wood with just Golden Pecan along the top edges, and the darker mix along the bottom as I started to apply it.
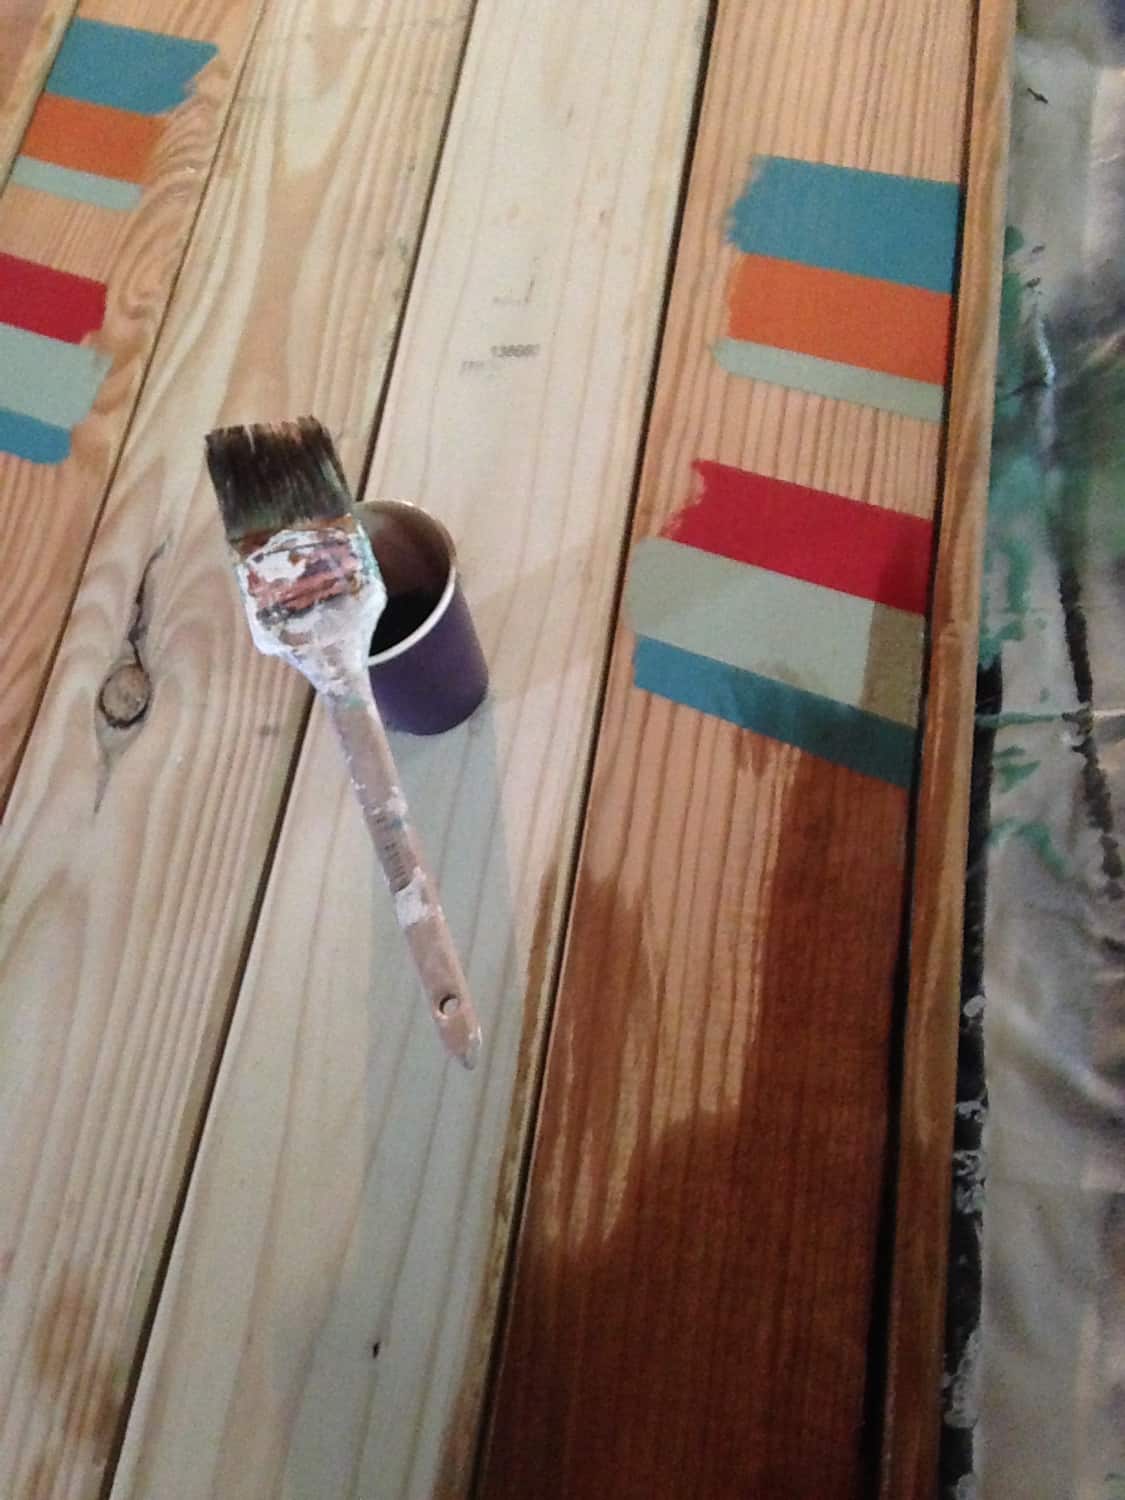
Again, I let it sit for 15 minutes and then wiped off any excess (I could have let it sit for less time before wiping if I wanted it to dry a little lighter).
I let it dry over the course of a day, and then the final step was attaching the mirror. I'd been laboring over the most secure way to do this (what glue to use?!?), but then saw that my inspiration project did a genius thing: she just used the original wall-mounting clips to securely attach the mirror to the front of the frame. So that's exactly what I did, since I'd been hanging onto them since I took the mirror down 9 months earlier.
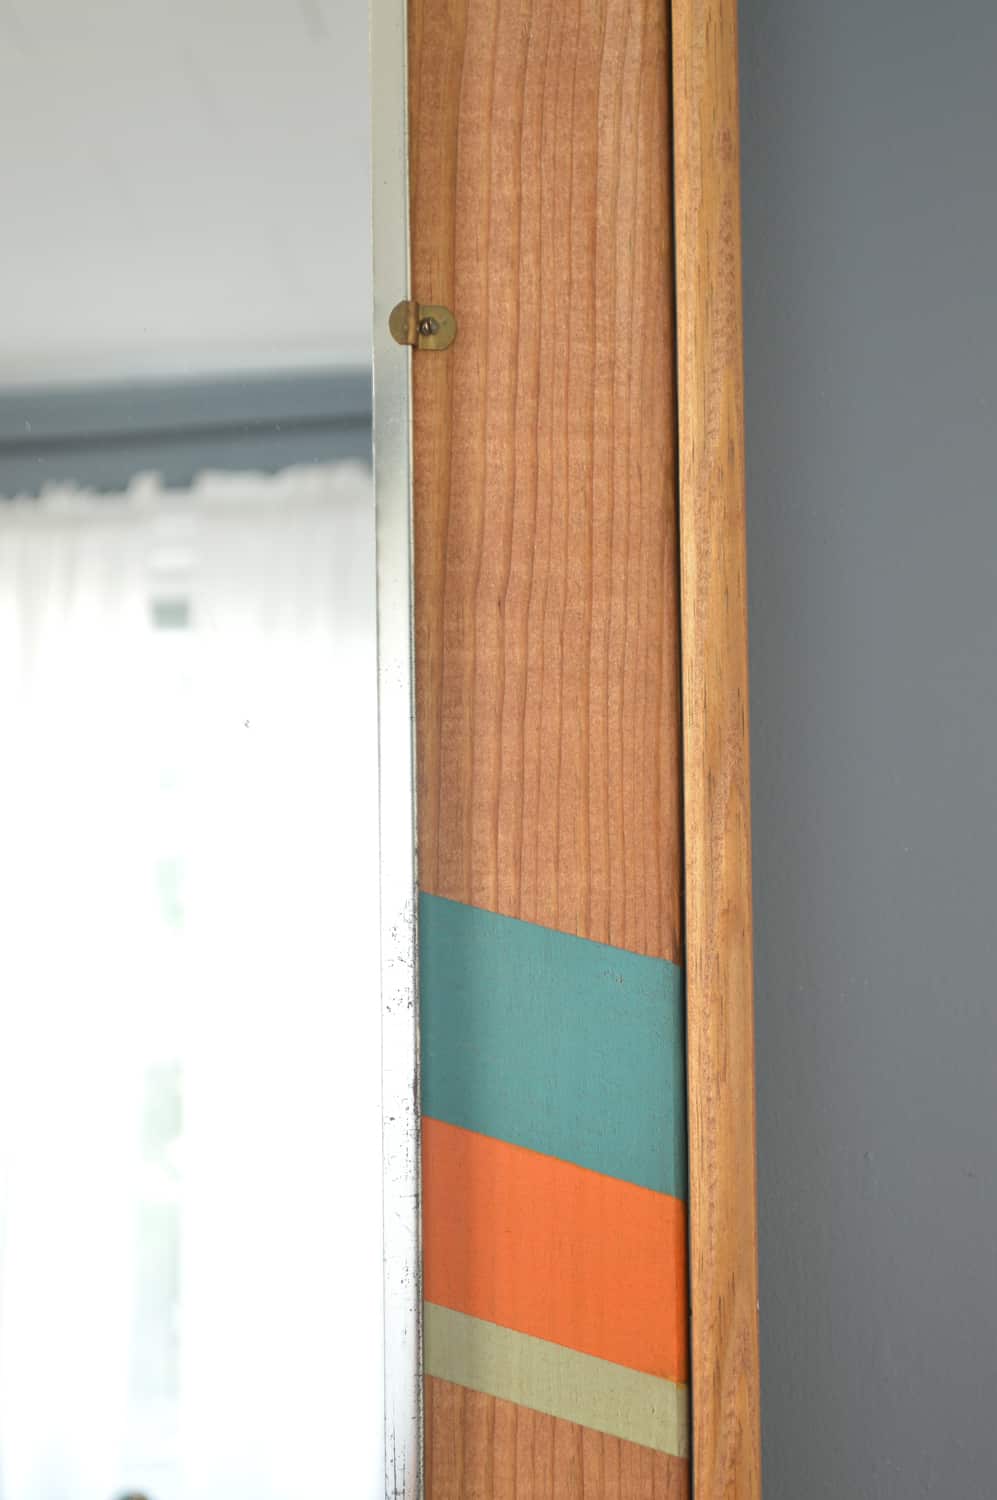
Carrying it up the stairs from the basement was a two-person job since it's quite heavy and tall. And here it is, in its final resting place
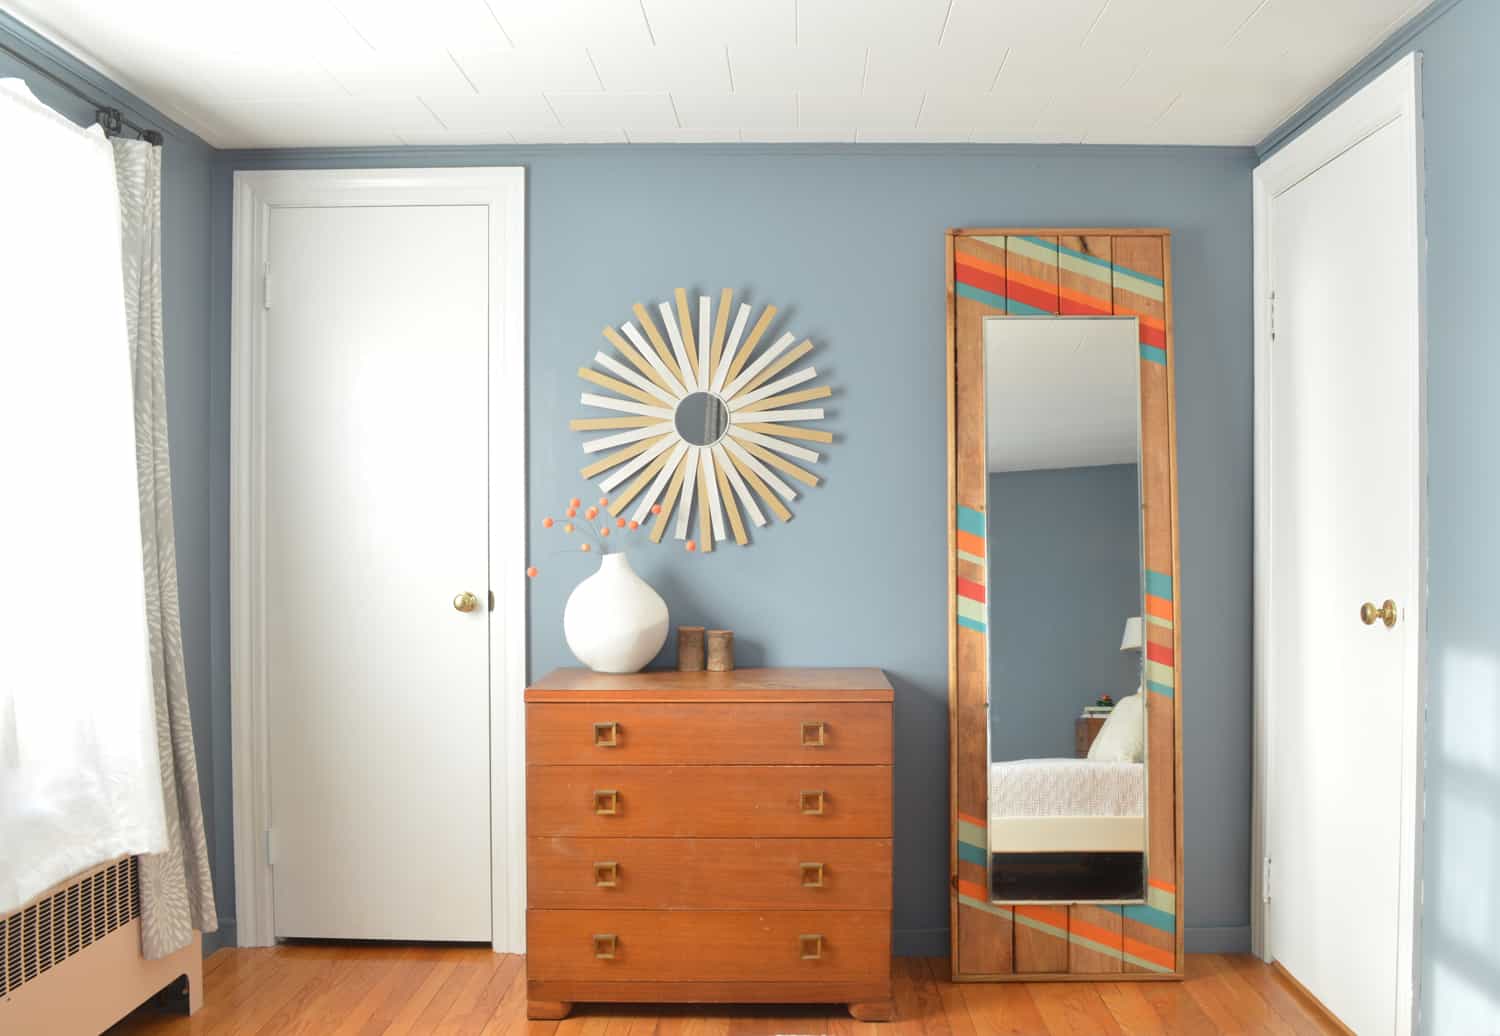
I'm quite enamored! I love the polish that the framing adds, and the colors are perfect for the room and for our tastes.
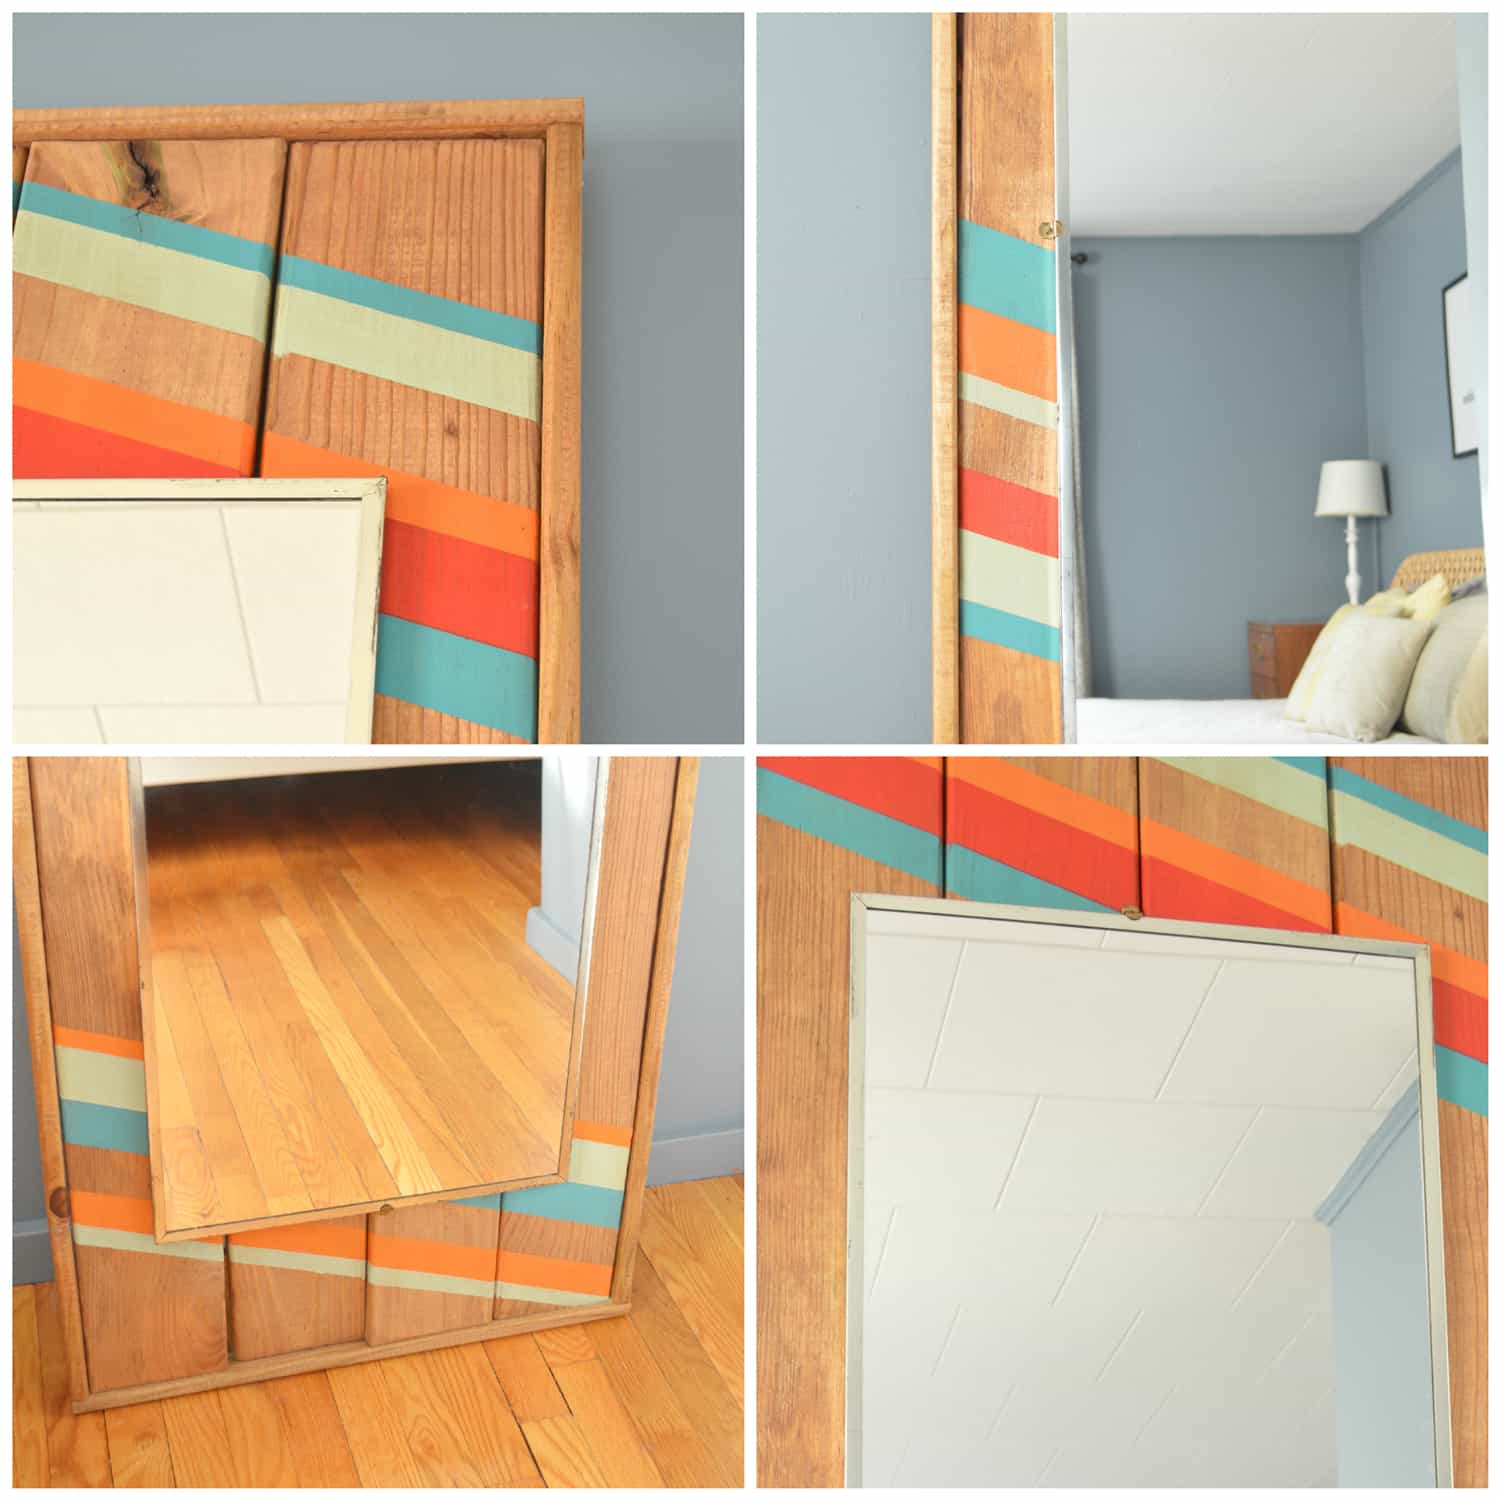
For $30 and a few hours of work, I’m pretty pleased with the results!
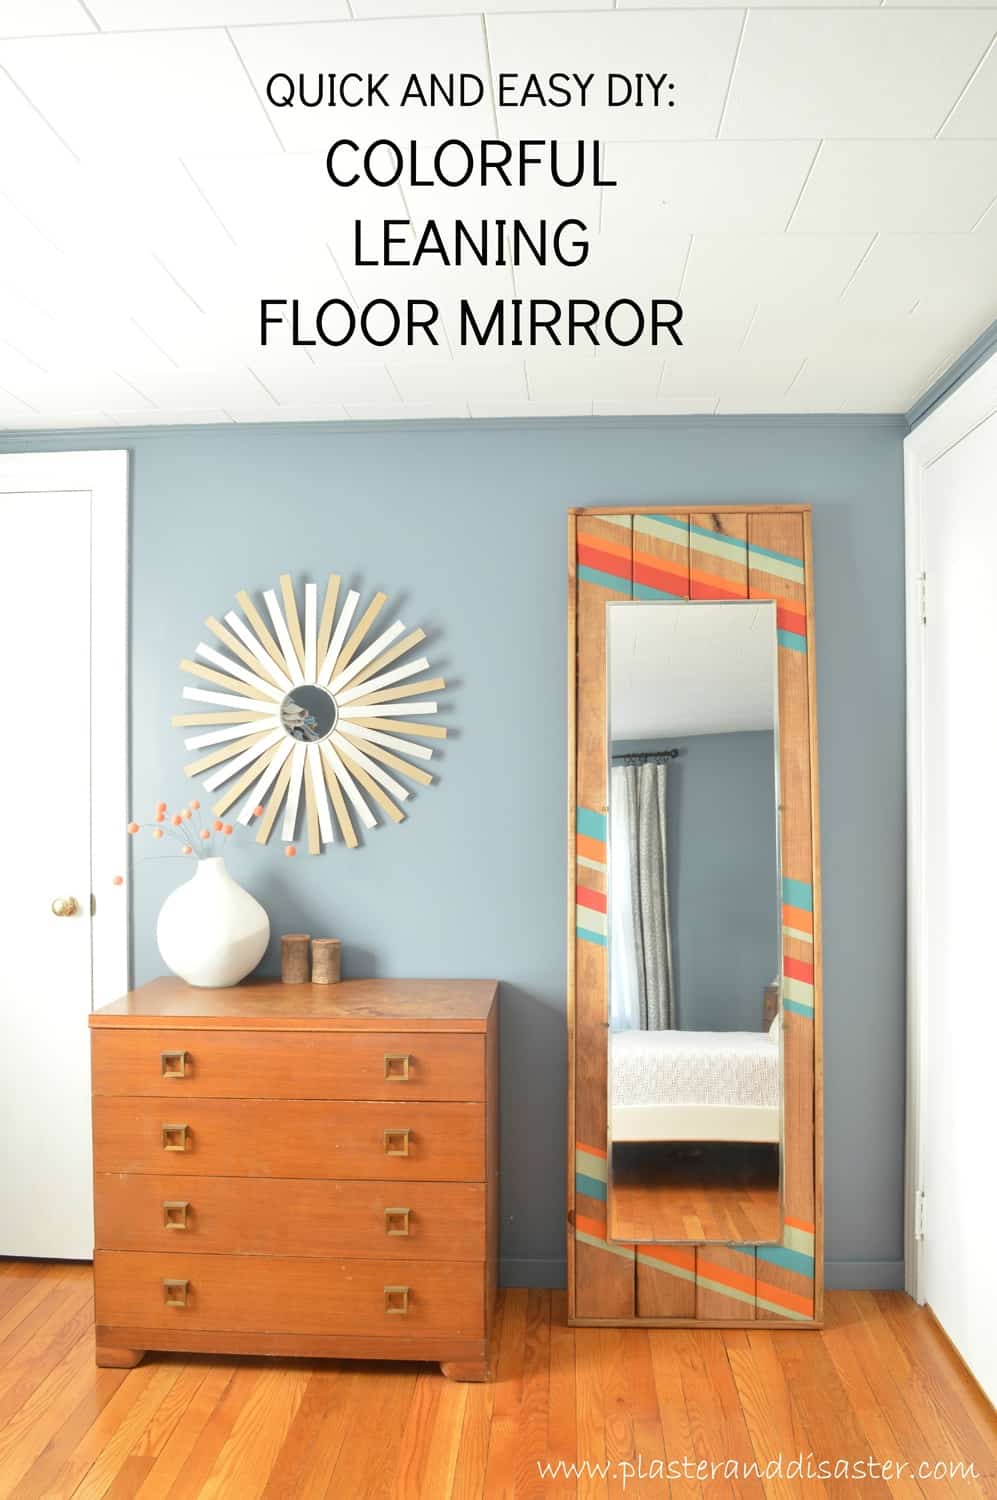
I hope you enjoyed this project, and that you’ll check out some of our other favorite projects and fondest disasters.
Thanks, Sage. Don't you just love that mirror? I really love how it pairs so well with the room. Also, I think it's the perfect project for a beginner. You can finish it in a weekend and have something cute to look at - I'm all about immediate gratification.
Want to see a few more of my favorite Plaster & Disaster blog posts?
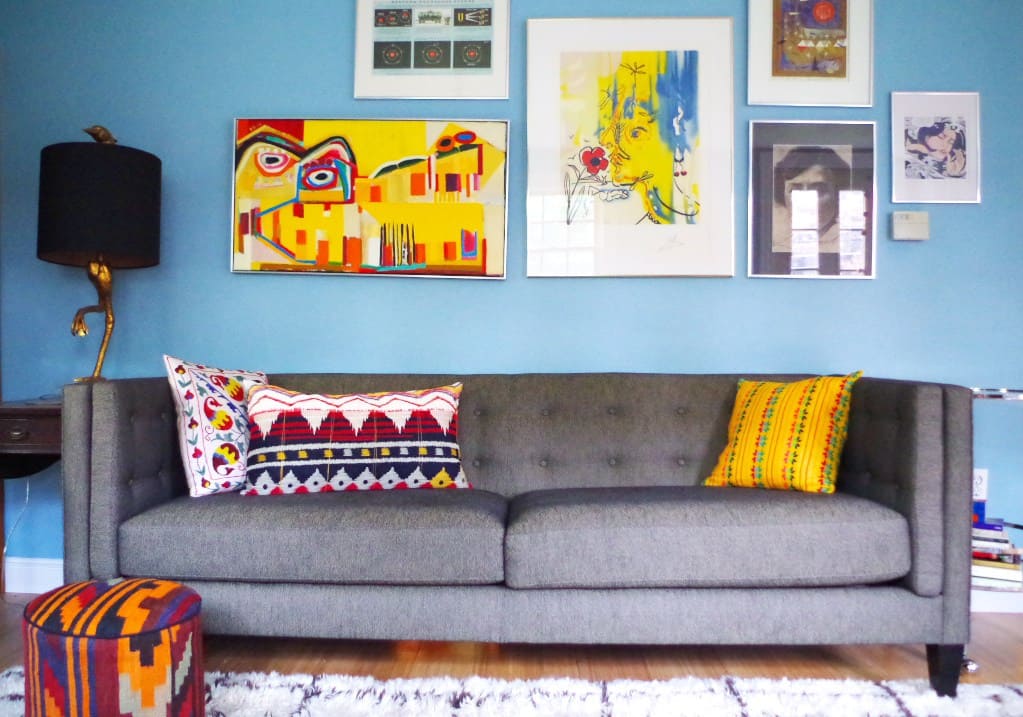
You know I love a great gallery wall and this one is just stunning. Really, the whole house (yellow doors!) and use of color without feeling overwhelming is just stunning. Don't take my word for it though.
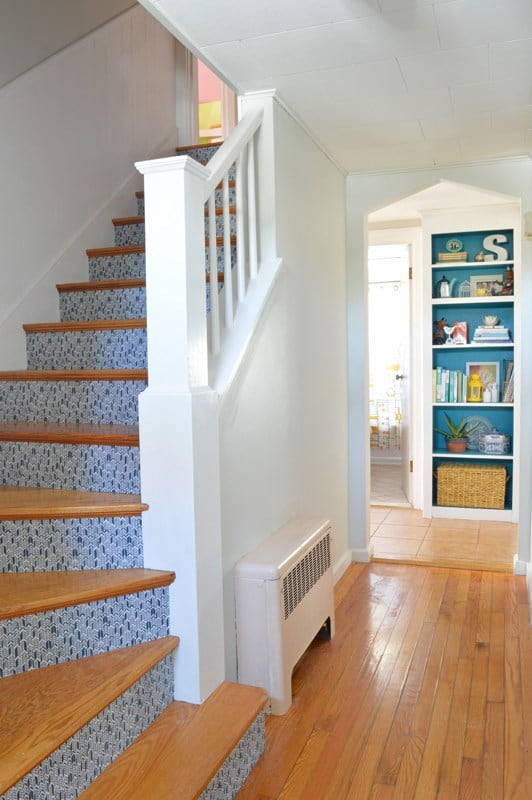
This hallway/stair makeover is so bright and welcoming. Plus, if you think that Sage used wallpaper on those stairs, you are mistaken. Go over and see what she used and the before. It's crazy!
Connect with Plaster and Disaster on:
Facebook - Twitter - Pinterest - Instagram
Linking up to:
}



Sage @ Plaster & Disaster
Thank you so much for all the love, Ashley!
Ashley Mayes
Much deserved. Thanks!
Deonna Wade
So excited to see this mirror and your take on my idea! Those are so cheap and make such a huge impact right? I love your version so much and am pinning. I'll have to share it on Instagram sometime this next month! Great job! 🙂
Ashley Mayes
Yay, thanks Deonna.