

Let me tell you the truth about this dresser.
1. I bought it off of Craigslist ($30).
2. The guy selling it had four and I bought two of them.
3. It isn't really a dresser. It used to sit in an eyeglass store and held eyeglasses.
4. It weighs 200lbs (no joke!).
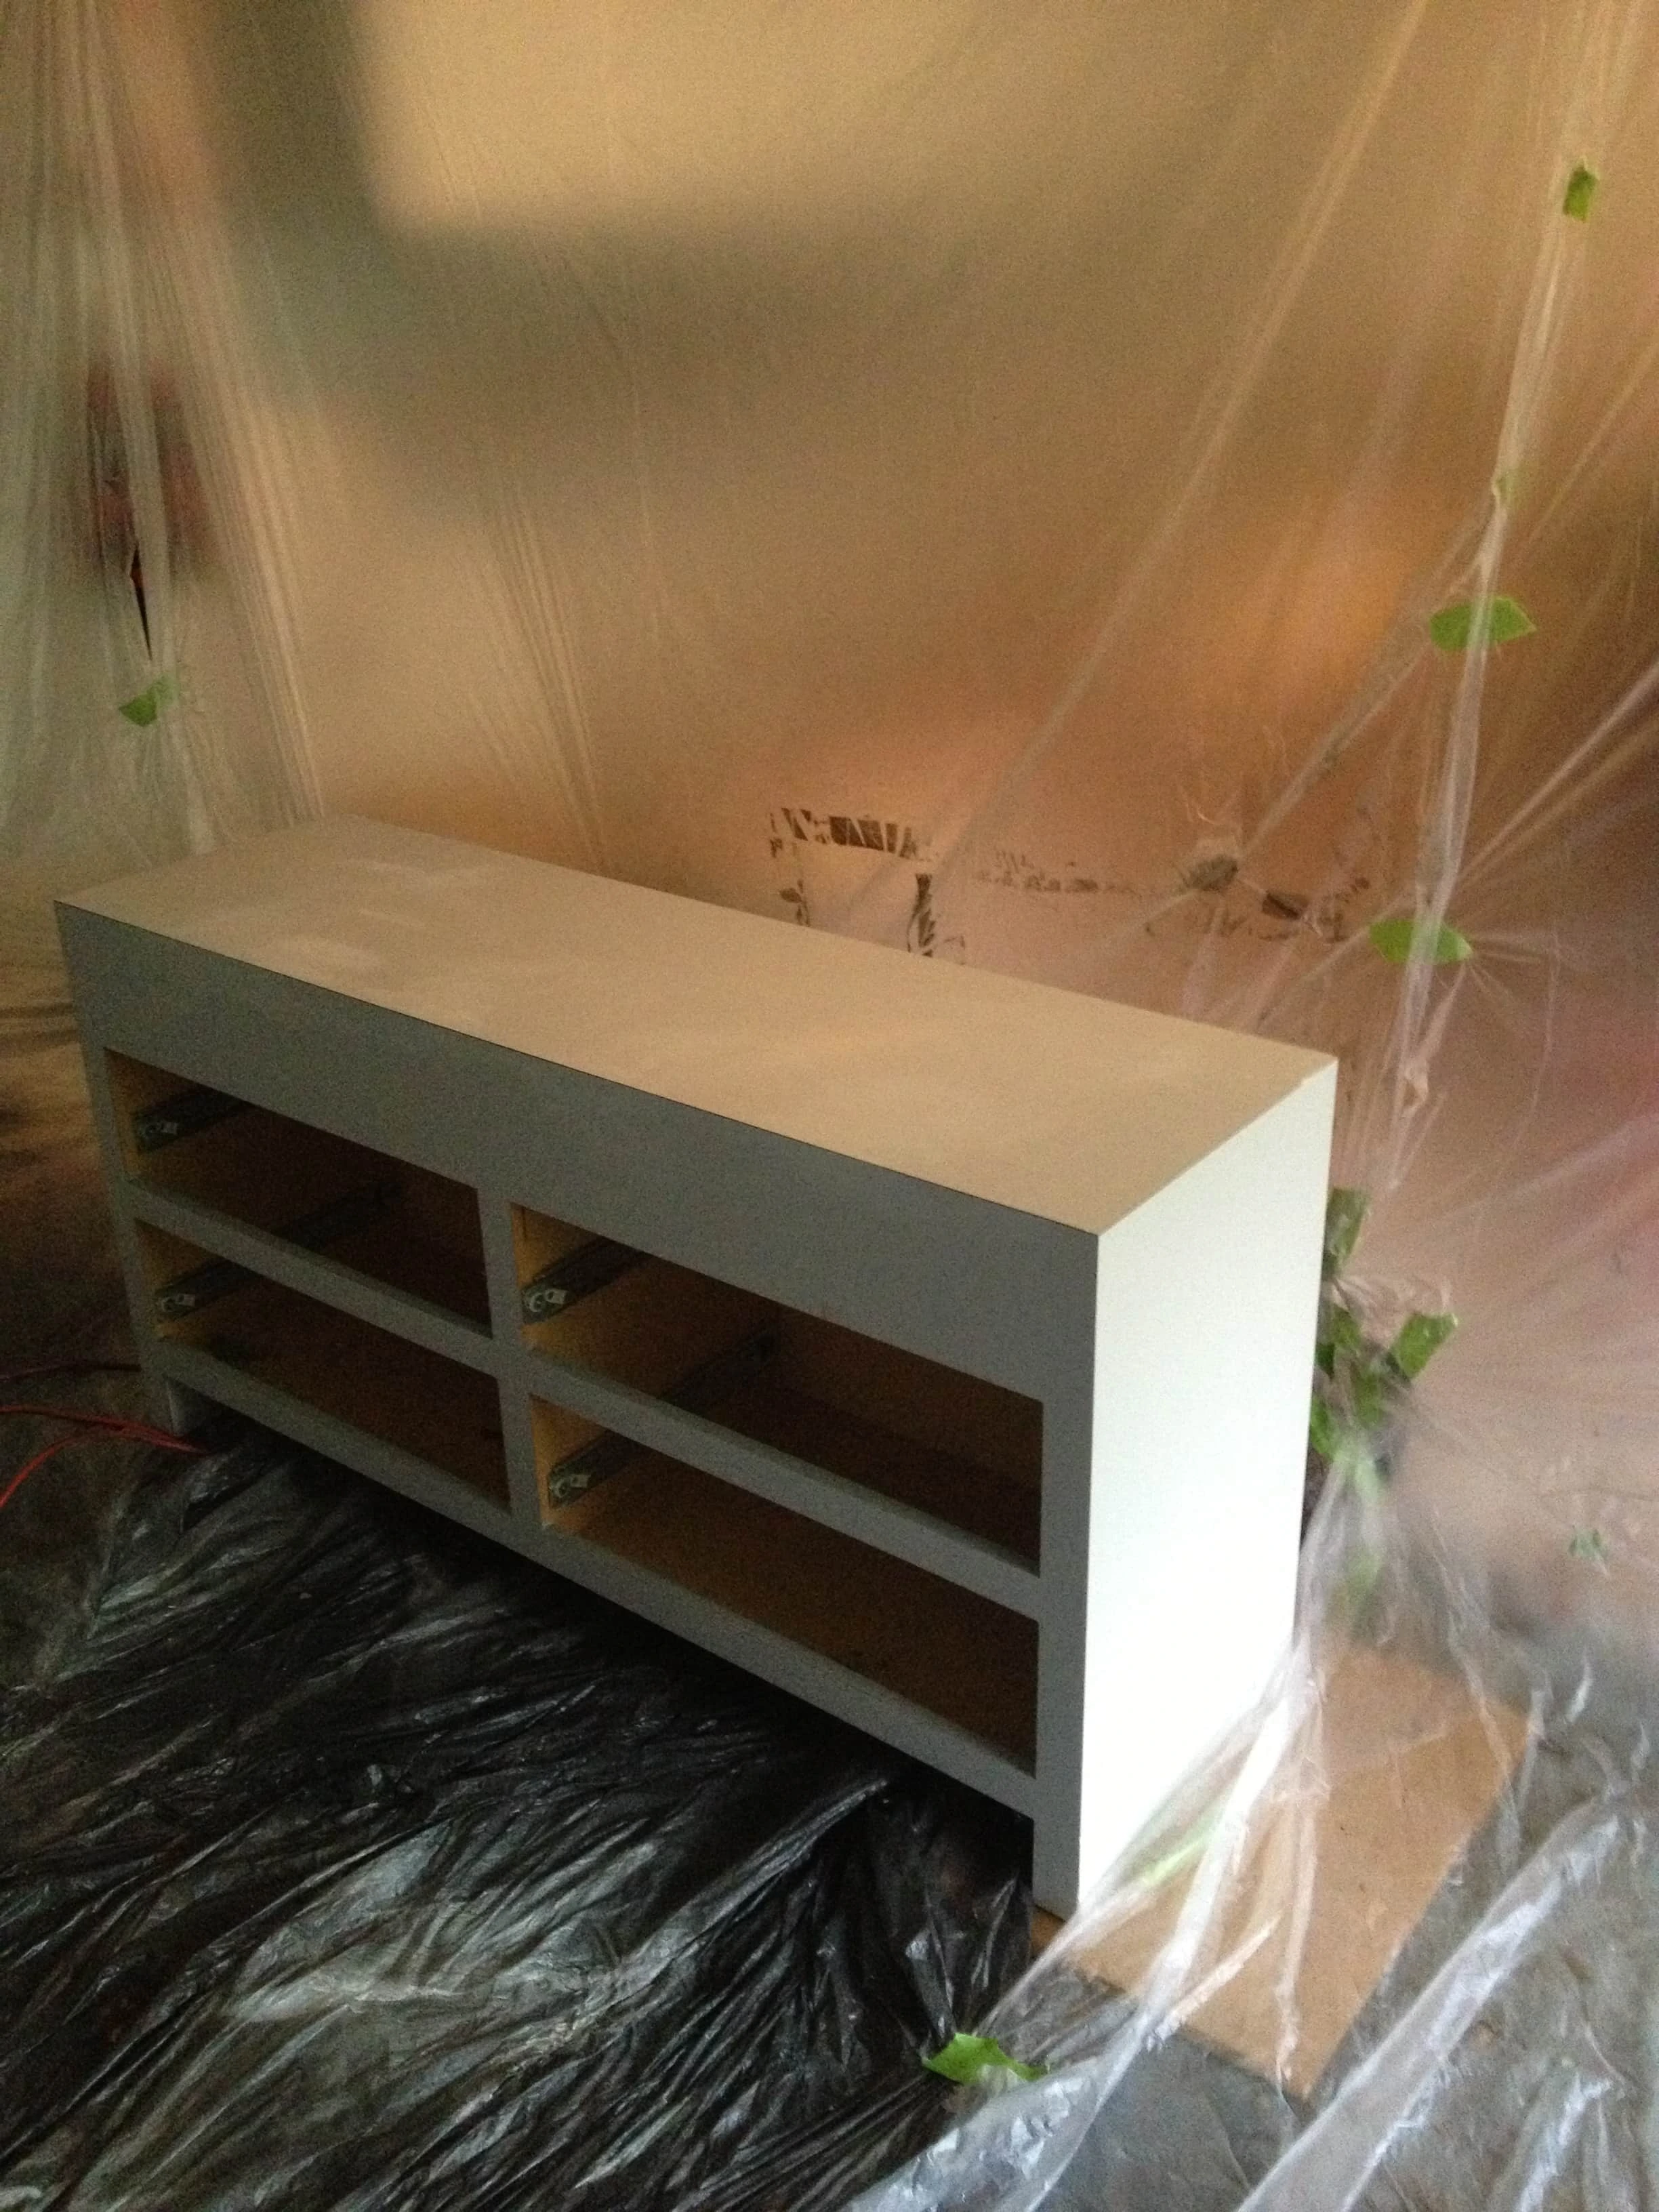
5. It has some type of weird composite/laminate stuff coating the whole thing.
Because of how much it weighs, we had to wait until timing worked (where we could have help moving it) to paint it. Then, after it dried for like a week (overcautious, ya'll), we had to wait for help to move it up two flights of stairs. I'm glad I'm not the "help" because it seriously looked like it wasn't going to make it up. =)
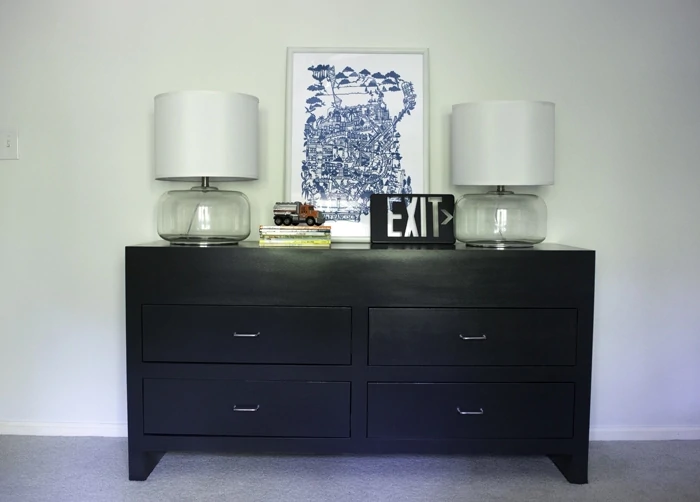
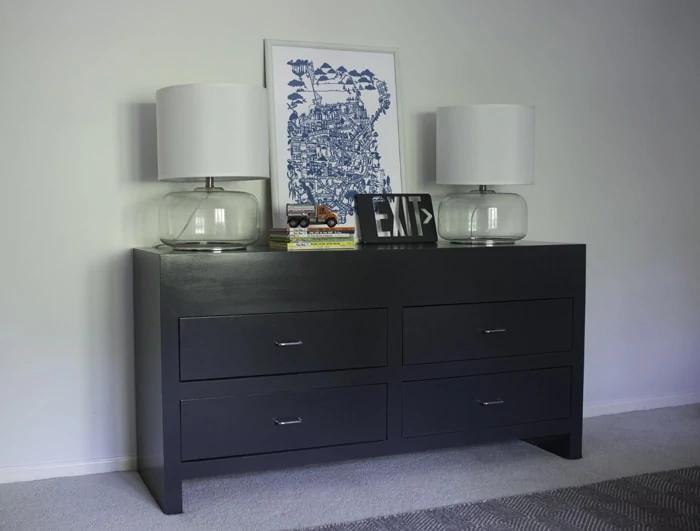
Here's the after:

This was the second piece that we used the paint sprayer on. I got it in my mind to use oil-based primer (Kilz) because I wanted to see if it looked better. My advice, don't do it. It was a royal pain to clean out of the sprayer. I'm complaining, but really I watched Luke struggle with getting it all out. =) He said that he wasn't going to use it again.
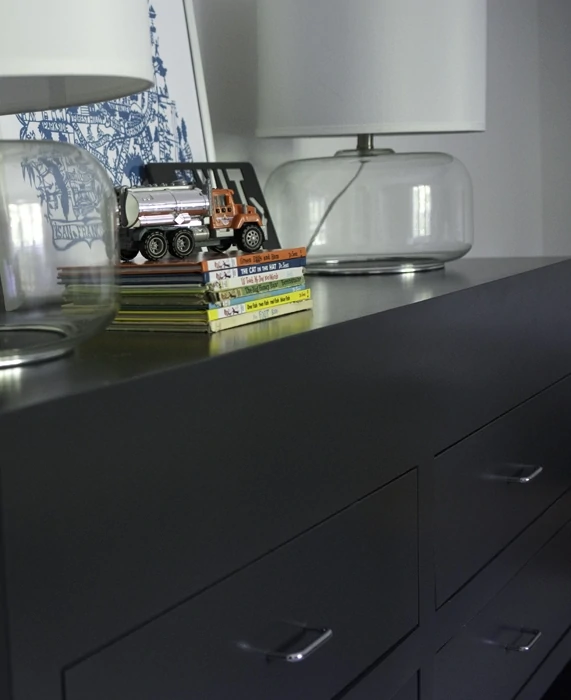
After the oil based primer, we followed that with latex paint. To be honest, I think the light coats are far more important than oil vs. latex. Call us lazy, but we are latex-only users from now on.
Linking up to:


Julia @[email protected]
Love the dresser shape, color and styling!
Have a great weekend.
Ashley Mayes
Thanks Julia!
Charlotte
It looks fantastic! What a steal, is that in the big boy room? I love those lamps too.
Ashley Mayes
Thanks Char! Yes, it's for Grey's room. The lamps came out of our room, not sure if they are staying or going. =)