

Monday sure does roll around fast, doesn't it? I feel like I say that every time I post on Monday, but that's how it feels. Fridays can't come fast enough and Mondays come too fast.. I'm always complaining. =) Well, something that I'm not complaining about is that we finished our tile! Finally!! I wanted to link to our first tile post on the kitchen, Tiling part one, and was appalled how far I had to go back to find it. Seriously, it was in FEB that I posted that thing. I guess posting promptness is just not my thing. Since I'm sure you don't remember (I mean, who remembers a post from almost 4 months ago?), I posted the process that we used when tiling. It wasn't a full how-to but it did give some good general tips. I'm going to follow that post up with today's post, Finishing the Tile with Grout and Electrical Extenders. Aren't you stoked after reading that title? LOL.
Ok, let's backtrack just a bit.
I shared this image as my final review for the previous tile post.
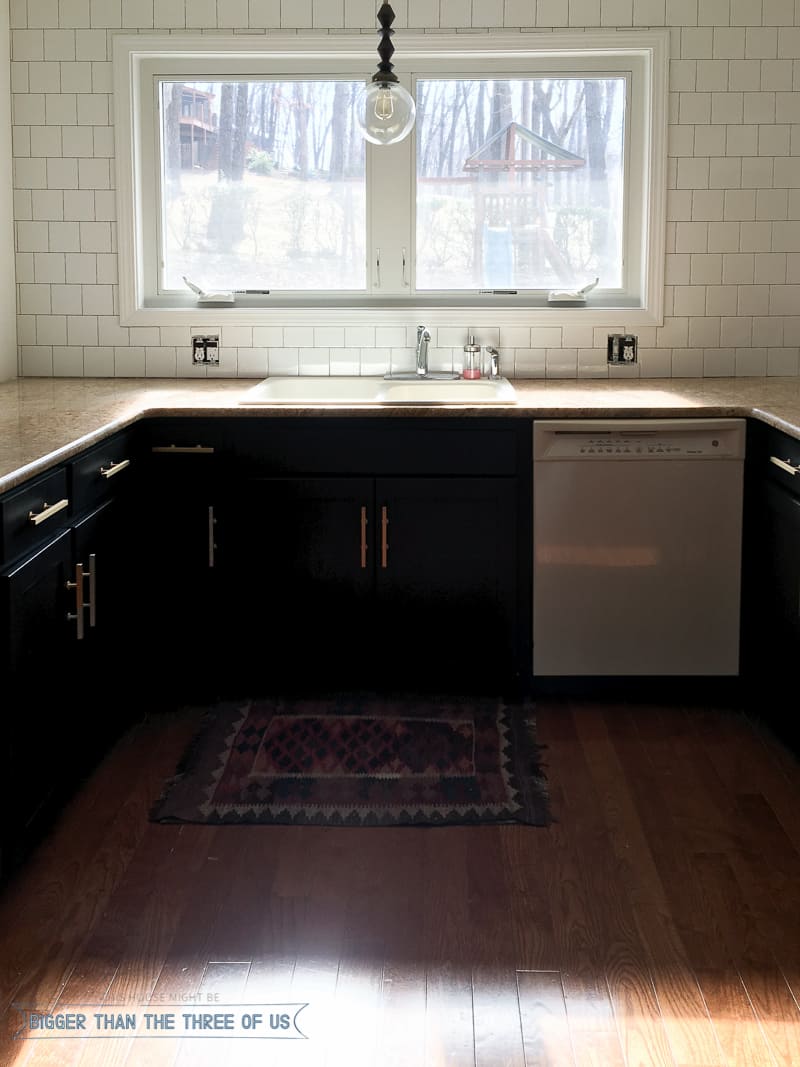
We had tiled the wall shown and the wall that our oven sits on. We still had to tile the wall that to the left of the window.

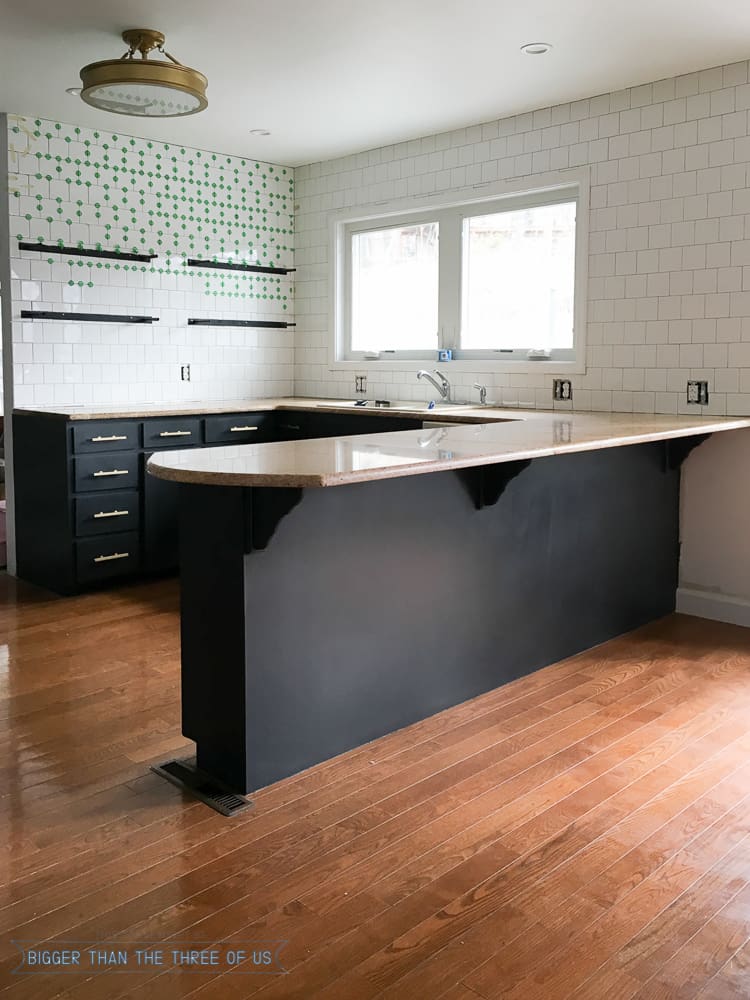
I will chat more, later this week, on the shelf supports/shelving.
So, we finished tiling the last wall and then we were on to grout.
Weirdly enough, I only have this IG picture of the grouting process. Basically, we used "Oyster Gray" pre-mixed grout that comes in tubs. We went through about four tubs. The color is a light contrast that, on it's own, looks a bit brownish-gray. I did quite a bit of research on that grout though and really liked all the rooms that used it. In person, it looks like a light gray.
For grouting, we followed the instructions on the tub. We did run into this issue:
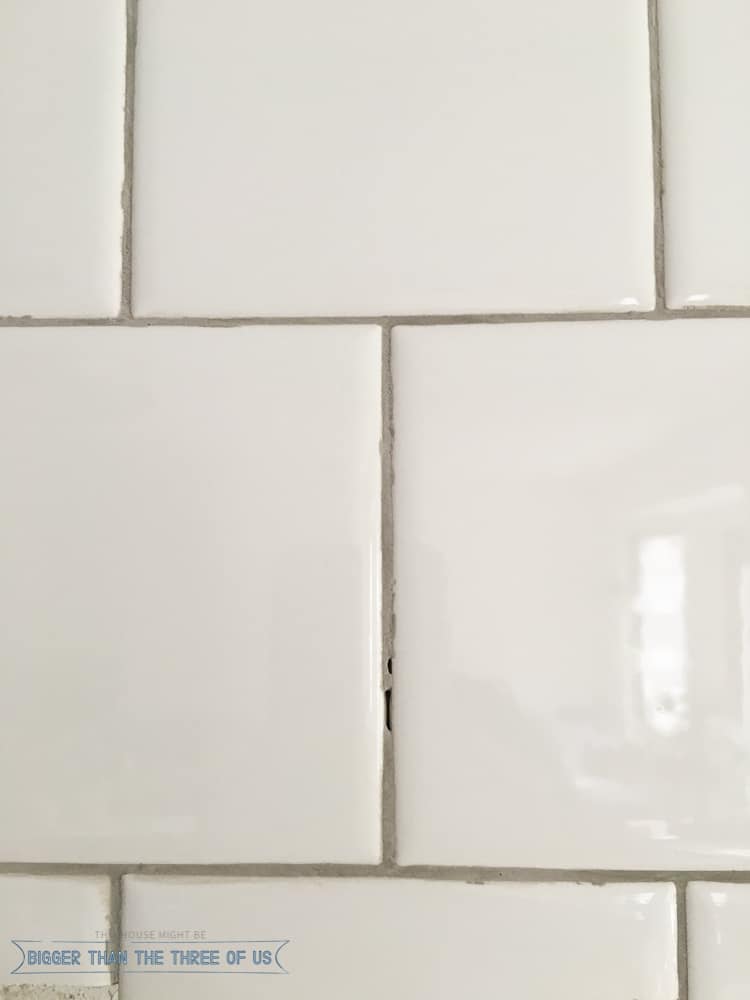
After the grout dried, we had multiple spots on the wall where we had holes. I don't know if I got too aggressive with the sponge to clean the haze off or what. To fix this, after the grout had dried the first time, we went back over the areas that had some missing. It was definitely an extra step but one that fixes the holes.
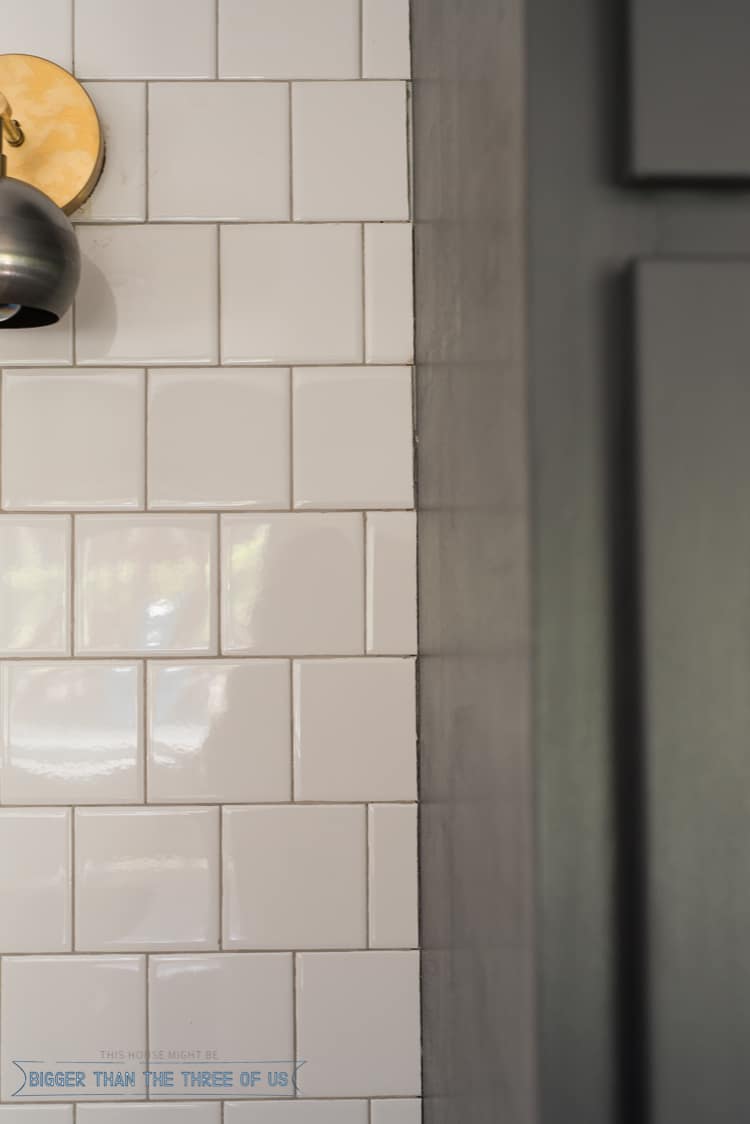
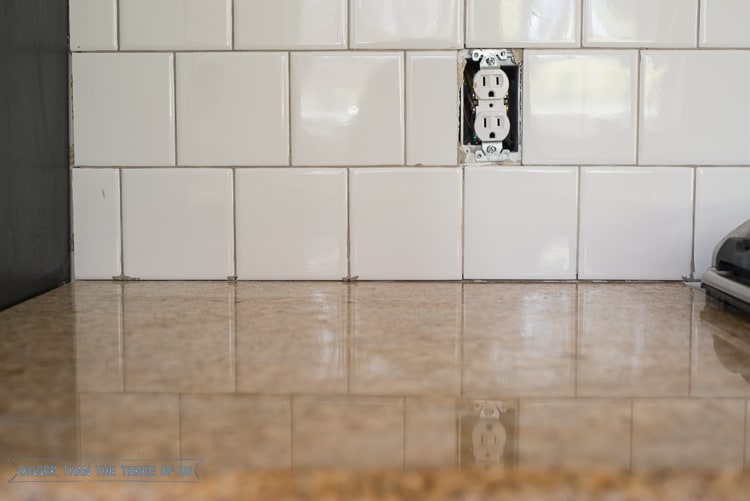
The next thing we had to do was address all the areas (basically all edges) where the tile didn't meet up perfectly.
Caulk is a game changer and seriously, makes everything look perfect.

We used about two containers of this:
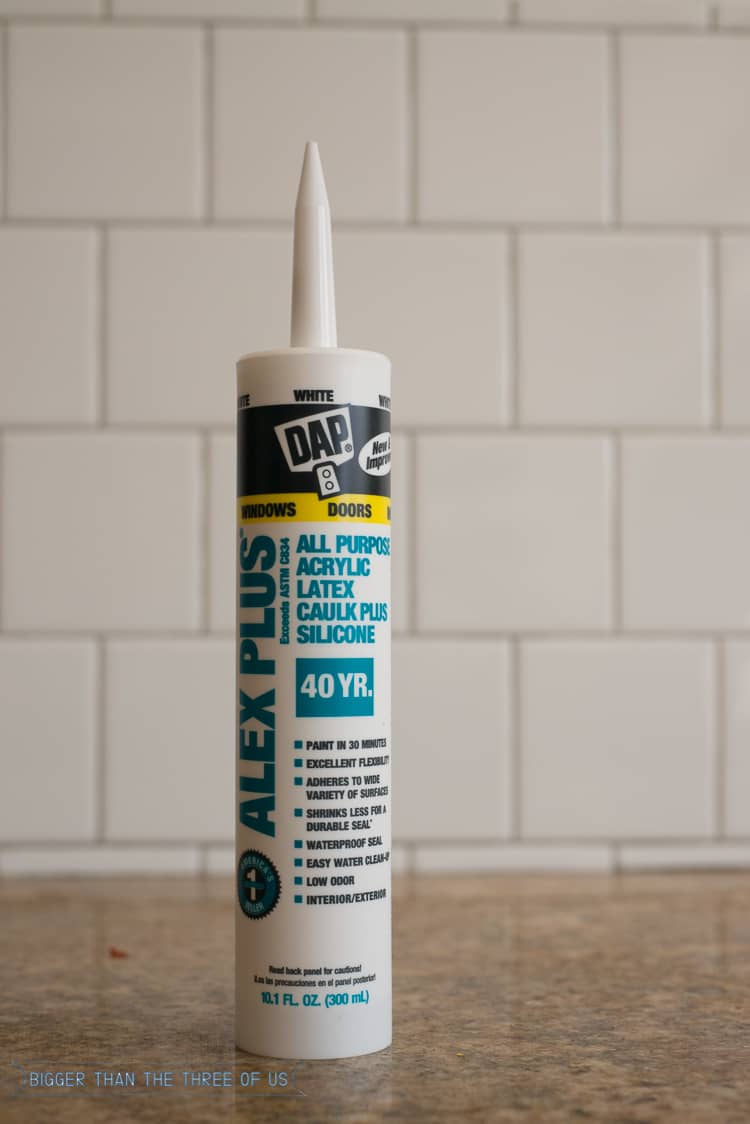
When you are caulking, it's helpful to have a damp paper towel as well as a dry one to clean up the excess as you go.
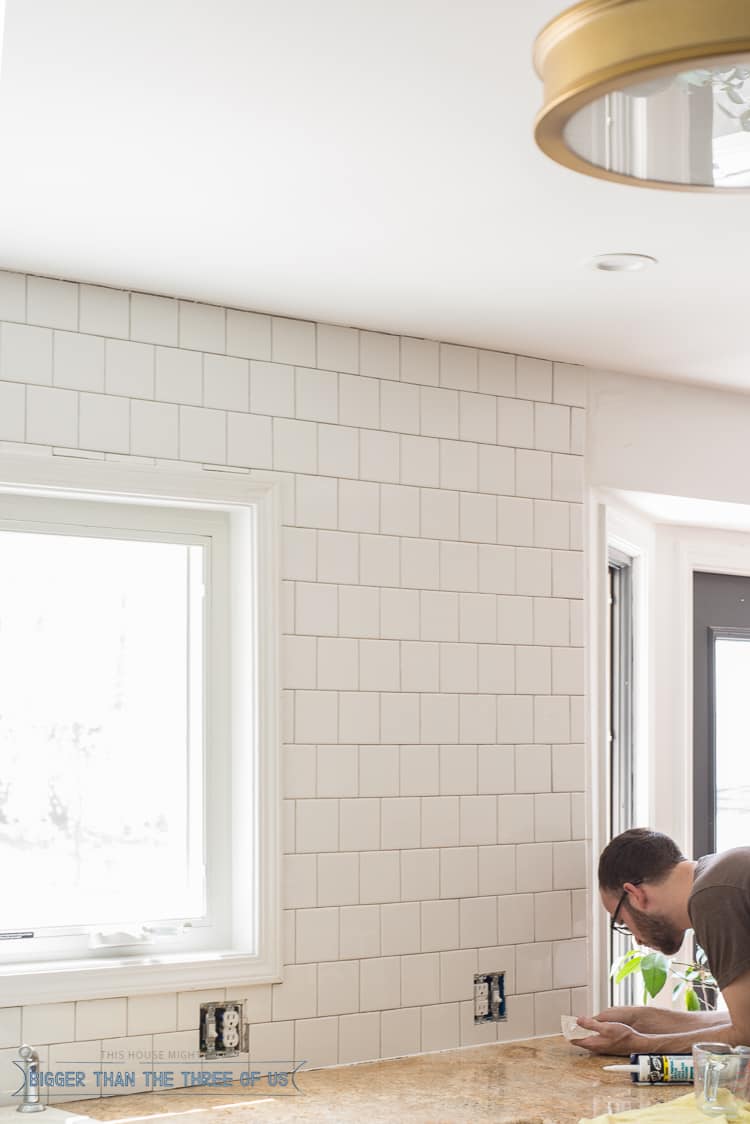
Once we went to put our faceplates on the electrical outlets, we realized that they sat too far in. Because of the depth of the tile, we needed to add electrical extenders.
At first, I bought a package of these:
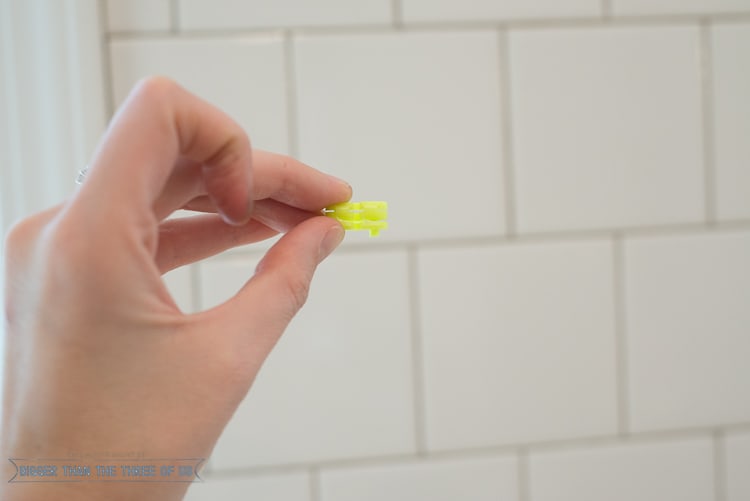
They work fine, but are a bit finicky. I can't remember exactly, but I think Home Depot carries that kind.
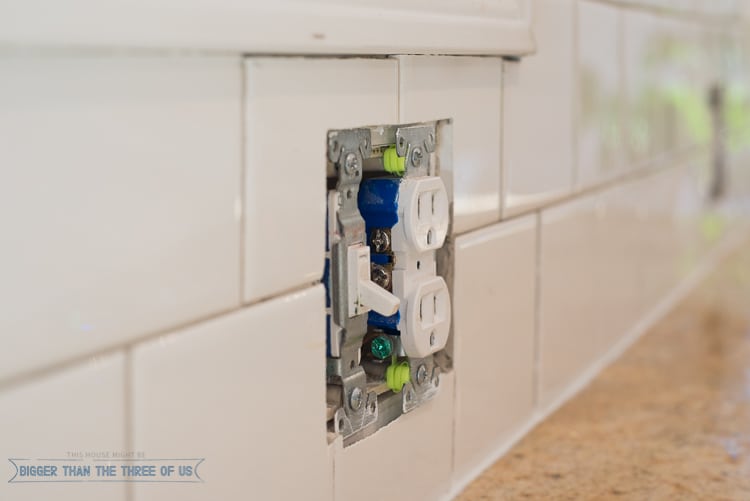
I didn't grab a picture of the other kind, but Lowe's has extender boxes. They come with instructions and are a little more expensive, per outlet, than the extenders above. Luke preferred the boxes.
Next up, was grout sealer.
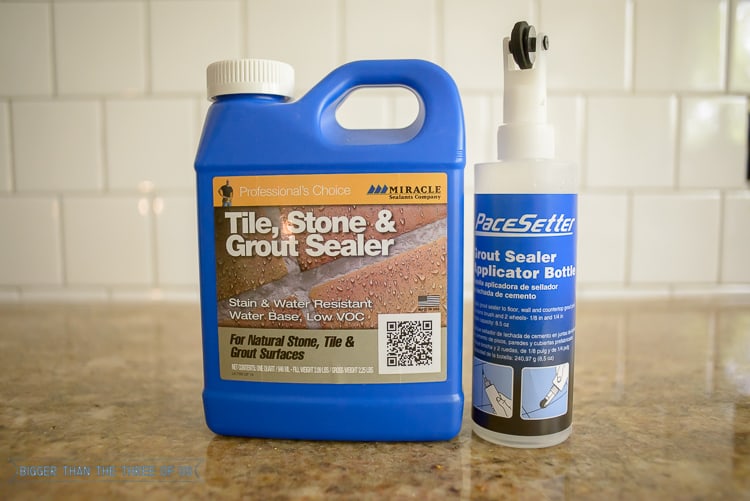
It's pretty self-explanatory, but just know that the wheel does squirt, so a pair of safety glasses might be good.
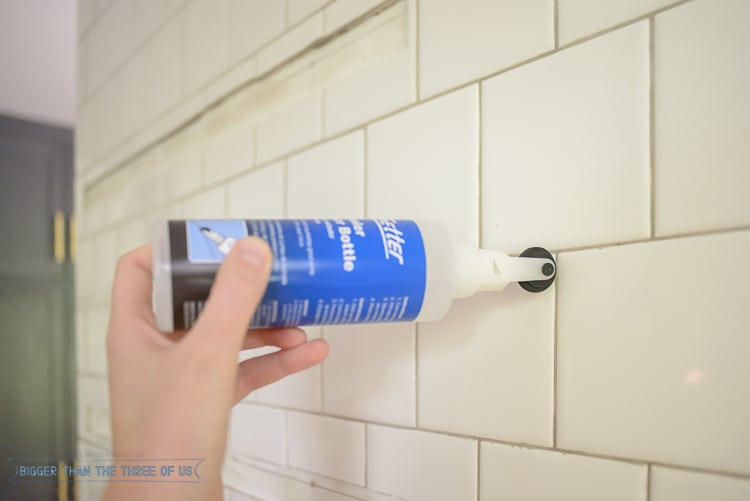
Also, you will want a roll of paper towels because the sealer will run down the wall.

All in all, the sealing doesn't take long. My arms got a bit tired, but that was it.
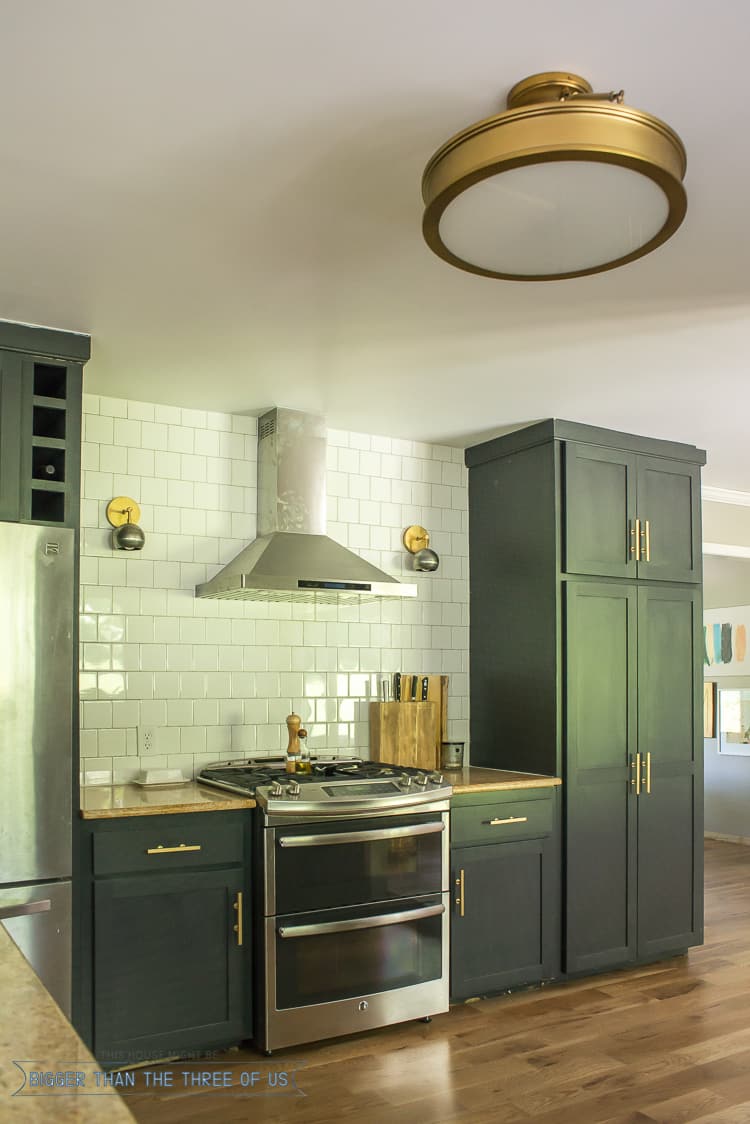
So, we are officially done with the tile. We have lots of touch-ups to do around the room, lots of painting, but the tile is done.
Would you tile yourself? Have you tiled?

Lizzie @ Living Pretty
It's gorgeous, and I LOVE your cabinets & hardware!
Ashley Mayes
Thanks Lizzie!
cassie @ primitive & proper
so gorgeous! i did tile my backsplash myself, too. and i agree about the caulk. and there are so many inappropriate jokes i'd also like to make right now but i will leave it to your imagination.
Ashley Mayes
Bahaha, common.. couldn't you just spell them out for me?
Carrie
Ugh, tile. I am finishing up tiling our shower and it has taken a million times longer than expected. So worth it because of the cost savings but can't wait to be done. Your kitchen is looking amazing!
Ashley Mayes
Totally agree! It takes forever! Thanks Carrie!
Amy | Delineate Your Dwelling
It's looking so great! We tiled our kitchen and two bathrooms... it's a big job but so worth the effort!
Ashley Mayes
Totally agree!
Stephanie @ Casa Watkins Living
Ashley this is so great. I'm so jealous of your tile. I keep pushing back tiling my kitchen, but you have really made it look so much easier than I thought. 🙂 Can't wait to see the finished look.
Ashley Mayes
Thanks Stephanie! Seriously, you should try it! It's definitely a doable project...slow and easy.
Jessica
I love that you tiled the whole wall and not just half of it...It gives it a grandeur look...if you know what I mean. Yes, caulk does magic. love.
Ashley Mayes
Me too! I fell in love with kitchens on Pinterest that had the whole wall tiled. It was definitely a bit more expensive that way but I think it really gives you the visual interest.
Renee
LOVE your kitchen!! Can I ask what brand your grout was? I've been looking everywhere for the exact color. You said Oyster Gray- is that Polyblend from Home Depot? If you are able to reply- thank you so much!
Ashley Mayes
Thanks Renee. Yes, the oyster gray is the polyblend from Home Depot. =)