

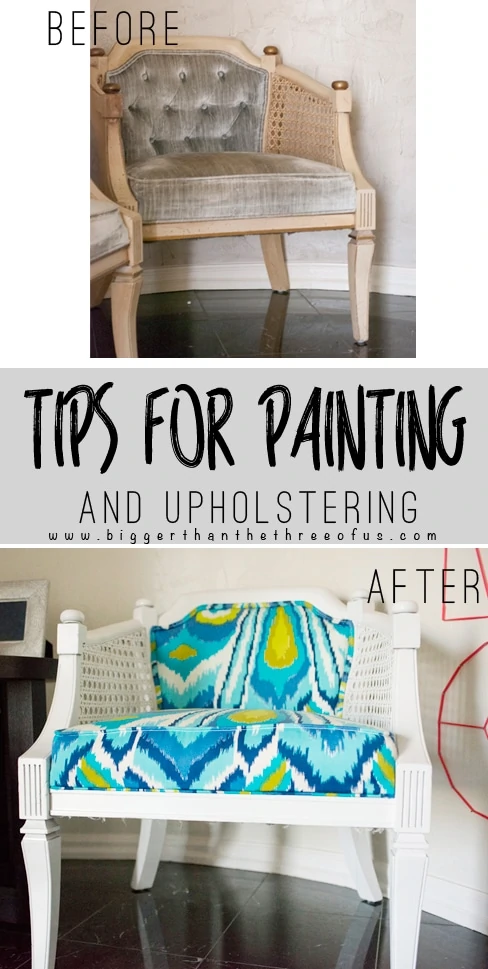
Have you ever found a pair of chairs for a great deal on Craigslist or a flea market and loved the lines of the chair but hated the color or pattern of the fabric? I'm raising my hand because I have. Well, I lived to tell the tale of the updating a pair of chairs and thought I'd share it with you all today. So, here's my Tips for Painting and Upholstering Old Chairs.
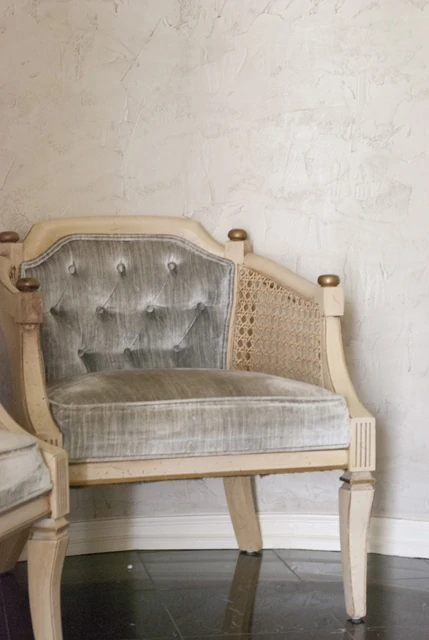
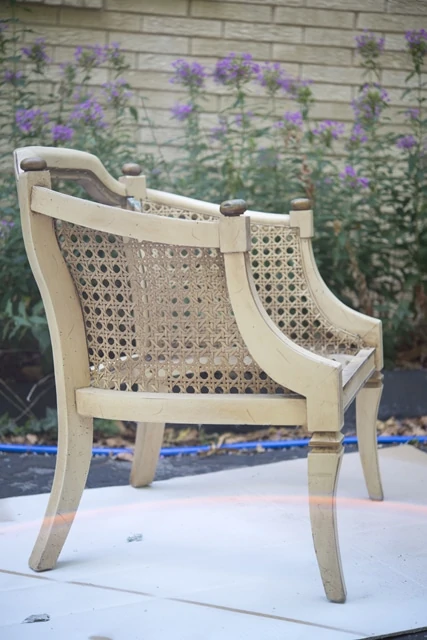
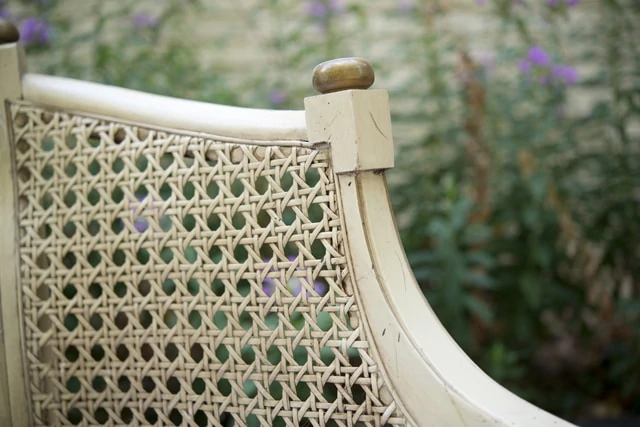
About six months ago, I found a pair of chairs on Craigslist for $60. The fabric was definitely dingy, but the chairs were extremely sturdy. Since moving in to this house, I've been on the lookout for affordable furniture that just needs a bit of love. These chairs totally fit the bill.
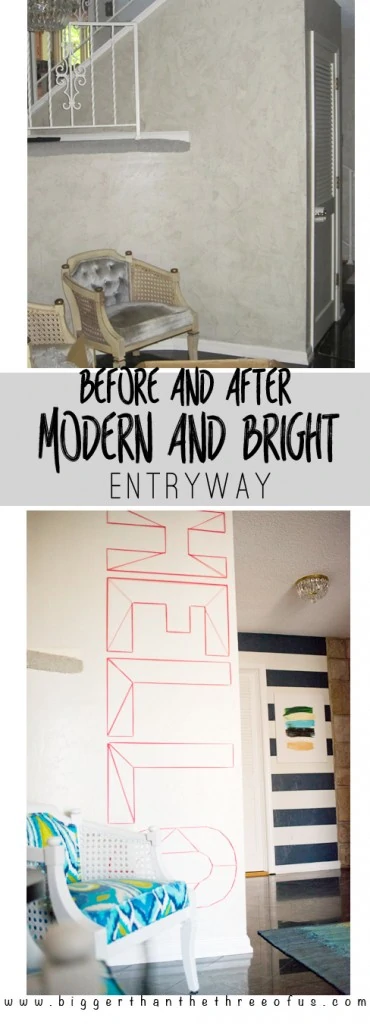
Before:
*Affiliate links below. Thanks for supporting this blog. Click to read my disclosure policy.
Supplies for this Project:
Semi Gloss Paint (My Favorite Brand)![]()
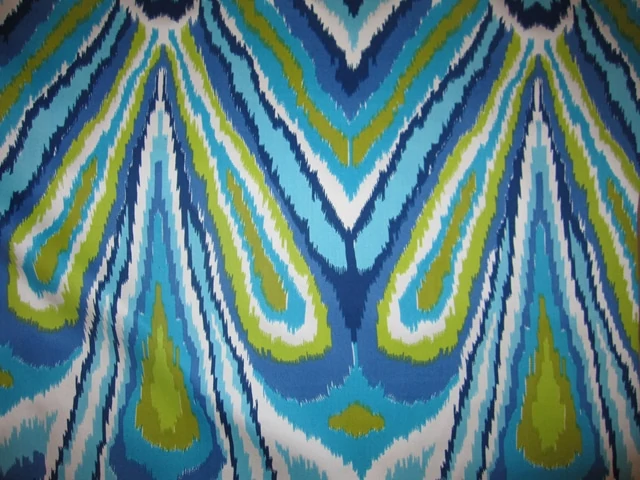
Fabric
![]()
I found this great indoor/outdoor fabric and decided to go with it. They don't have it where I ordered it but you can find the Trina Turk Peacock Fabric on Ebay. The color and movement of the fabric goes with what I was envisioning the entryway to end up looking like. I ended up paying about $70 per yard and ordered 2 ½ yards. Definitely pretty steep, but cheaper than buying two new chairs.

I had taken pictures of disassembling the chairs so I knew where the original staples for the upholstery went in. I used the pictures as a guide for reassembling the chairs with the new upholstery.
Basically, I just used the hand stapler and stapled the fabric in where the old staples were stapled. I glued the piping around the edges to hide the staples and that was that.
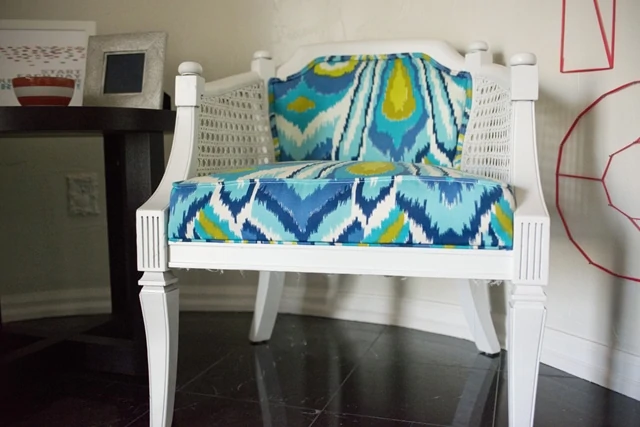
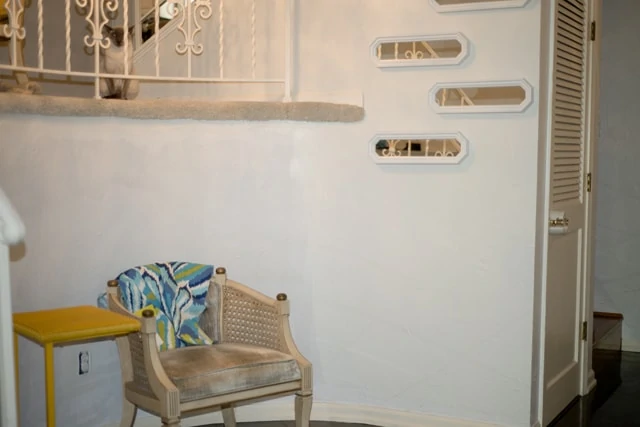
*Even though there is only one shown, both of them look identical.
So, I would definitely do this type of job again. I wouldn't try any chairs that look harder than these and I wouldn't buy expensive fabric. Buying the expensive fabric made me super nervous about cutting it and using it. If it were cheaper, I would have re-cut the pieces because they didn't stretch as well as I would have wished.
Pin For Later: Tips For Painting and Upholstering Old Chairs
If you loved this project, then you might love:
or
Bold and Bright Entryway Reveal
}
Jenna
These look gorgeous! The fabric choice and white look fabulous together! I have a similar chair that I've got to makeover asap! Jenna @ http://rainonatinroof.com