• Skip to primary navigation
  • Skip to main content
  • Skip to primary sidebar
Bigger Than the Three of Us
  • Our Home
  • DIY IDEAS
    • DIY IDEAS
    • DIY Open Shelving Kitchen Guide
  • Shop
    • Shop Our Home
    • Shop My Closet
    • Vintage Home Decor
    • My Current Favorite Rugs For Sale
    • Pieces I’m Loving
  • Podcast
  • Travel
  • The Three of Us
    • Privacy and Disclosure
menu icon
go to homepage
search icon
Homepage link
  • House Tour
  • Floating Shelving Guide
  • DIY Projects
  • Shop
  • The Three of Us
    • Email
    • Facebook
    • Instagram
    • Pinterest
    • YouTube
  • ×

    What You Don't Know About Wallpaper Removal

    June 23, 2014 by Ashley Mayes 3 Comments

    Just FYI: I'm deeming this week as kitchen update week so all the posts will be kitchen related.

     The good news is that we have removed the wallpaper out of 80% of the kitchen! Can I get a woo hoo? Actually, it has been quite the process so I'll share. Oh, and if you're wondering why we only choose to do 80% of the kitchen it's because I thought it would be more manageable if we focused on the 'eat-in' part of the kitchen.

    I knew that I wanted to start this 'light' kitchen remodel in steps. Manageable chunks that could be done over a weekend (or three). Chunks that could be completed and then we could enjoy it and take a break.

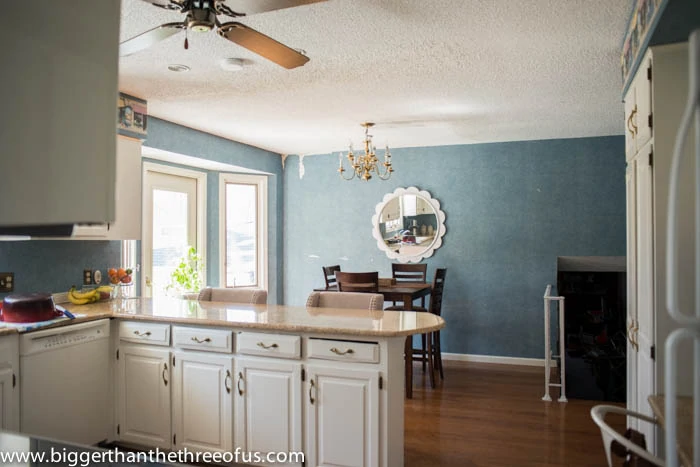
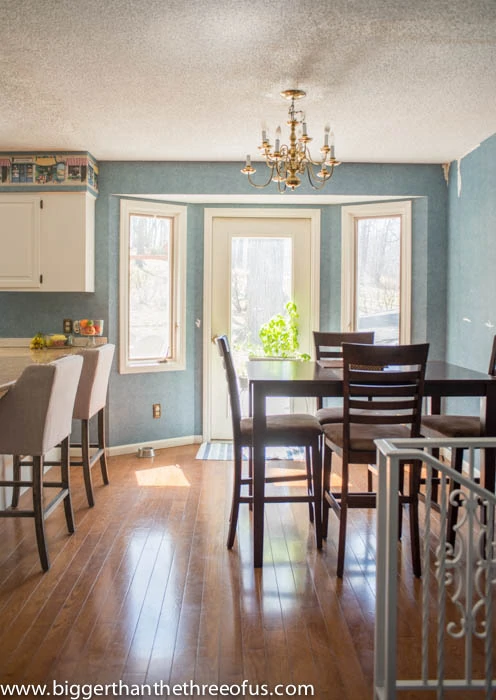
    So, the wallpaper removal and painting was supposed to be a 2 week chunk. This is what we were dealing with before starting:

    How to take wallpaper down

    2 weeks quickly turned in to 4 weeks. But it's done now; so who's counting?

    I managed to get about 85% of the wallpaper off myself and then tasked Luke with the last ROYAL PAIN IN THE BUTT 15%. That's how we operate around here on almost everything. I dive in, get burned out and have him finish. It works for us me.

    After the wallpaper was all off, we used paintable caulk along all the edges to help make them more seamless.

    Add caulk to make your walls have a finished look

    We let the caulk dry over night and then hung plastic sheeting.

    Hang Plastic Sheeting around room before Sanding to minimize mess

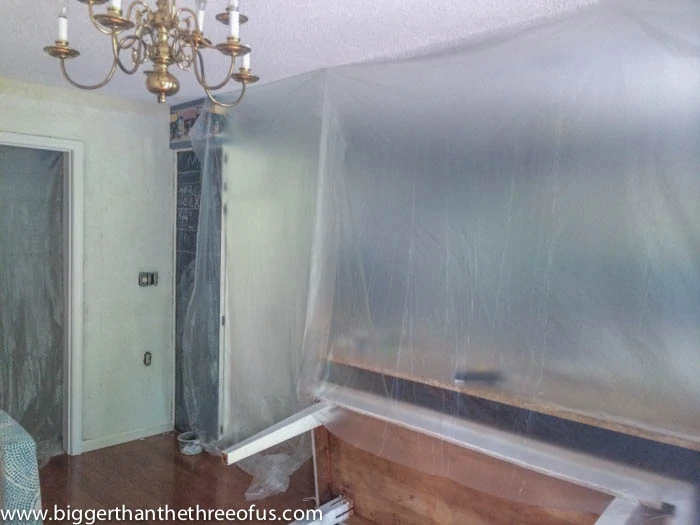
    We hung the plastic sheeting to help minimize the sanding dust. The walls at this point were super uneven (even with caulking and drywall spackle) so we knew that we needed to give them a good orbital sanding.

    Uneven walls before sanding

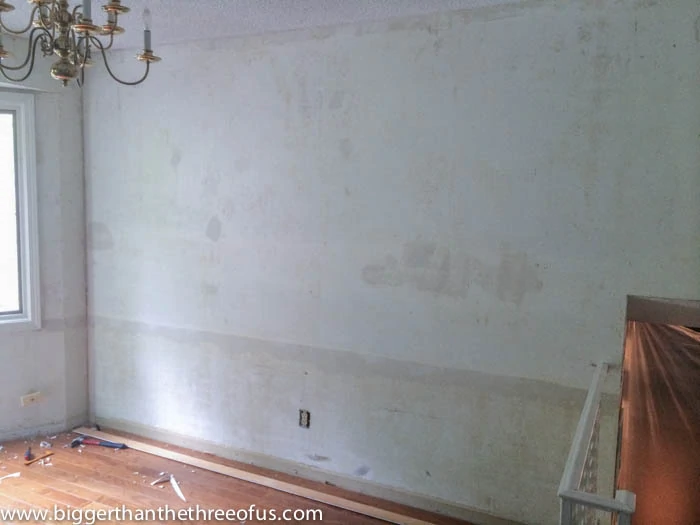
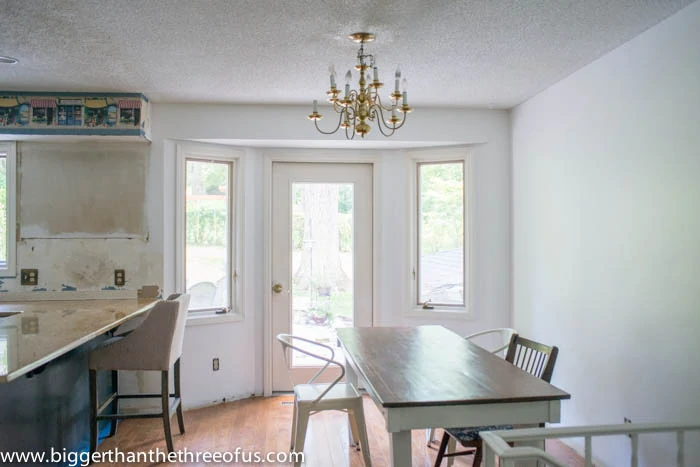
    We probably spent around three hours with the orbital sander trying to get the walls as smooth as they could be. In the end, they were pretty smooth but the drywall line (above picture) was still pretty noticeable.

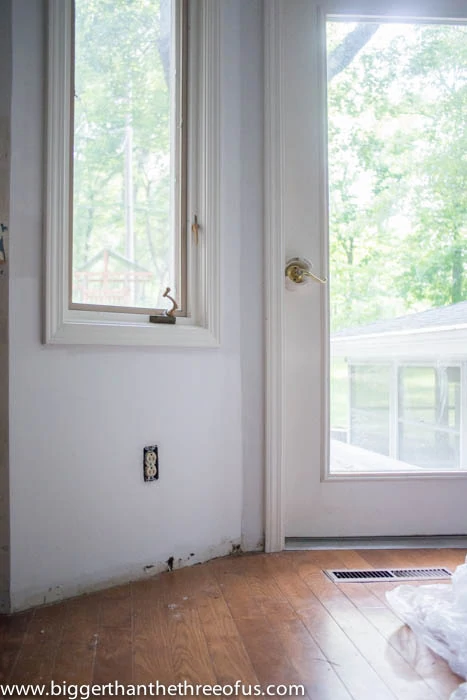
    We rolled 3 coats of primer on everything. The walls were that bad. Seriously! I'm not sure if you can see it, but in the next picture around the electrical outlet is coat 3 versus the cracks around the window at coat 2.

    Difference between multiple coats of Primer

    3 coats of Kilz Primer and 2 coats of white paint we finally got there:

    Starting point in our kitchen remodel - Fresh Bright Walls

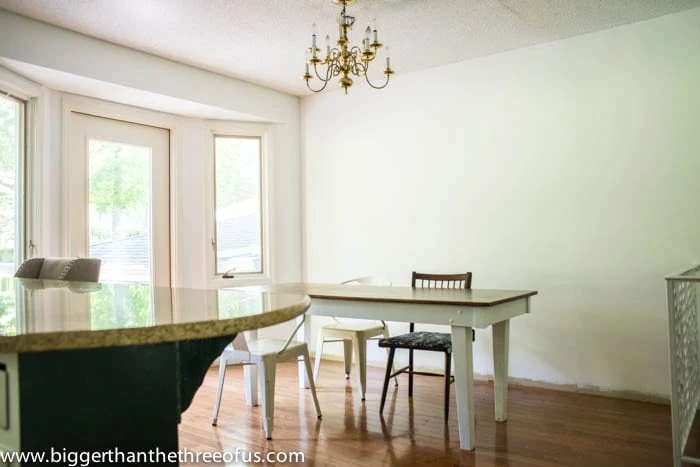
    We still need to do all the trim around the windows (I'm still debating on going dark with them... thoughts?) and of course add the baseboards. But, we are sticking with our mantra to be happy with this chunk that we've done. We're taking a bit of a breather, but will be back at it soon!

    Want a before and after?

    BEFORE:

    Wallpaper removal by Bigger Than The Three Of Us

    AFTER:

    Wallpaper to Bright and Airy in a few Steps

    It's funny that the before had more 'character' than the after. But, I'm not worried because the decorating and adding layers is my favorite part! We have what we needed... a bright BLANK slate. =)

    Smooth your Walls After Wallpaper #DIY #kitchenremodel

    More Before and After

    • Customize a Floor Lamp with Conical Rattan Shade in just a few easy steps (1 of 1)
      Customize a Floor Lamp with Conical Rattan Shade
    • DIY outdoor planters with pavers
      Pinterest Made Me Do It :: DIY Outdoor Planters
    • basement stair ideas - Simply white Benjamin Moore
      Drab to Beautiful: Basement Stairs and other Stairway Ideas
    • small living room makeover
      Small Laundry Room Makeover with Loads of Laundry Room Decor Ideas

    Keep In Touch...

    Sign up for my weekly emails to see new projects, plus what I'm doing behind-the-scenes.

    You can unsubscribe anytime. For more details, review our Privacy Policy.

    Thank you!

    You have successfully joined our subscriber list.

    .

    Disclosure: This post may contain affiliate links. I receive a small commission at no cost to you when you make a purchase using my link.

    About Ashley Mayes

    Founder & Creative Director

    Reader Interactions


    Comments

      Leave a Reply Cancel reply

      Your email address will not be published. Required fields are marked *

    1. Julia@Cuckoo4Design

      June 23, 2014 at 6:30 am

      Wow, so so much better! It looks so fresh and new.

      Reply
      • Ashley Mayes

        June 26, 2014 at 3:17 pm

        I know! Ps. The white is the white that you recommended and I love it!

        Reply

    Trackbacks

    1. Kitchen Reveal with Dark Cabinets and Open Shelving - Bigger Than the Three of Us says:
      December 7, 2016 at 11:17 am

      […] Removal / Wallpaper Removal /Cabinet Removal in the Kitchen / Kitchen Lighting Take 2 /  Kitchen Inspiration Black Windows and […]

      Reply

    Primary Sidebar

    Bigger Than The Three Of Us - Family of Three

    Follow Me On

    • Email
    • Facebook
    • Instagram
    • Pinterest
    • YouTube

    Favorites

    Footer

    ↑ back to top

    About

    • Privacy Policy
    • Disclaimer
    • Terms & Conditions

    Newsletter

    • Sign Up! for emails and updates

    Connect

    • [email protected]
    • Instagram
    • Facebook

    As an Amazon Associate I earn from qualifying purchases.

    Copyright © 2023 Bigger Than the Three of Us All Rights Reserved