

Want to add an attic access door to create usable storage space? Creating a small attic door (or scuttle hole) is a simple weekend project. Learn how below!
Newer houses usually have an attic access panel with pull-down stairs in the garage. Our house was built in the 70s and is a split-level which doesn't have an attic over the garage. We noticed during the buying process that there was one scuttle attic over part of the house but the other part didn't have a scuttle hole.
It was recommended during the inspection to have an attic door added so they could inspect the attic, so we did that during the buying process.

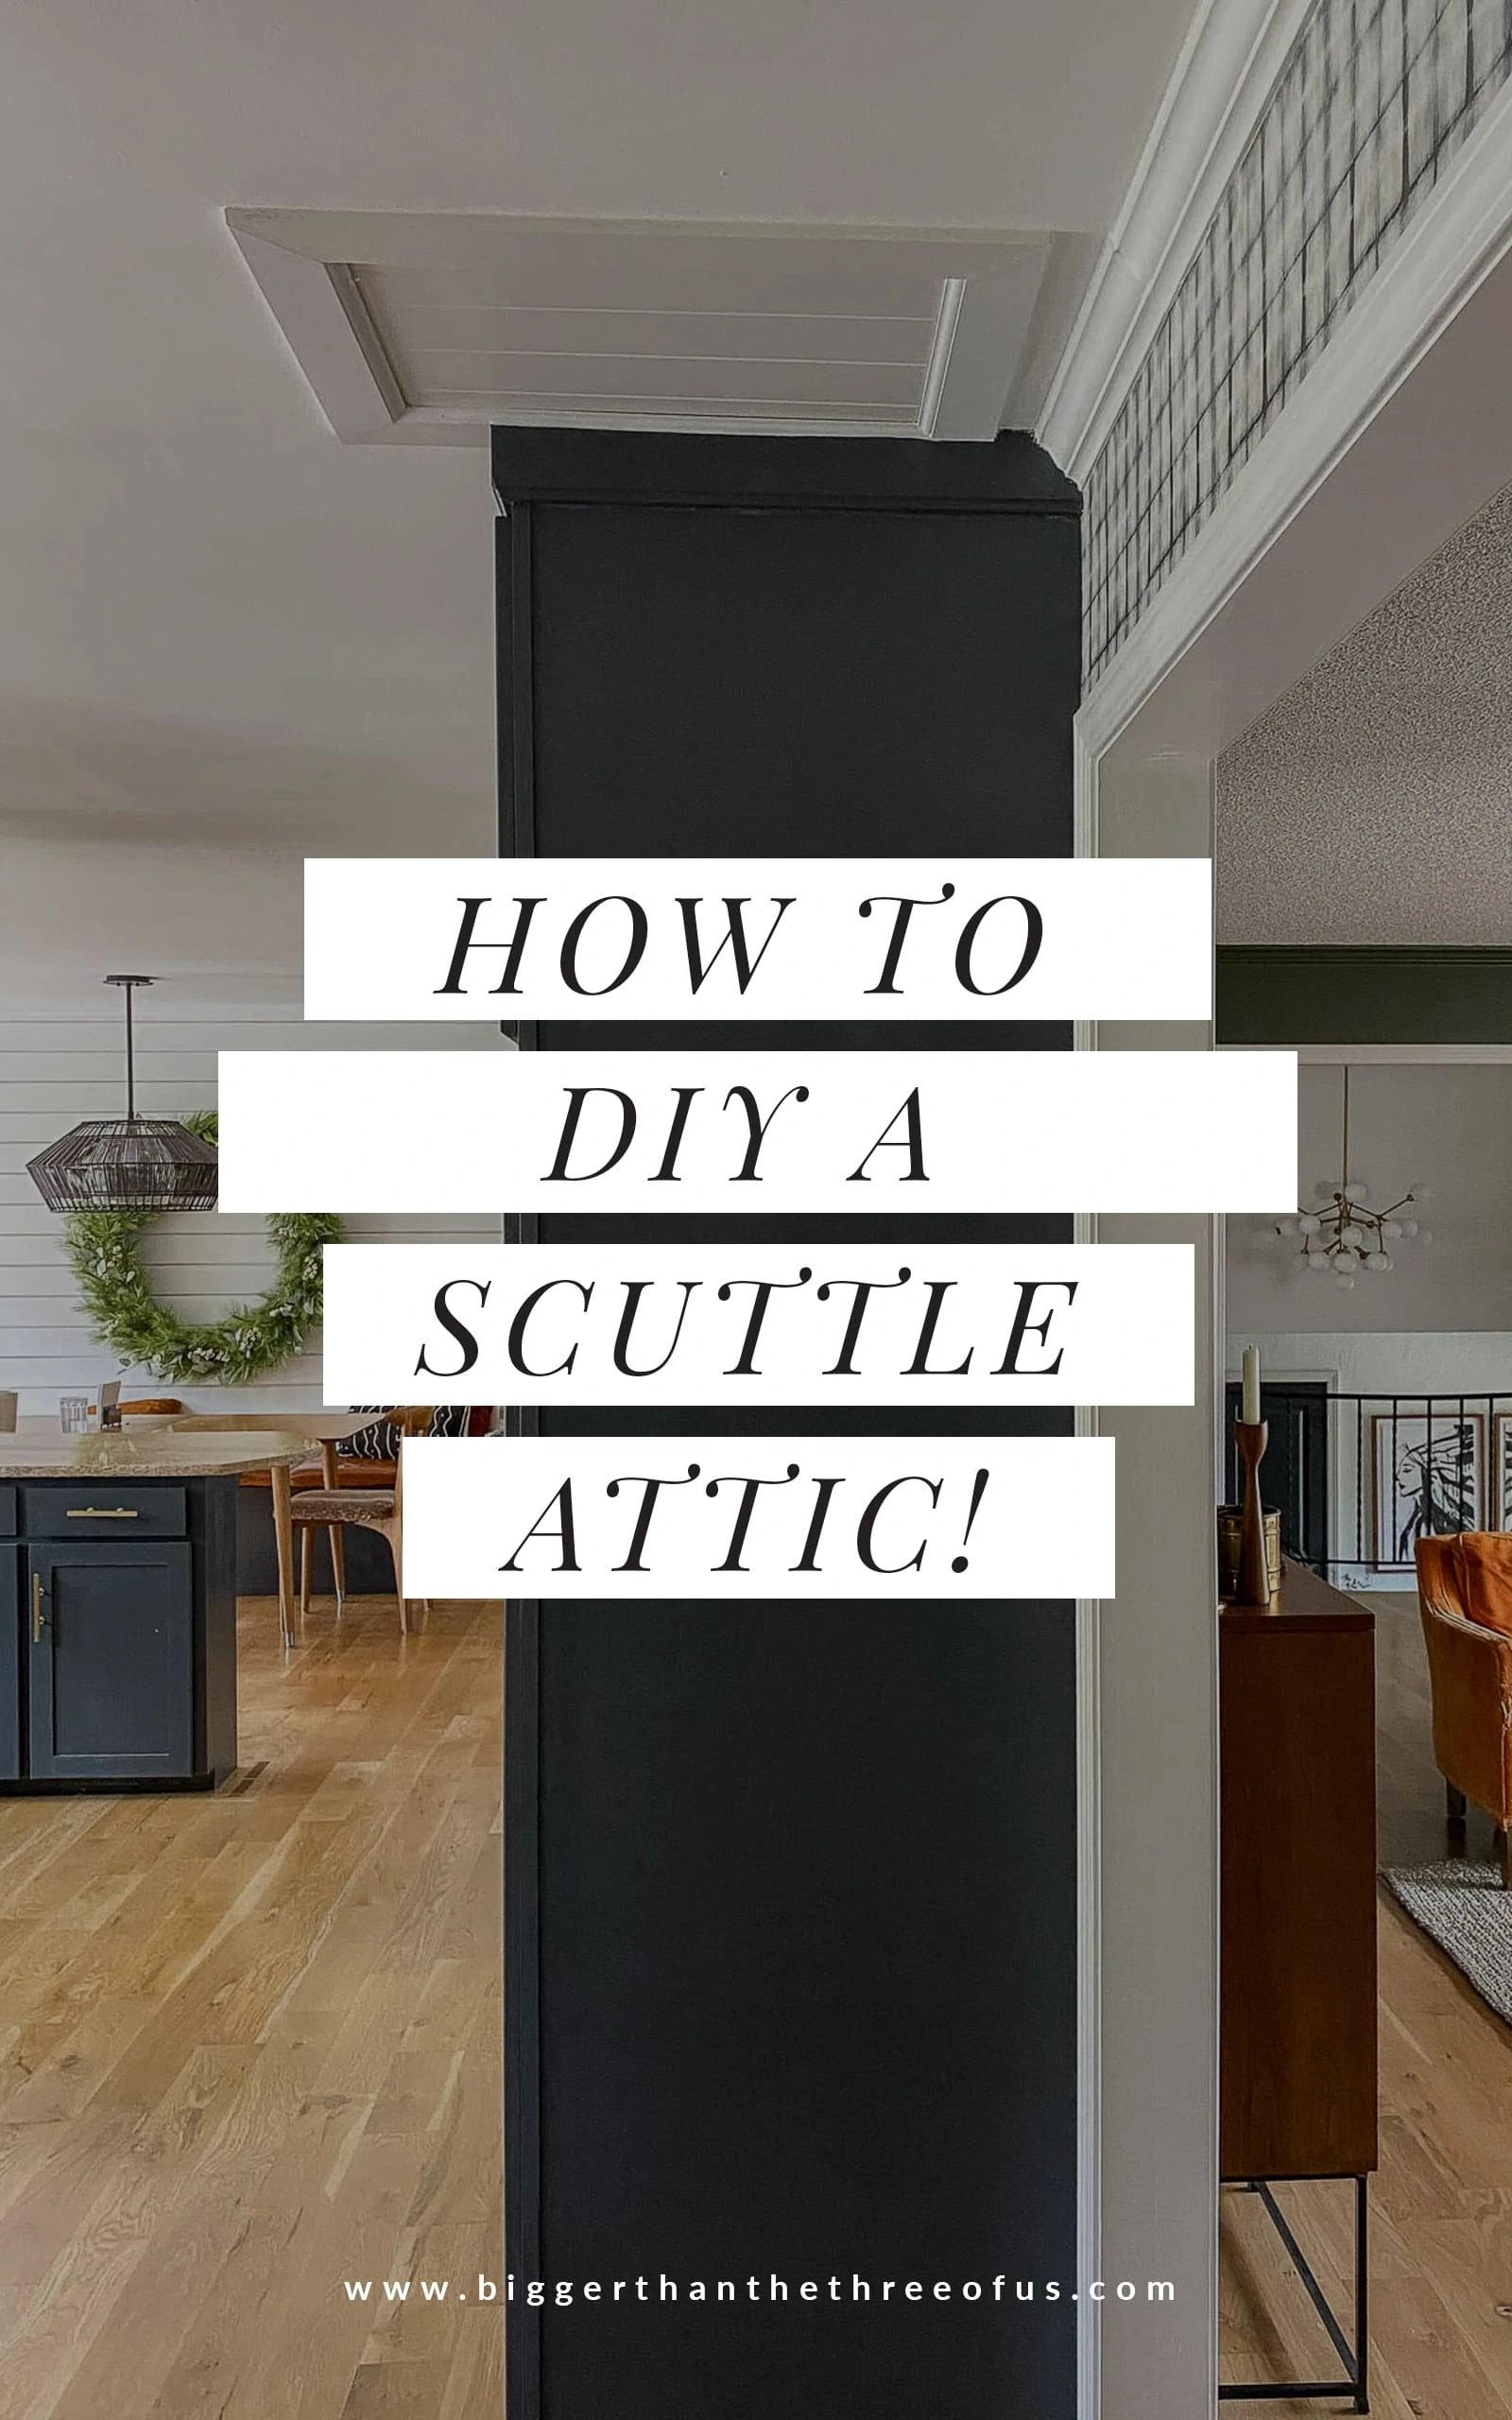
Original Scuttle Attic Before Renovation
Originally, attic access was just through that small door frame that you see below and immediately on the left-side of it. So anyways, we had an attic access cover when we moved in.
Fresh Drywall Ceiling with No Access Door For Attic
When we started renovating the kitchen, we had asbestos removed and drywall installed. We had the contractors just drywall over the original attic access panel. Not sure why we did this, probably because we knew that creating the small attic access door was easy. Who knows.
Anyways, since we had to create the small attic door again, I thought to take photos of the process so I could share the process with you. Let's get through some common questions first!
Attic Access Door FAQS
What does scuttle mean?
Scuttle basically means hole.
What is a scuttle attic?
An attic scuttle is a hole in the drywall ceiling that leads to the attic with an attic hatch covering the scuttle (or hole). Our small little attic access panel would technically be referred to as a scuttle attic.
I found a good article that has a bit more information on scuttle attics, if you'd like to read more.
Why should you make a scuttle attic?
If you have ceiling joists laid out in a way that you can not put a full size pull-down ladder in (like us) or you just don't need to access your attic much, then a small door for attic access might be the best option. It's super easy and very inexpensive to put in a small attic access door like this one. So, when you are weighing how much you really need to use your attic space, you might come to the realization that this is the best option.
We hardly ever get in the attic and we don't store anything up there... so something extremely simple and cheap was what we were looking for.
Before Photo of Ceiling without Attic Access
Let's get to the project!
DIY Attic Access Doors
Affiliate links below. Thanks for supporting this blog. Click to read my privacy and disclosure statement.
Tools Needed to Install Attic Doors
Supplies Needed to Install Attic Hatch
- Paneling
- Trim
- Caulk
- Nail filler
- Paint

FYI: Since we had an access door for an attic before, we knew exactly where it was going to go; but, we still took precautions to mark out our opening because we just had new ceilings put in and we didn't want to make any mistakes.
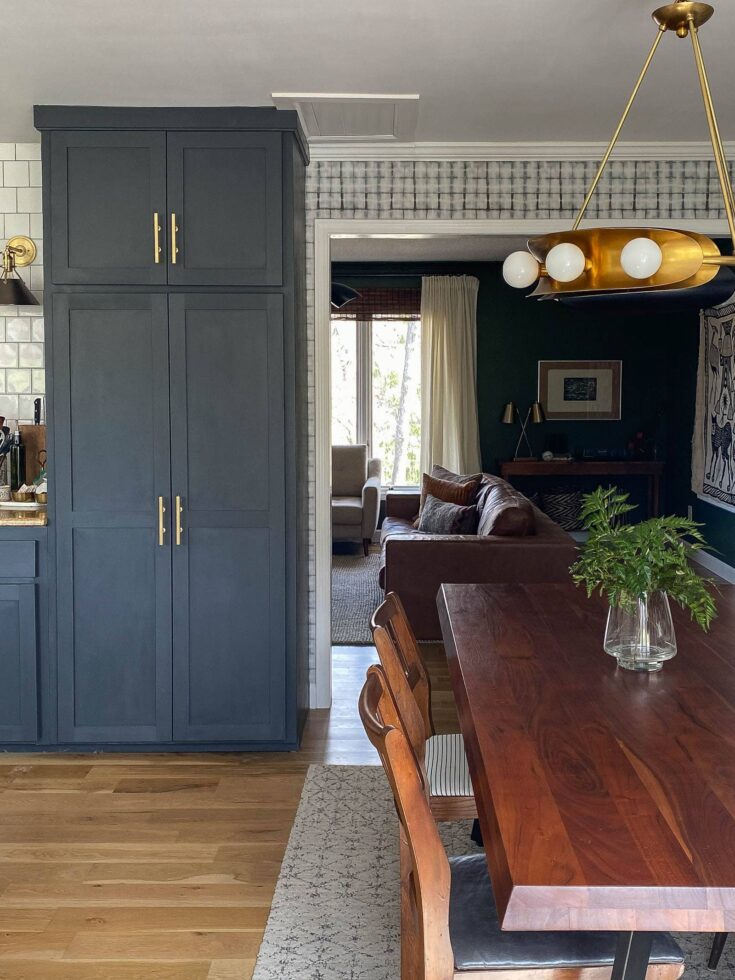
We had the attic opening right next to the built-in pantry on the right. The way the roof is pitched made this the best spot to pull yourself up into the attic. If you went over another beam, you'd have about 4 ft to stand up before hitting your head on the roof line. This is something to definitely keep in mind! It would be impossible to get in the attic if this was placed on the exterior wall because of the roof pitch (meaning, the attic space itself is very tiny the closer that you get to the exterior wall on the sides).
How To Make An Attic Access Door In A Ceiling
- Determine best spot for attic access door (take into account roofline).
- Determine where your joists are. Using a stud finder, mark your joists.
- Use a pencil and draw a box within the joists. Using drywall knife, start cutting the ceiling out along your line.
- Use a straight-edge knife to cut any drywall paper that wasn't taken care of with the drywall knife.
- Take the drywall out.
- Cut a piece of paneling just slightly smaller than your attic hole. You can do this with a circular saw or a table saw. Next, push the paneling up in and let it rest on the drywall that's there.
- Next thing you will do is frame out your opening. You do this like you are framing a window. Measure one side and cut your board at 45 degrees on each end. The goal here is to end up with a frame opening that is a little bit smaller than the hole in the drywall. This will allow the piece of paneling (cut in the previous step) to rest on the frame.
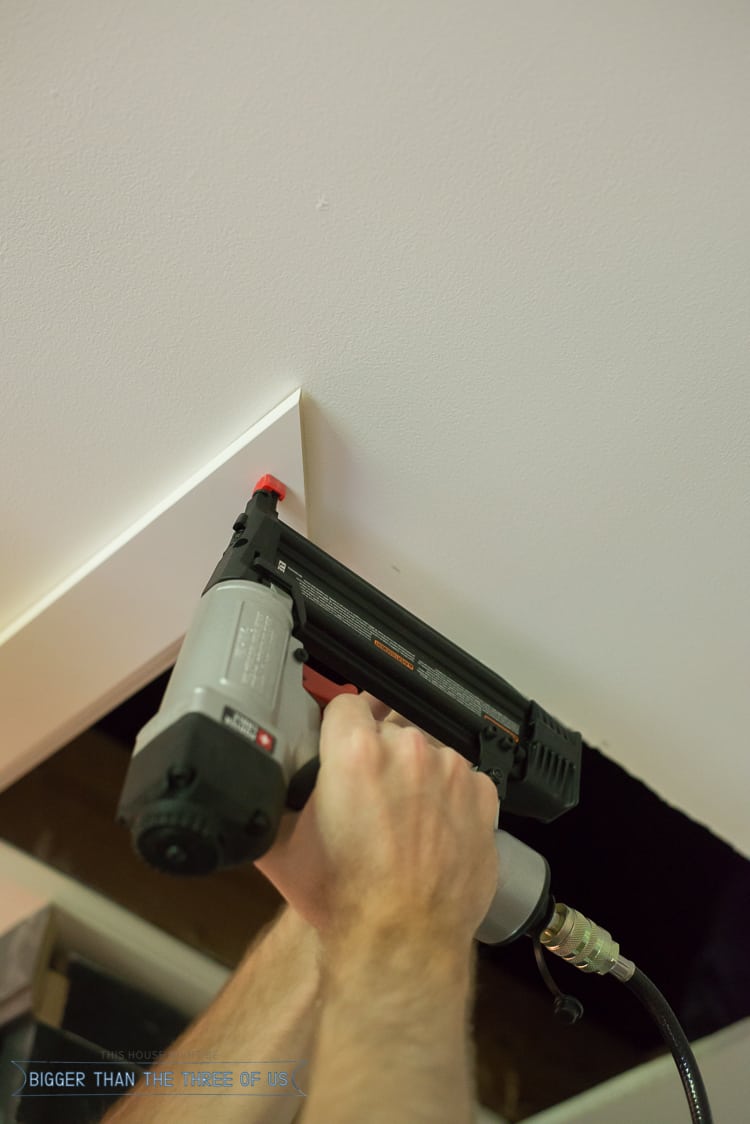
- Using a nail gun, nail that puppy in place. You'll want to make sure the nails go through into the joists.
- Continue until you have framed out your opening. Caulk and use nail filler to make the frame look finished.
- Prime and paint.
I know there are lots of us who need and want the visual guide, so let me show you some of the steps in photos.
After determining where you want your attic access door to be, use a drywall knife to cut out the ceiling.
Use a utility knife to help cut any drywall paper that is stuck.
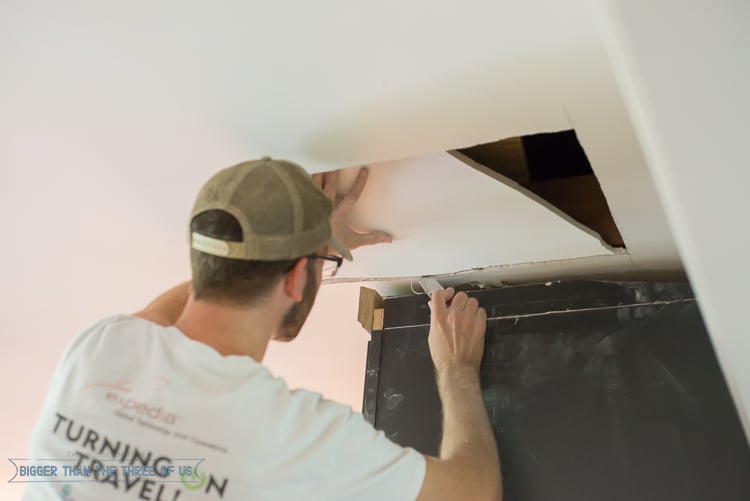
Your scuttle attic is cut. Now, cut a piece of paneling to act as your attic access cover. Push it up through the hole in the ceiling so it rests on the opening.
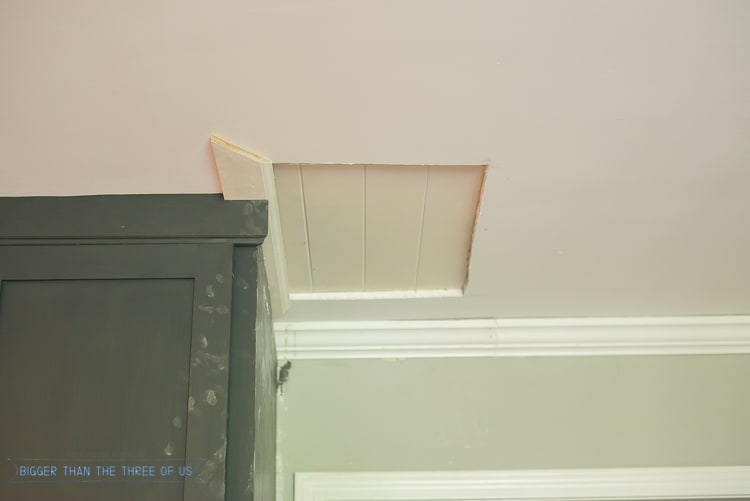
Frame out the attic door hole.
The spot where we have the opening isn't ideal, but it's the best spot that was available to us. Also, as you can see that we had to do some fancy trim work on our pantry to make it fit into the attic opening. You, of course, won't have to do that unless you have a similar set-up.
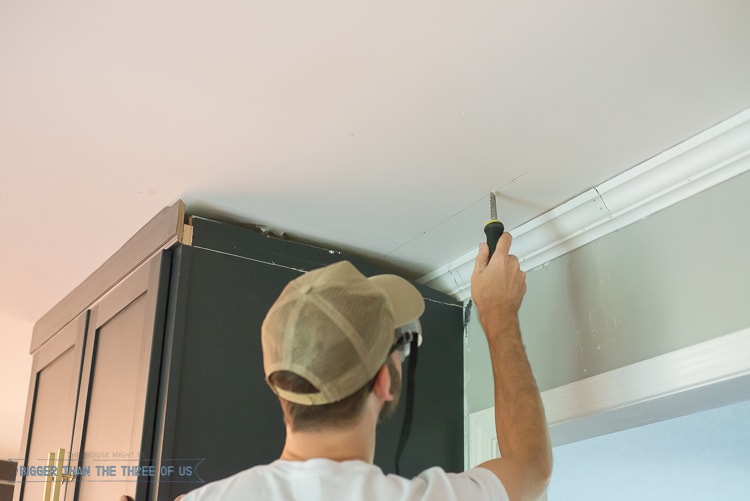
Prime and paint trim around door for attic access.
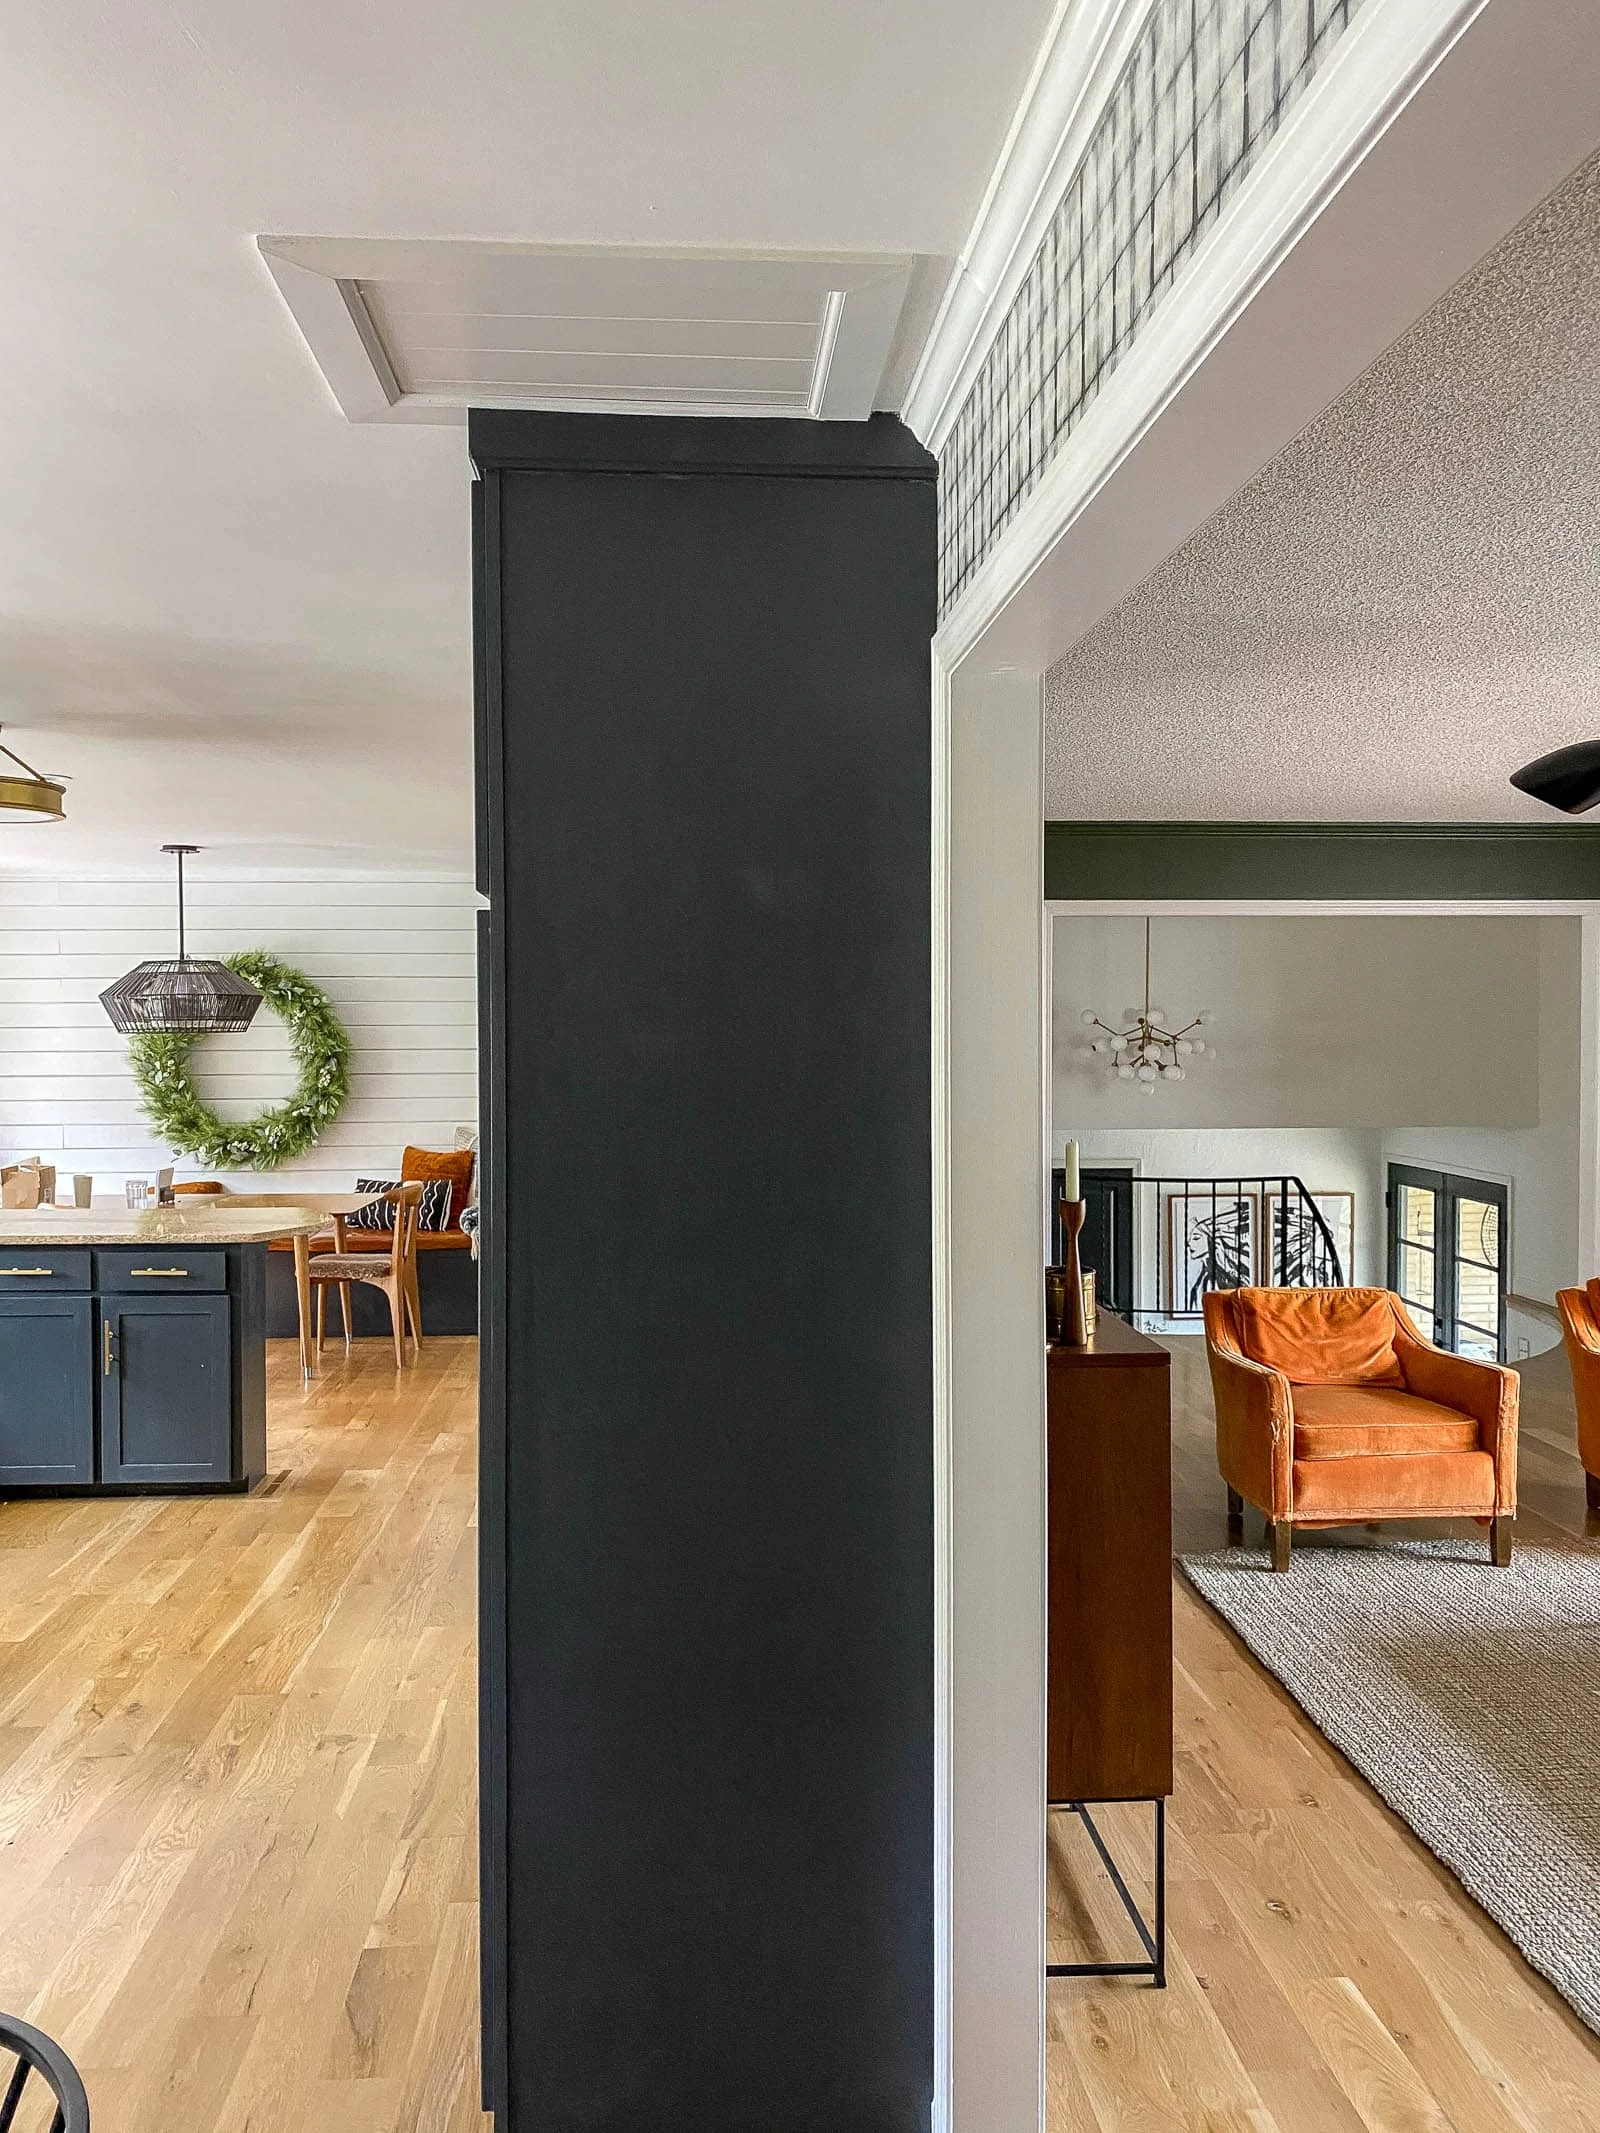
Creating the attic access cover and attic access were both easy. Definitely something that you can tackle yourselves. We've been wondering how much airflow is lost to not insulating the attic access door but, honestly, we've felt it a few times and I'm not sure we are losing a lot. I guess the easy thing to do, to insulate the panel, would be to place some insulation right on top of the panel door. We could still do that, I suppose!
Let me know if you have any questions or are making your own attic access panel! I'd love to see.
How to Add an Attic Access Door (Scuttle Attic)
Want to add an attic access door to create usable storage space? Creating a small attic door (or scuttle hole) is a simple weekend project. Learn how below!
Materials
- Paneling
- Trim
- Caulk
- Nail filler
- Paint
Tools
- Stud Finder
- Drywall knife
- Utility knife
- Circular saw
- Miter Saw
- Air Compressor
- Nail gun
- Caulk gun
Instructions
- Determine best spot for attic access door (take into account roofline).
- Determine where your joists are. Using a stud finder, mark your joists.
- Use a pencil and draw a box within the joists. Using drywall knife, start cutting the ceiling out along your line.
- Use a straight-edge knife to cut any drywall paper that wasn't taken care of with the drywall knife.
- Take the drywall out.
- Cut a piece of paneling just slightly smaller than your attic hole. You can do this with a circular saw or a table saw. Next, push the paneling up in and let it rest on the drywall that's there.
- Next thing you will do is frame out your opening. You do this like you are framing a window. Measure one side and cut your board at 45 degrees on each end. The goal here is to end up with a frame opening that is a little bit smaller than the hole in the drywall. This will allow the piece of paneling (cut in the previous step) to rest on the frame.
- Using a nail gun, nail that puppy in place. You'll want to make sure the nails go through into the joists.
- Continue until you have framed out your opening. Caulk and use nail filler to make the frame look finished.
- Prime and paint.
Notes
Since we had it before, we knew exactly where it was going to go; but, we still took precautions to mark out our opening because we just had new ceilings put in and we didn't want to make any mistakes.
We had the attic opening right next to the built-in pantry on the right. The way the roof is pitched, made this the best spot to pull yourself up into the attic. If you went over another beam, you'd have about 4 ft to stand up before hitting your head on the roof line. This is something to definitely keep in mind! It would be impossible to get in the attic if this was placed on the exterior wall because of the roof pitch (meaning, the attic space itself is very tiny the closer that you get to the exterior wall on the sides).
PIN FOR LATER:


Julia@Cuckoo4Design
I need to fix my attic access, maybe this will give me the push I need.
Alan C. Brown
Your attic access is so beautiful, i need to make one in my house, it sounds easily to take. Thanks for great post and detailed pictures.
fabiola garcia
I love the way you explain all the steps, but I have a question; how are you going in and out of the Attic? Thank you for sharing at Inspiration Galore Project Party!
Ashley Mayes
Thanks! We use a ladder. Because of the way the beams are laid, there is no way to get a pull down ladder up there. So, if we need to get in ... we just bring a ladder up from the garage.
Amy
Would you suggest insulating the wood? I need to make attic access in my home but I am concerned about efficiency (I.e. heat escaping).
Ashley Mayes
Ours isn't drafty but if your is, then yes! It will save you money in the longterm and you don't have to go crazy with the insulation.
Greg Kindig
This affordable attic access hatch comes with R39 recycled fiber insulation attached to the panel and installs between standard 16" on-center or 24" on-center ceiling joists: https://eco-buildingproducts.com/product-category/brands/sealin-hatch/ Of course you still need to cut your access as demonstrated in this article.
Whitney
Approximately how long did it take you from start to finish?
If you have kids that distracted you, include that time lol
Thank you!
Ashley Mayes
Haha! Kids. =) It's not a hard project, definitely doable in an afternoon.
Jamie
This deals with installing a scuttle hatch, but it seems to me that the same approach would work just as well to create the opening needed for a pull-down ladder, provided there was space for the larger hole and suitable framing was done to hold the pull-down. Is that correct, or is there something specific about pull-downs beyond the space requirement that makes this unworkable?
Ashley Mayes
Check into the manufacturer procedure for the stair well pull down - you might have to have a support system in the attic for it but it should be doable!!