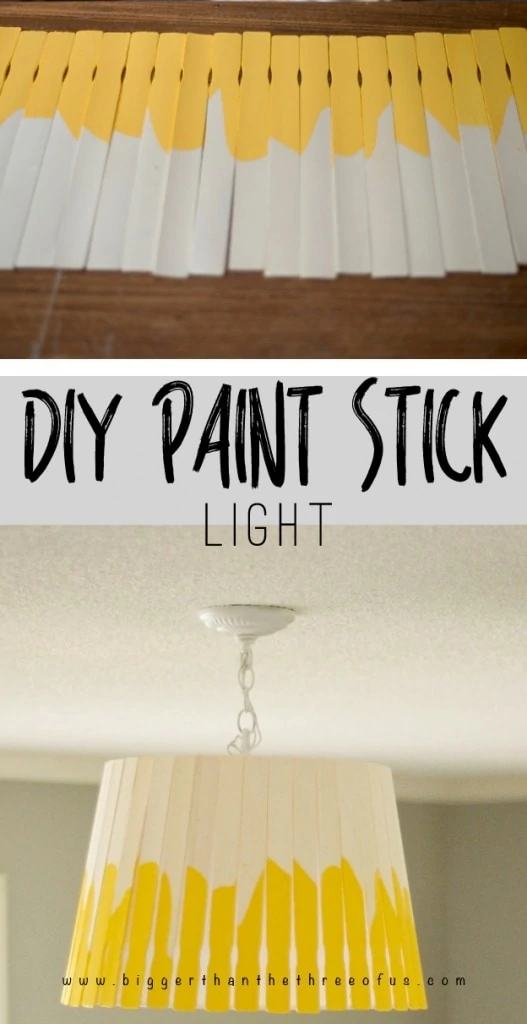
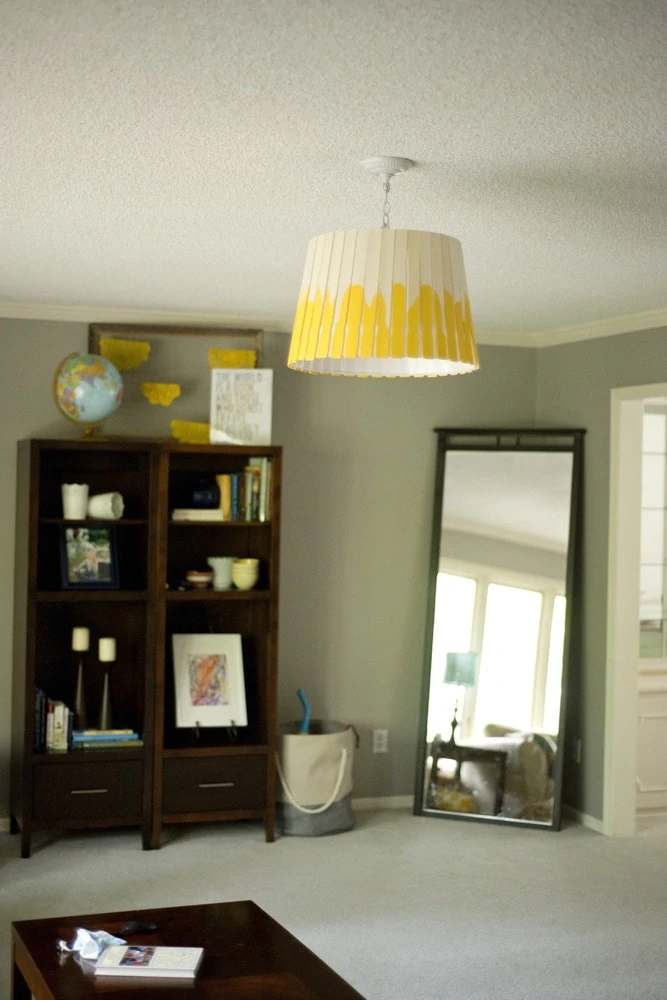
I first saw a paint stick chandelier in an Anthropologie store. It wasn't exactly what I had in mind, but it got my wheels turning for a DIY Paint Stick Light for our living room. We didn't have a light at all in our living room, so I knew it would be a huge upgrade. I gathered my supplies and got to work. Spoiler, it was an easier project that totally worked!
I got the shade, shopped Craigslist for a $5 pendant light (just to have the hanging hardware) and went to Lowes for paint sticks and paint. I did offer to pay for the paint sticks (I needed between 80-100), but the manager at Lowes just gave them to me. Score! I definitely underestimated how much paint I needed. I started out with half a sample (that I already had) and picked up another sample. I had to go back and get another sample. So, 2 ½ samples later... I had enough.
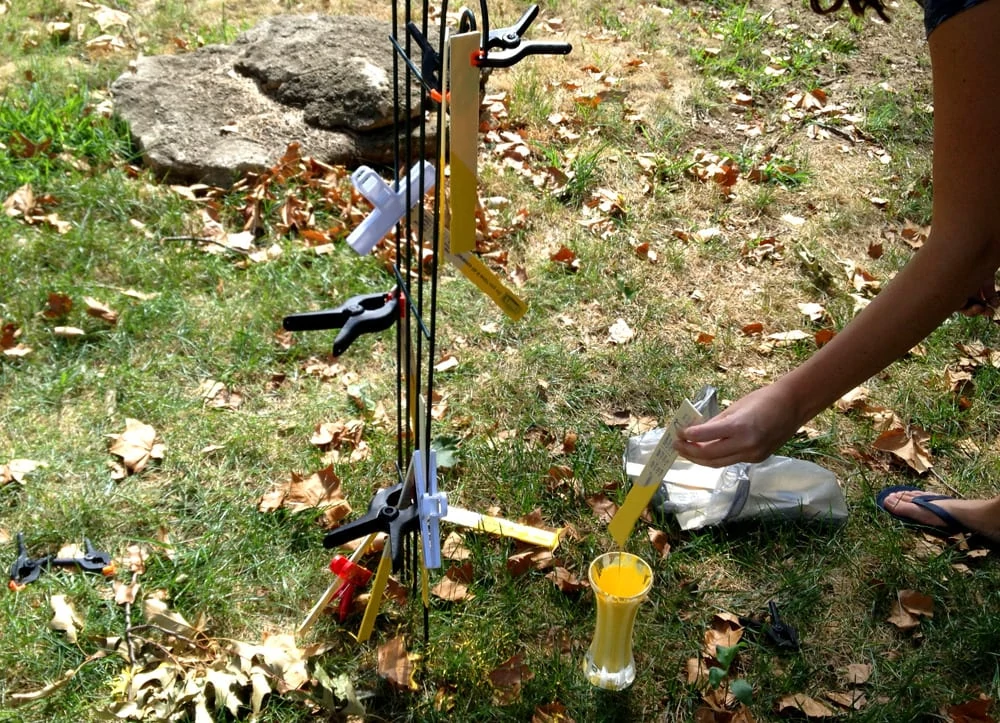
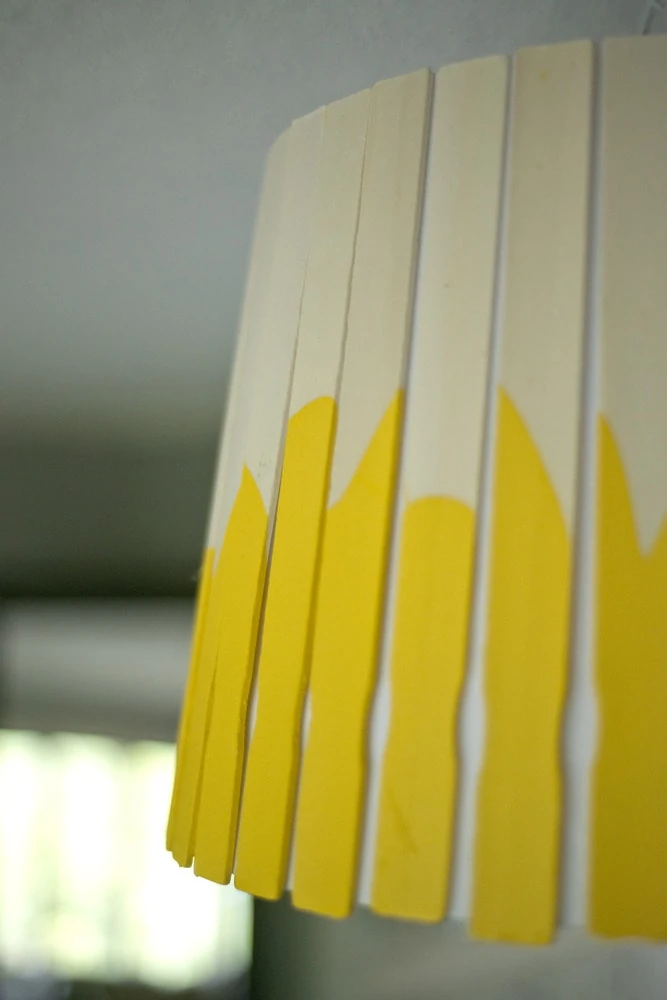
So, I dipped each paint stick into a vase full of paint (going in at different angles/depths). I then let them dry. I repeated this process about 8 times until I had enough painted paint sticks.
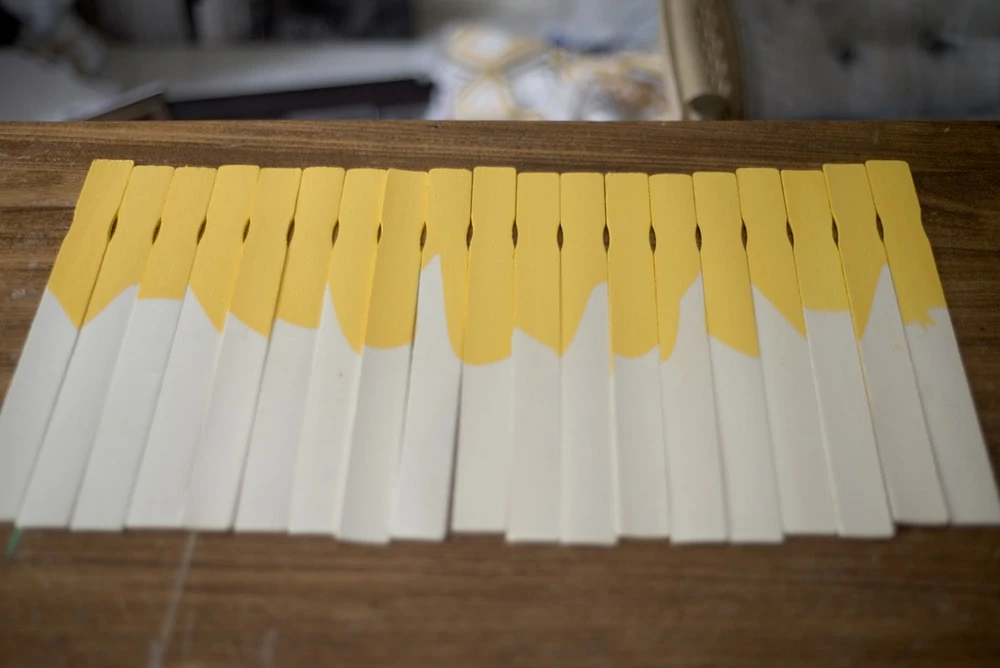
I then laid them out on a table to see what pattern I liked. I tried to not overthink this.
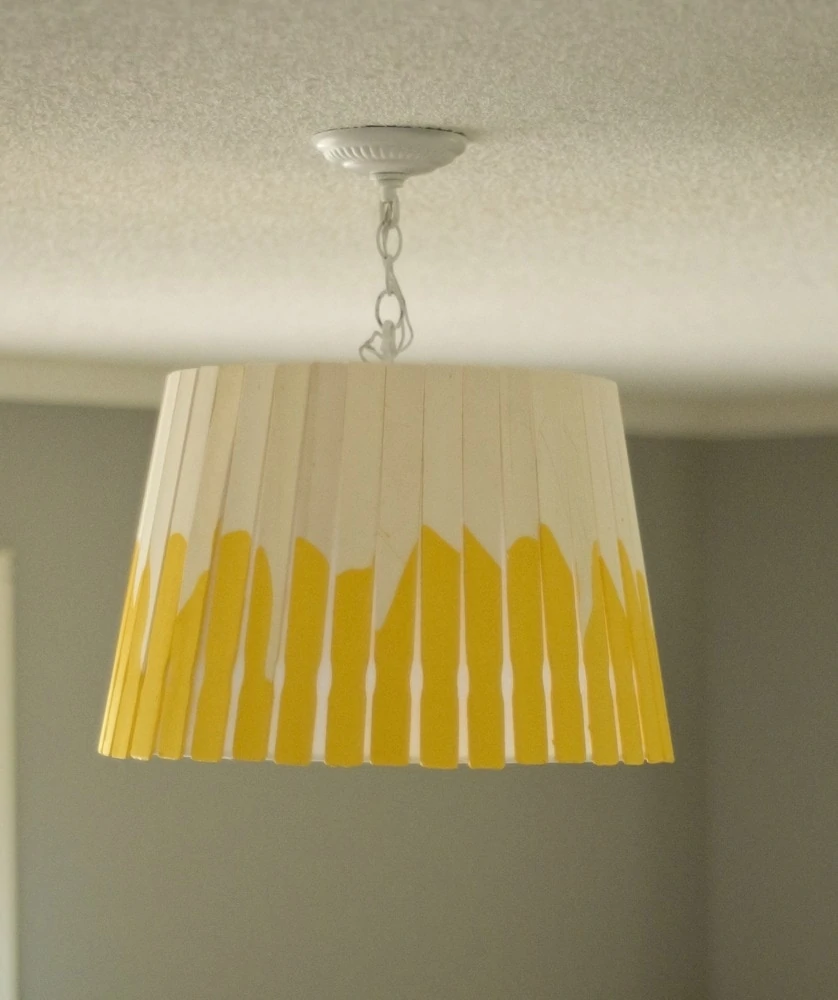
Then, I hot-glued them to my shade. After I got the first one on, I realized that I should have gotten a shade that was the same size on the top and the bottom. Oh well, learn from my mistake. It still worked, but I would do it different next time.
DIY Paint Stick Light:
Pin for Later:
Affiliate links below. Thanks for supporting this blog. Click to read my disclosure policy.
.




Maribeth
Bought all the supplies this past weekend. Can't wait to get started on a maroon painted version for my son's room.