It's Week 4 of the One Room Challenge! I can't believe how fast it's going by. Well, I can but I can't. It's always a rush to get it all done. Every single time I do this challenge, at this point, I always tell Luke to tell me that I'm not doing the challenge the next time around. It's always incredibly stressful. I usually always give in and do it though so I must like being a crazy person. Anyways, if you have no idea what I'm talking about. The One Room Challenge is hosted by Calling It Home and happens twice a year. It's a six week challenge where designers and bloggers come together to challenge each other to complete a room.
If you need to play catch-up on my One Room Challenge progress, then make sure to check out:
Week 1 - Entryway | Week 2 - Design Plan | Week 3 - Saying Goodbye to the Scrolls
I've alluded to the fact that our entryway makeover is continuing up the stairs to the loft space. The loft space wasn't featured in the design plan, but it's getting a facelift as well. Today, I'm chatting about that space and, specifically, How to Determine Canvas Sizes For A Wall.
I get lots of questions about art sizing, photo sizing, etc. so hopefully you all will find this helpful. This is just how I do things and there are probably more exact ways to help you determine photo wall arrangements and sizes, but I find this method to work.
When you go print pictures or buy frames or purchase canvases, it's an investment. A lot of times, I think we just pick 8x10's or 11X14's because that seems to be a larger size and one that most can afford. But, in reality, that size usually looks small on a wall.
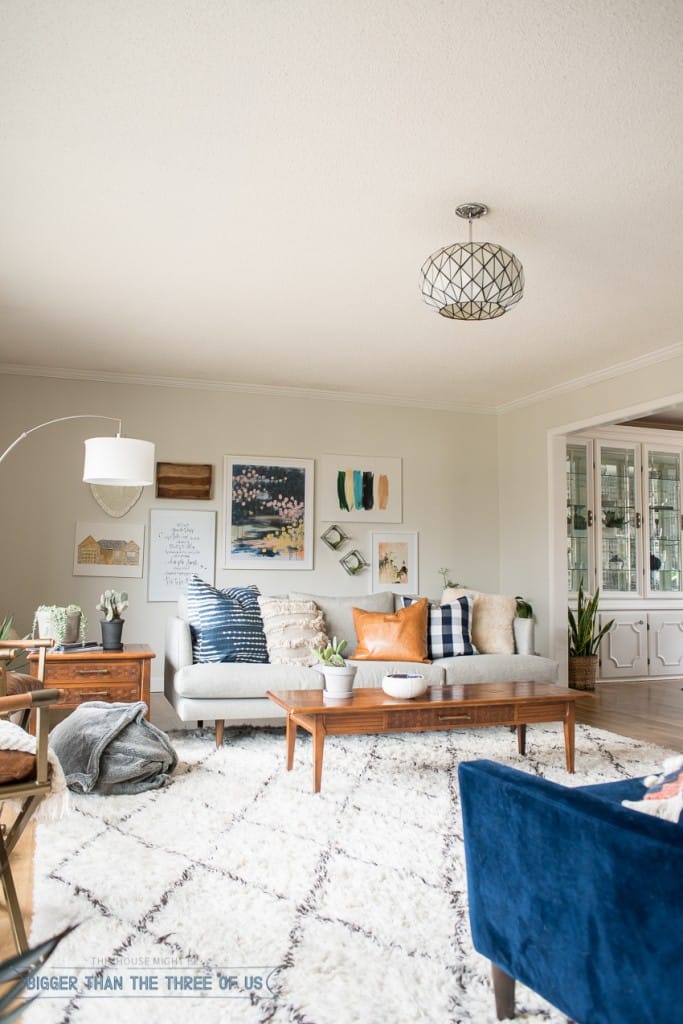
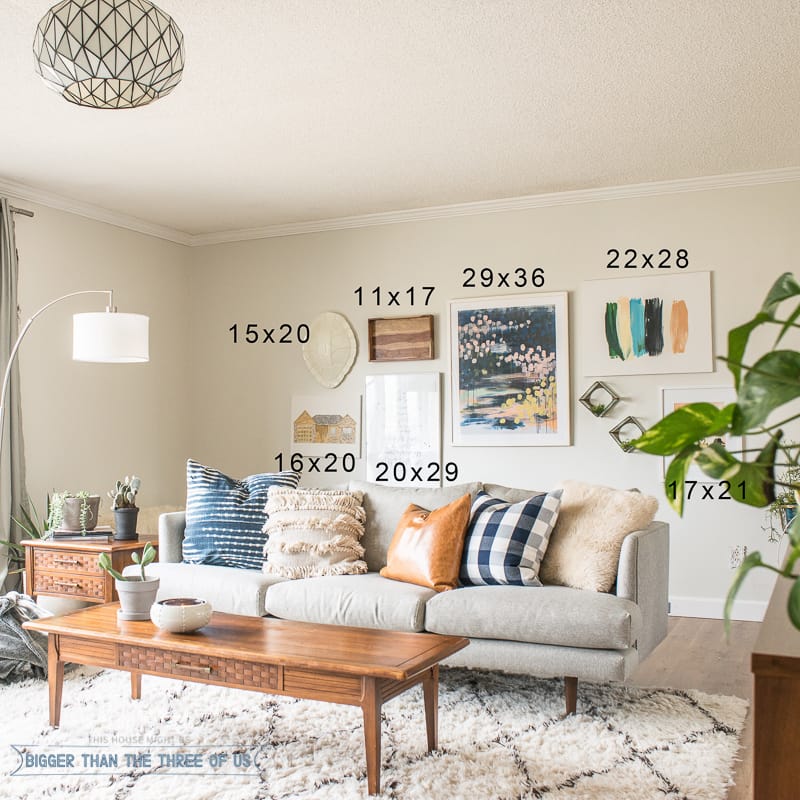
Before we get right to the tutorial, let's look at my gallery wall in the living room. I added frame sizes so that you could see examples of larger sizes.
When you walk in, the wall arrangement (even though I'm tired of it) does look to-scale in the room.
Does the wall boast larger frames than you would have thought? Did you notice that the smallest size was an 11x17 wood frame?
Ok, let's go look at a blank wall and how to get started.
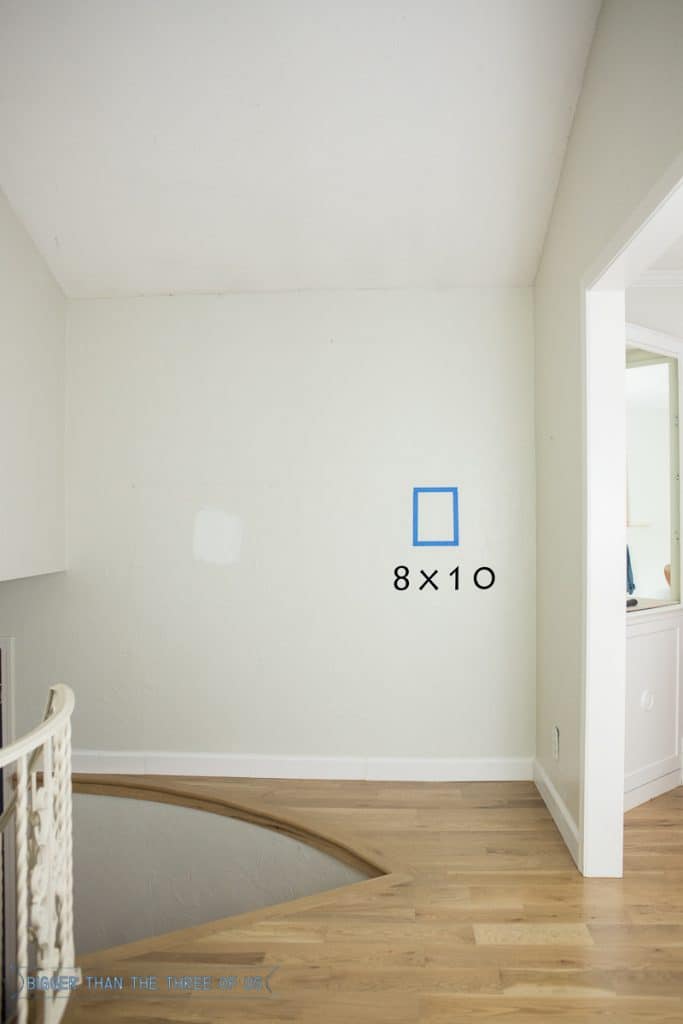
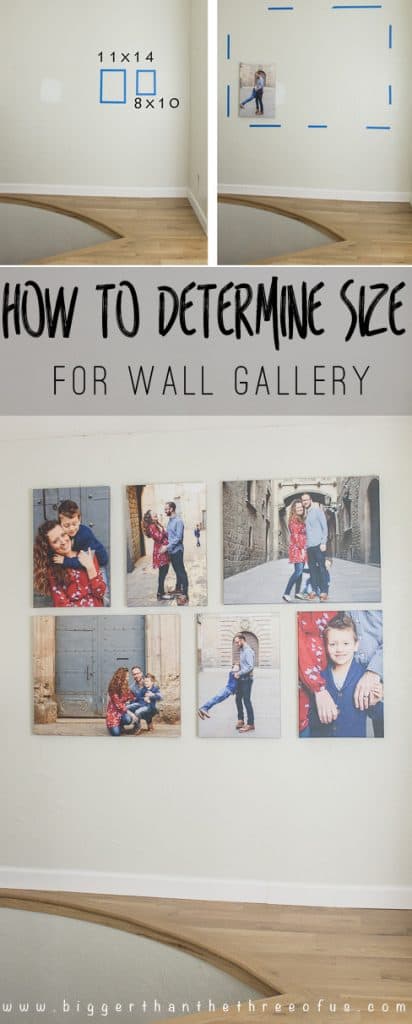
For size reference, this wall that I'm focusing on is just over 7ft wide and is a hair shorter than 8ft high. The ceiling does slope up, but the wall size is around 8ft.
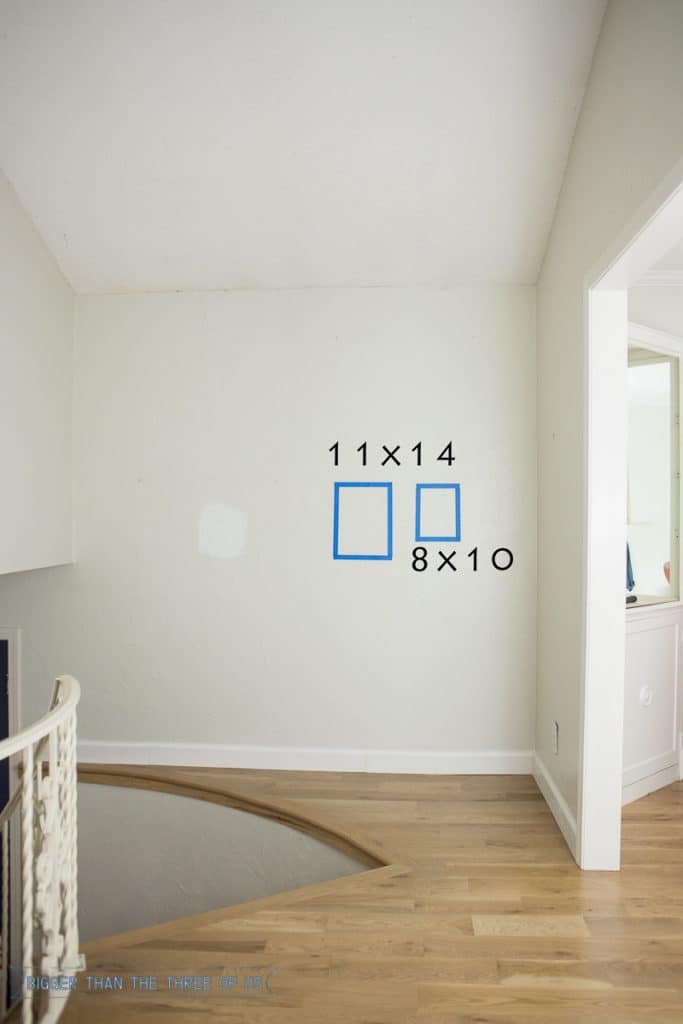
I like to use painter's tape to give me an idea on sizing. You can do this too! If you have a space that you want to focus on, grab some painter's tape and tape up a frame size that you think is the right size. Leave it up for a few days and let your eye get used to it. Does it seem too small? Take it down and put it back up bigger. I do this all the time! It totally works.
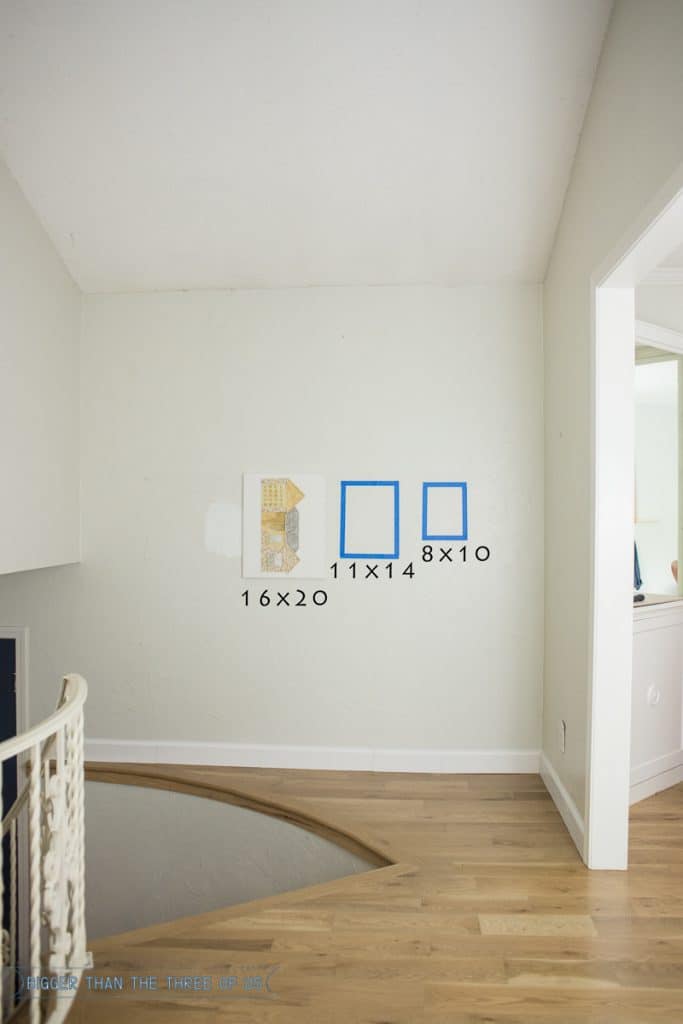
Ok, here's my wall and what an 8x10 would look like on it.
Way too small. My eye would wander without really getting captured by anything.
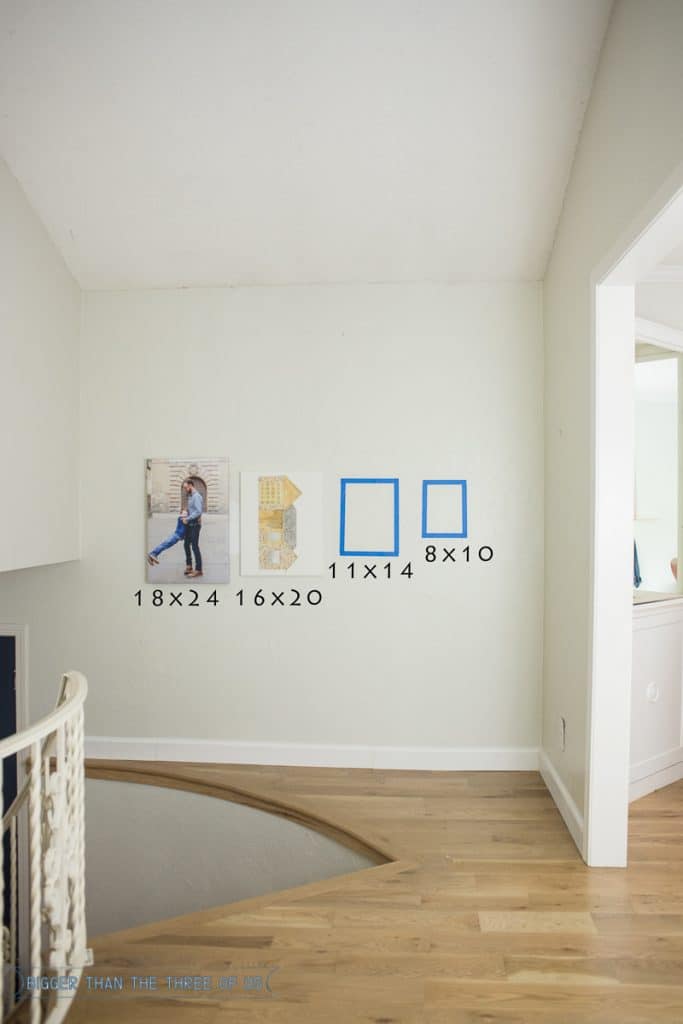
Same thing (in my opinion) with the 11x14 and the 16x20.
The 18x24, though, looks good.
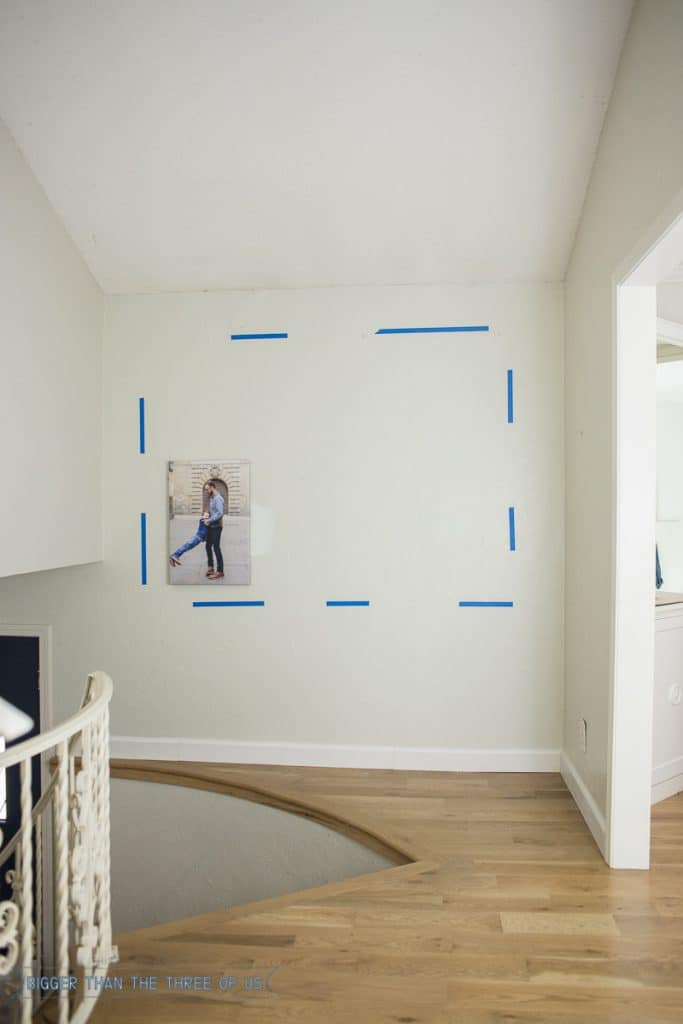
How did I get to that size, you are going to ask, right?! Well, I taped off a box where I wanted my gallery wall to hang. I knew I wanted some vertical canvases and some horizontal. I decided four vertical canvases and two horizontal canvases would be good.
I wanted two rows, so I divided the inside of my square in half to give me the dimensions of each row. I have a little play on all sides as well.
I wanted around three inches between each canvas so I subtracted the inches from my square space to arrive at my canvas sizing.
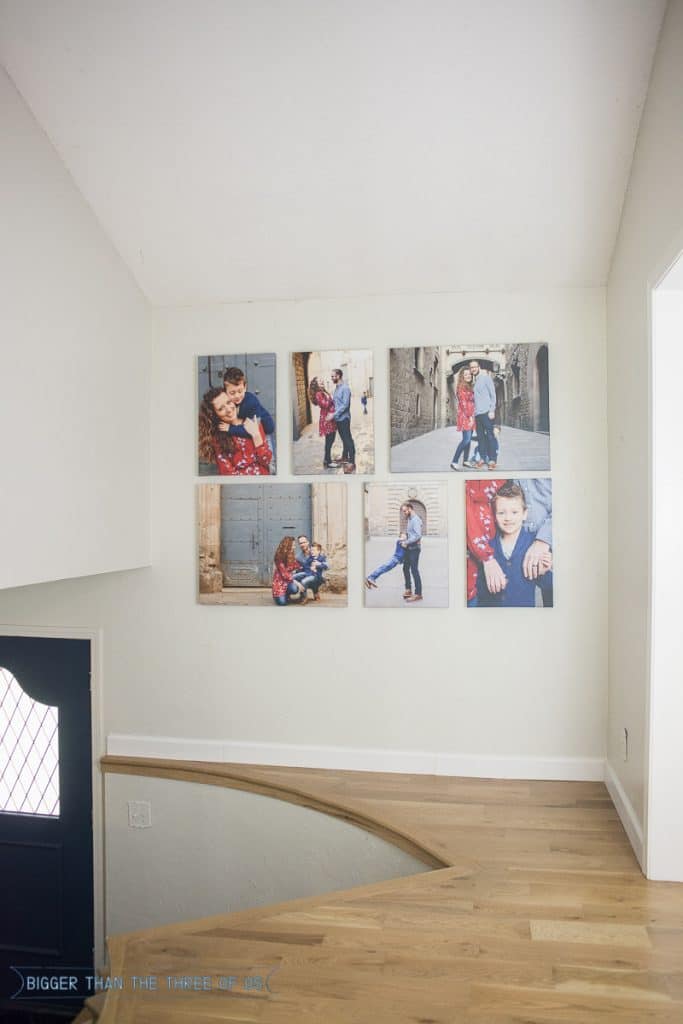
My vertical pieces are 18x24 and my horizontal pieces are 32x24.
This is where I ended up:
CanvasPop is a sponsor of Bigger Than The Three Of Us for the One Room Challenge. They provided me with the canvases; but seriously, you should go over and order some! Working with them was super easy, they arrived fast, look great and even provided hardware for hanging. Gotta love a company who goes the extra mile!
I still have to paint the walls so I didn't use a level to make sure everything was just perfect but it looks pretty good to my eye.
PIN:

Now, that I've chatted about how I determine canvas sizes for a wall, let's go ahead and talk about what I find to work best for determining which photos to print.
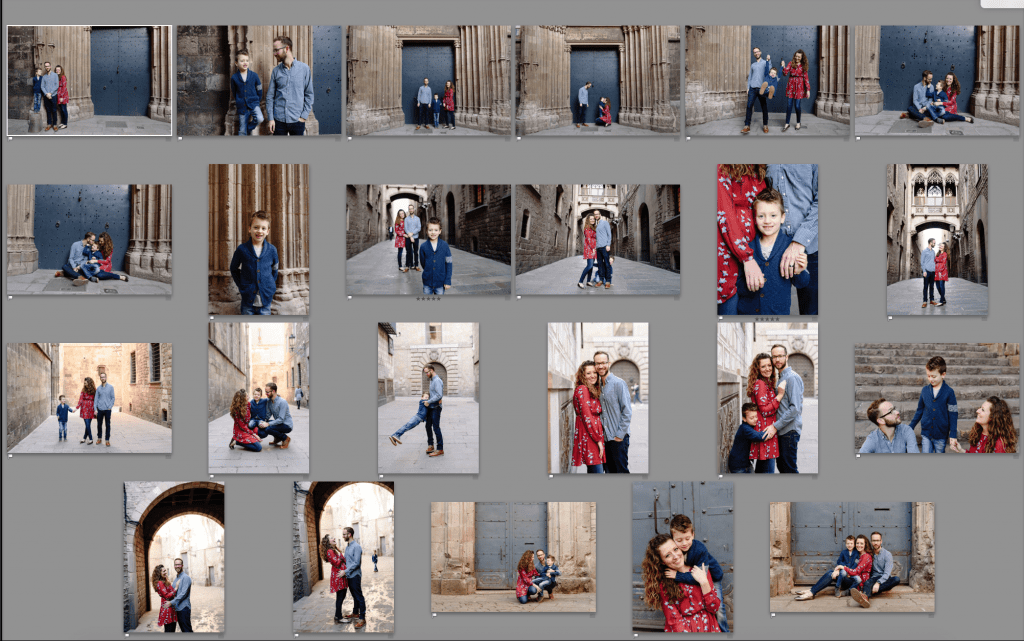
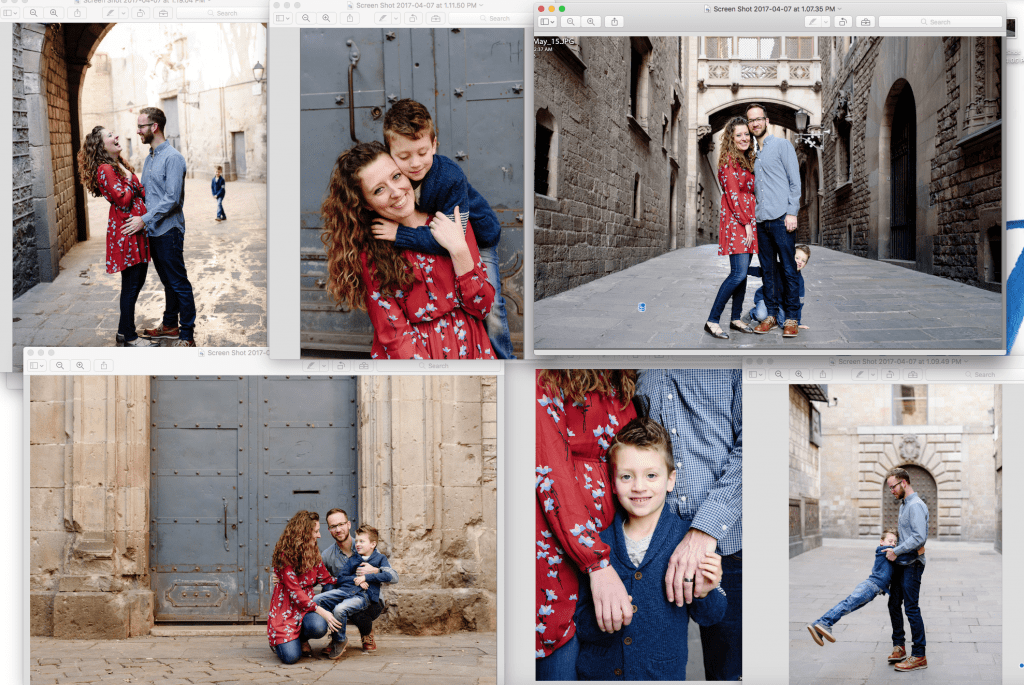
I use Lightroom to organize my photos, but no matter what software you use, you can still use this method to help you determine if you like your arrangement. So, first things first, I decide what my top photos are. Which one's are my favorites? Which one's are potential photos to have printed?
Here's an example of my favorites:
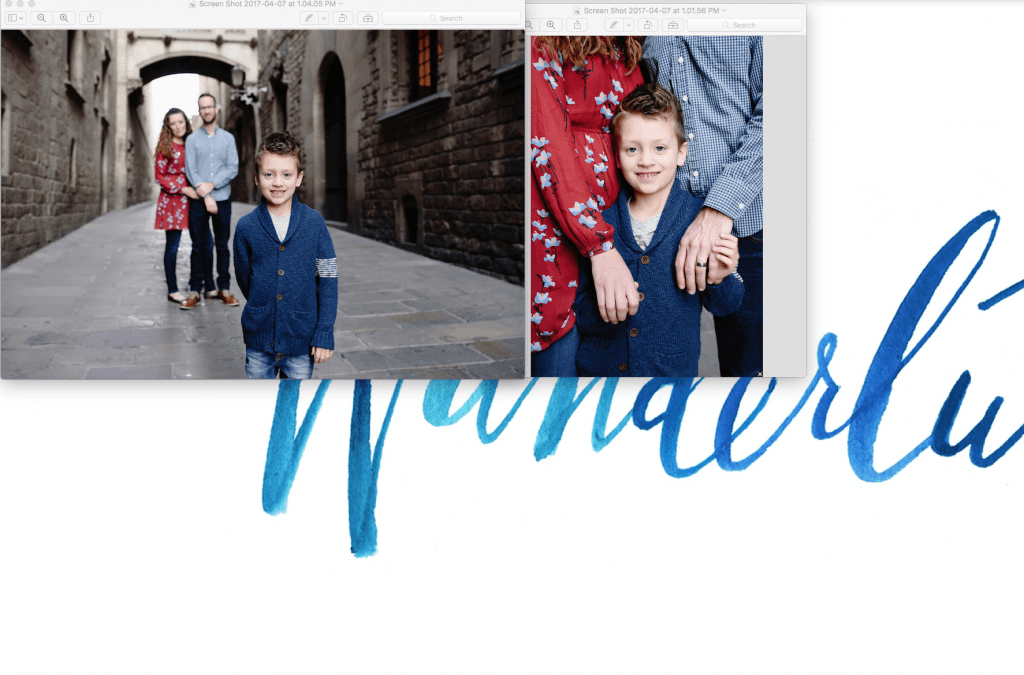
Once, I have my favorites picked, I screen shot (for a mac, this is shift-command-4) a few of them. I start arranging them on my desktop screen how it would look on my wall.
*You could do this same method but use 4x6 prints if that would be more convenient for you.
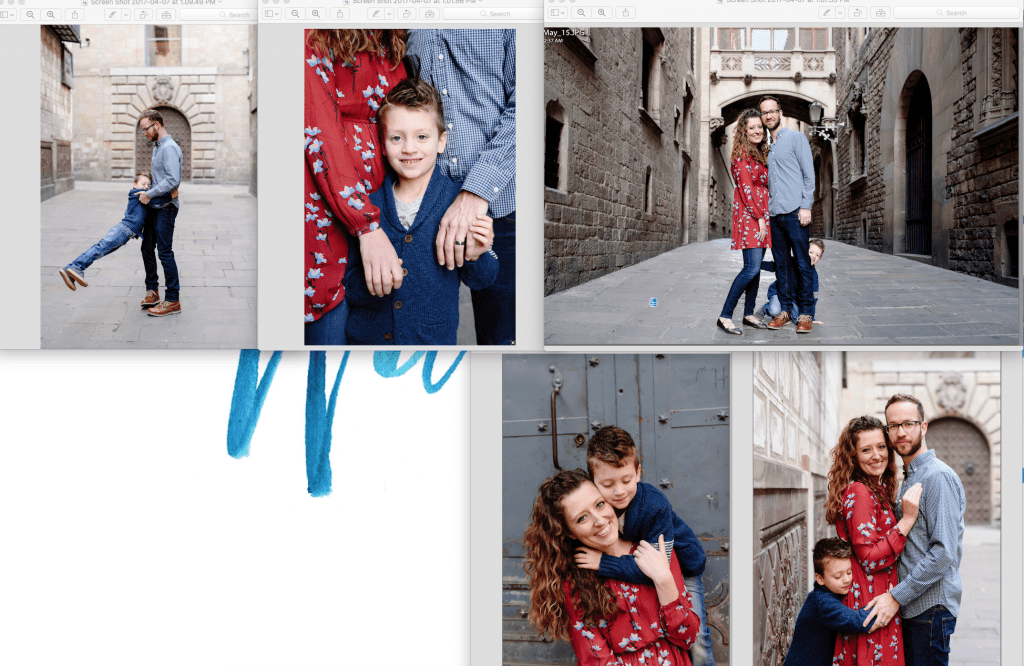
When I am arranging them, I'm paying attention to scale and colors.
After swapping a few images in and out, I finally land on an arrangement that I like:
It may not go up on the wall exactly like this, but to my eye, it looks balanced.
All in all, the screenshots and arranging probably took me ten minutes. I find this method to be the easiest for me.
So, did this help you? At a minimum, before you order anything next time... grab some tape and tape it up on the wall with the dimensions that you are thinking about. It's so easy to do and I really think it helps nail down what size to get.
*All images are from our Spain trip. We booked a session with Carolina Sainz and it was amazing.
Canvas Pop | Nostalgic Warehouse | Framebridge | St. Frank | Metrie


Cassie Bustamante
love your new photos and the gallery!!
Morgan
what awesome advice! thanks for sharing.
Tee @ Beauteeful Living
Your photos came out so gorgeous! Great tutorial by the way!
Brit | House Updated
Such amazing pictures of your family! And to have them done in Spain, so awesome!
Ariel
They look great in situ! I appreciated having the other images to scale, nice touch!
Kristen
I like seeing how you came up with your pattern for the wall and what photos to choose. Good idea!
Sarah
Great advice!! I know I'm scared to go over the 8x10 size but you're right, for a big wall like that the bigger sizes fit perfectly. Love how your gallery wall looks!
Emy
Great advice for picking the right sized art! I probably would have crammed 25 8x10's in there. 😉
Bre
These family photos are the cutest! Love how this wall is turning out!
Carrie
Great tips and I love the photos!
Lindi
This method is genius and amazing! lol. LOVE what you came up with. Taking screenshots and playing around on my mac is exactly what I do, lol. I definitely need to up my gallery wall game with some big pieces!
Brittany Goldwyn
Love the new photos, and these are some great tips! I struggle with scale.
Diane
I love the wall treatment, but was intrigued by the floor. Does it just drop off to the stairs below ?
Ashley Mayes
It's a circle staircase that goes down. =) Thanks for stopping by!
Tracy
I see you used 4 of 18x24 photos on the loft wall. What is the larger size photo dimensions?
Also, where do you get your photos printed ,and is it a special name for that?
Ashley Mayes
24x32 and CanvasPop.