I've finally gotten my act together and edited some video so I could share my Budget Friendly Front Porch Makeover with you guys! The budget-friendly front porch makeover has been done for about a month, but for some reason, I just couldn't get it in gear with editing all the pictures and video. But, today is the day and I'm excited to share the space.
Over the past few years, the space has gotten some love here and there. The problem with the space was that, although it had gotten love, I hadn't focused on it. No matter what type of space you are working on, if you don't focus on it you will never finish it or get to a place where you really love it. My space had some random pieces that had been collected or made over time and, to be honest, that was progress but it hadn't come together to be a space that I liked.
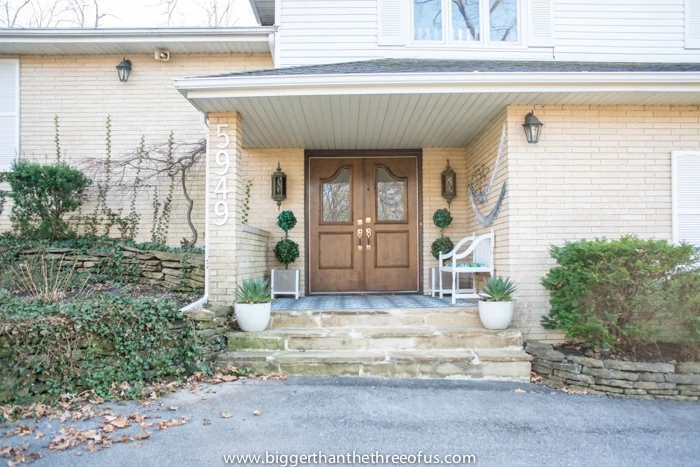
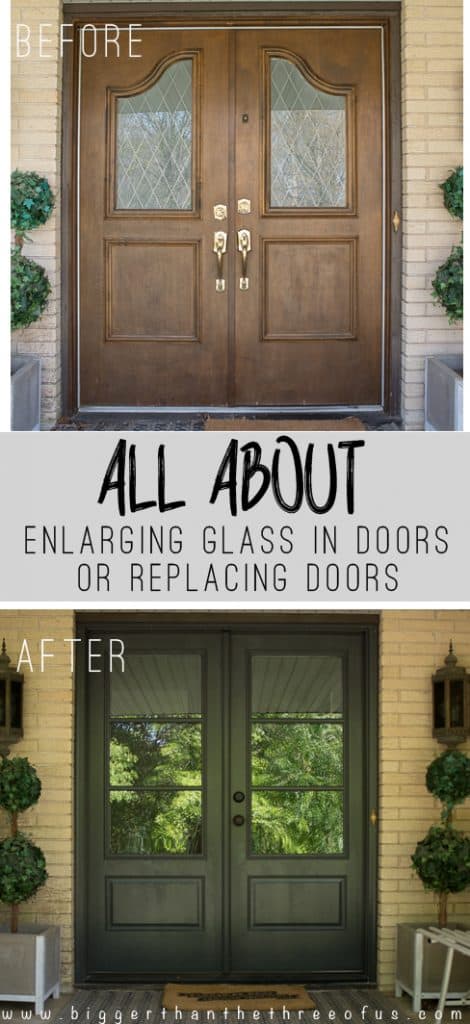
The first three years we lived here, the front porch was not a place I wanted to spend any of my small budget or any of my time updating. It just had (in my opinion) a HUGE negative that I couldn't get past. That huge negative was our original doors. They leaked, bugs went underneath where you could actually see the outside from the inside, they were peeling, the handsets had been changed sometime over the last thirty years and weren't level with each other. Come to find out, they were actually interior doors that were placed outside with a nice glass insert. Anyways, for lots of reasons, I hated them.
See what I mean...
It wasn't until earlier this year that we were able to allocate a budget to replace them.
If you are interested in replacing the glass in your doors (going from dated to modern) or just interested in replacing your old doors, make sure to check out my post, All About Enlarging Glass in Doors or Replacing Doors. I gave lots of great details on price and what to expect!
Once the doors were replaced, it felt like we had a blank slate. As always, with all projects, there are always things I'd love to change if budget allows.
Let's get on with the project and then we can chat details.
Budget Friendly Front Porch Makeover
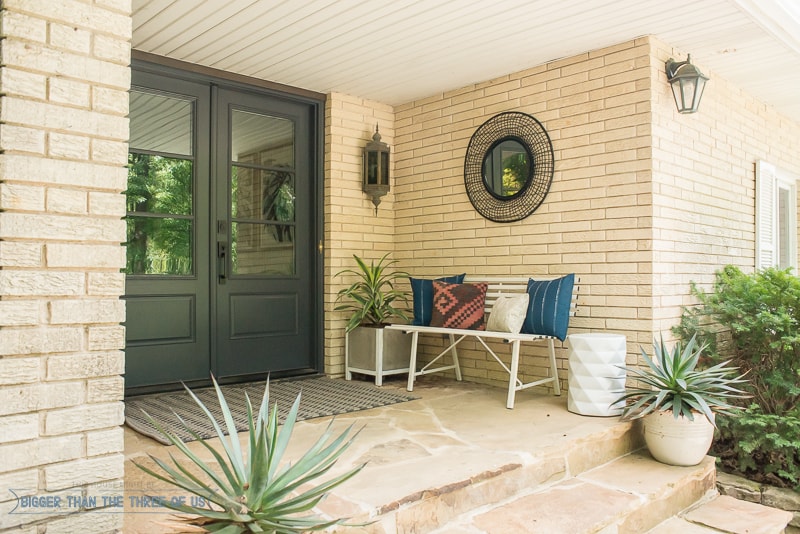
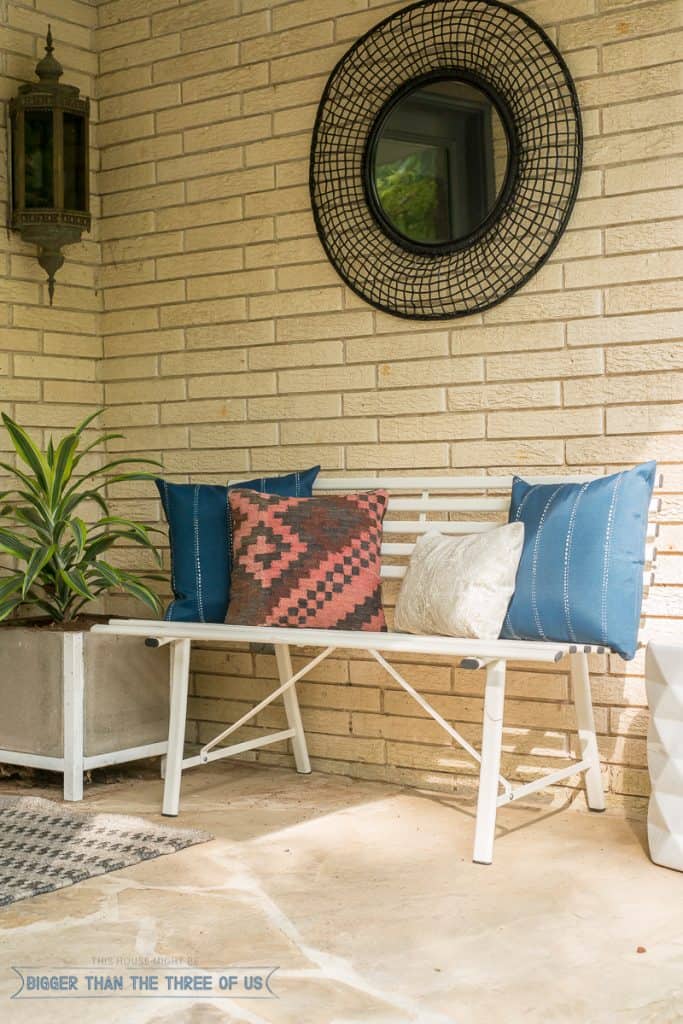
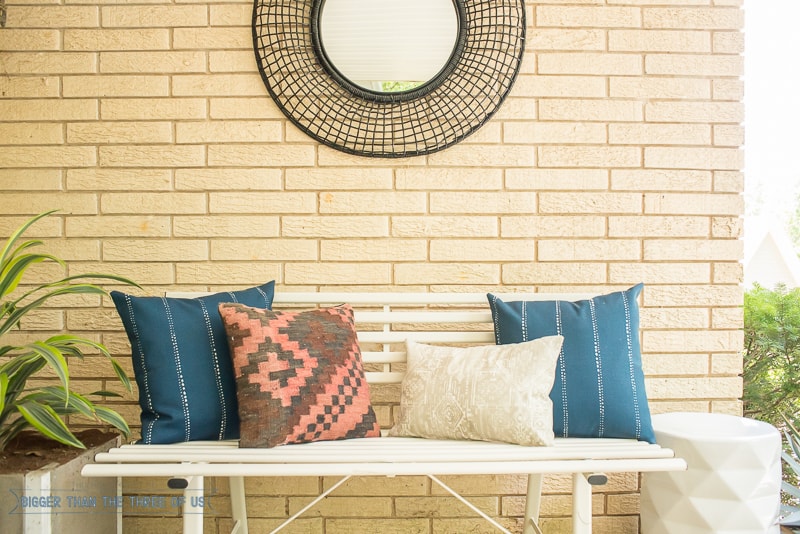
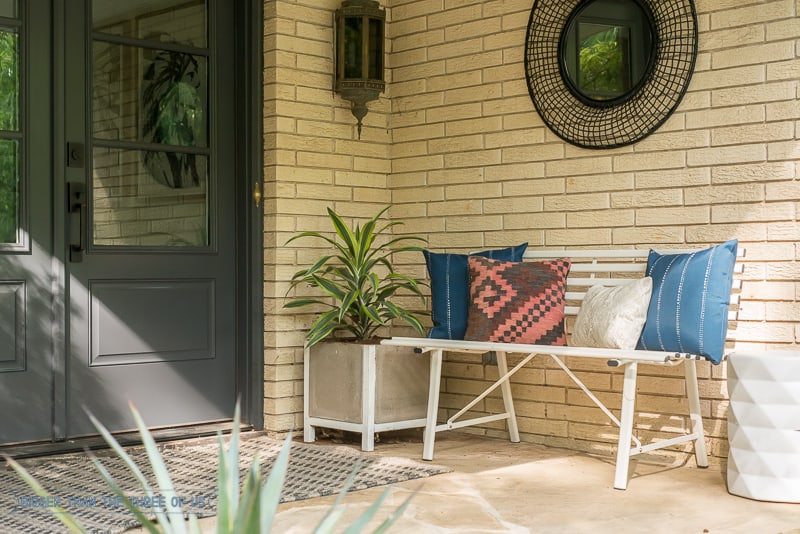
So, what do you think? I had a few of the main pieces to start with but the pieces that I went out and bought for the makeover came in at around $100. Would it cost you more than $100 to do this makeover if you didn't have any pieces? Yes. But, the goal is to build on the pieces that you do have. I'll make some suggestions for you and your space at the end but let's chat a bit more about this space.
So, when I was thinking about this space and what I could do with it, it didn't once cross my mind to power wash it. While I was working on our backyard patio makeover earlier this year, we power washed that space and the results were drastic! If you haven't checked out our Patio Refresh, make sure to hop over to do that. There are a few budget-friendly tips in that post as well as quite a few DIY tutorials.
After finishing that space, I knew I had to power wash this space. I did it in an hour or so and having grime-free flooring and bricks was a game-changer. It automatically felt more welcoming.
From there, I really thought about the pieces that I already had and how I could work with them.
I already had:
- Rug
- 2 large planters with agave plants in them
- DIY Concrete and Wood Planters
- Bench
- White Garden Stool
The rug works with the color of the space yet could be larger. But again, it works... so it stayed. The bench is a plain white metal bench so it can be transformed a million different ways. The two large planters with agave plants come in during the winter and out during the frost-free seasons. We've had them a few years and they've been great. The DIY Wood and concrete planters were a simple diy project that we did years ago. They were dated with how I had them styled.
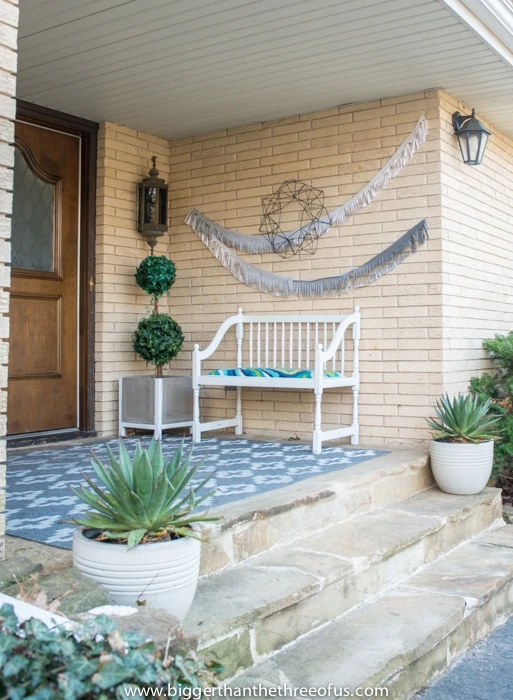
See what I mean...
Ignore that rug, bench and wall decor... that was my first try at decorating the space. BUT, see the concrete planters with topiaries in them? The topiaries are cute but not my style so it was just throwing the whole space off.
To be honest, I really liked having the fake topiaries because I never had to remember to water them. But, they were not meshing with my design (the topiaries tend to be more classic and my design is more eclectic), so I did the next best thing... I bought $10 low-maintnenace, hard-to-kill, like-any-light-situation plants.
The name of the plants are Warneckii and they should be good to stay on the porch until the weather falls under 45 degrees. At that point, I'll bring them in. So far, they've been great. I've watered them once in the past six weeks and they are looking just as pretty as when I got them.
*Affiliate links below. Thanks for supporting this blog. Click to read my disclosure policy.
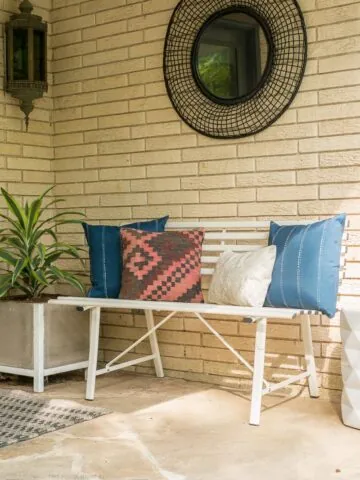
After the two plants, I bought a few outdoor pillow covers. I could have sewn my own, but I found what I liked on Etsy and just bought them.
I got the blue pillows as well as the tan pillow from the same store on Etsy. The tribal pillow is one that I had and is not an outdoor pillow. I used Scotchguard to protect the pillow and, since I have a large overhang, I'm pretty confidant the pillow will be fine out on the porch.
The space feels so much like us yet it didn't cost a fortune. Are there things that I'd love to change? Yes!
I'd love to update those wall sconces and replace the doorbell. However, the budget didn't allow for those changes this time around and that's ok. The goal was to create a space that matched the interior of my house; a space that felt like "us" and didn't break the bank; a space that was thoughtful, appropriate and welcoming.
When I say "appropriate" I mean that everything outside can be outside and I don't have to worry about it. None of us need another space to constantly clean-up or a space that adds another to-do list to our already full list. We just need a space that serves us, our family and those that grace our house.
Shop the Look with Similar Items
Ok, let's talk about tips for you! First things first, think about what you already have. Do you have chairs that you aren't using but would be perfect for your space? Use them! Are they a neutral color but you want a bright pop of color? How about transforming them with spray paint? Or, if you don't want to commit to color, what about adding pops of color with pillows? Or if you have bright furniture and you want to tame it down, consider adding neutral pillows.
Don't have furniture but desperately want some? Check the free ads, keep your eye open for curbside finds or, if budget will allow... check Craigslist, garage sales, flea markets, etc.
If I was starting from scratch, I would try to invest in one piece and I'd make that my furniture piece. You can add plants, rugs, wall decor, etc. in at anytime but you kinda need a big piece to draw your eye to start with.
Or, if you don't have room for furniture or the budget for any furniture pieces, give yourself some creativity with wall decor. How about hanging an outdoor rug on the wall? Or, make some art with some scrap wood. Get creative and just have fun with it.
Hopefully, with my makeover and the few tips I've shared, you'll be encouraged to create a welcoming front porch, front door, front stoop, or whatever space that you use for your home.
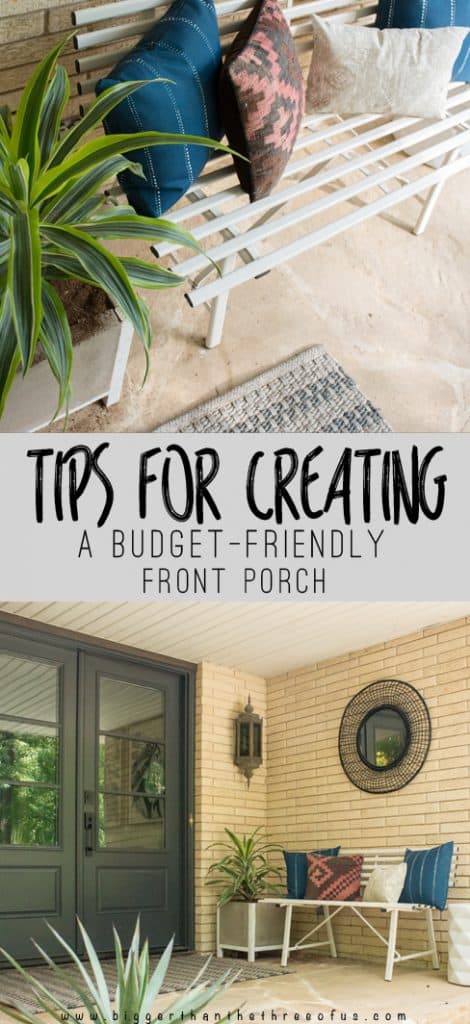
PIN FOR LATER:



Sheena
I just love how you made over your space!! We bought a house about 4 months ago and it needs a lot of work. I am still struggling to make it our home, but working on it day by day. Thanks for the inspiration!!!
Ashley Mayes
Thanks Sheena! It took me quite awhile when we first moved in to even know where to get started so you will get there! One step at a time!
Jessica | house homemade
It looks great!
Ashley Mayes
Thanks so much, Jessica!
KDC
The VintageStyleLiving.com team recently discovered your blog and we just love it. The outside pillows are a great idea and very unique!. Thanks for sharing.
Ashley Mayes
So sweet! Thank you!
Stephanie @ Casa Watkins Living
Love the makeover!! The porch looks like it fits all your design changes indoor!
Ashley Mayes
Thanks Stephanie!!