

It's the first Wednesday of the month again, which means it's time for a round-up of repurposed, recycled and/or reused projects. Sometimes, ideas just come to me for our monthly collaboration and, other times, I really struggle with coming up with a project. This was in the latter group. I have lots of half-finished projects around the house, yet I wasn't really excited about finishing any of those. So, what does the sane person do? Why start another project of course. =)
Let me just say that this is a super simple project.
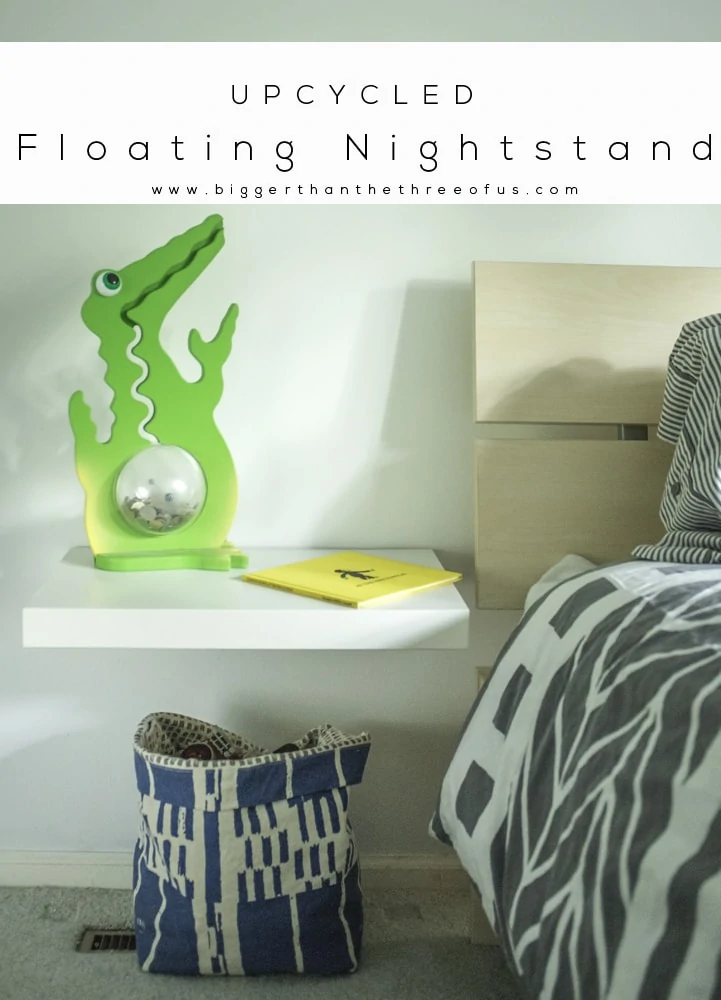
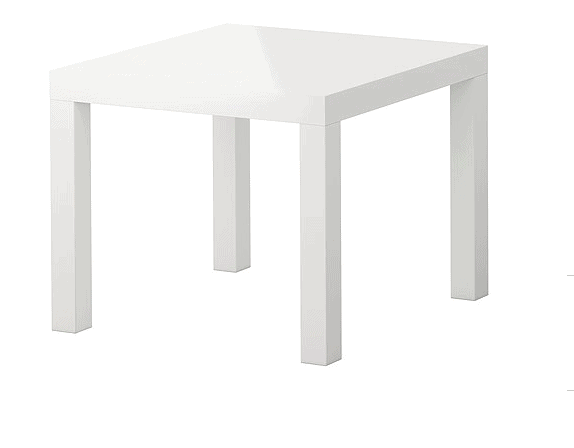
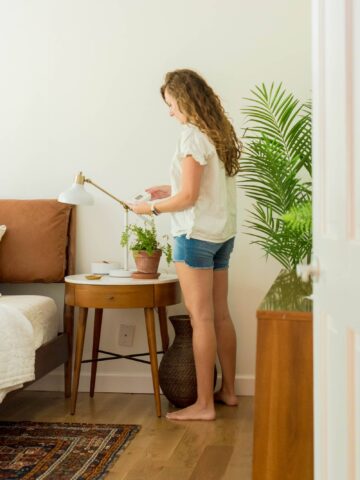
A few years ago, we went to Ikea (the closest one is 8+ hrs away) and bought a few Lack Tables.
We've used them around the house in many different ways. At one time, they were our nightstands in the master, stacked on top of each other. They became a bookcase of a sort and then, finally, we used one in Greyson's room as his nightstand.
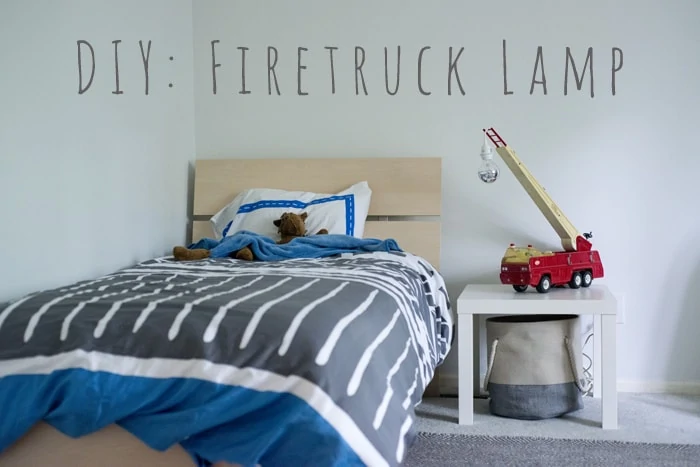
Ignore the "DIY: Firetruck Lamp" on the photo... this gal was too lazy to search for a photo without writing.
Anyways, in photos the Lack table looks ok, but in person it was way too big for the size of his bed. So, we decided to modify that table to make a floating nightstand.
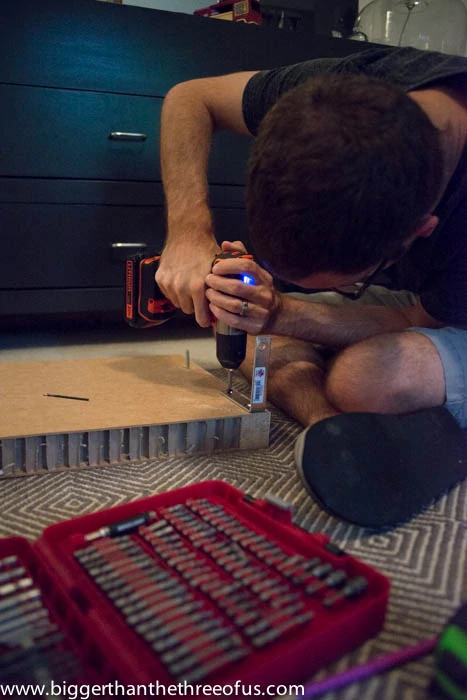
The table is square so we cut it a little over the middle. We used a jigsaw and it worked like a charm.
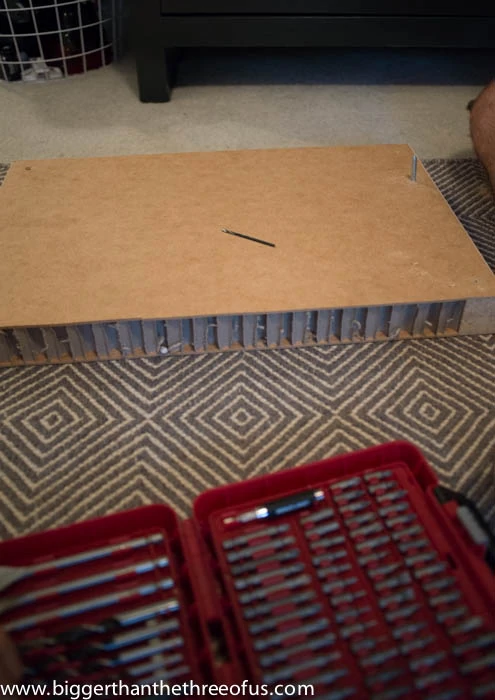
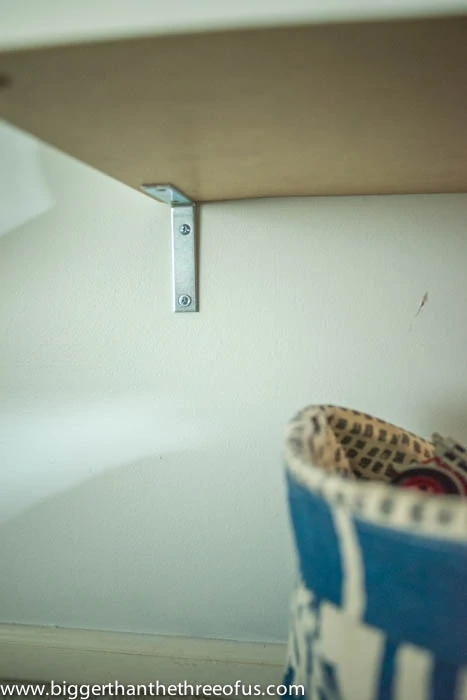
Once we had it cut, we put "L brackets" or Lowe's calls them "Corner Braces" on the bottom of the cut side.
From there, we attached them to the wall.
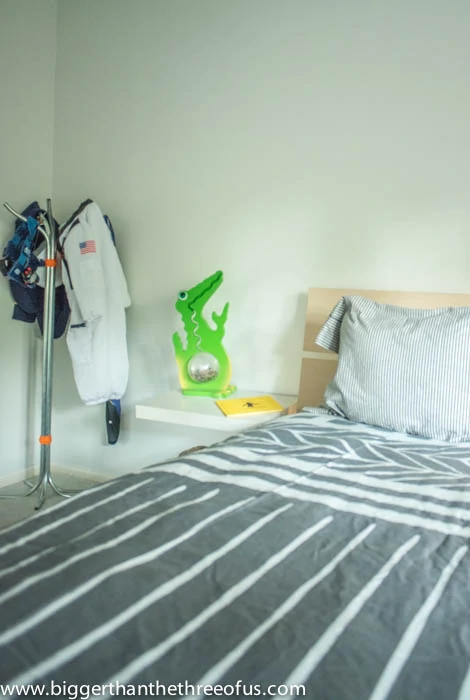
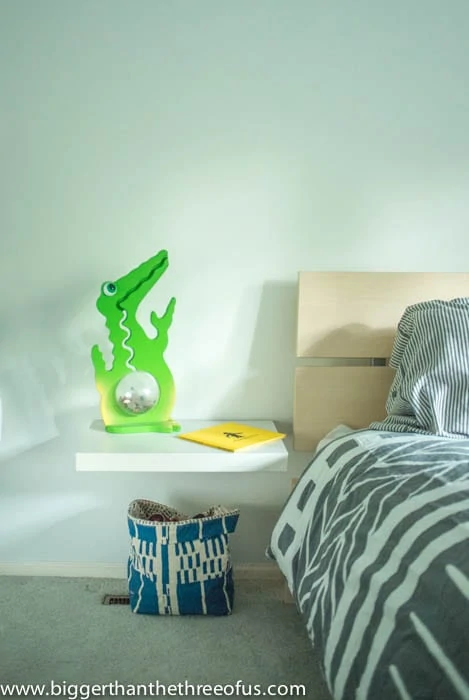
We may or may not add legs to the shelf in the future. It is definitely sturdy enough for a book and decor item, but we have a bouncing toddler in there, so we will see. But, overall its a great improvement over what we had and it only cost $3.40 out of pocket. Yay.
Are you ready to see what the other ladies did this month?
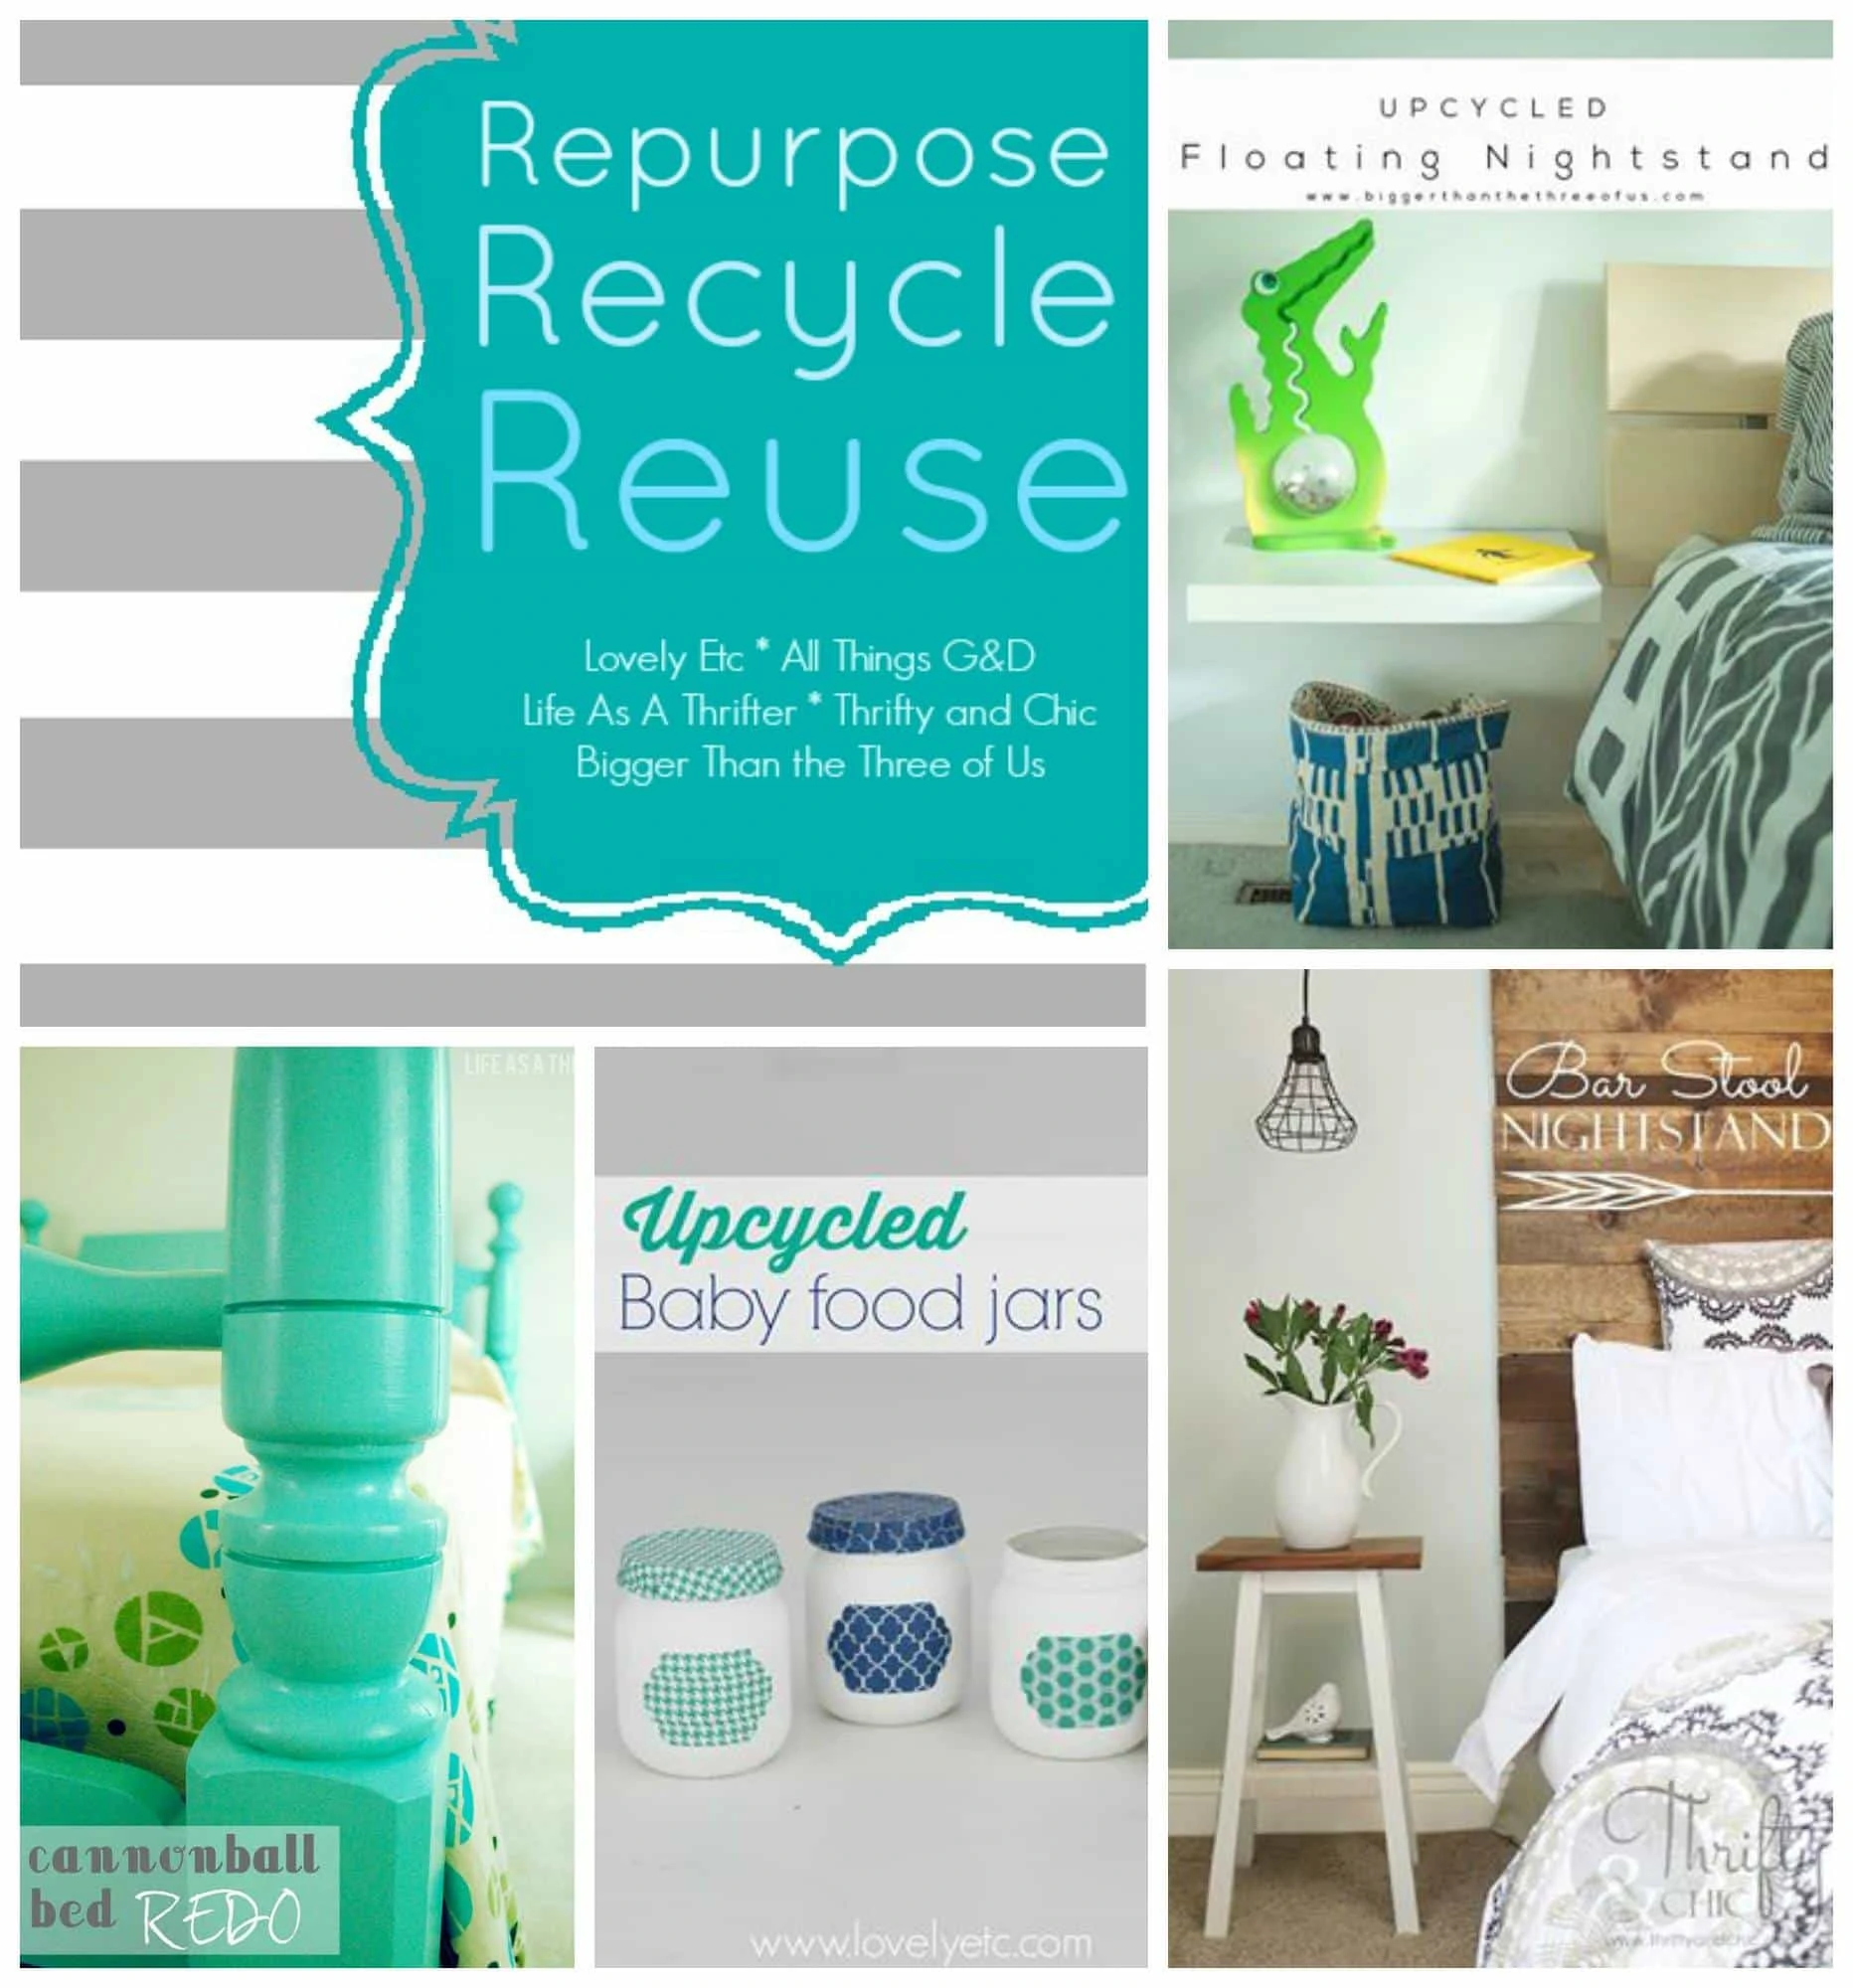
Cannonball Bed Redo - Life as a Thrifter


Beth Marie
Great idea! I have THREE boys and these tables never last an entire year in this house.
Ashley Mayes
Thanks Beth! Boys are a bit rough on furniture! =)
Alicia @ thrifty and chic
Love this! And I totally know how you feel with some of those projects that you just don't want to do so you come up with something super simple 🙂 I love that basket underneath it too..super cute!
Ashley Mayes
Thanks Alicia! I got the basket at Land of Nod... they are the perfect little totes.
Holly @ Life as a Thrifter
That's pretty darn fabulous! I'd could use about 5 of those right now! Thanks for sharing this!
Ashley Mayes
Thanks Holly! Easy peasy for sure!
Carrie
What a great little nightstand! When I saw the picture, I was thinking it was a floating shelf. I liked it then but it is so much more impressive now that I know it was a table!
Ashley Mayes
Thanks Carrie! I called it a nightstand, but it would definitely double as a floating shelf. Same concept!