

Let me give you the back story before I show you what I did. A few months' ago, I saw this at Staples:
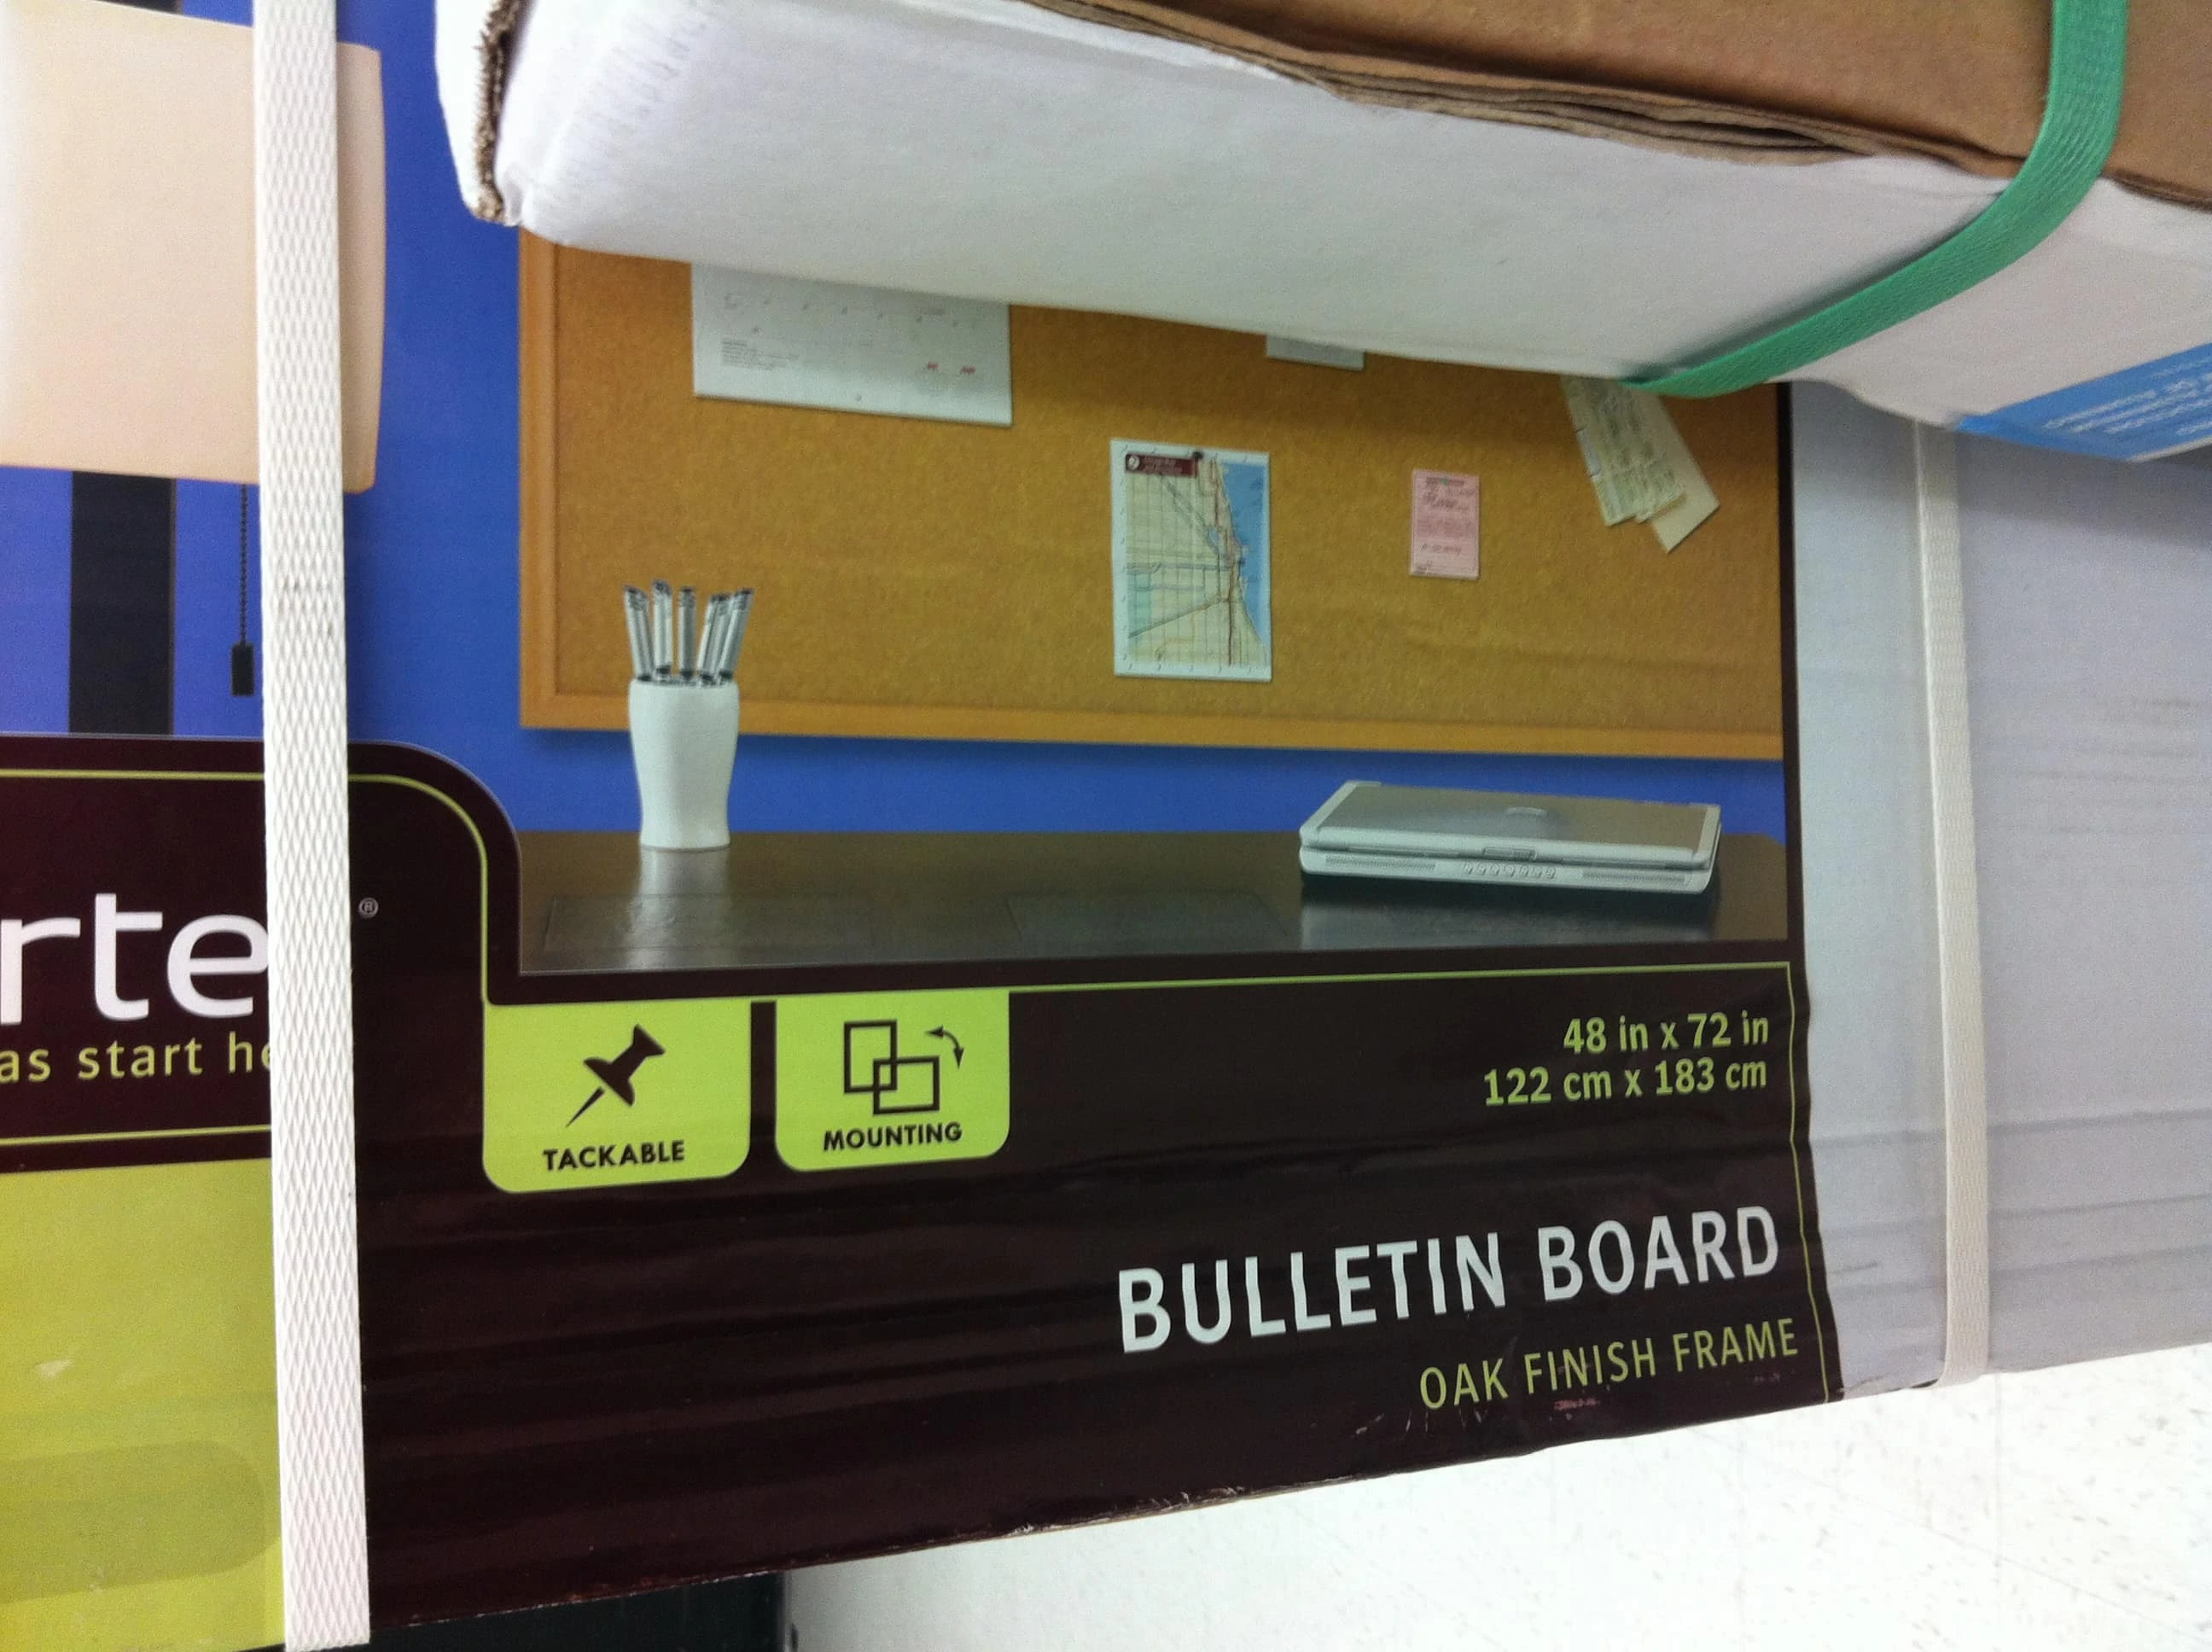
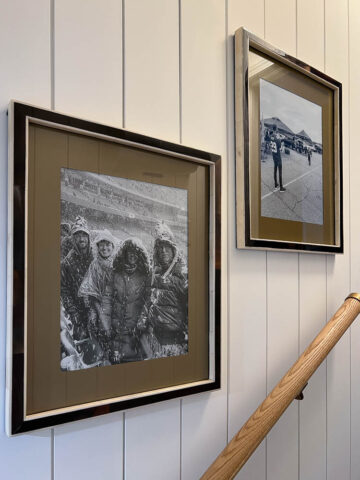
I can't remember the exact price, but it was something like $24.99 marked down from $160. I called Luke and ran it by him. I told him that I thought it would look great in Greyson's room with some large b/w photos on it. He couldn't really envision it, but said that he trusted me. Well, I bought it. Then, it sat in our garage for like two months. Well, over the weekend it was one of those projects that I just wanted to get knocked out. We brought it up to Greyson's room and the size was great, but the pictures that I wanted to put on it didn't work. I was planning on printing cheaply at Staples or Kinkos (poster prints) and I had my heart set on three side by side pictures. Well, the cheap prints just didn't fit right. So, I got to thinking about where else I could use the bulletin board. We have lots of open space, but I decided that the most embarrassing open space that we have was in the living room. So, in the living room it went.
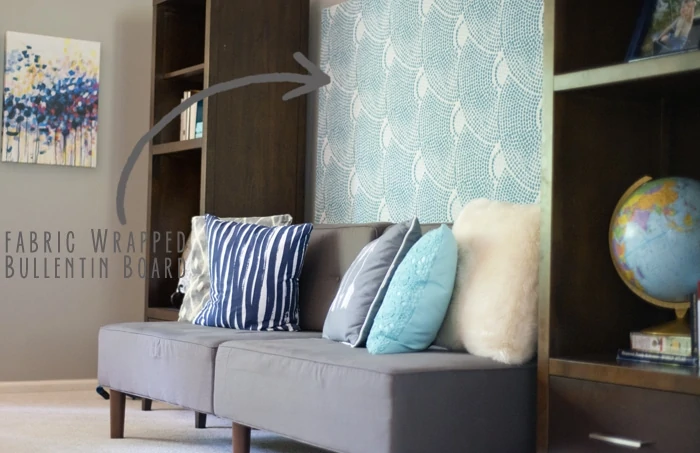
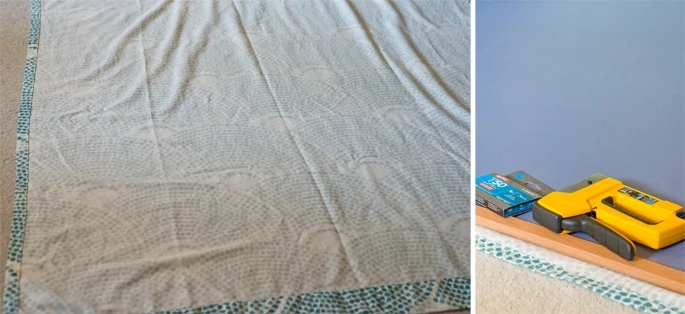
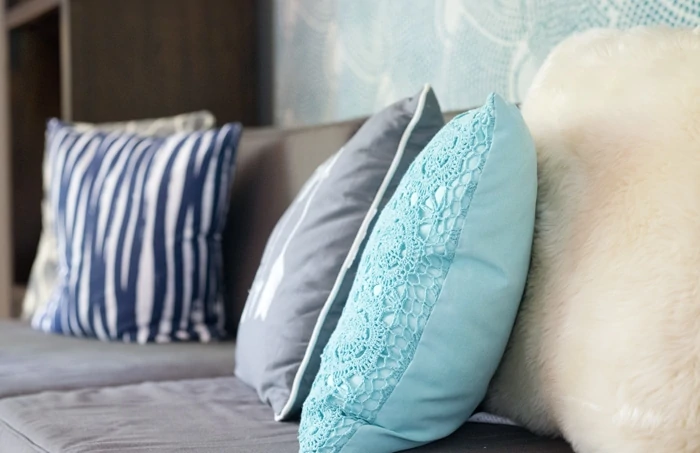
While shopping at the Goodwill last week, I picked up another Target Threshold window curtain (we have the same one lining our outdoor couch). So, all we did was pull the curtain out and staple it to the bulletin board.
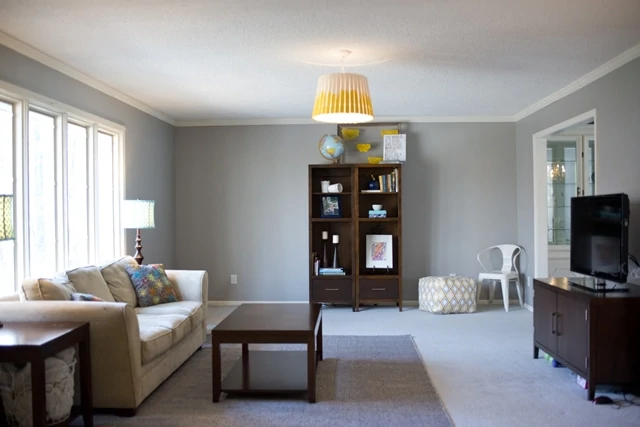
and how about a little before and after....
Before:
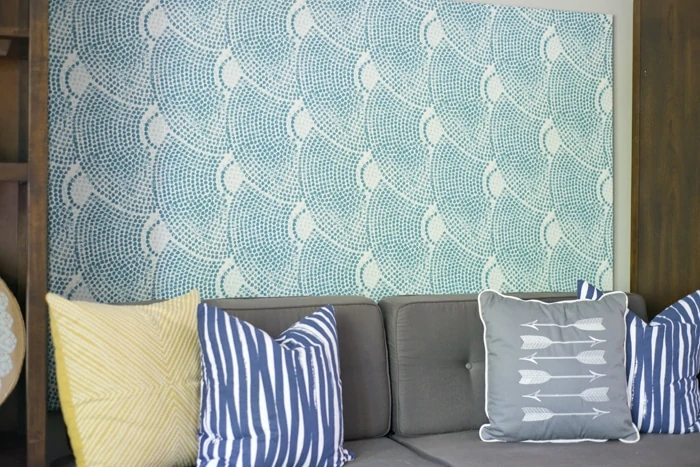
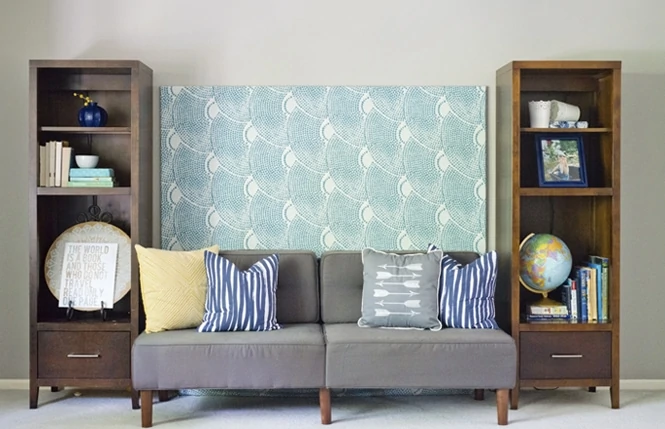
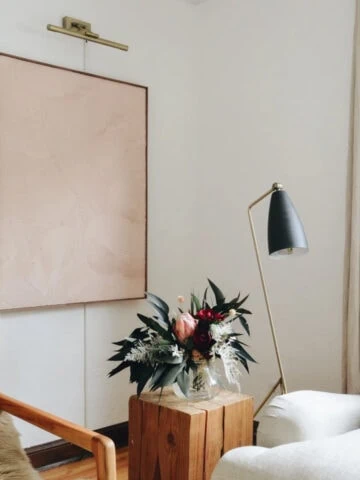
After:
I just realized that we've changed things up a bit in the living room since I last shared pictures. I need to get on it and share some more.
Oh, and this project was free. We had everything on hand. =)
Linking up to:


}
Dawn @ We Call It Junkin
That's such a great way to dress up a boring bulletin board, and your room looks so professional, it could be in a magazine. Good job!
Ashley Mayes
Thanks Dawn!
Cassity
I LOVE it! Looks Great!
Ashley Mayes
Thanks Cassity!
the cape on the corner
Comment
the cape on the corner
ok, I don't know why that was an empty comment. love the look here, especially the whole built in thing.
Ashley Mayes
Thank you!
Yvonne @ Sunnyside Up-Stairs
The simple projects with the most impact are my favorite and the fact that this was free for you takes the cake! =D Love everything about your after photo!
Ashley Mayes
Thanks Yvonne! There is definitely much more satisfaction (quicker!) with simple projects.
Gretchen@BoxyColonial
ooh, very nice! I love that fabric, and it looks great in that space!
Ashley Mayes
Thanks Gretchen!
suburbsmama
This is gorgeous, it really completes the space. If you get a chance, please link up to my linky party going on now: http://suburbsmama.blogspot.com/2013/08/sunday-linky-21.html
Amy @ A Blossoming Life
This turned out to be such a beautiful project! Added the perfect amount of pop and matches perfectly! Love it! I would love if you would share this over at our blog hop http://www.ablossominglife.com/2013/08/frugal-crafty-home-blog-hop-37.html
Julia @[email protected]
Looks very expensive! Great idea.