

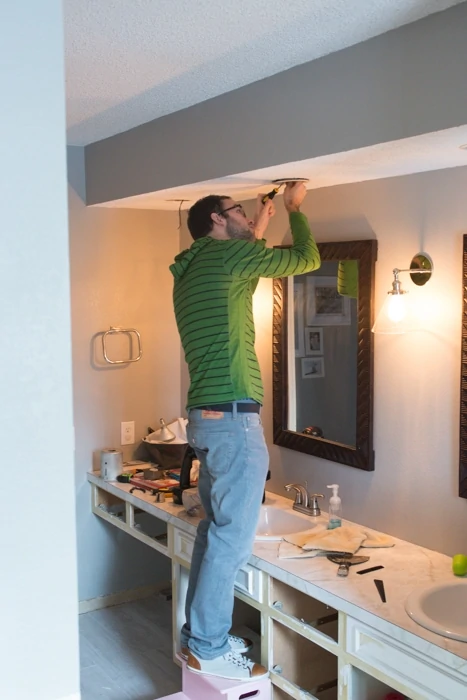
Hi, this is Luke. I usually take more of a backseat role - working on projects, editing posts and providing tech support - but I want to stay on top of my one-post-per-year average in 2014. My favorite projects to work on usually involve paint or wiring. This one was a combination of the two, although Ashley ended up doing all the painting. Thanks, sweetheart.
So, in Greyson's bathroom we've always had some lighting issues. Old, dingy light fixtures and not enough light for the room. We took care of some of the dingy light fixtures with a previous project but we still left some dated-looking can lights hanging around. This project ended up being pretty simple and a great way to improve the bathroom with little money spent. We looked into quite a few options for replacing the can lights but didn't like anything enough to be worth the money. Instead, we decided to buy a can of high heat spray paint to see what a bright coat of paint would do.
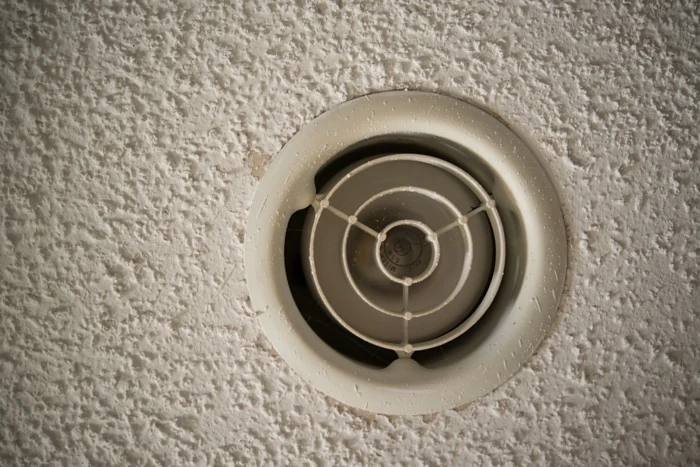
Our beautiful, old can lights.
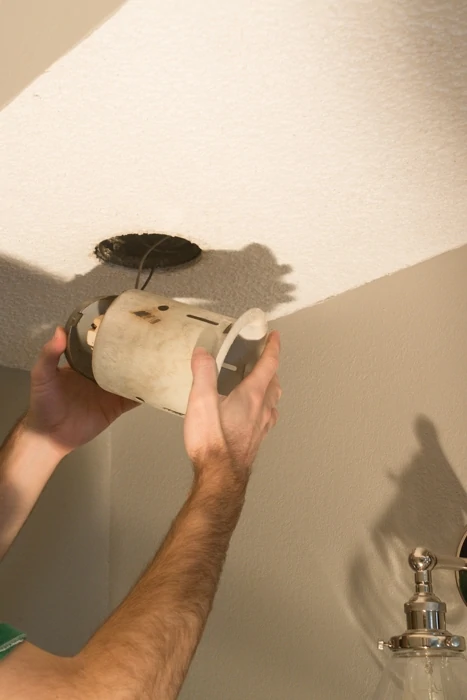
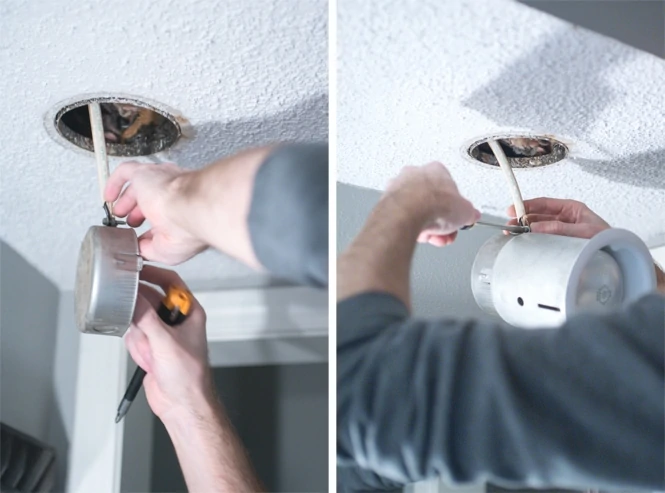
The first, and most important, step was to make sure the electricity was off at the fixtures. Then, we had to figure out how to remove the cans. I'm sure every model is different. For ours, it was pretty easy to figure out how to loosen the cans once the bulbs were removed.
As with most projects, this one changed a little bit as we got into it. Once we got the first can down from the ceiling we noticed that one of the wire connections was loose. After some investigation, and last minute googling, we realized that the sockets could not be rewired. As is always the case with our projects, we made one more trip to Lowes than we thought we would need to and picked up some new sockets.
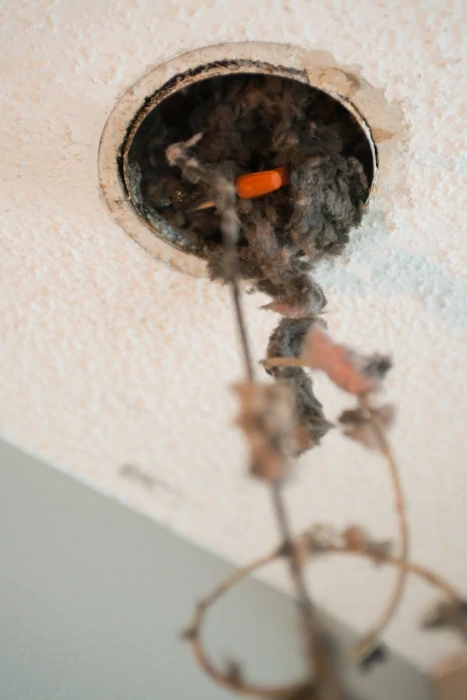
Our last surprise of the project.
After I took out the last can I found one more surprise. With household wiring, you always want any wire connections to be done inside a box. When we bought the house the inspector pointed out a few places where our wiring wasn't up to code. Every once in a while I find a new one that the inspector wasn't able to see.
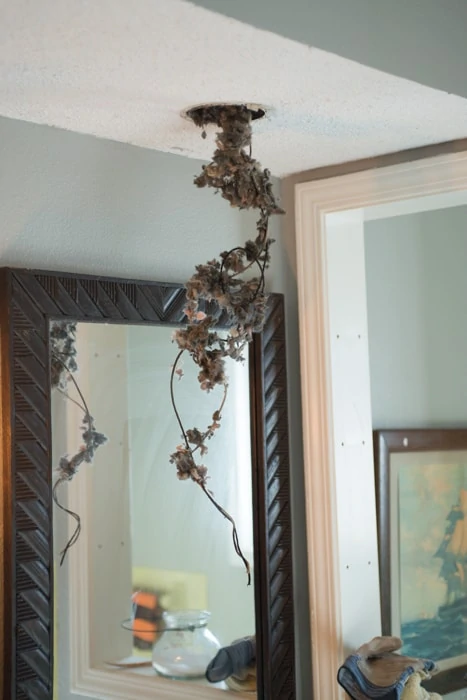
It's pretty amazing how much wire was crammed up into the ceiling above this light.
Putting the newly painted cans back up was a piece of cake. I just followed the same steps in reverse.


The high heat spray paint was about $4. If it wasn't for the cheap, old sockets we would have walked away with quite an improvement for $4. Replacing all of the sockets, ended up costing $12. So, it was more than we planned on spending but $16 still isn't too bad. We're happy with the result. Isn't paint great?
}


Julia@Cuckoo4Design
Yup paint is great and $16 is pretty awesome too.