

Learn how to add contact paper for windows. Especially great for a bathroom window, frosted contact paper is easy to install and is great because it still allows light to stream in.
We've been knee-deep in DIY projects for years now and one thing that we've come to appreciate is when we have a DIY project that is short and not messy. As you probably know, when you DIY, part of the struggle is getting out all the tools before the project and then cleaning all of them up afterwards. Add in, a shower for yourself and you've got a bunch of time wrapped up in the project.
Adding this bathroom window privacy film on your window doesn't require "messy clothes" or an hour long cleanup afterwards.
Affiliate links below. Thanks for supporting this blog. Click to read my privacy and disclosure statement.
Getting the Frosted Window look by Applying Contact Paper
Supplies needed for contact paper for windows project
- Level
- Frosted Contact Paper
- Painter's Tape
- Small Straight Edge (you could use a credit card or a wallpaper smoother)
- Scissors
- Utility Knife
Tutorial to make frosted bathroom windows
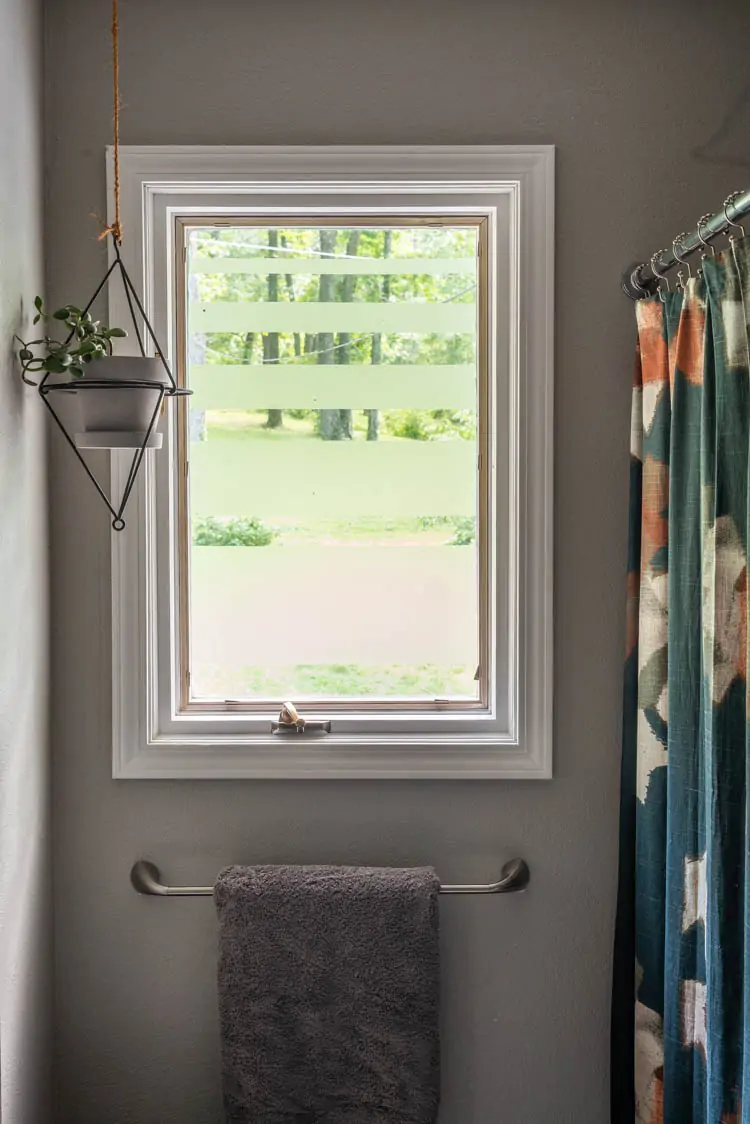
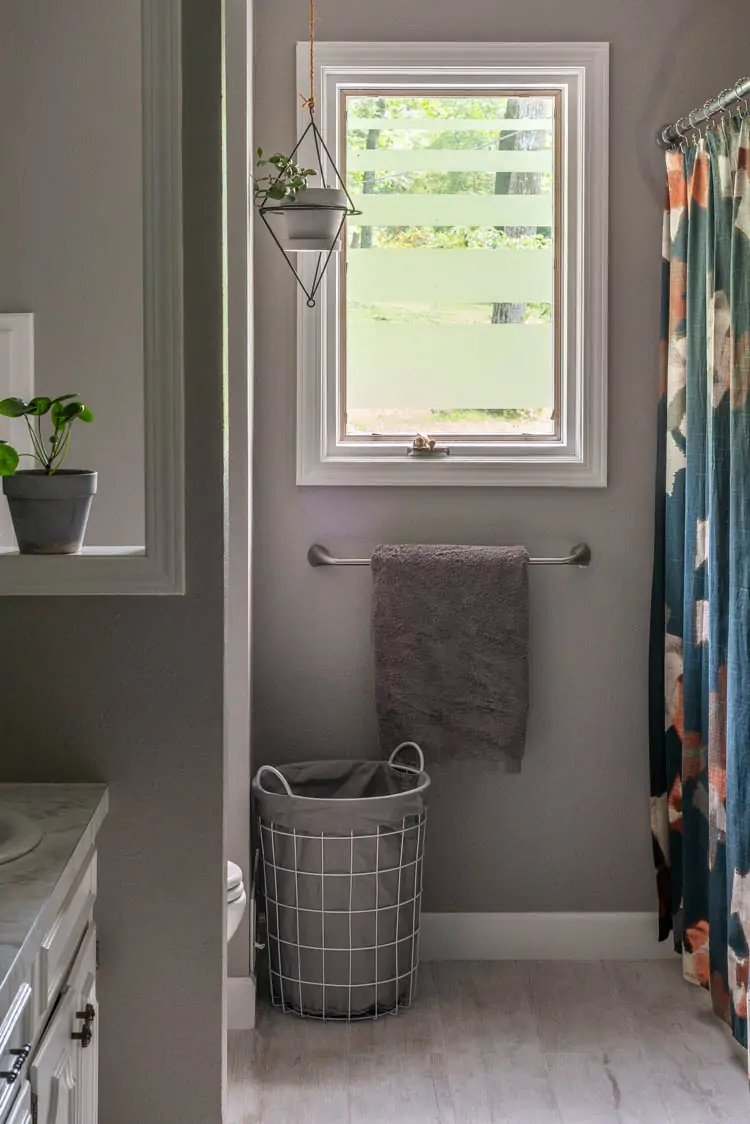
- Decide on if you want to just add the frosted contact paper to the window and cover the window or if you want a pattern. We opted for a pattern.*
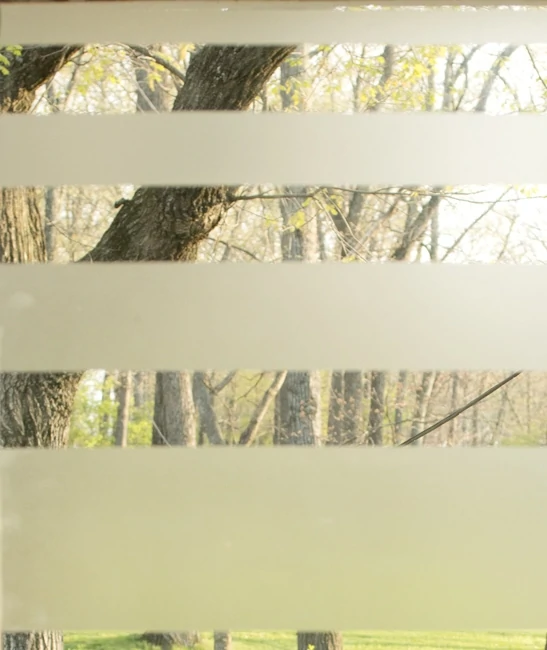
- For our pattern, we followed the Fibonacci sequence for the width of bathroom window film strips. We marked out 2" gaps between the frosted film strips and then cut the strips to size.
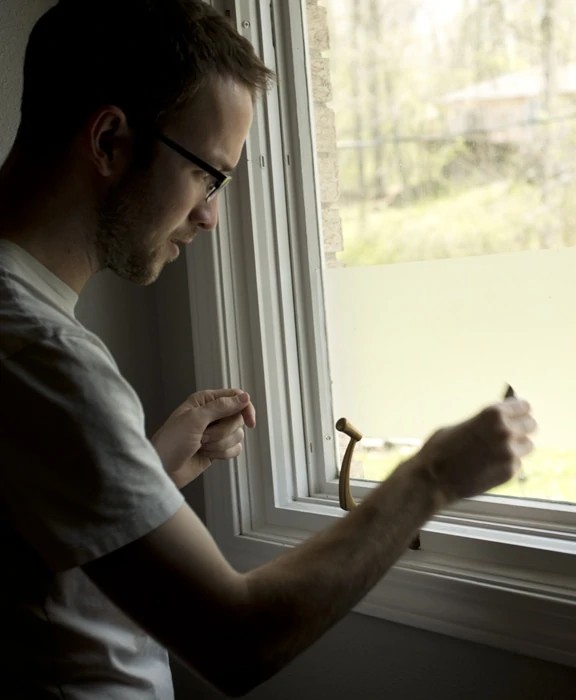
- Starting on one side, we pulled the backing off the frosted contact paper and started attaching it to the bathroom window.
- Going slowly with a straight edge, we pushed any air bubbles out to the side and off the window contact paper.
- Continue until you have either finished your contact paper design or have a full frosted window.
*We opted for striped frosted bathroom windows (we did this window privacy project in our bathroom, too), because our window faces our back yard and is set off from our neighbor's house. A completely private window bathroom wasn't a must for us, but we did feel like a bathroom window film would be nice, especially at night.
As for the Fibonocci sequence for the width of the stripes, I'm married to an engineer and that was his idea. Ha. It would have never occurred to me to use that.
If you weren't doing striped bathroom window film strips, then you probably wouldn't need the level. In our case, the level and painter's tape helped us keep track of the width of spacing between our contact paper strips.

If you are concerned that you'll mess up installing frosted contact paper, don't be. Because...
Will contact paper come off of glass?
Yes! You can peel contact paper off of glass. If any residue is leftover, use a gentle cleaner and the glass will be as good as new.
The best advice for this project is to go slow as you apply the window contact paper. Smooth the air bubbles as you go. It's not hard, it just requires a bit of attention to detail.
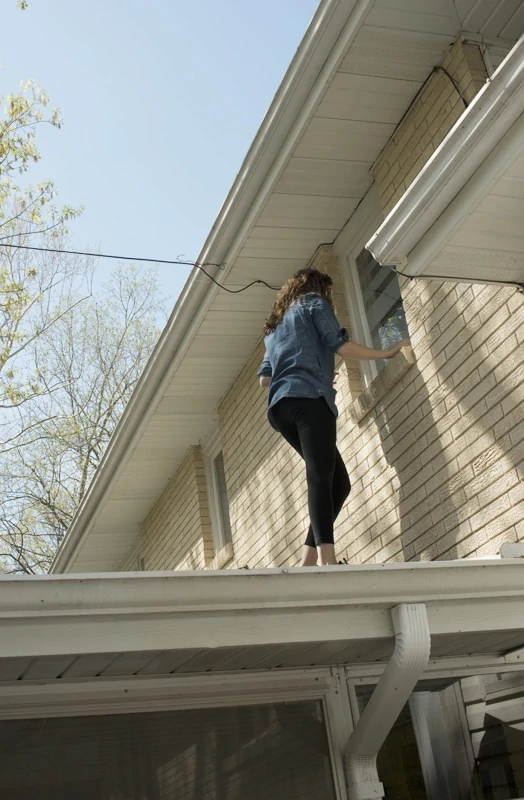
The project took a little longer than expected, because I decided to clean the windows outside after we got it done. A few years ago, we bought an inexpensive window cleaning set and have used it a ton outside.
Anyways, if you are searching for a good solution for privacy, definitely consider this project!
Like I mentioned earlier, we did this project again in our main bathroom. If you want a video tutorial for this window privacy treatment, then check out my Bathroom Window Privacy DIY.
I'd love to give both bathrooms a complete top-to-bottom gut renovation but, until then, they are totally fine. A little love here and there in our spaces can go a long ways.
Ok, tell me... have you used frosted contact paper or would you consider trying something like this?!
How to Add a Bathroom Window Privacy Film

Learn how to add contact paper for windows. Especially great for a bathroom window, frosted contact paper is easy to install and is great because it still allows light to stream in.
Materials
- Frosted Contact paper
- Painter's Tape
Tools
- Level
- Straight Edge or wallpaper smoother
- Scissors
- Utility knife
Instructions
- Decide on if you want to just add the frosted contact paper to the window and cover the window or if you want a pattern. We opted for a pattern.*
- For our pattern, we followed the Fibonacci sequence for the width of bathroom window film strips. We marked out 2″ gaps between the frosted film strips and then cut the strips to size.
- Starting on one side, we pulled the backing off the frosted contact paper and started attaching it to the bathroom window.
- Going slowly with a straight edge, we pushed any air bubbles out to the side and off the window contact paper.
- Continue until you have either finished your contact paper designs or have a full frosted window.
Notes
*We opted for striped frosted bathroom windows (we did this window privacy project in our bathroom, too), because our window faces our back yard and is set off from our neighbor’s house. A completely private window bathroom wasn’t a complete for us, but we did feel like a bathroom window film would be nice, especially at night.
If you weren’t doing striped bathroom window film strips, then you probably wouldn’t need the level. In our case , the level and painter’s tape helped us keep track of the width of spacing between our contact paper strips.
Don't be scared of trying this project because, contact paper will come off of glass. If you mess up, you can peel it off and do it again.


Julia @[email protected]
Looks great. I love the different sized stripes!
ashleymayes
Thanks Julia!
Brandon
How did he figure out the spacing between the contact paper stripes? I know the stripes are the sum of the previous two (thickness wise), but how to get even spacing for a specified window length? It hurts my head trying to figure it out. 😛
Ashley Mayes
Thankfully, we didn't have to resort to any fancy math (that'd make my head hurt, too). I'm pretty sure we just guessed on the spacing between stripes (we ended up using two inches), but the spacing above the top stripe and below the bottom stripe are not two inches. They're actually, about, 2 1/4. So, find out, roughly, how many stripes you'll want and cut them out. Then, hold two or three of them up to the window to figure out your spacing. With the spacing and stripes, you should be able to figure out the height of all the stripes along with the spacing. Center that whole thing on the window, and you're good to go.
Brandon
Thank you for taking the time to reply, much appreciated! This will be my next project. 🙂
Whitney
great idea! my room is so dark that this will work perfect. It will keep the light in but my neighbors won't be able to see in. Where did you get the contact paper?
Ashley Mayes
Thanks Whitney. I ordered it from Amazon.
LaurieRae
i searched and searched for u inquest window cling ideas, so glad I found yours! Thank you!
P.s. I just signed up for your blog!
Ashley Mayes
Yay! Hope you love them as much as we do.
Irma
HI, I have used this window stuff before and found it to bubble up. It is very difficult to get the air bubbles out. Why is this happening? which is the best way to apply to stop this happening. I love the idea and want to do it to my back door which has a clear glass. Any ideas?? Thanks.
Ashley Mayes
I think it's really helpful to have one person laying the cling (only about 6 inches at a time) and the other person smoothing it out with a credit card. You just go a few inches and I really think the two people working together will fix it.
Ivory
Thanks for sharing, because I've always wanted to learn how to do this. Beautiful job you and your husband did.
Ashley Mayes
Thanks so much!
Janet
Love the idea and design. Is this a special window type of contact paper?
Ashley Mayes
Thanks Janet! No, it's just regular contact paper. It looks a bit like it was 'frosted' but that's about it. You should totally do it. It has been up for a long time and it's still looking great.
Amy
Such a great idea! Love your shower curtain. Would you mind sharing where you found it? 🙂
Ashley Mayes
Thanks Amy! Unfortunately, the shower curtain is really old. I scored it at Goodwill a few years back but it was originally from Target. That's no help, I know.