

My posting cycle is all off and to be quite honest, I'm not really sure what the 'norm' is anymore. So, let's get through the holidays and then I'll get it figured out. K? I needed to just put that all out there so that I can stop stressing about having posted on Monday versus Thursday, etc. So, basically you have to keep checking in on me because you don't know when I'm going to post and you don't want to miss something amazing. Are your ready to see the DIY Console Table that the title clued you in on?
I'll tell you what, I'm officially a sucker for leather and amazing table legs. Put those two together and you have a match made in heaven.
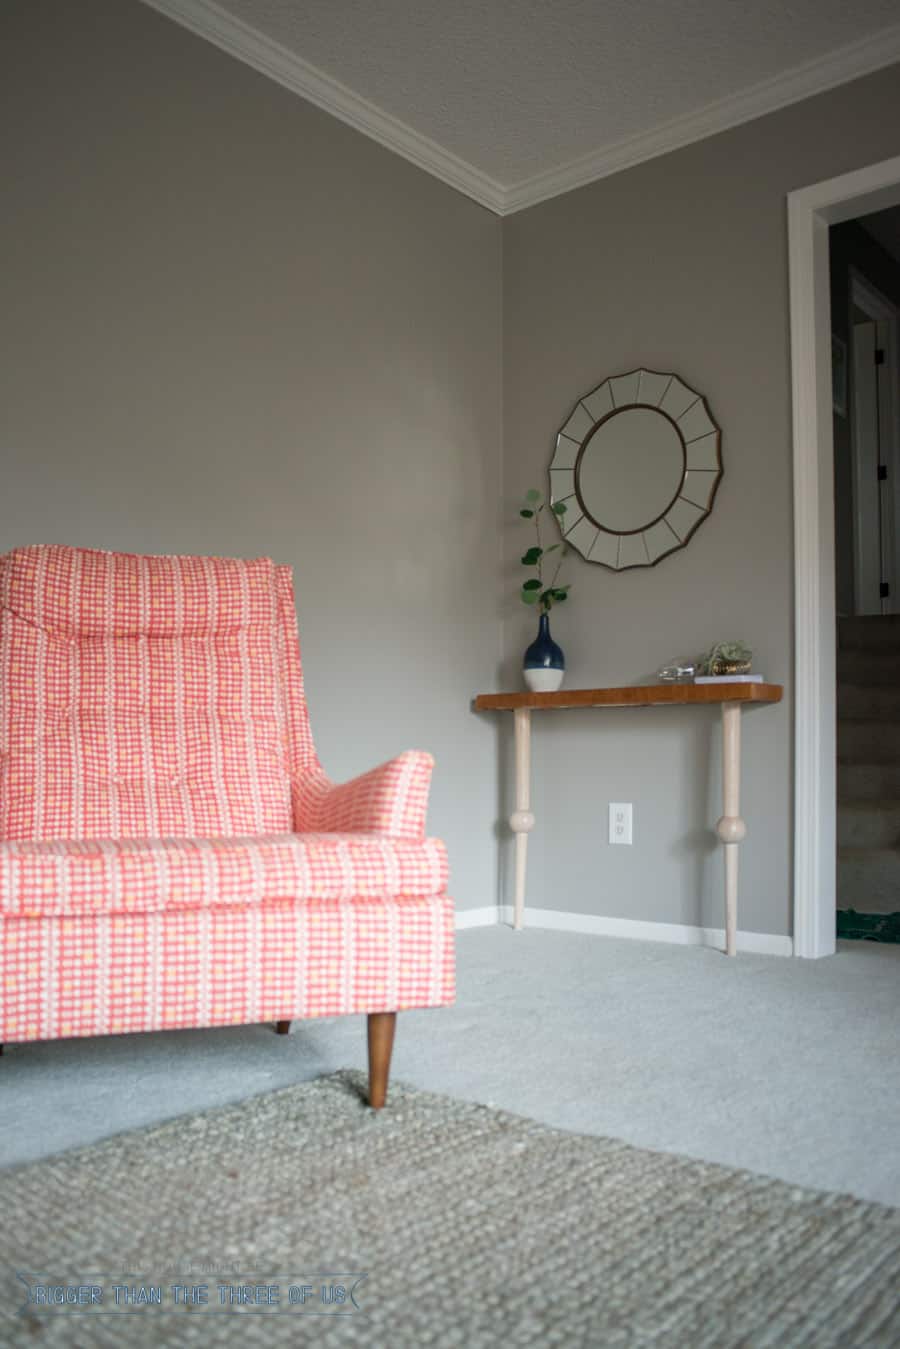
The project was so simple. It helped transform a plain, unused corner in to something fun and inviting.
Ready for the tutorial?
Step 1: Cut Wood to Size
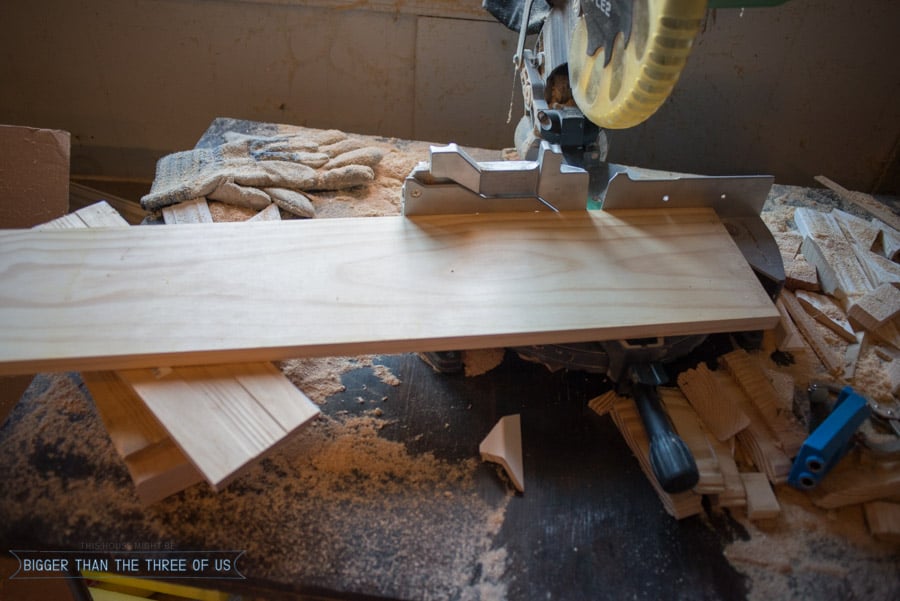
I used some random wood that we had in our wood bin and decided on a length to make the cuts. I made one cut and then cut another board the exact same length.
Step 2: Stack Your Boards and Prepare for Upholstery
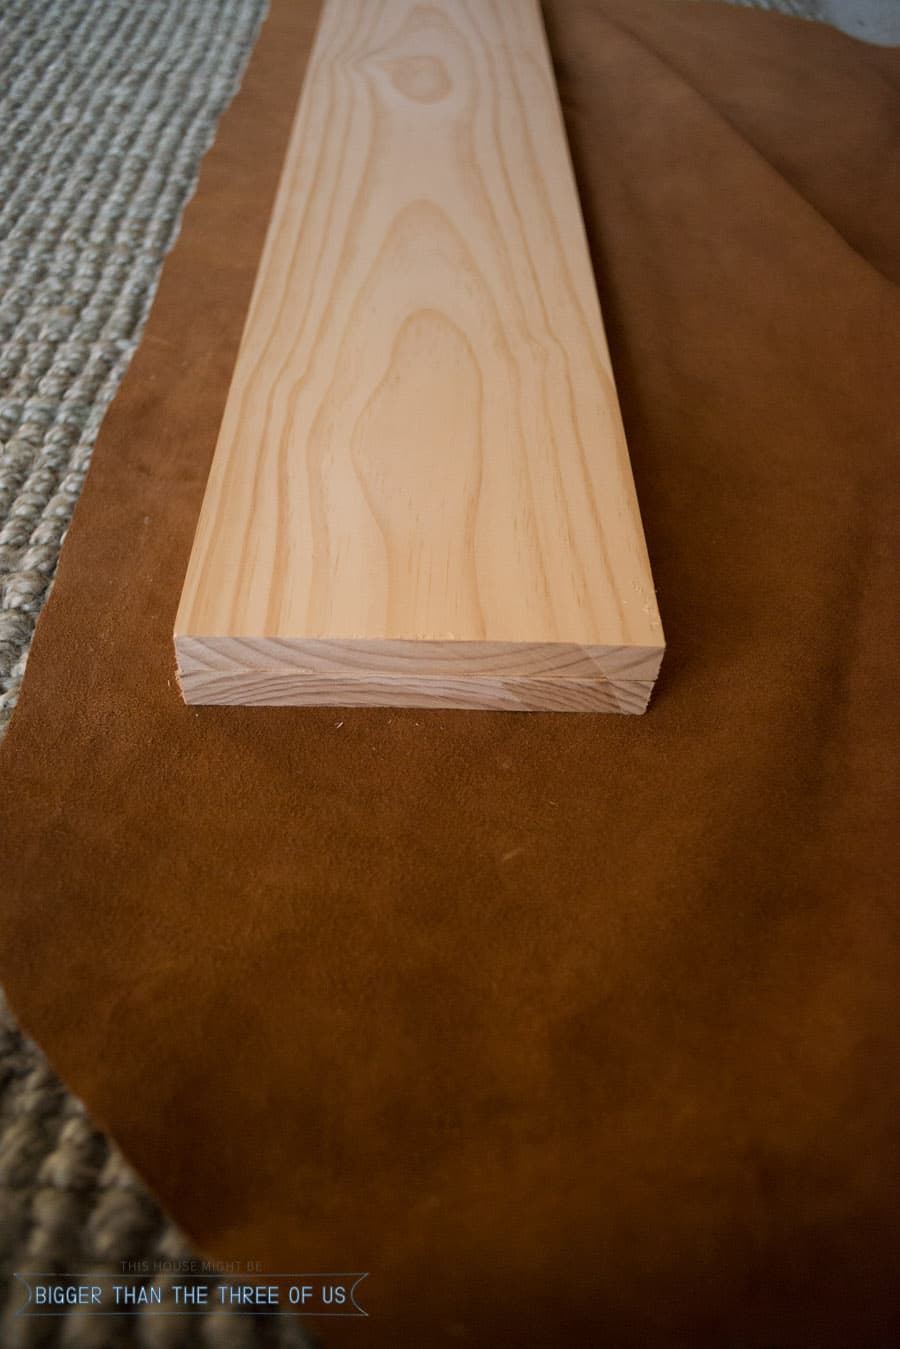
I wanted my table to have a little thickness so I stacked my boards. Once stacked I laid them down on the underside of the leather.
Step 3: Upholster
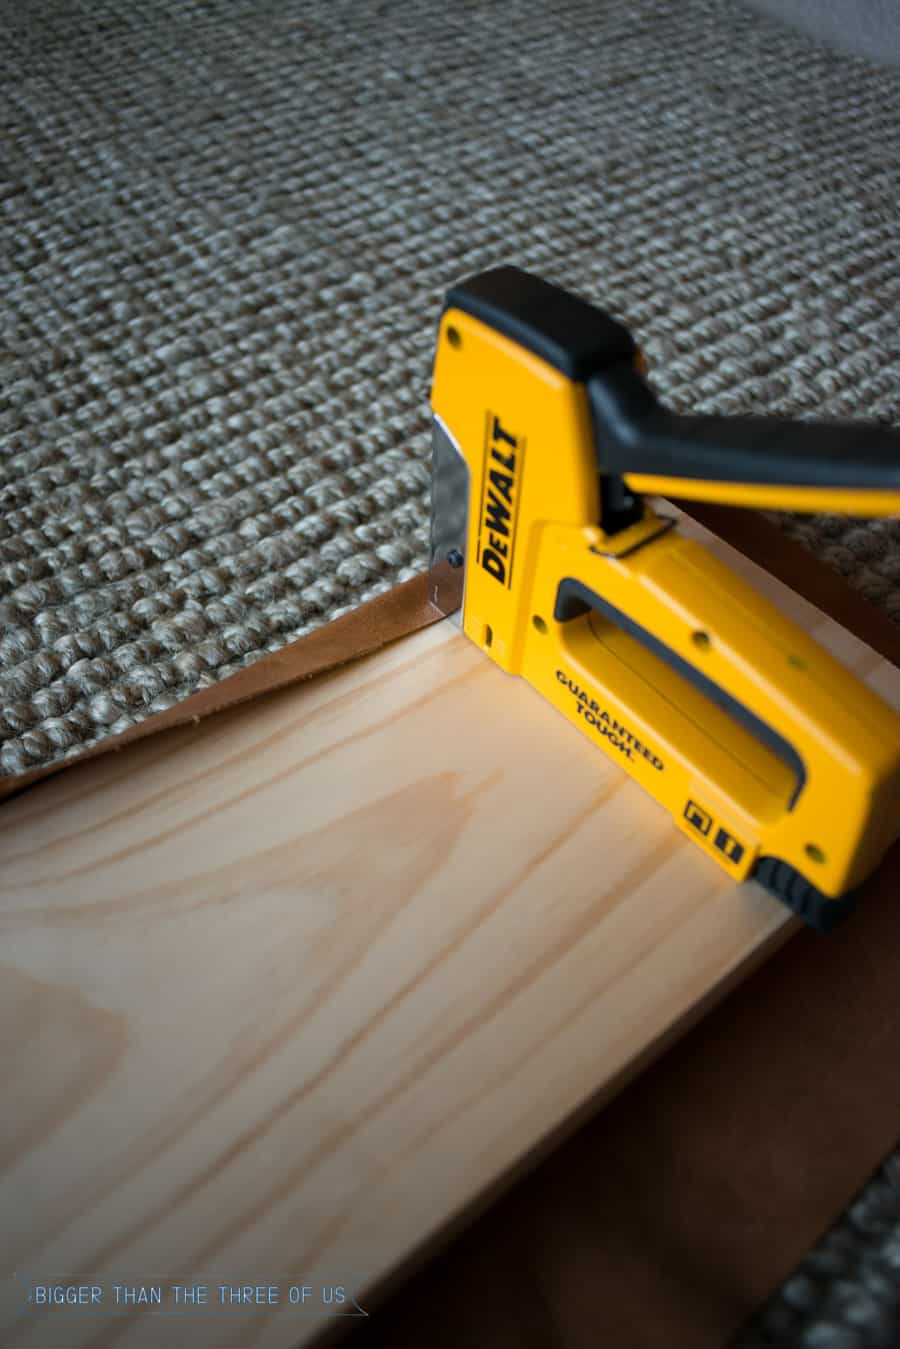
Using a staple gun, upholster the leather to the board.
Step 4: Measure for Legs and Pre-Drill Holes
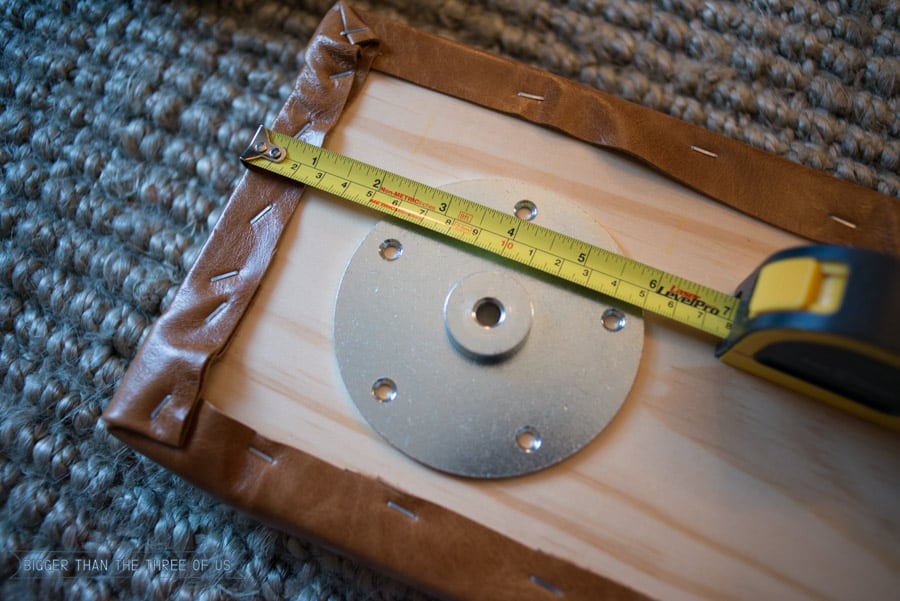
The legs came with easy mounts, so all I did was measure from the end of the board (so that the two legs were even) and pre-drilled my holes.
Step 5: Add Screws and Legs
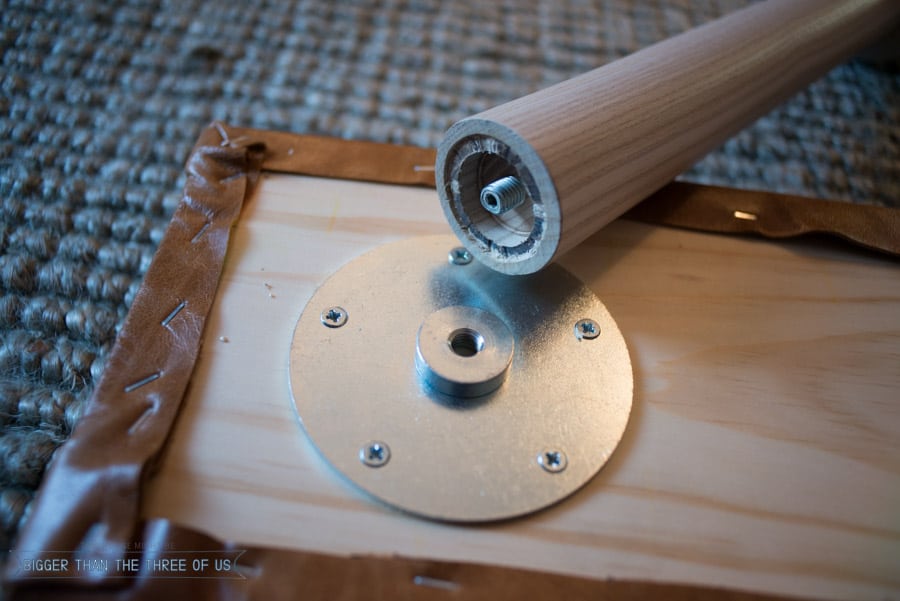
Screw in all your screws and twist your legs on and you have it made.

My airplant made it on this little table. I loved it on the dining room table, but it's such a versatile little thing that it pretty much goes anywhere.
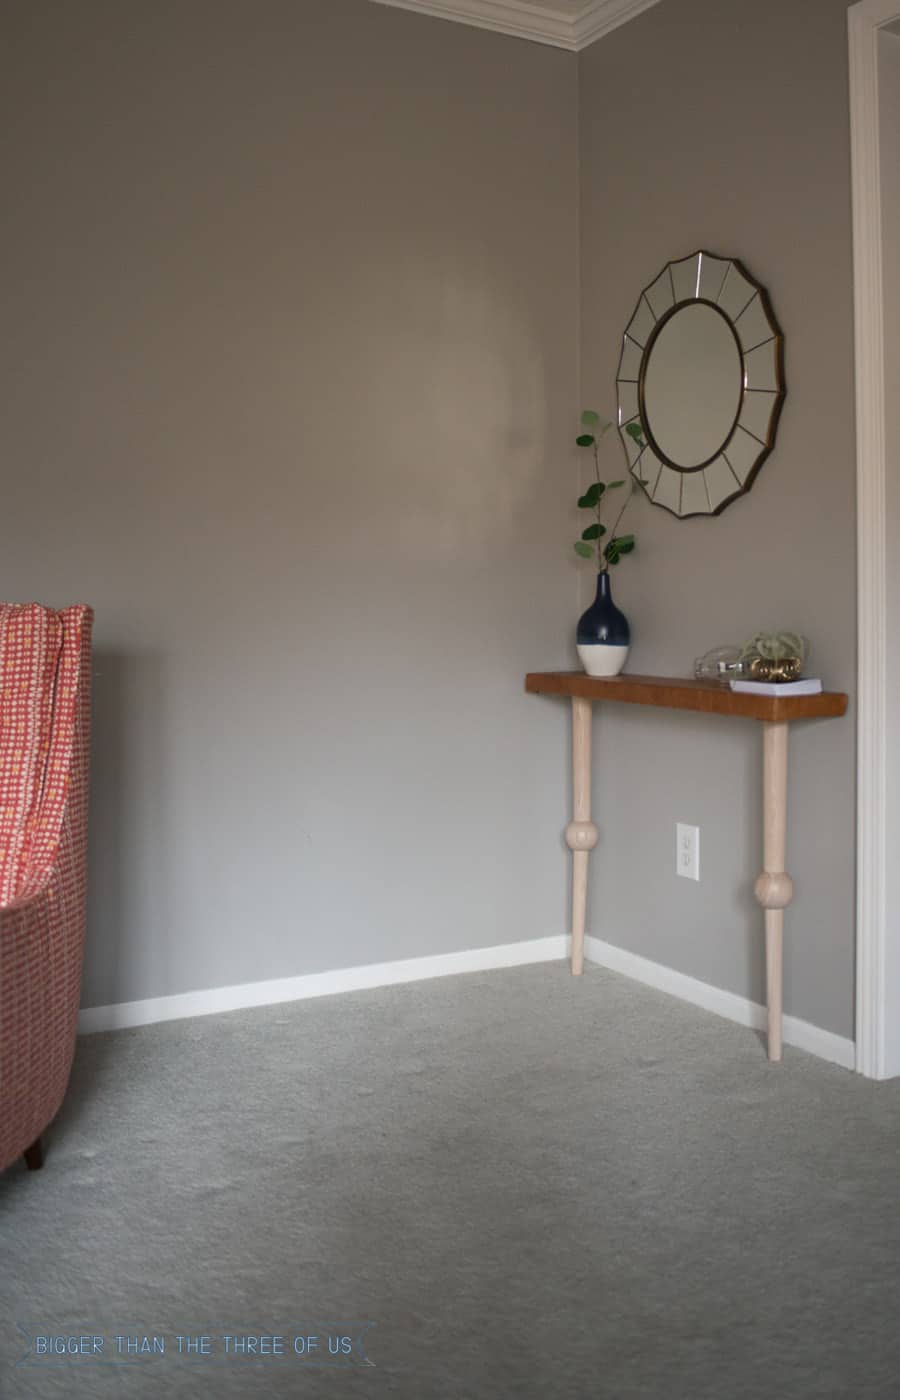
How sexy are those legs? Seriously, I think that every time I look at them. This project from start to finish took about an hour (which includes hanging a mirror and accessorizing). Crazy, right?!
Would you ever cover a tabletop with leather? Am I crazy?
This is not a sponsored post. PRETTY PEGS did provide the table legs to me but my thoughts and DIY skills are all my own. =)
If you love the legs that I used (Otto 700), then make sure to check out all the other options that PRETTYPEGS has to offer.
}
Britt @ white dog vintage
Love it--those legs are crazy good! I could really use a narrow table for my narrow entryway, so question for you--since there are only two legs, did you have to bracket it to the wall, too?
Ashley Mayes
Thanks Britt! Yes, with two legs you will need to use a cleat or L bracket. I actually have four legs but I didn't use a wide enough board to mount all of them. It was a bone-head type moment. LOL. I didn't realize that they wouldn't work until after I had already upholstered the top. But, I do think two legs looks pretty cool as well.
Britt @ white dog vintage
Ah, thanks! I think the two legs are cool, too! Great small space solution. And now you still have 2 legs left over for...well, only time will tell! You can never have too many legs of any kind, though, right? Thanks for the info!
Ashley Mayes
For sure. Thanks Britt!
Amanda
Those legs are beautiful, and I always love seeing creative applications for leather!
Ashley Mayes
The legs are just killer. I was super impressed with PrettyPegs.