

Have you ever wanted to leave wood trim installed but cut it down? Or, have you ever wanted to trim off a decorative piece of wood that is installed over a china cabinet or built-in? If so, I want to give you a step-by-step for How to Make Clean Cuts on Wood.
We've had this weird corner built-in in our living room since we first moved in. If I was smart, I would have removed the whole piece (because I hate it) BEFORE the wood flooring was installed around the built-in. But, I wasn't smart and so, we don't have continuous flooring underneath the piece. I've debated for a few years over what to do with the built-in and I've made small changes but I still didn't like the piece.
Now though, it's not bad and if I could figure out how to style or make it feel part of the living room, I might be able to get on board with it. Anyways, enough of my jabbering, let's get onto the tutorial!
How to Make Clean Cuts on Wood
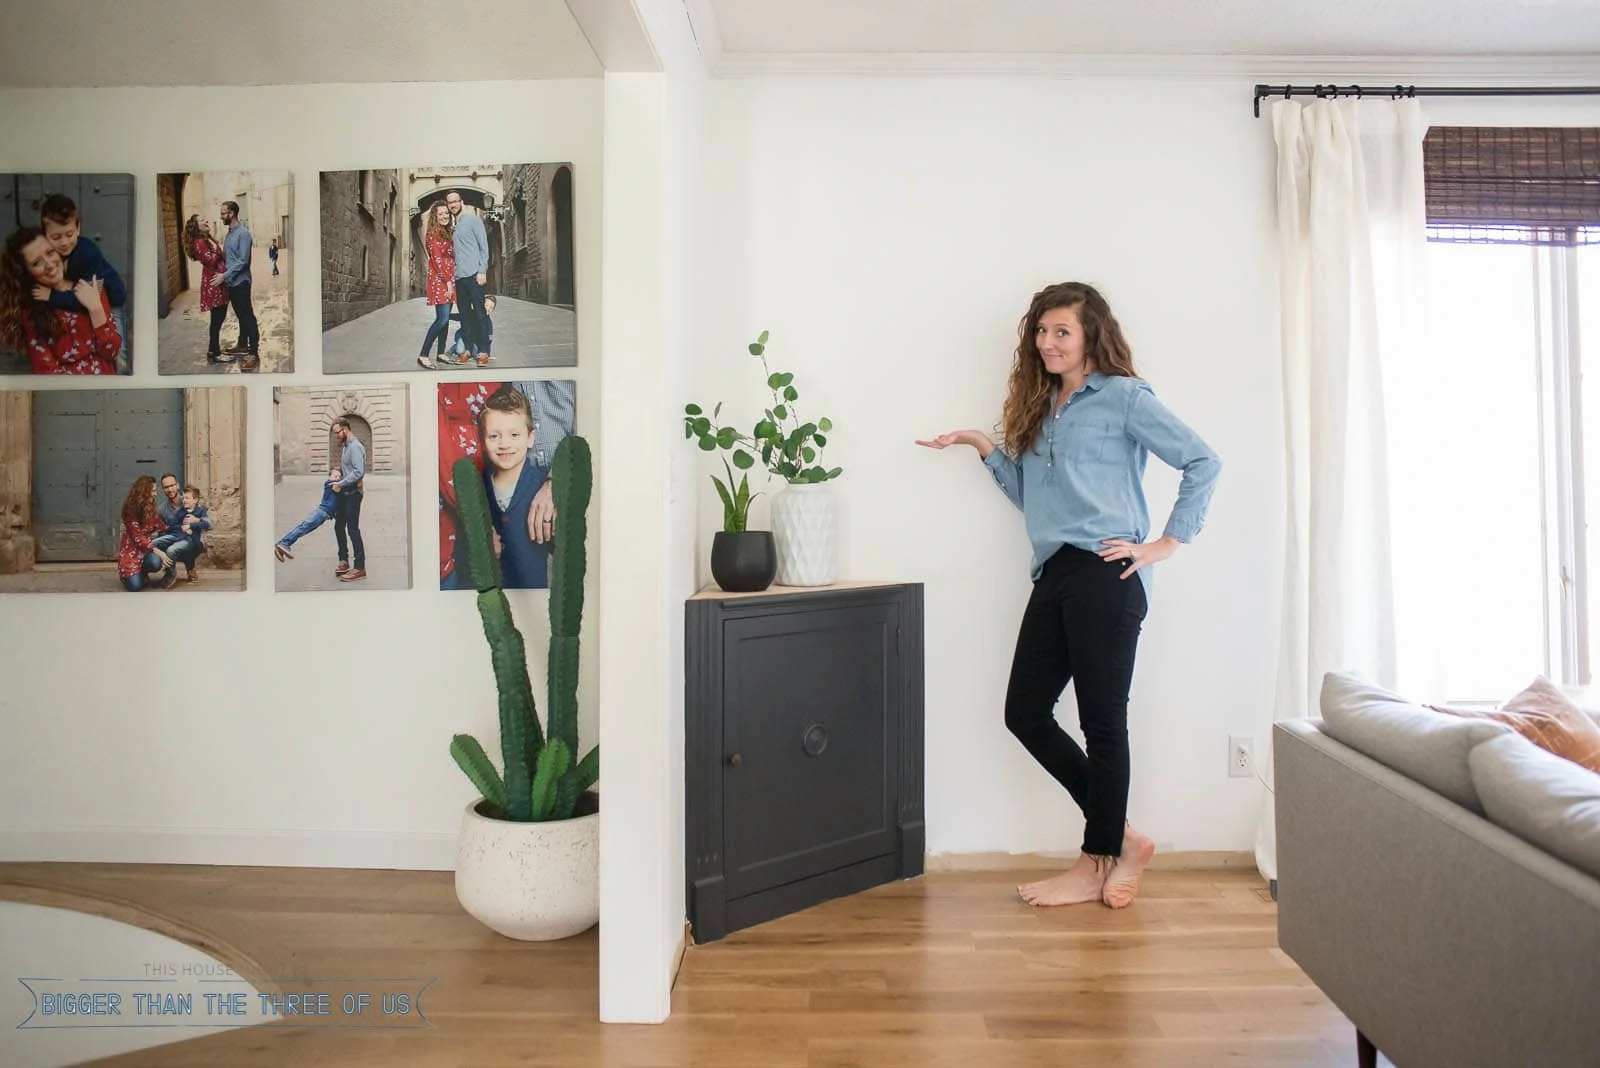
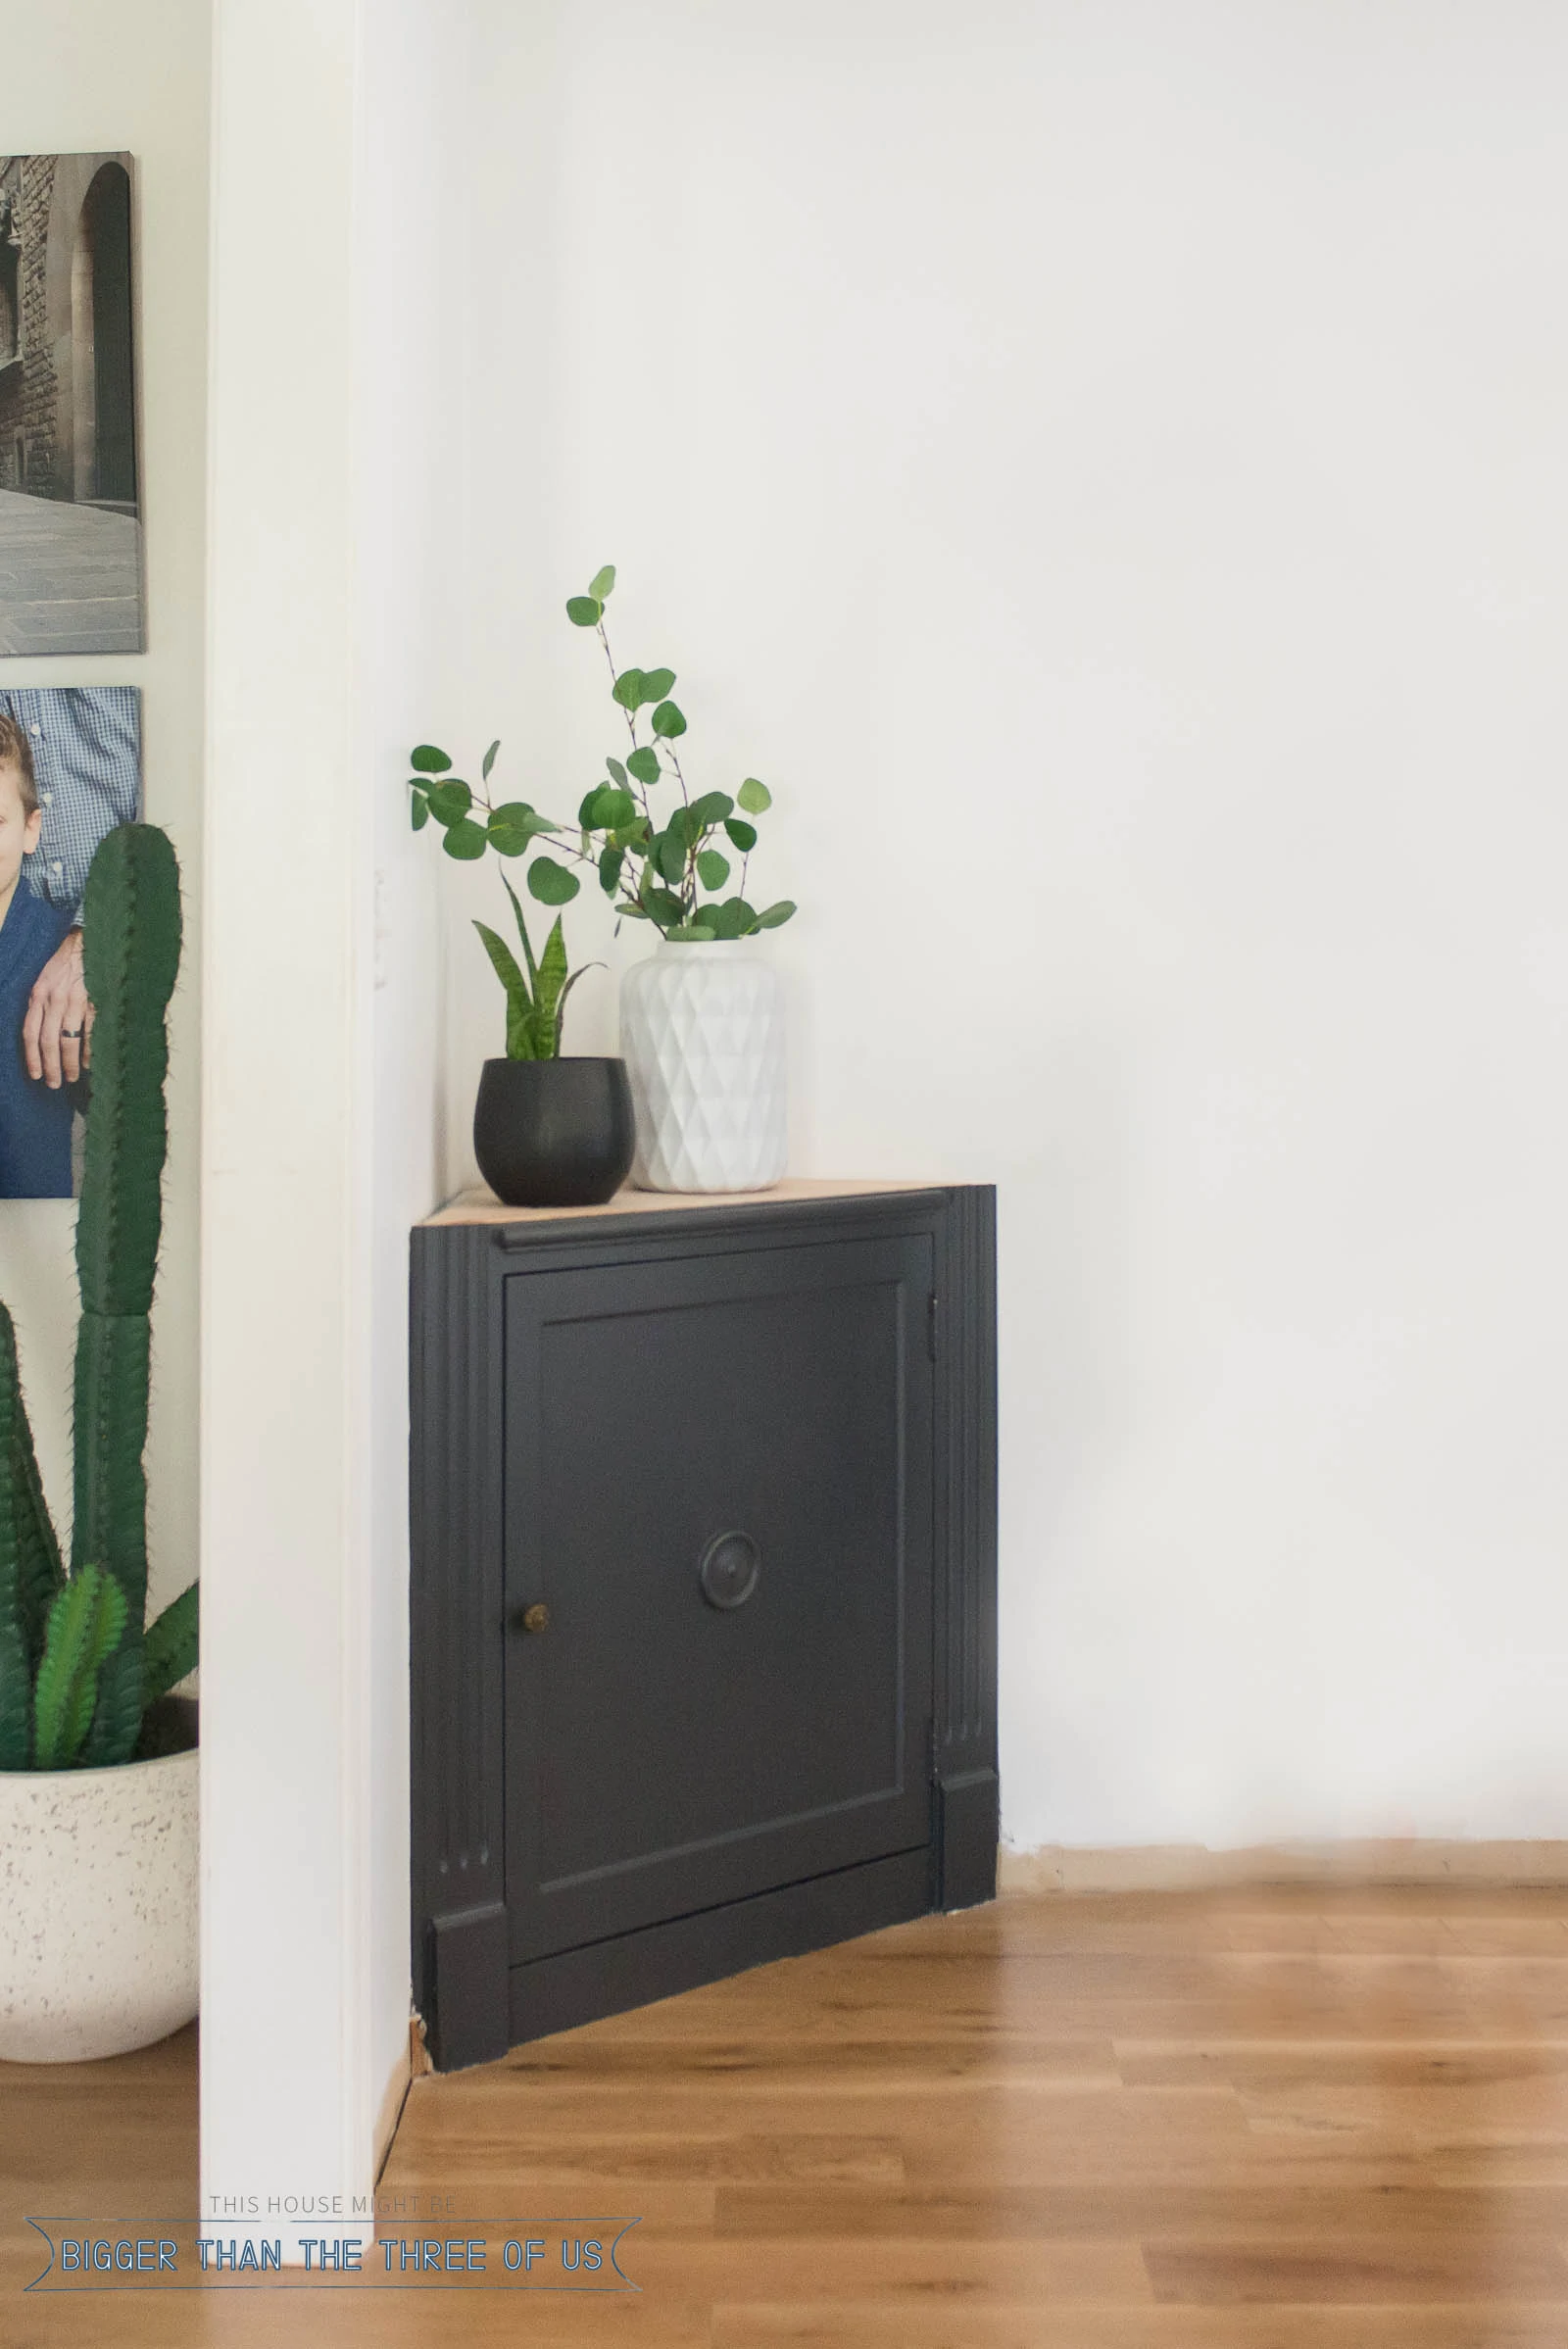
This is the finished piece. =) What do you think?
Before we jump right in to the project, let me explain the backstory. In our living room, we had a built-in corner cabinet. I've never loved it and have had the hardest time trying to figure out how to incorporate it into my style. When we first moved in it had a door with paneled glass, scrollwork on top and more. Over the past few years, I've made changes to the corner cabinet trying to help modernize it without getting rid of it. I think I made a big mistake with doing that to be honest.
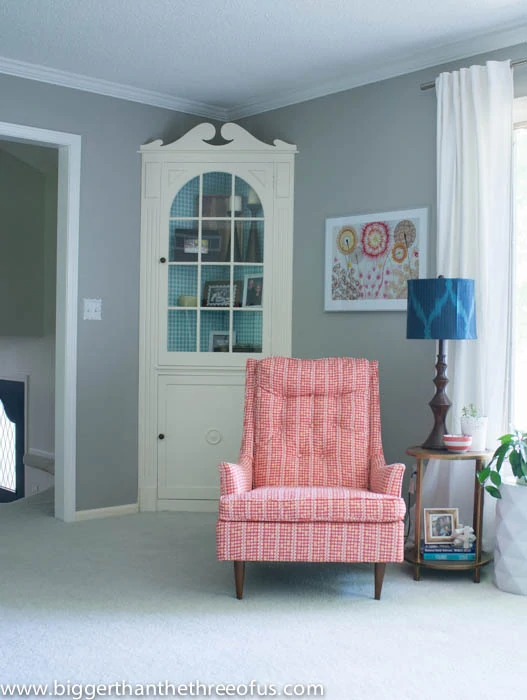
2014 - I tried to modernize it by covering the glass inside with wrapping paper.
I let other people influence my opinion on keeping the cabinet because it "was built-in" and "high quality."
Well, to be honest, I shouldn't have cared about that. I didn't like it then and I still don't like it now. Now, the problem is that we had hardwood flooring cut, installed and stained AROUND the cabinet (meaning that the wood flooring doesn't go underneath the cabinet). If I took the cabinet out, the corner of the living room, where the built-in is, wouldn't have flooring. So, that's annoying.
For now, I'm still focusing on trying to make the corner cabinet work for me instead of ripping it out, having my floor pulled up and patched. We will see how long I stick with that.
So, let's get to why I'm sharing the How to Make Clean Cuts on Wood tutorial with you. I've decided, at least for now, to work WITH my cabinet and by working WITH my cabinet, I'm trying to modernize it a bit more.
So, here's the cabinet how it's been for awhile:
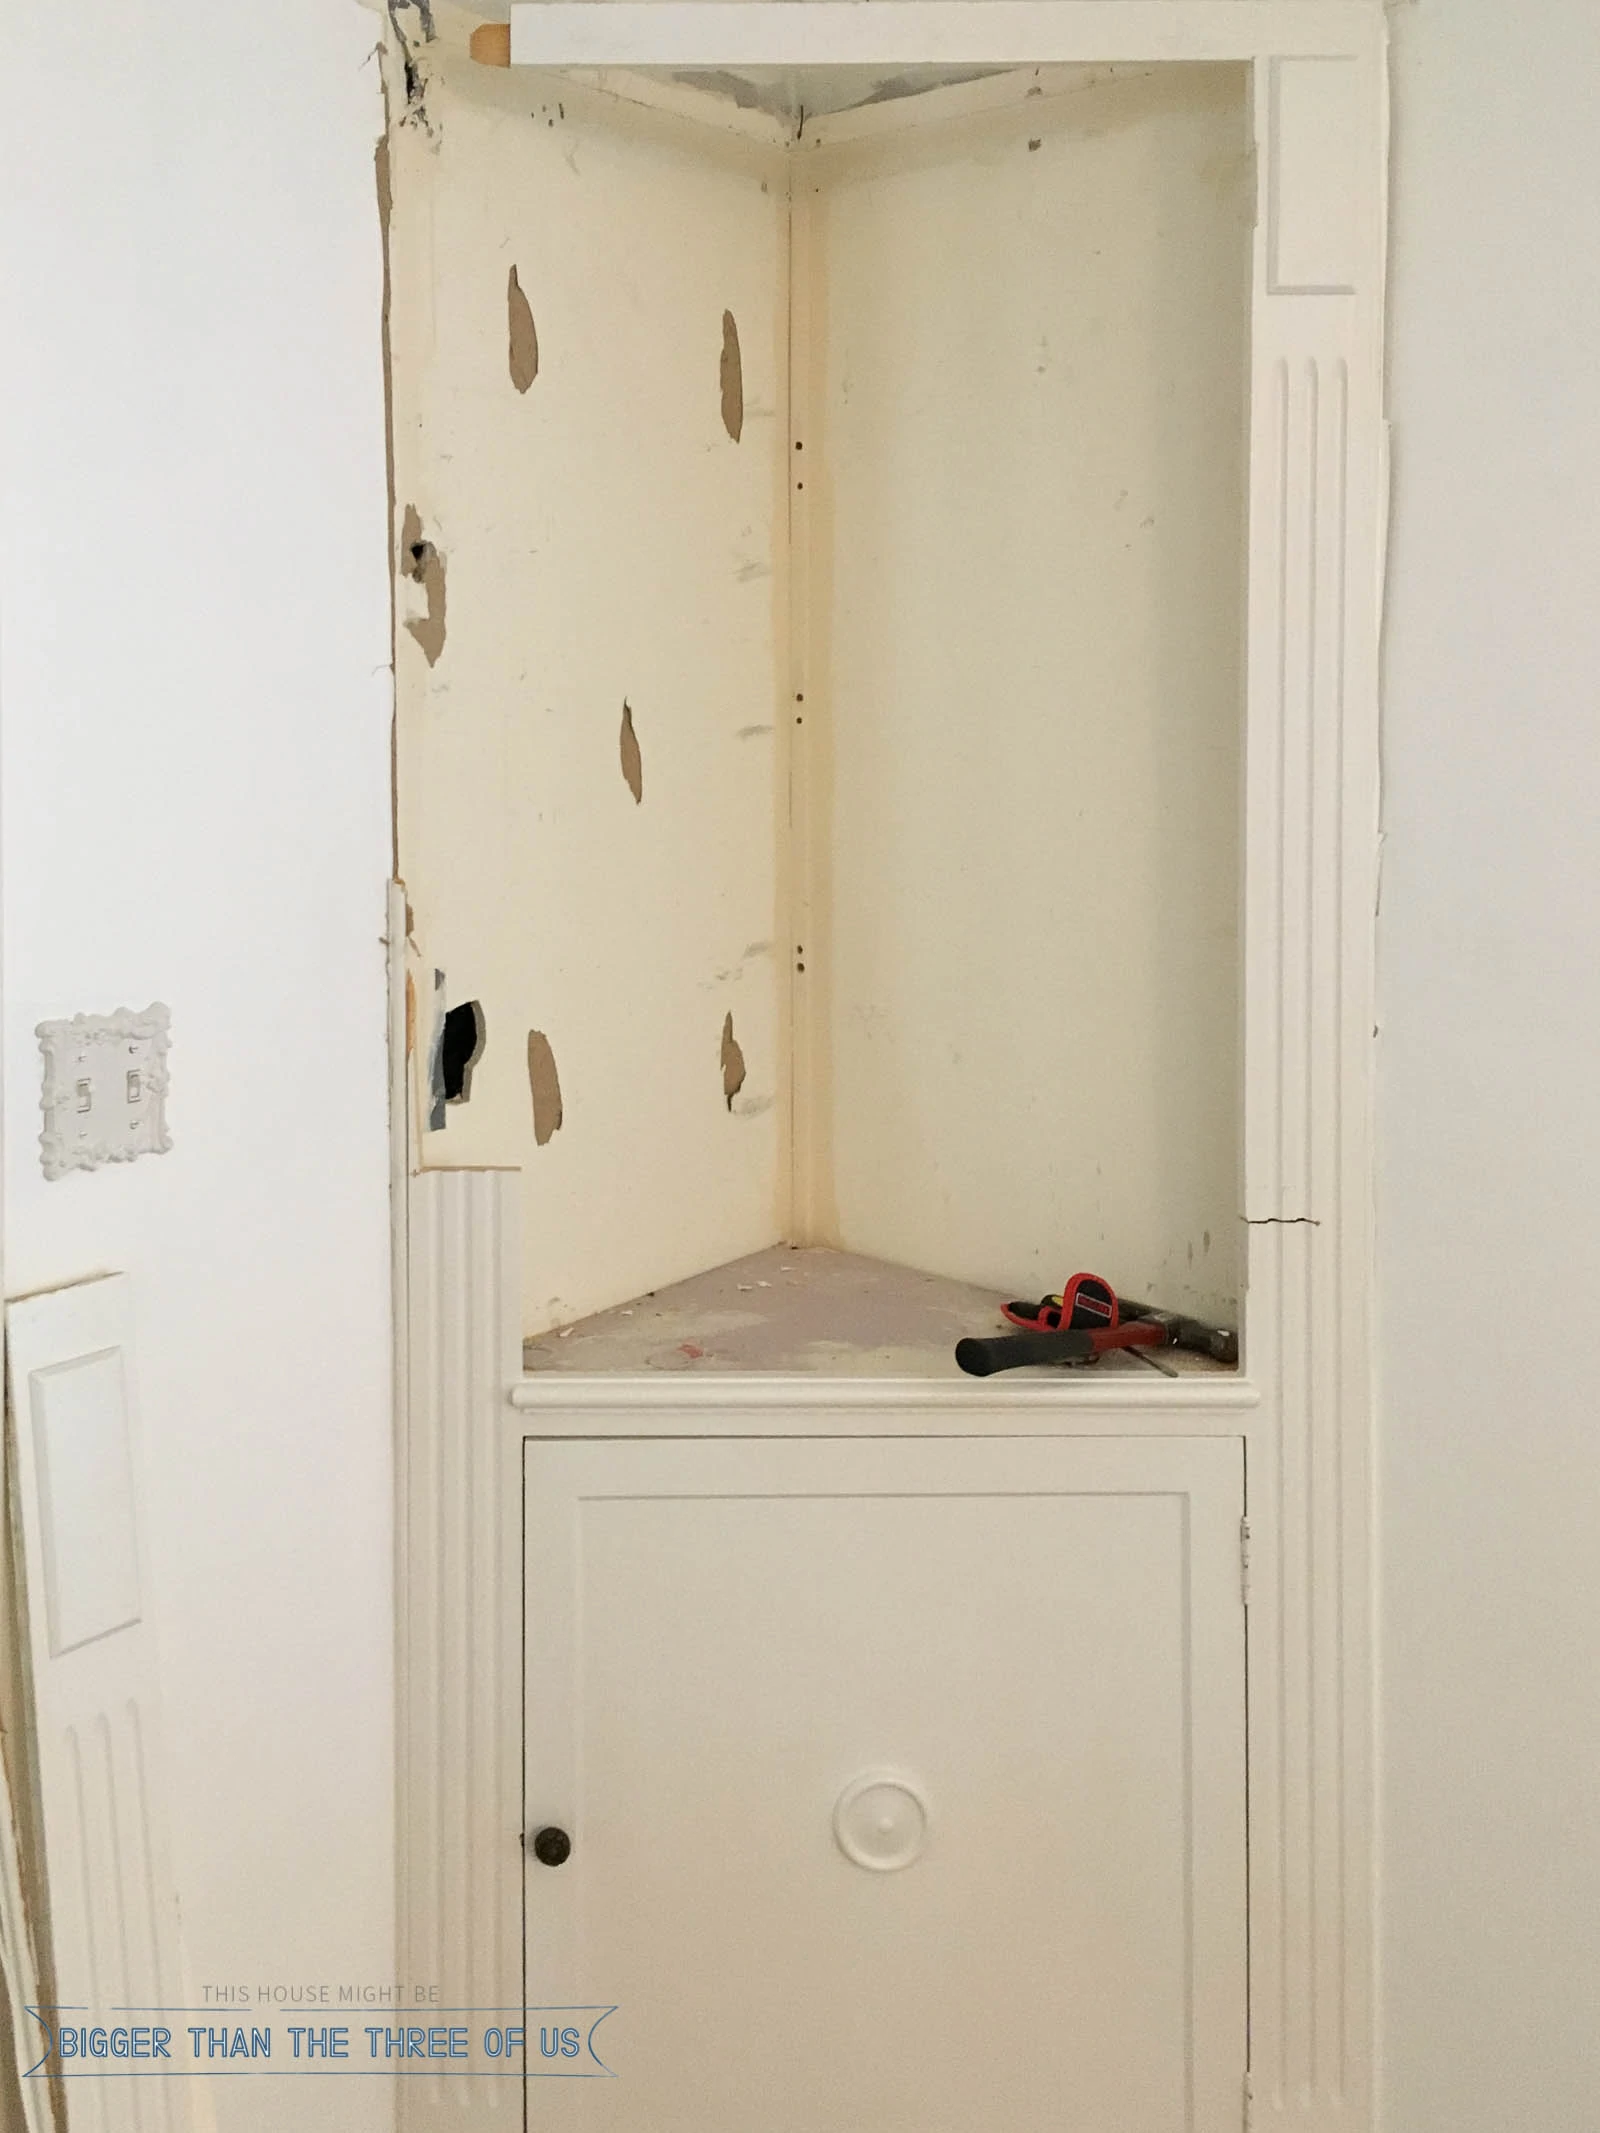
At this point, I had taken the door off and tried to see how it was attached to the wall (as you can see from the pried up top).
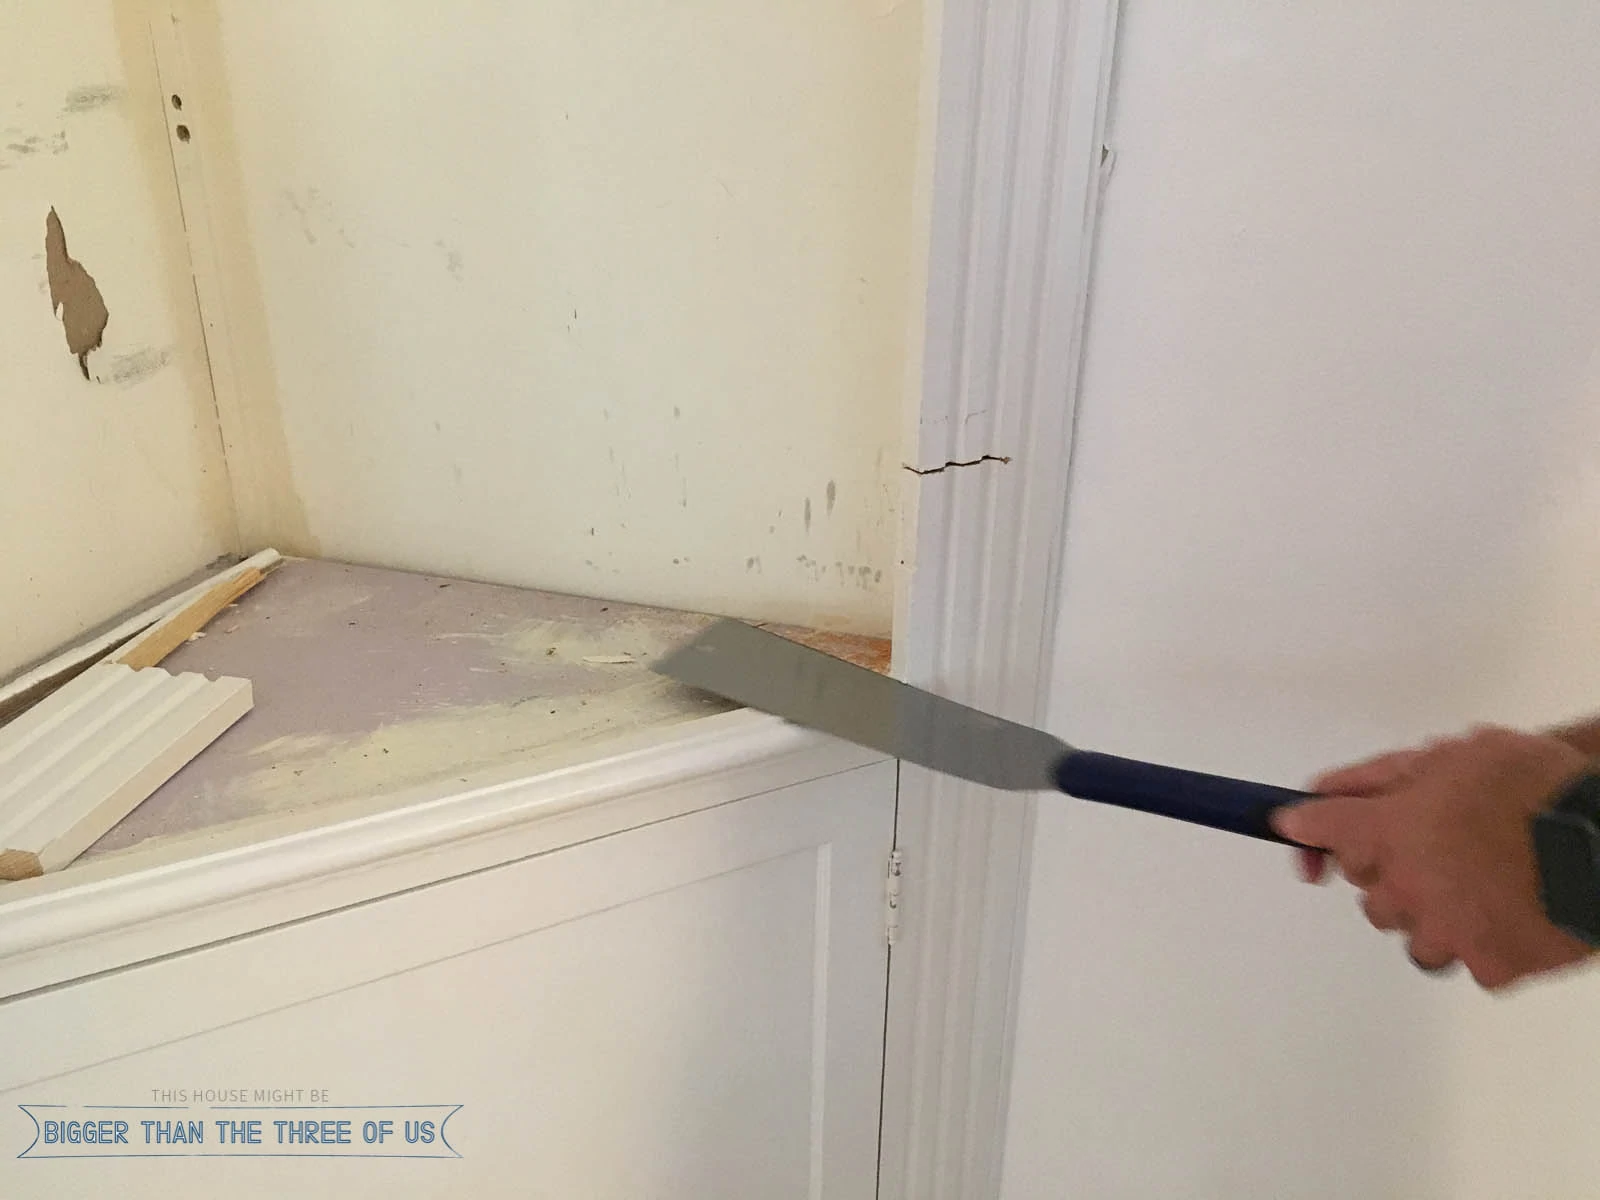
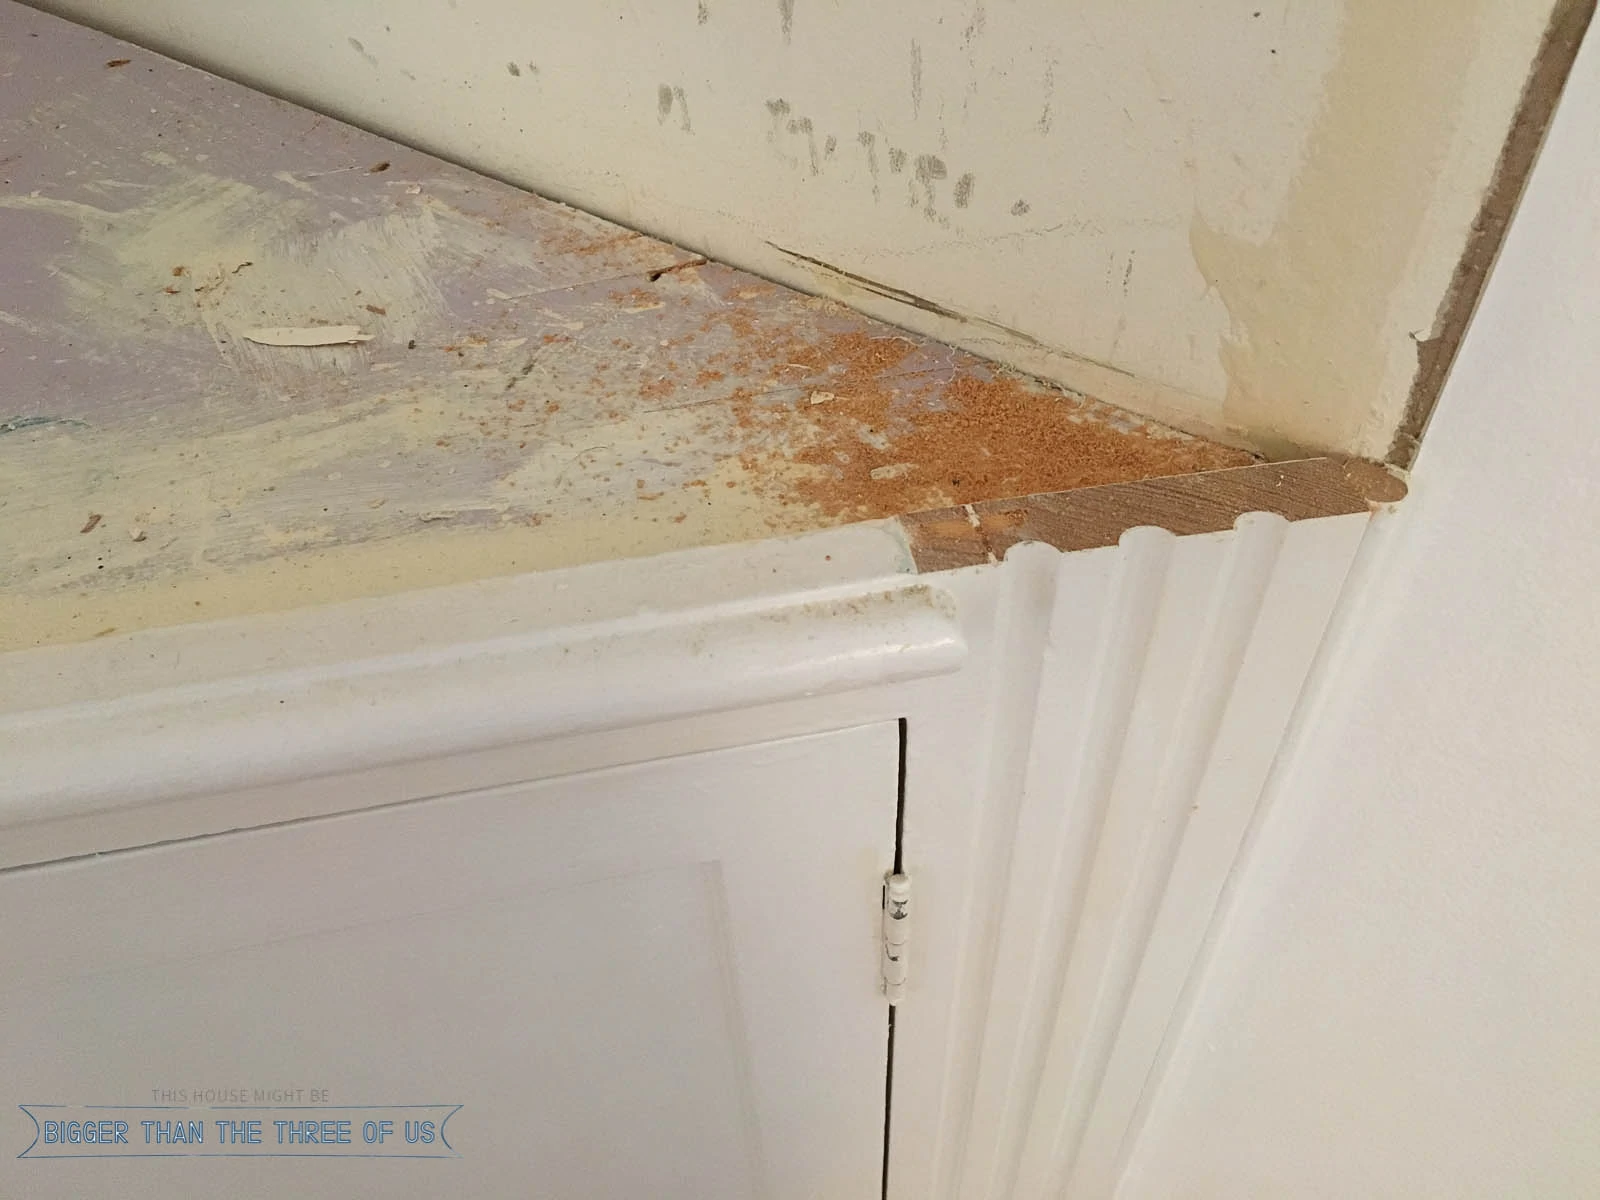
After living with that iteration, I knew I hated it so whatever I did to it would be better than what it was. So, I started demolishing it.
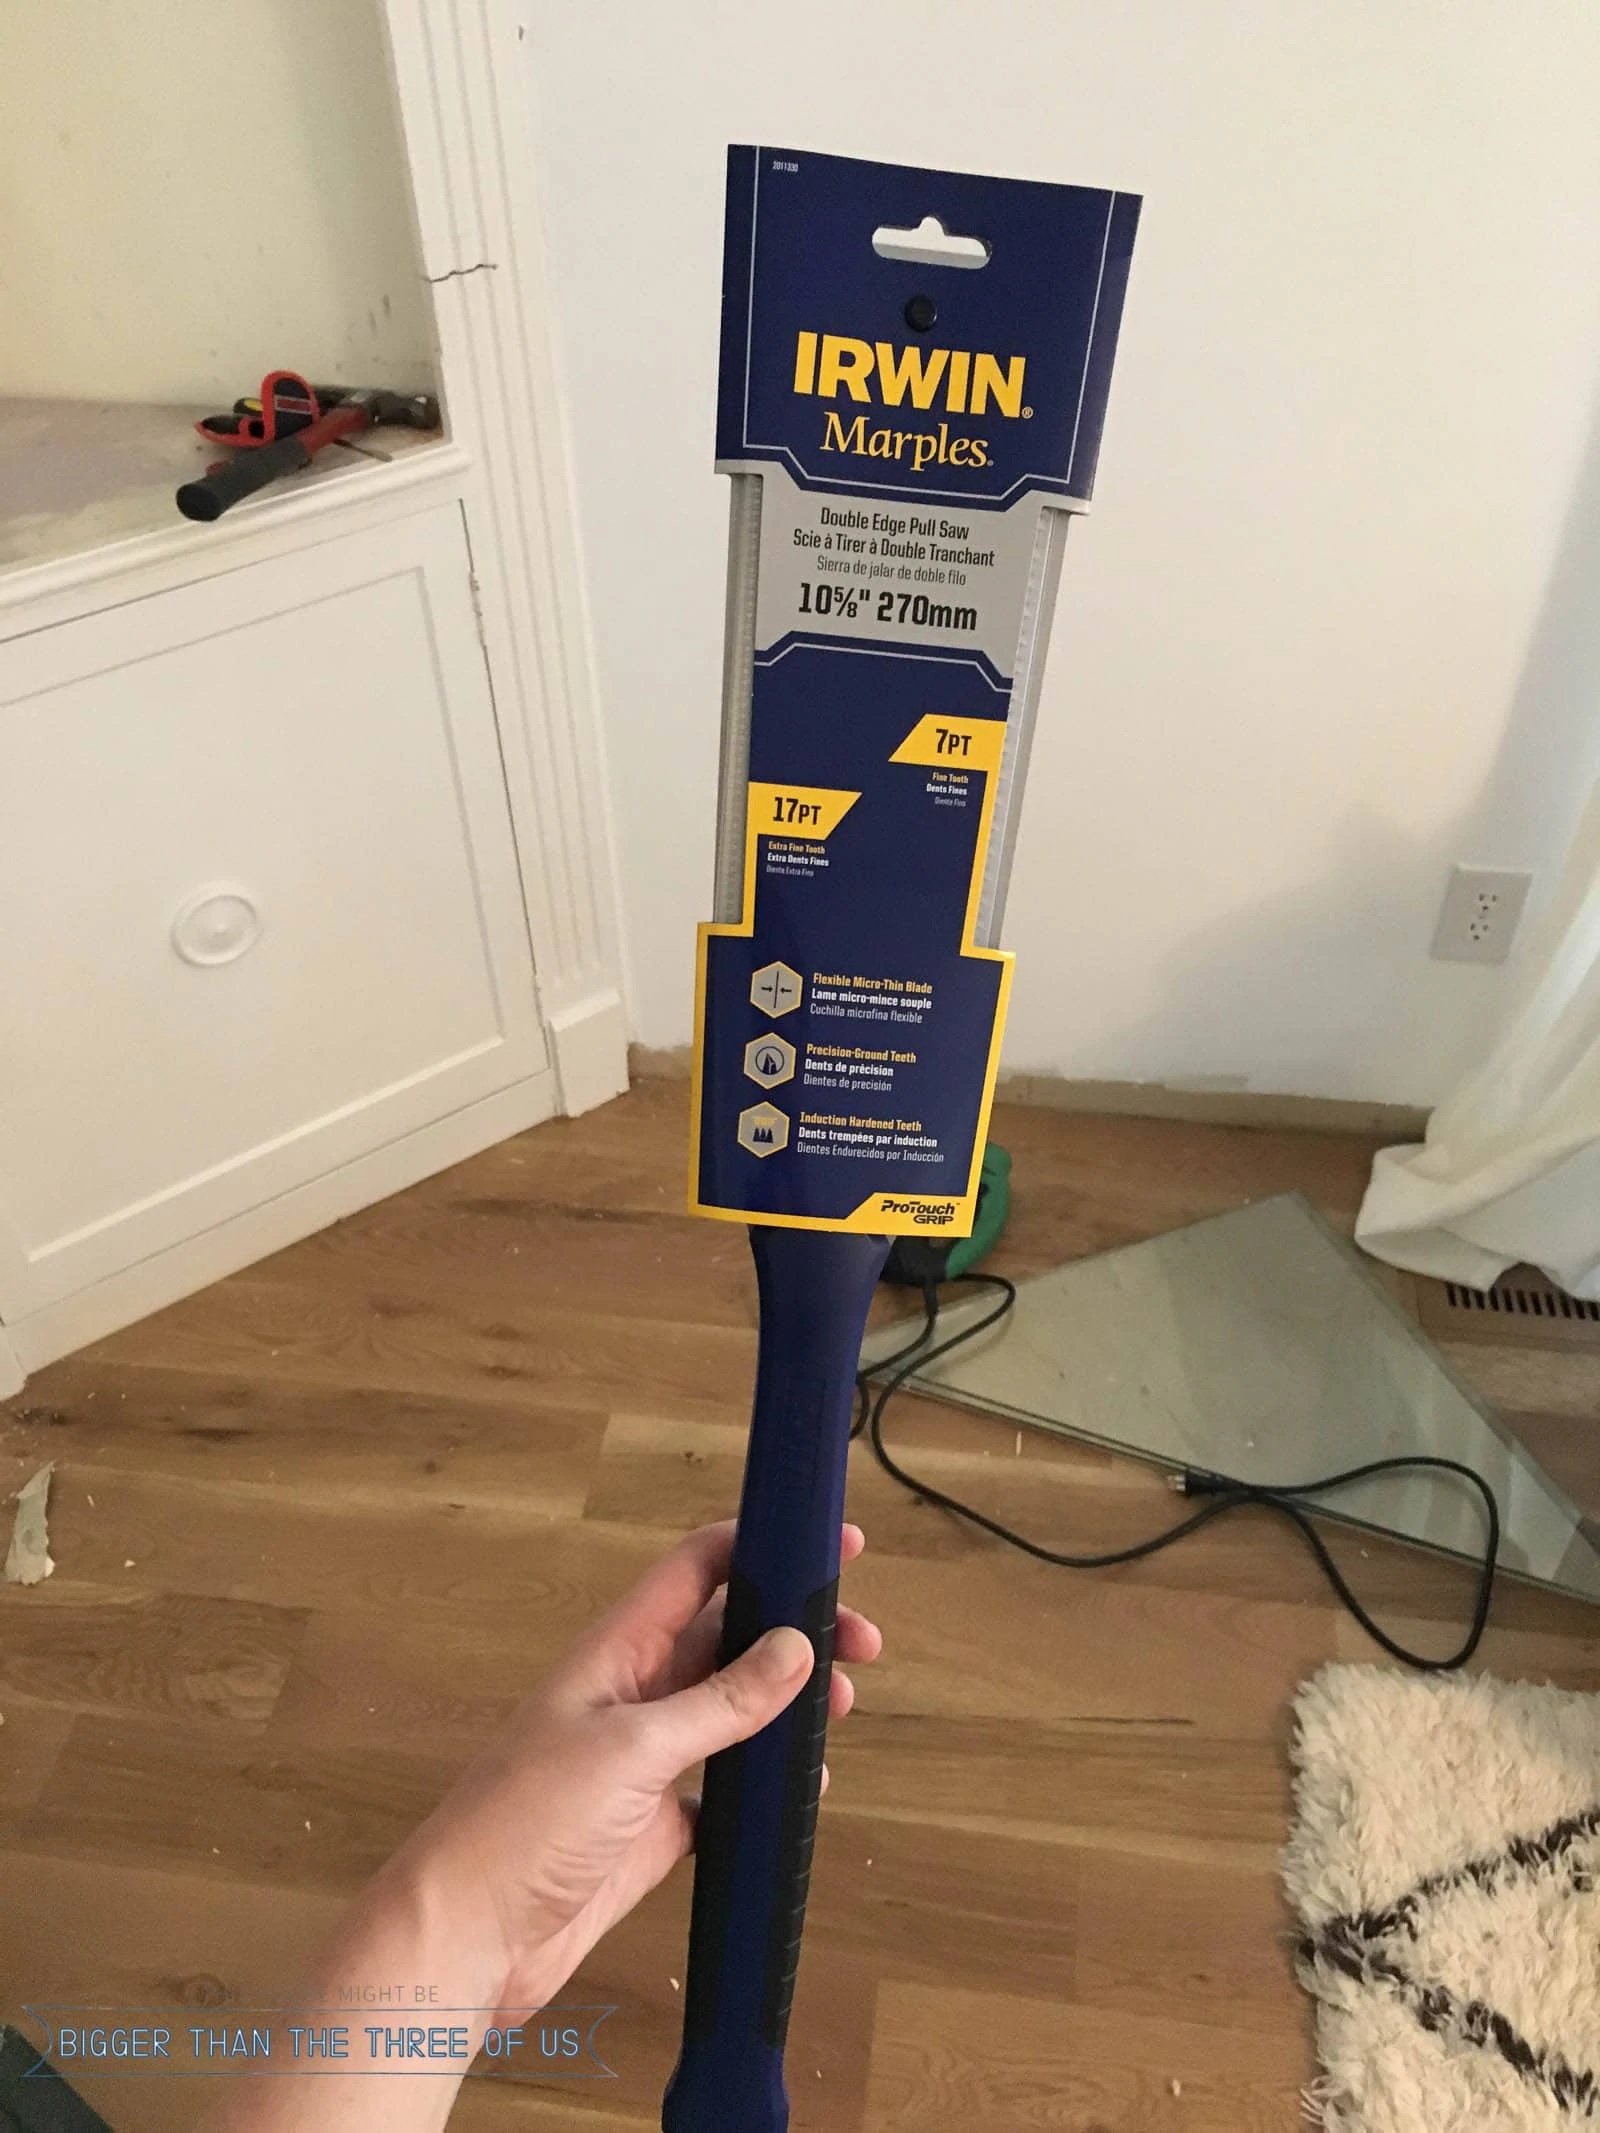
I had planned to use the jigsaw to get a good cut at the top of the base but Luke thought there was a better tool than the jigsaw for this project and he was right! We bought a double edge pull saw. The exact one that we got in store, I can't find online but I linked up one for you that had great reviews on Amazon.
They aren't expensive, which is nice! If you have ever used a drywall saw, it's a similar cutting motion to that (all manual but easy).
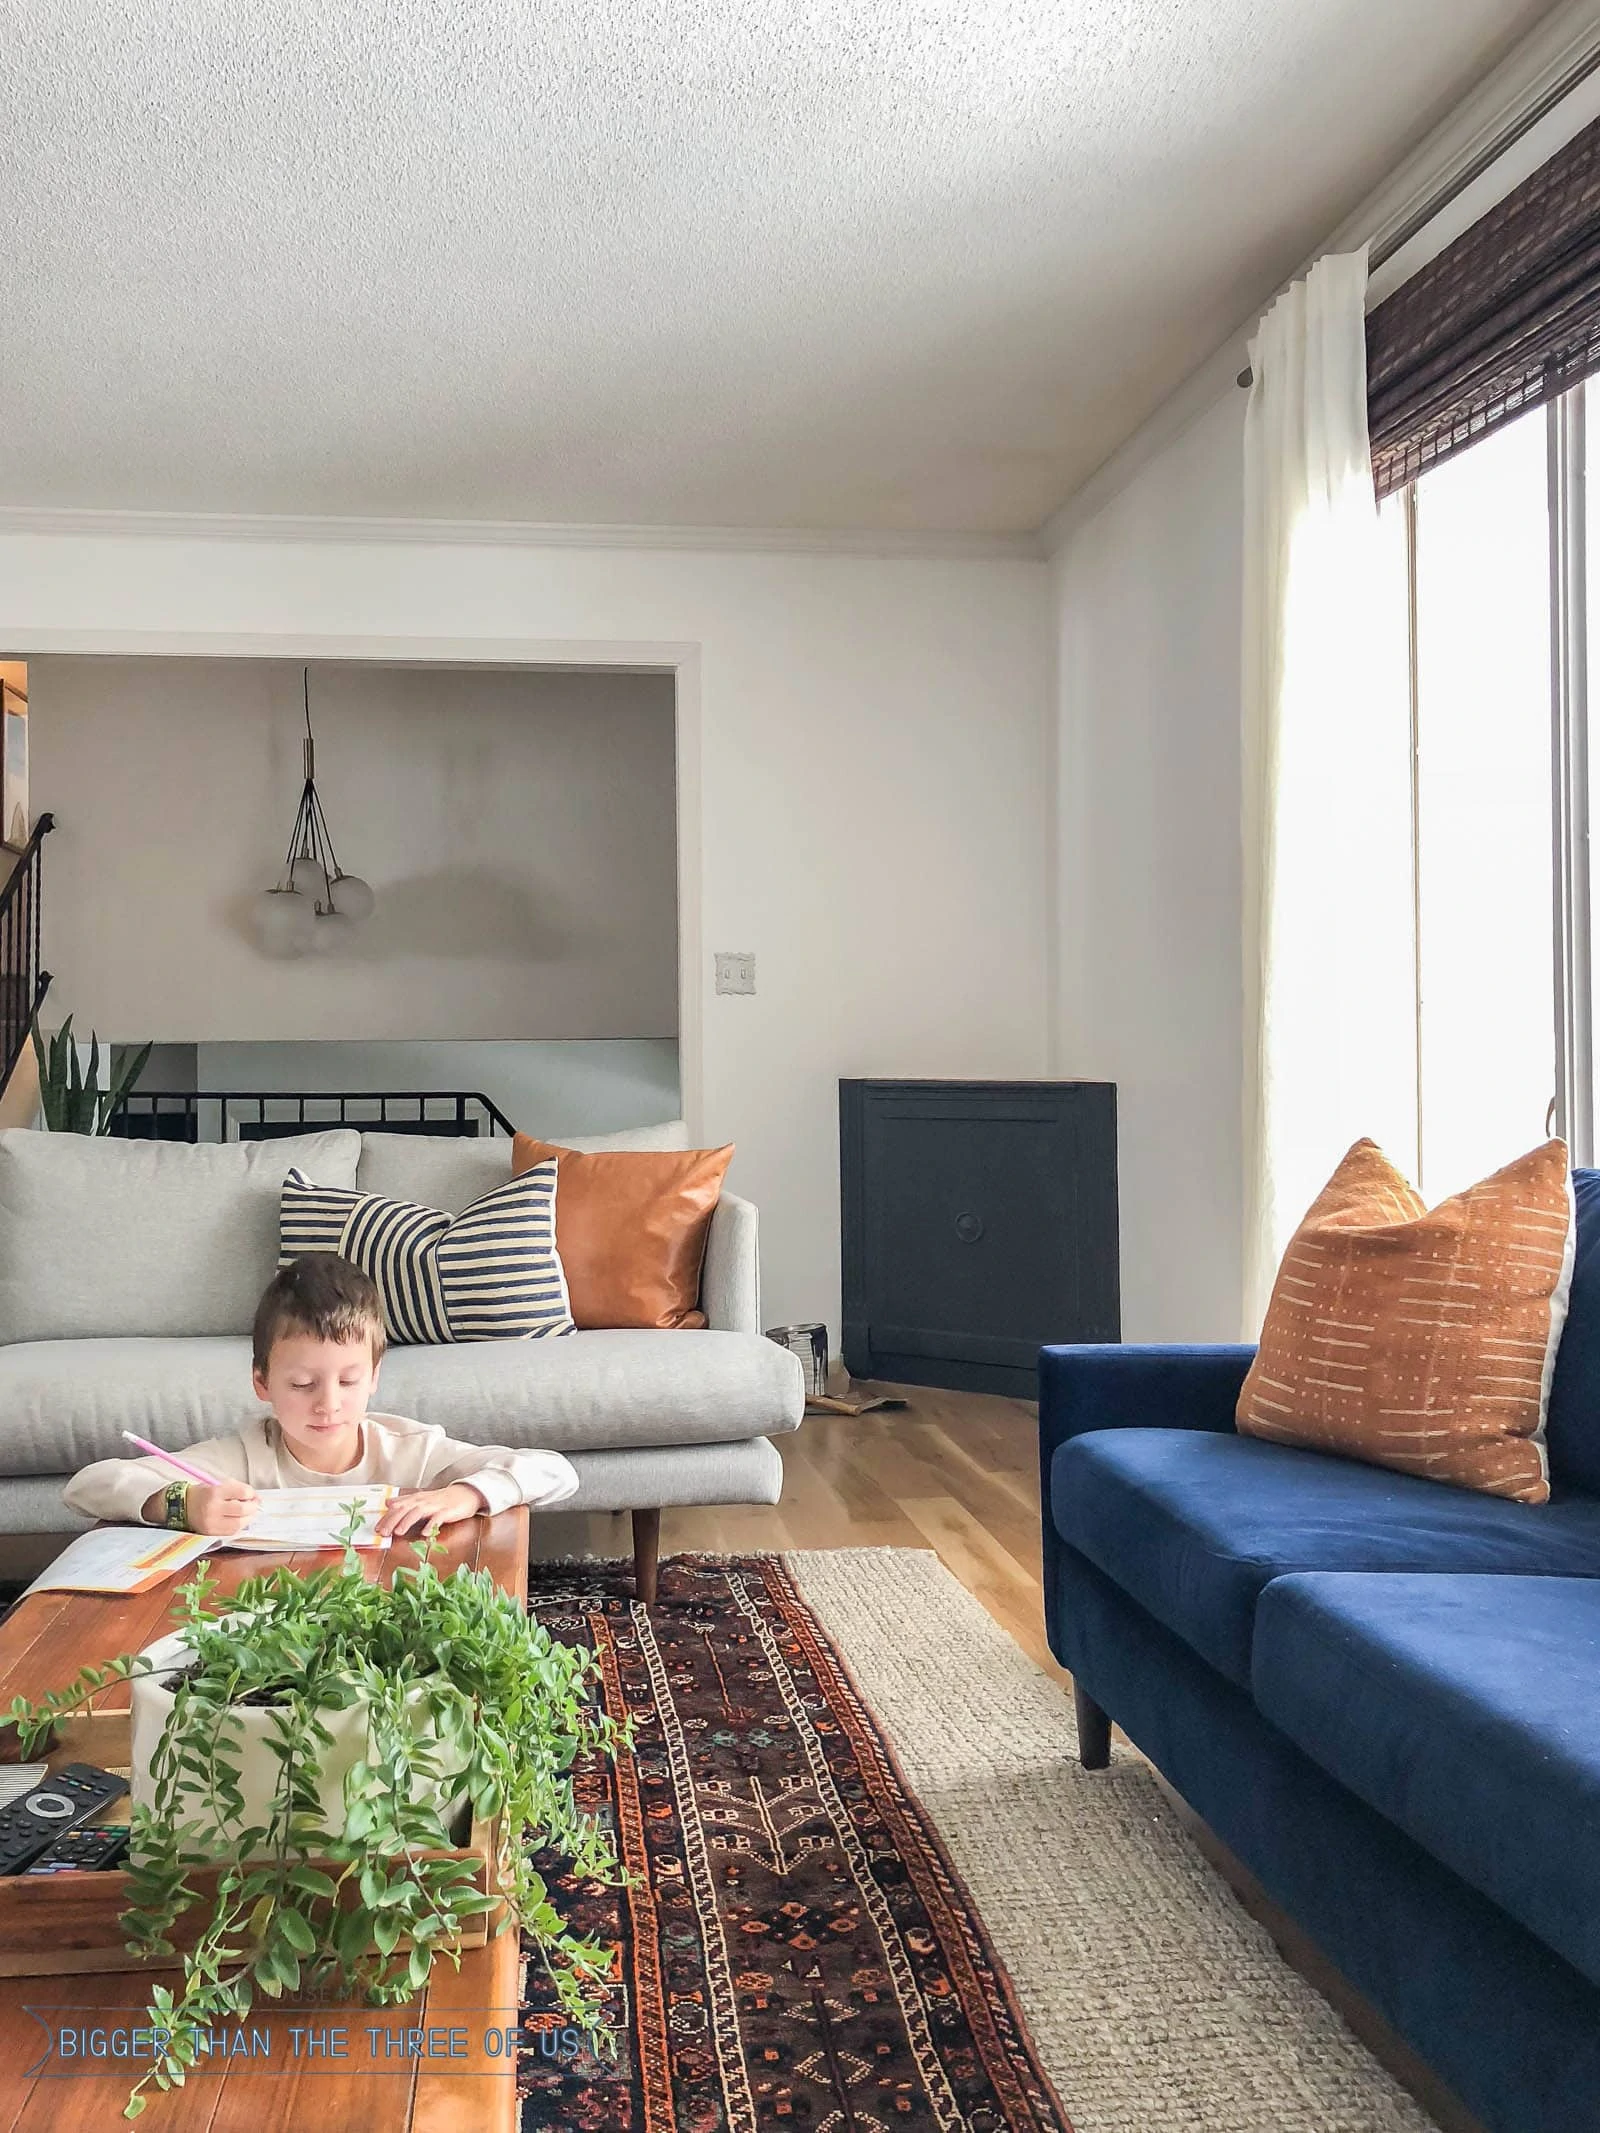
Once it was cut, we lightly sanded the top and then painted the cabinet. We went with the same color as the kitchen cabinets, Cracked Pepper by Behr but color-matched to Benjamin Moore Advance.
I snapped this cute picture of Greyson when he was working on homework but the cabinet with one coat of paint is in the back.
After two coats of paint, we were done. Eventually, I think I'd like to have a marble remnant cut for the top. I think that would help make it feel more complete.
Through this process, I filmed IG stories. I put them together in a video... Watch it if you want a good laugh at my inability to say what tool we used!
Pin for Later: How to Make Clean Cuts on Wood

}


Dagmar
I think it looks great. Very modern.
if you want to go further in the future, perhaps you can take it down to the floor, tile it or lay stones and make it a plant location. Appreciate the pull saw info!
cassie bustamante
it looks so much better and so much more you!
Charlotte
Goodness your style has really come a long way! It's so fun to see your old photos of a room, because I've always liked your style, but it just always gets better as you continue to work on things. I think you've made great progress on the corner shelf to make it feel more cohesive. I think a marble top would look great.
Carol @ CAD Interiors
I love it "topless" and it looks great in the dark cabinet color!