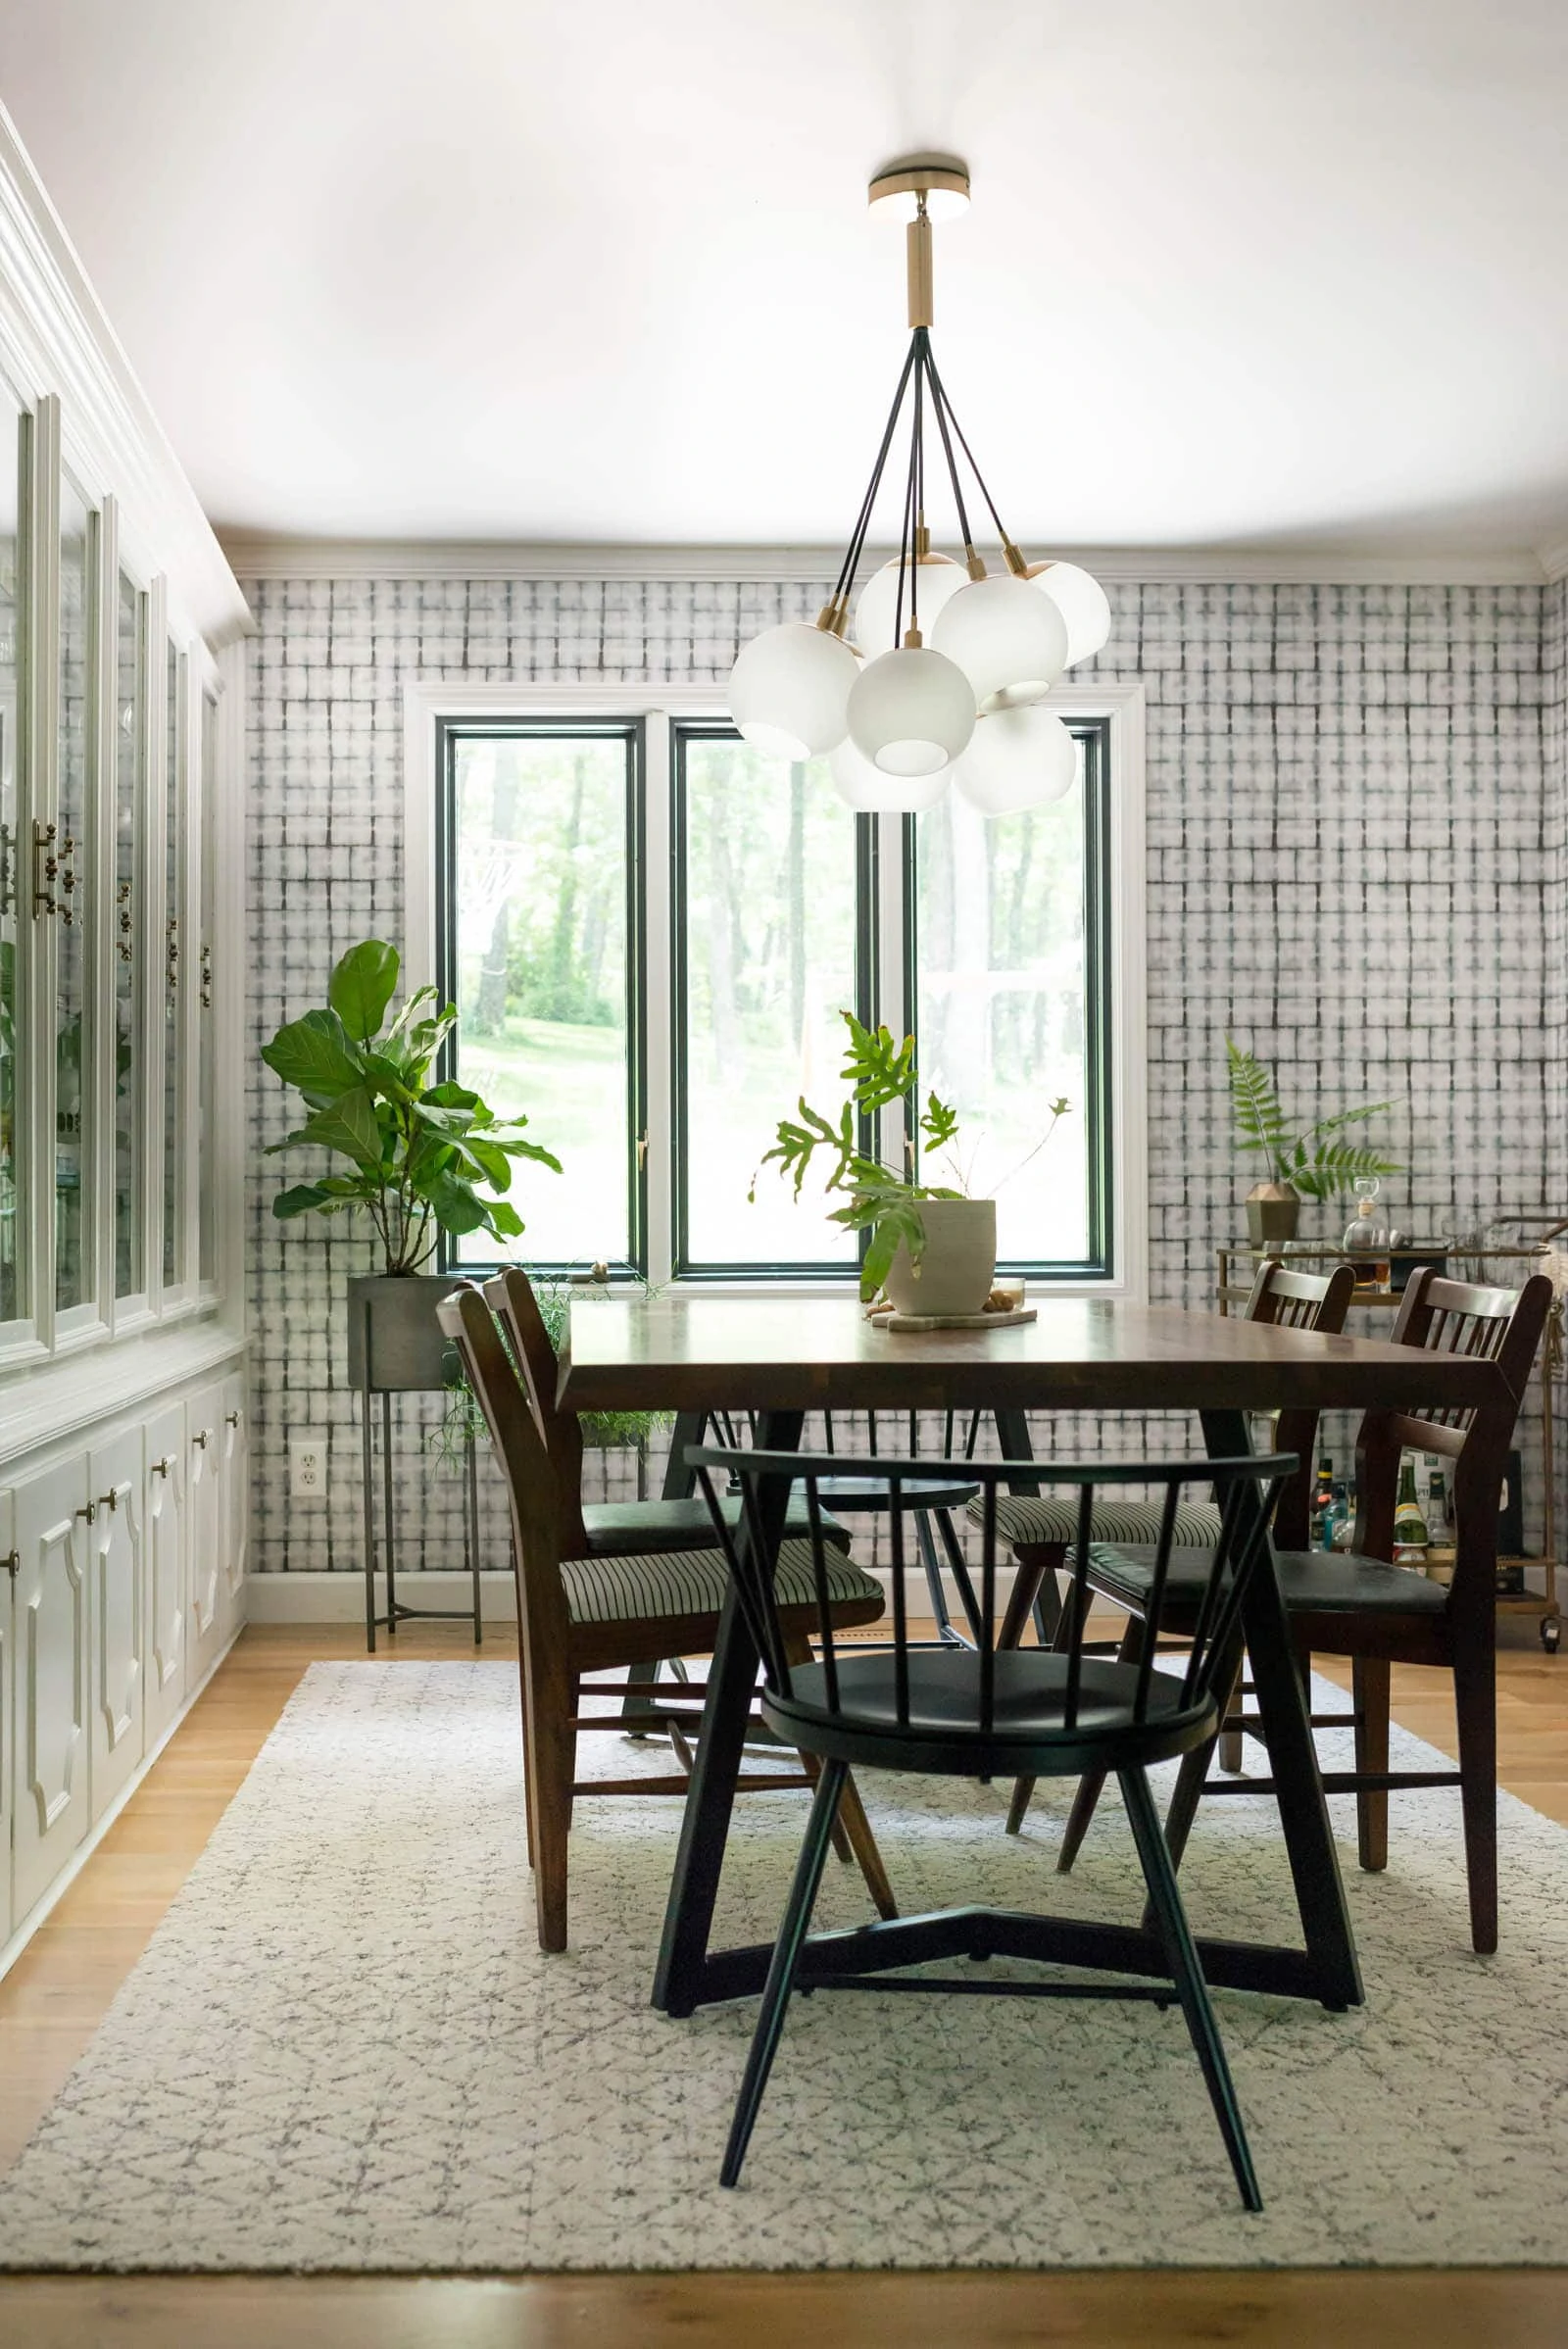
This tutorial for How To Wallpaper For Beginners will walk you through how to apply wallpaper with glue, how to actually hang the wallpaper on the wall and all the steps in between.
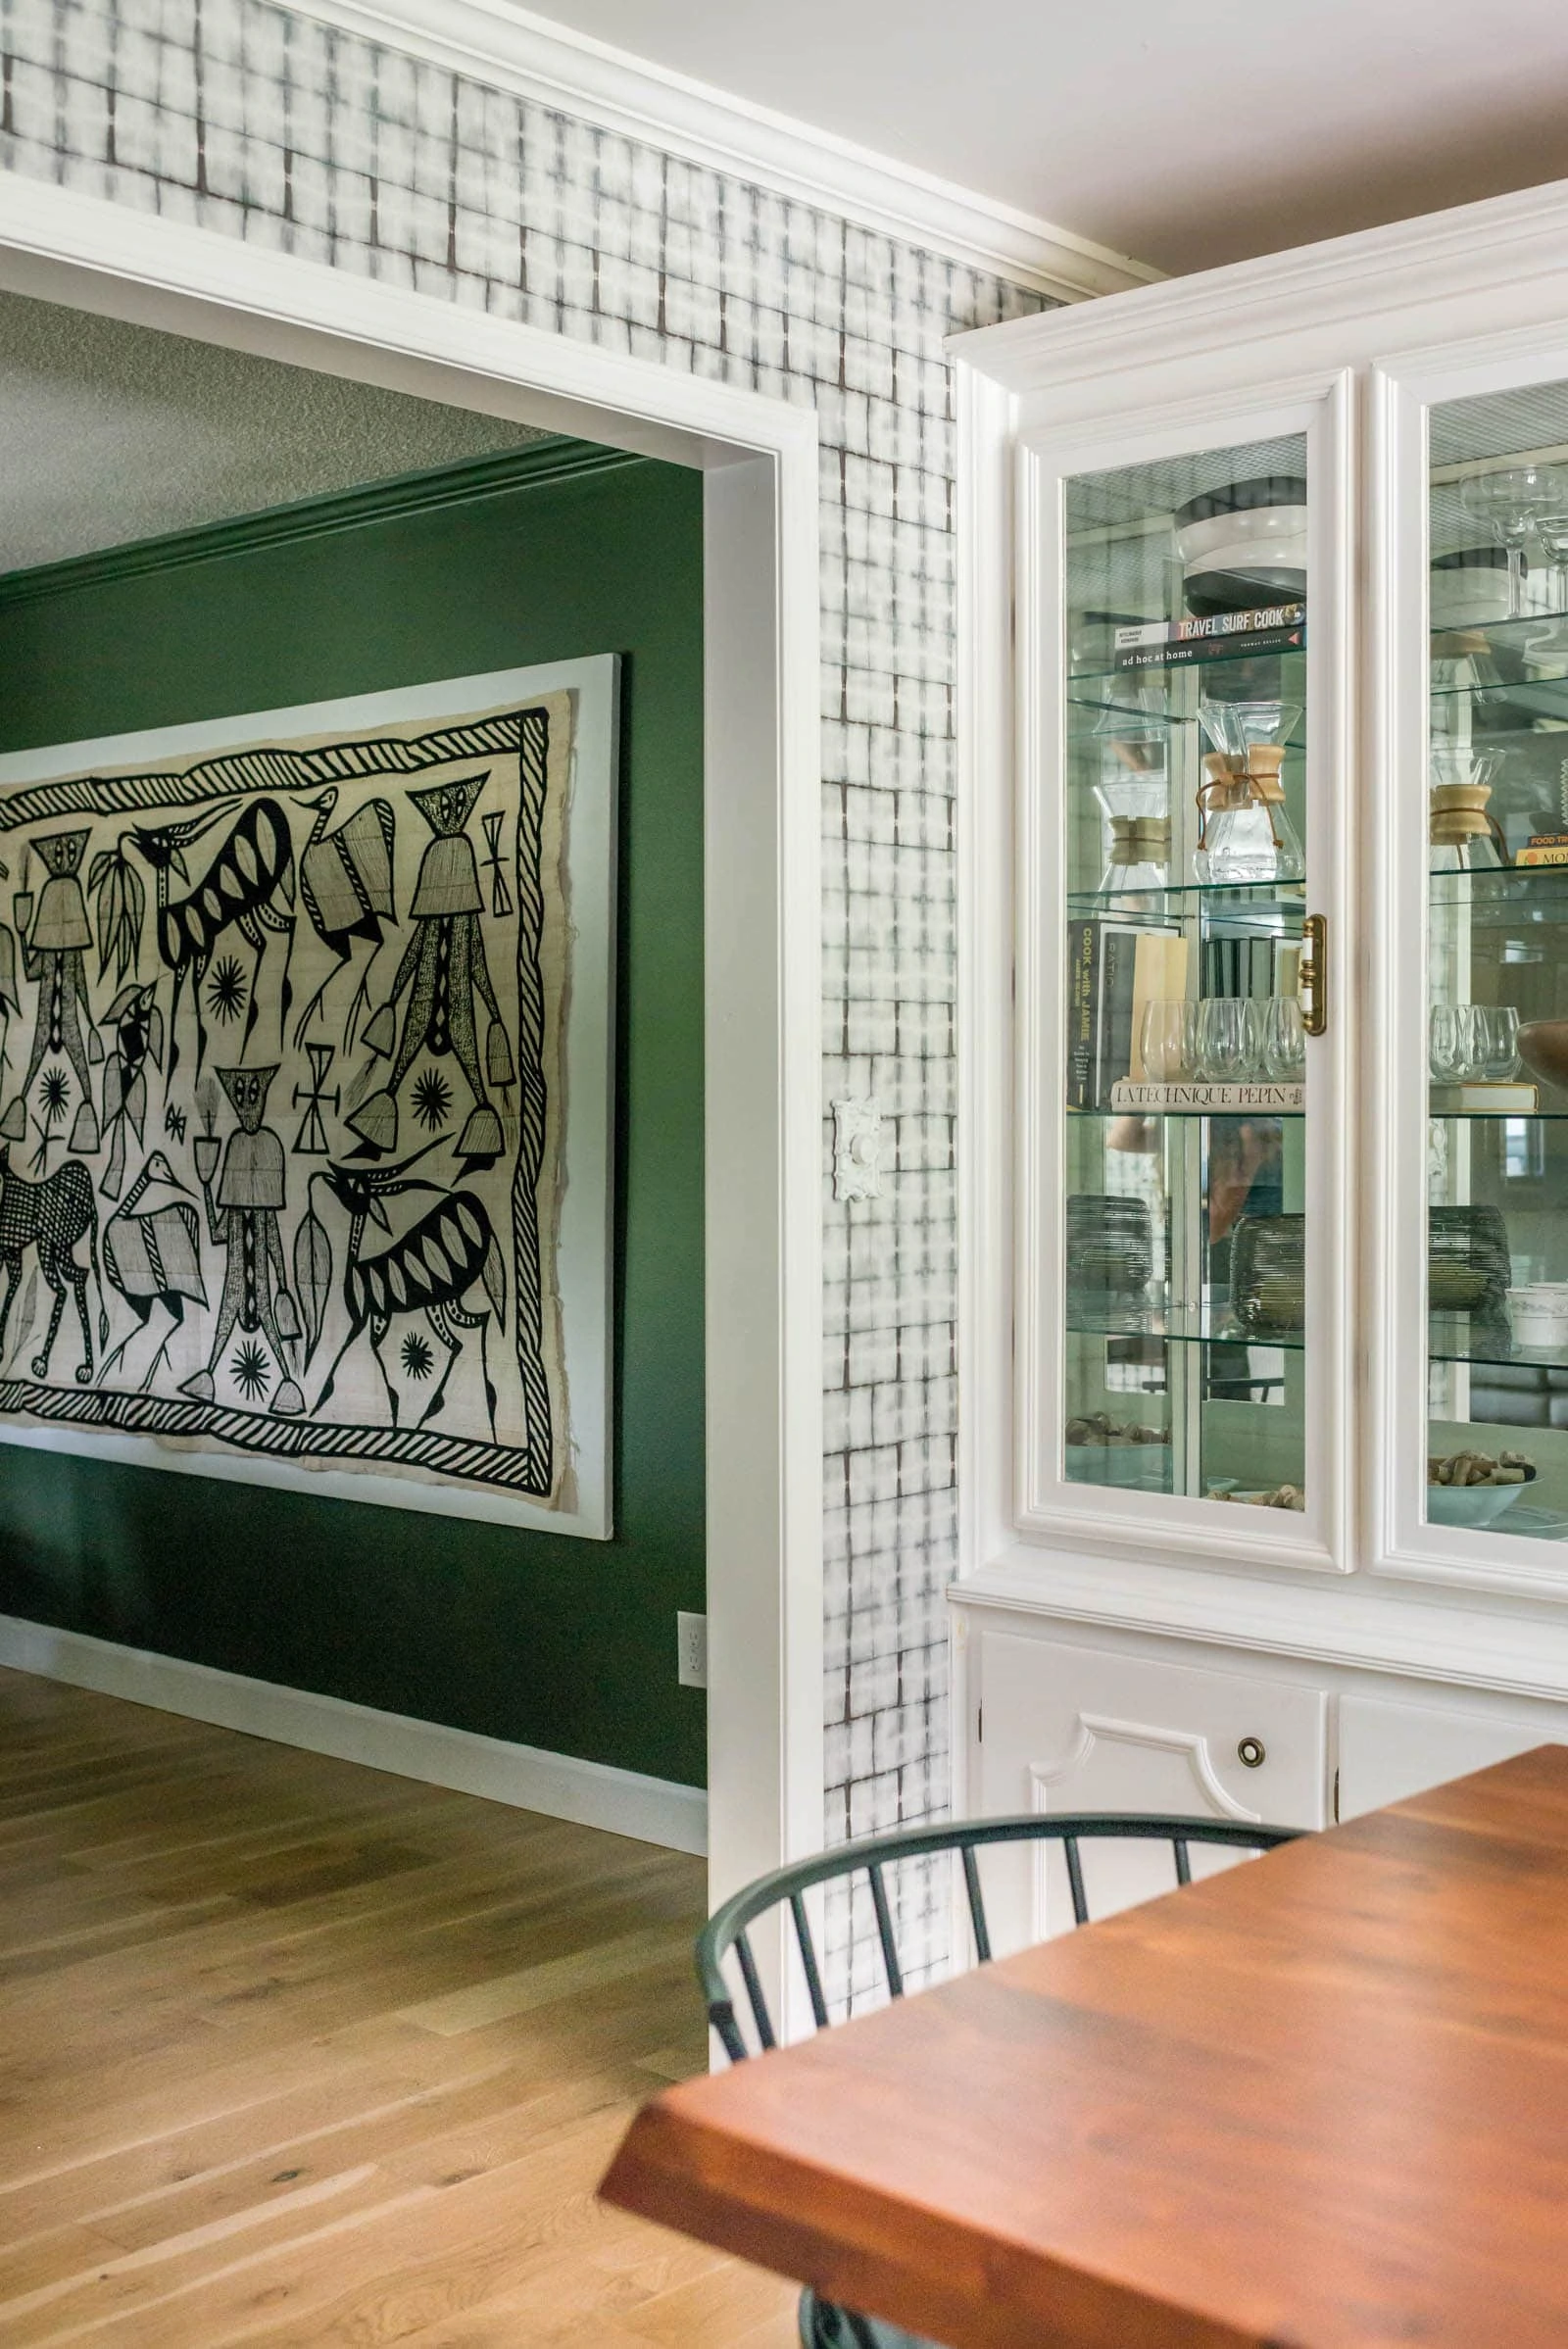
Luke and I went back and forth about whether to wallpaper our dining room ourselves or hire it out a few years ago. We were on a time crunch with the one room challenge (see the eclectic dining room reveal for the One Room Challenge, if you missed it) and wanted to see if hiring it out was an option. I got one recommendation and called to get a quote. The installer was 6+ weeks behind schedule so that immediately made us decide to hang the wallpaper ourselves.
It ended up being the best decision, because I really can't image hiring this out. If you can paint a room, you can do this. Seriously, it's very doable. Especially if there's two of you working together.
I will say that Luke is the meticulous one in our duo. I'm a "let's just jump right in and make it work" type. Sometimes we bump heads on projects, and sometimes we figure out early on in a project what is going to work for us. This project, we knew what would work. I would prep the paper and Luke would hang it. Then, I would clean the seams and keep the prep ahead of what Luke was hanging. It worked like a charm!
Supplies Needed
- Wallpaper
- Wallpaper Paste
- Plumb Chalk
- Level
- Scissors
- Measuring Tape
- Utility Knife
- Roller
- Wallpaper Smoothing Tool
How To Wallpaper a Room Step By Step
-
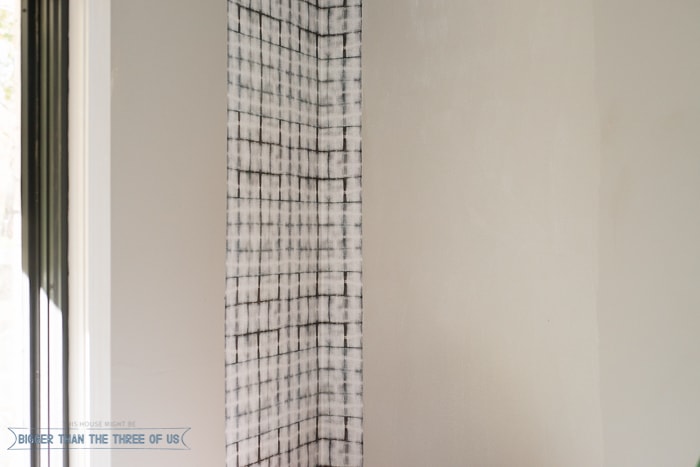
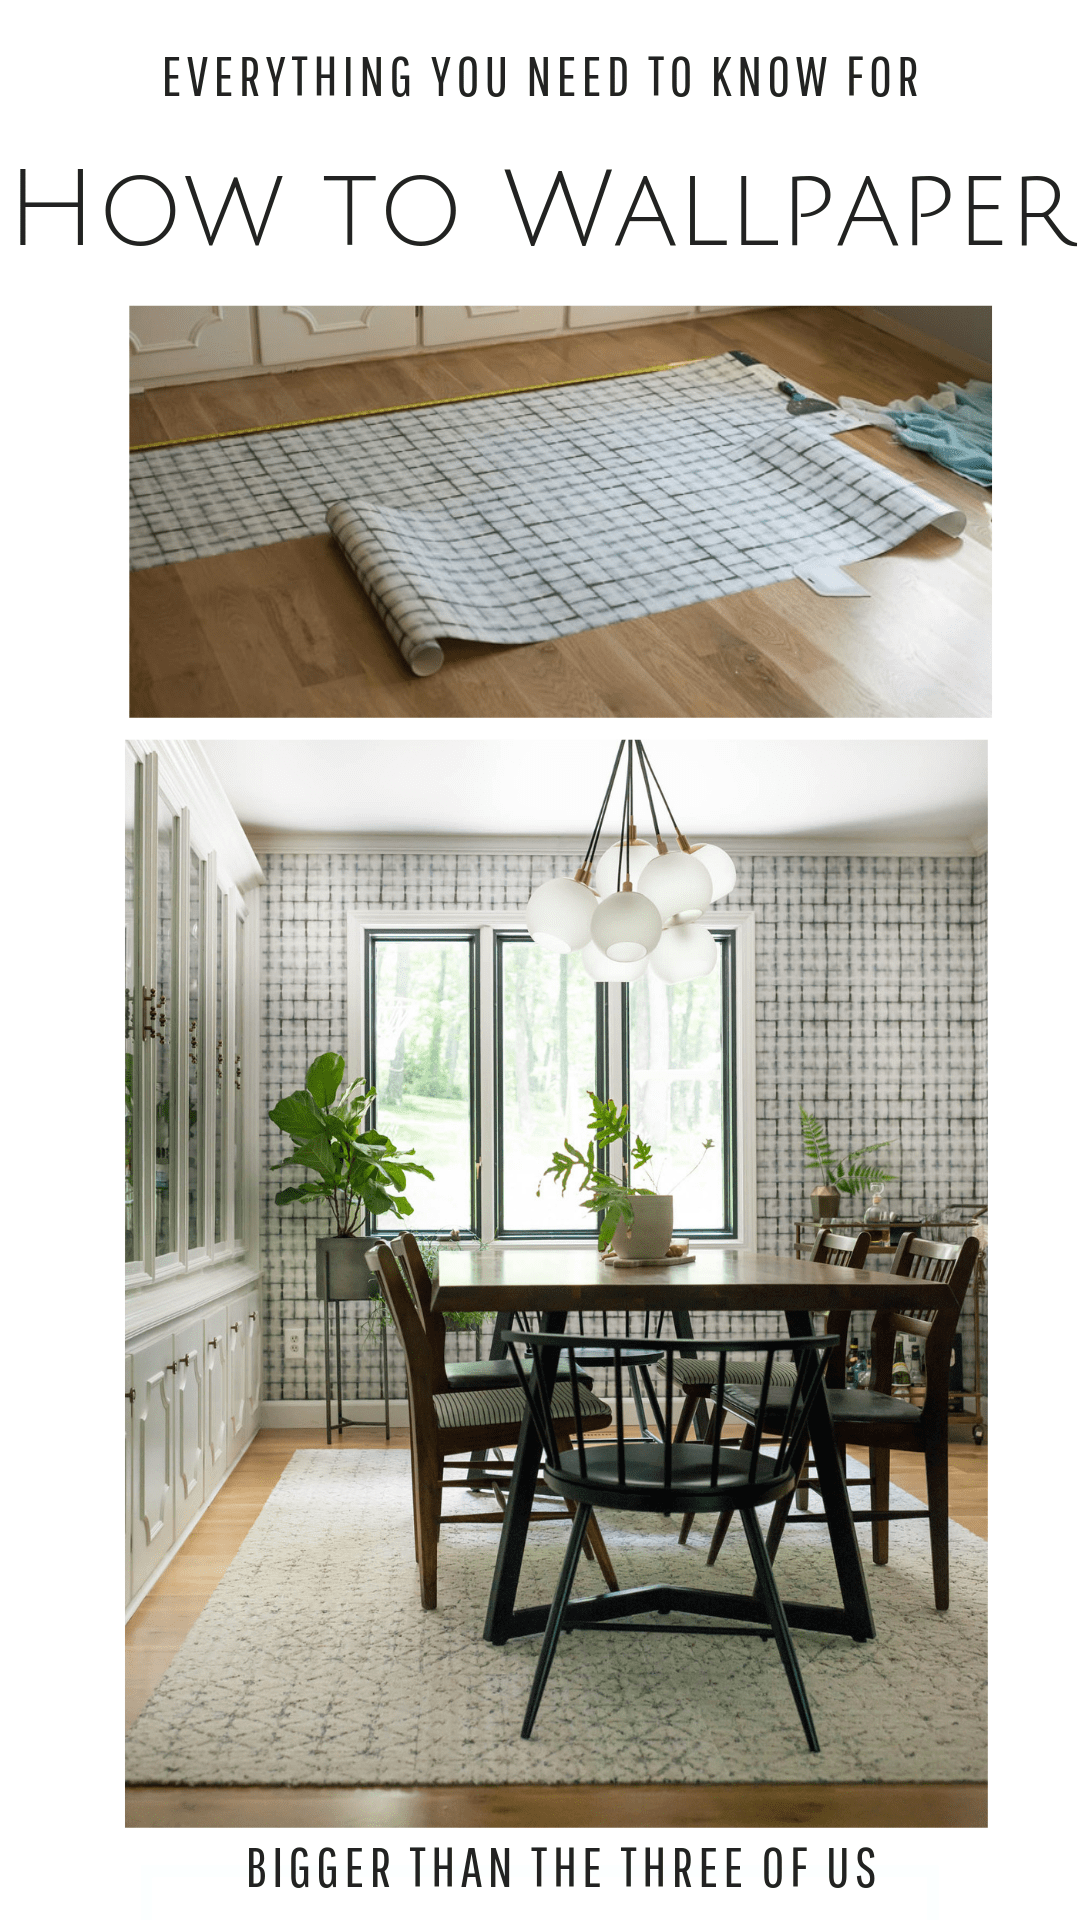
- Look at your paper. Look at how wide it is, where it repeats and how it repeats. Our wallpaper was a straight-match, which made things easy.
- Decide where you want to start. There is a learning curve to the first strip, so if you can start in a hidden spot - that's what I'd recommend.
- Once you decide where you want your wallpaper to start, mark a plumb line. You can do this with chalk or with a pencil and a level.
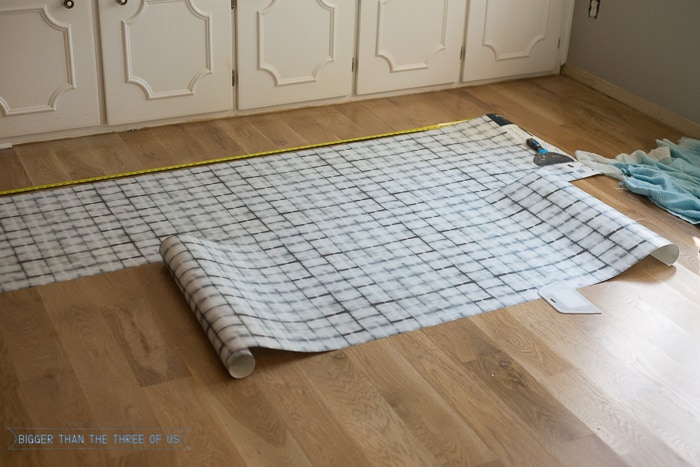
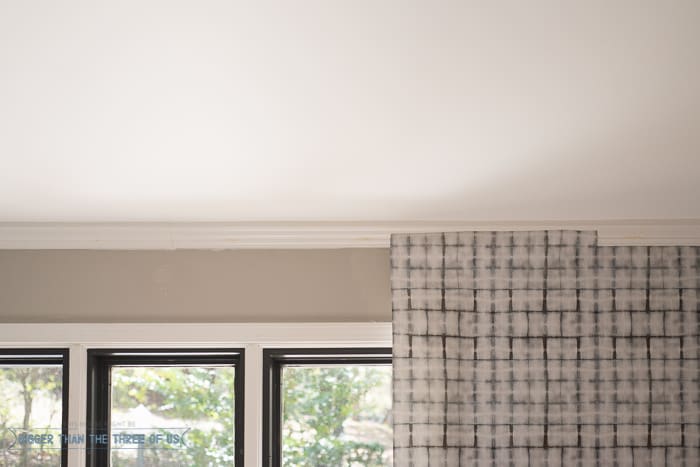
- Next, measure your wall (top to floor) and add 6 inches. This will be your panel height (if your walls are all the same height). Measure and cut your first panel.
- Measure and cut your second panel. If you lay it out on the floor, you can always see that you are matching your pieces. We always installed the piece closest to the china cabinet. When I cut another, I would push the old one closer to the china cabinet and lay the new one closer to the kitchen. This ensured that I was staying on track.
- With a small roller, apply paste to the wall next to your straight line. *Tip: Buy regular size rollers and cut them using a small saw. This is so much cheaper than buying small rollers!
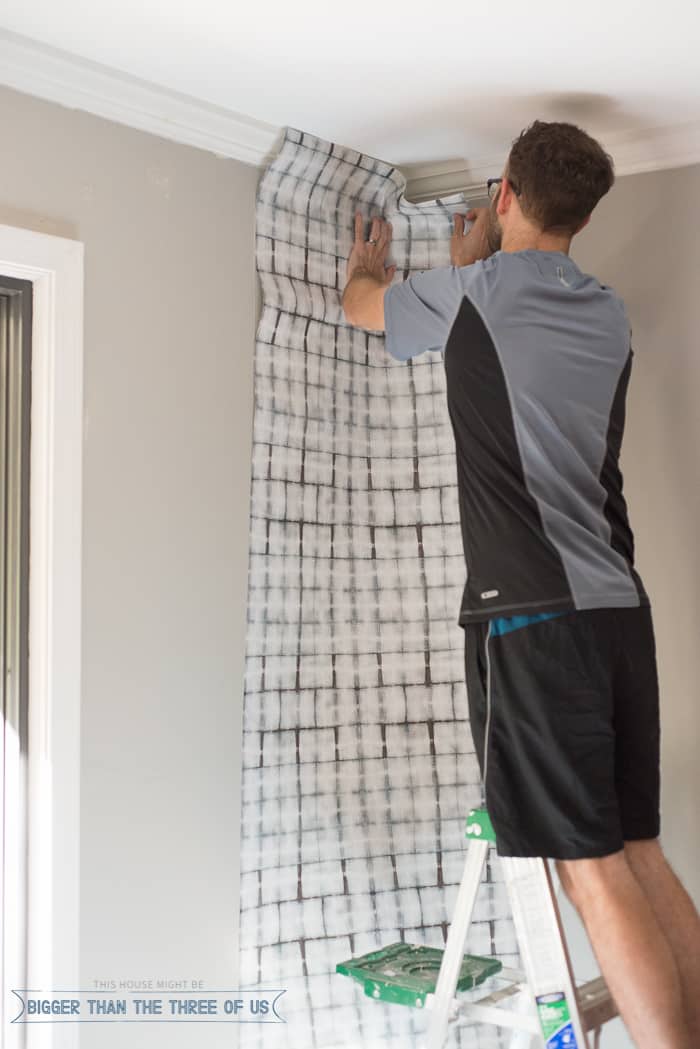
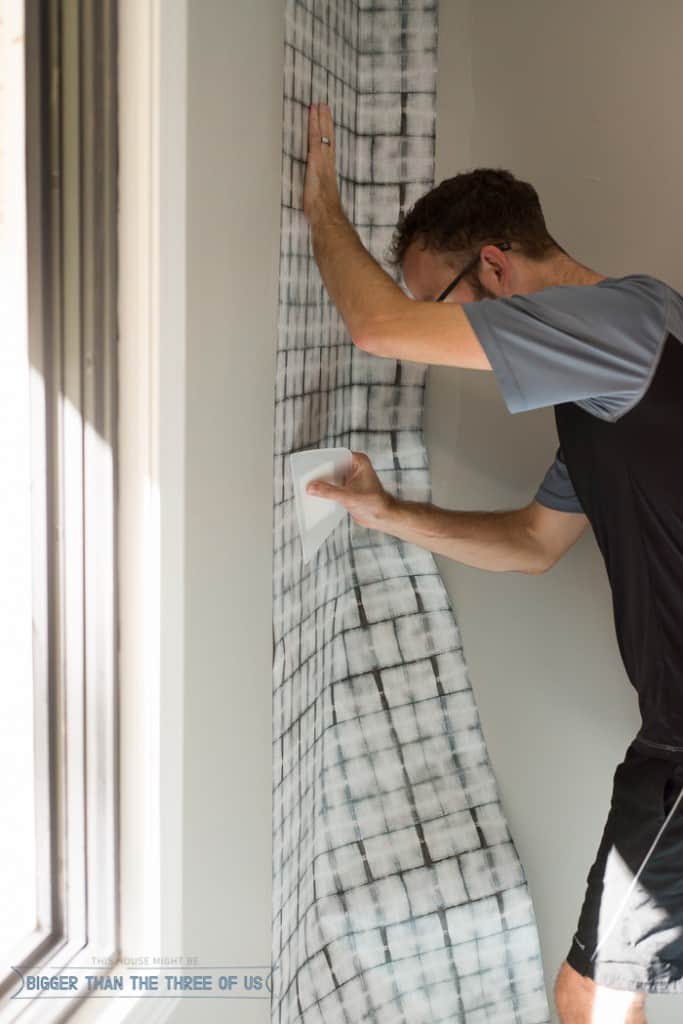
- Start at the top of the wall and start installing the wallpaper. Work at the top first to make sure you are aligned with your straight-line. Make your way down the wall, smoothing any air bubbles out. Take your time.
- Once you get your first piece up, you will then go to the next piece. You want to put your wallpaper right up to each other. Don't overlap any pieces. If wallpaper paste squeezes out, just grab a clean sponge and sponge it up.
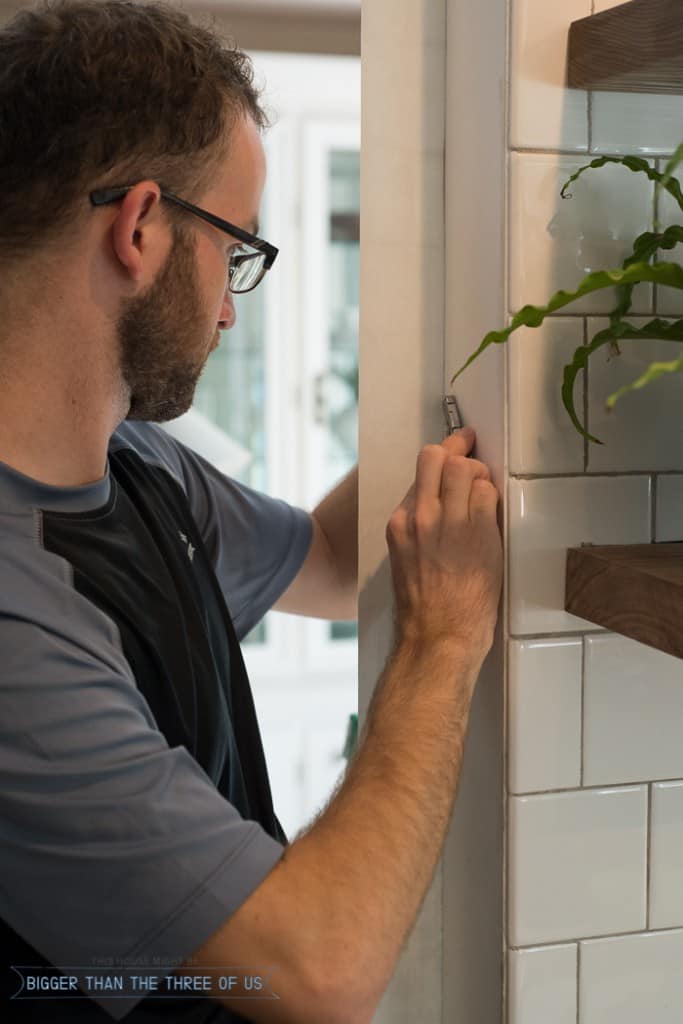
- Using a utility knife, cut any edge pieces. For our outside wall, Luke used a large level on one side of the wall (to keep his line straight) and cut from the other side.
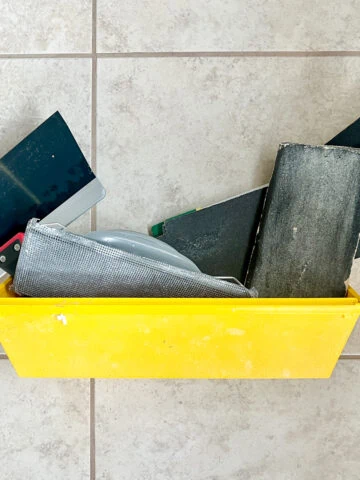
You'll want to have a few blades handy. The wallpaper will dull the blades and you don't want to risk tearing the wallpaper with a dull blade. It's much easier to work with a perfectly sharp blade, and blades are cheap.
Putting up the wallpaper wasn't hard. It was a bit time consuming - each panel took us about twenty minutes. Overall, the project took about five hours. We have a ton of areas that required exact cutting and the china cabinet was annoying! But, it's very doable!
If you are detail-oriented, I'd definitely give this a go. Suzannah and I chatted about whether to DIY or Hire Out Wallpaper on the Your Home Story podcast too. So, if you want more information or just want to hear us chat, then tune into that episode.
If you think that this process sounds scary but you'd love the look of wallpaper, then try out some removable wallpaper. I love this round-up of removable wallpaper options.




Vanessa Doss
I can't believe wallpaper is back in! You guys make it look good!
Ashley Mayes
Haha, right?! Who knows if it's actually back in or not but I like it.
creativejewishmom/sara
wow, gorgeous results! thanks for sharing on craft schooling Sunday!
Ashley Mayes
Thanks so much!
Katherine
Love it! Thanks for the tips.
Ashley Mayes
Of course, thanks for stopping by!
Atim I EffiFit
Hi! It's Atim with EffiFit checking you out from Link Party Palooza. Love what you did with the wallpaper. My boyfriend and I were talking about doing some wall paper in our master bedroom. Get starting tips!
Ashley Mayes
You should go for it!
emily
I'm saving these for later. I keep thinking I want a wallpaper feature wall. Thanks for sharing at the Monday Funday Party. - Emily
Ashley Mayes
Yay! You should go for it!
Sharon
Hi...Did you size your wall first?
Ashley Mayes
We measured it and then made sure to start where I would have a full piece to end on the open wall. Hope that helps!
Brooke
Can I get the info on this wallpaper? I love it, and would like to check it out.
Thanks!
Ashley Mayes
It's shibori wallpaper from Milton and King (you can buy it online from Milton and King).
SANDRA DA SILVA
Hi,
Love the wallpaper you used in your dining room. Do you mind sharing the company that makes it and name of the print?
Thank you,
Sandra
Ashley Mayes
Hi Sandra,
The wallpaper is from Milton and King and it's in the Shibori Collection. The one I went with is the Earth Grey Brick Wallpaper. Here's the link: https://www.miltonandking.com/earth-grey-brick