

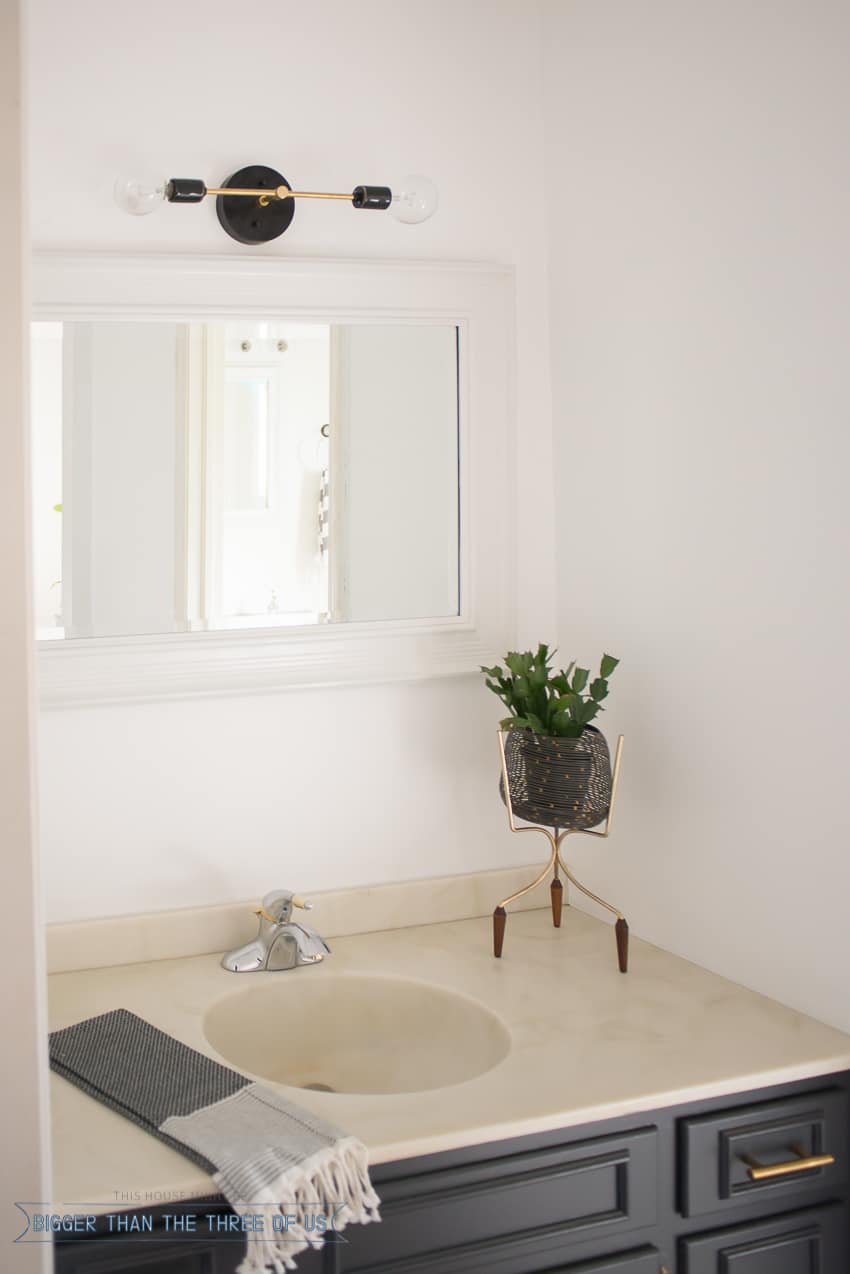
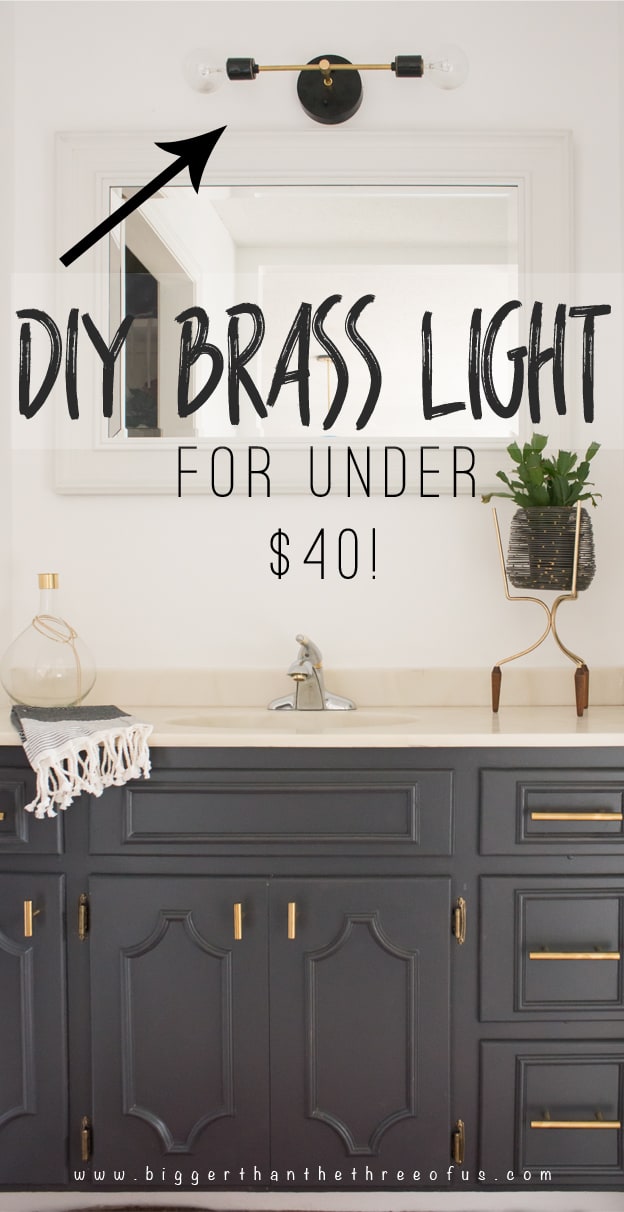
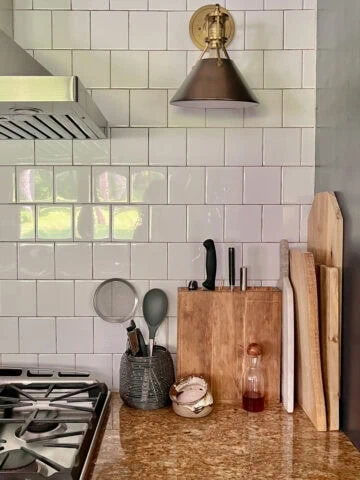
Make this brass light, with parts from Grand Brass, for under $40. It's a DIY vanity light option that won't break the bank.
Thank you all for your lovely comments on our $87 Bathroom Refresh. Seriously, I'm overwhelmed by all the comments on the blog and social media. I so appreciate hearing from each and every one of you.
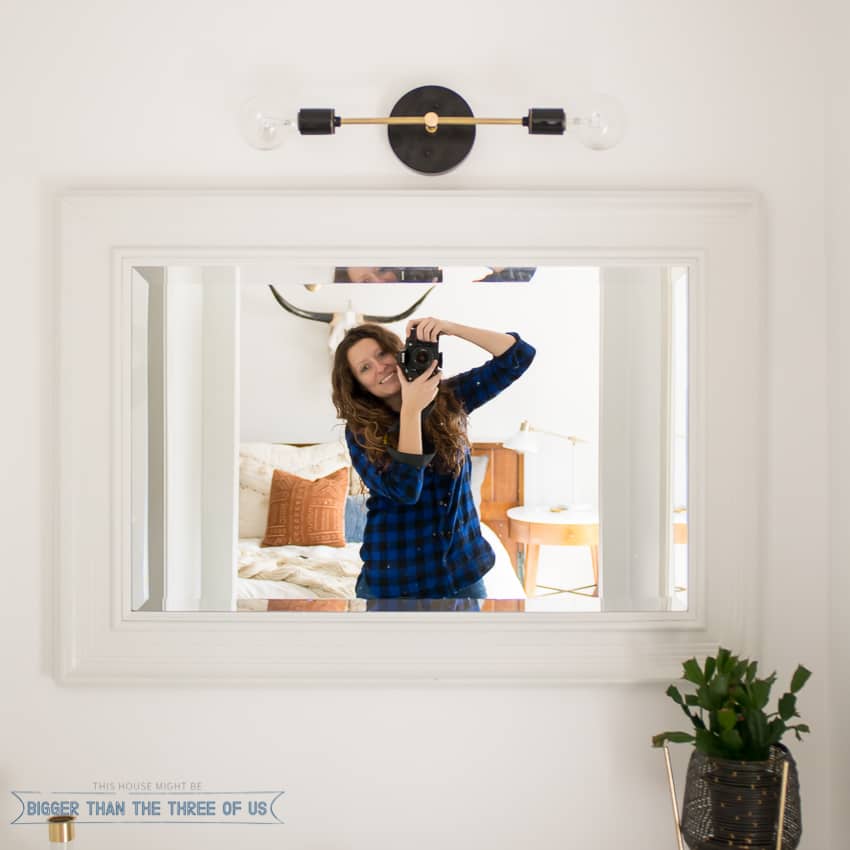
There's been lots of chatter and questions about the brass light that I DIY'd for the bathroom. So, today, I thought I'd share more about the DIY Bathroom light.

There are so many DIY vanity light options out there but not as many modern brass options. I knew the idea of what I wanted but not exactly which parts to buy to make it happen. It took alot of time searching Grand Brass parts online to figure out the right parts to purchase.
So, first things first, electrical can be a scary thing if you don't know what you are doing. As always, consult an electrician or a licensed professional for help with building this or installing it.
If you are familiar with electrical wiring, this can be such an easy project. From start to finish, I believe this DIY Modern Brass Light took us 30 minutes.
I'm not giving you a walk through of exactly how to wire this piece up. Our light was heavily inspired by Alison's over at Deuce Cities Henhouse. We modified her design to fit our bathroom and the look we wanted. BUT, she provided a great visual on how her components go together to make the light. So, hop over there to see all of that.
Our light had a few less components and a few different ones, so I'll be sure to give you the exact list. After publishing this post a few years ago, Grand Brass created a light kit that has all the parts for this project in one place. I'll link to the light kit as well as the individual parts and you can choose how you want to purchase.
All the parts were ordered from Grand Brass. You might be able to find some of the parts cheaper elsewhere but, for us, the ease of it being a one-stop-shop was worth ordering them all from them.
DIY Bathroom Light Supplies
- *Buy the kit from Grand Brass instead of purchasing the individual items below.
- Black, Canopy Cross-bar Set - $2.85 (1) (ITEM #CB520BL)
- 5in. Matte Black Flat Canopy - $5.80 (1) (ITEM #CAS05BL)
- 2in. Brass Pipe - $1.15 (1) (ITEM #PIBR02-0X8)
- Side Tee - $2.50 (1) (ITEM #AB477)
- 5in. Brass Pipe - $4.60 (2) (ITEM #PIBR05-0X8)
- Black Porcelain Lamp Socket - $9.60 (2) (ITEM # SO10084BL)
- 18/2 SPT-1 Wire - $2.10 (6 ft) (ITEM # WI18SPT1S)
Assembling the Brass Light
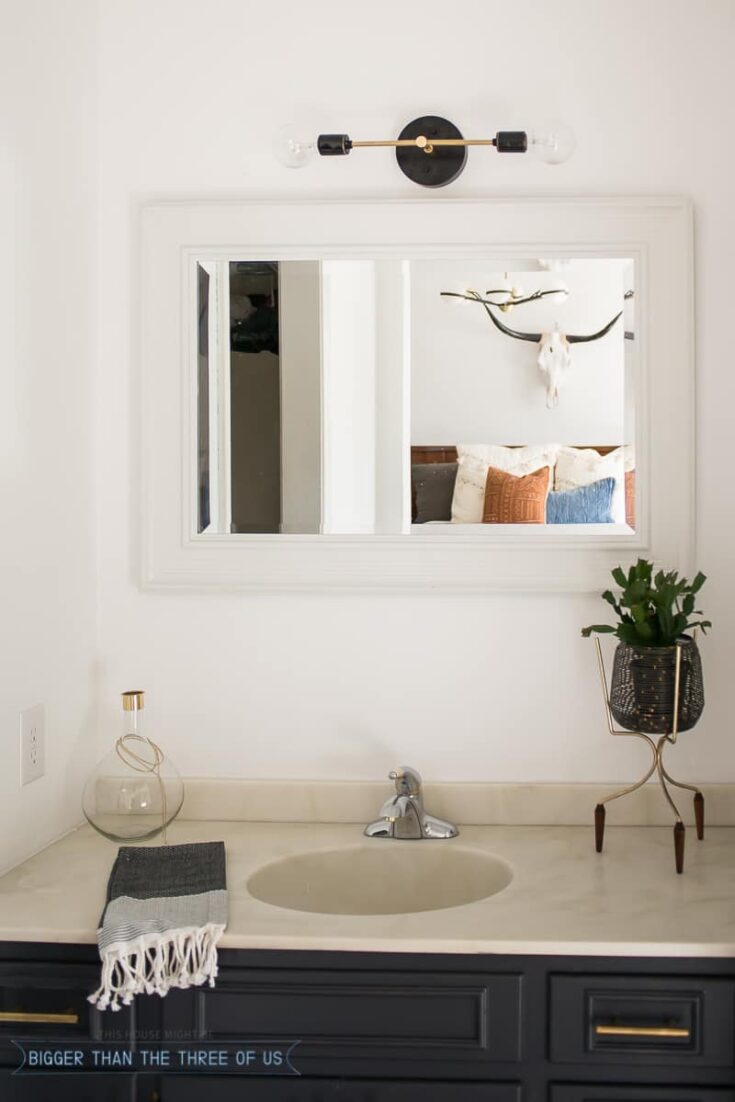
The assembly was straightforward. The pieces just screw in together. We found that assembling part of the light and then threading the wire through worked best for us.
Getting the wire through the components when the wire was doubled through the brass pipe was, by far, the hardest part. It was helpful, for that step, to have an extra set of hands. I fed the wire through with my fingers (pushing it gently) while Luke had a pair of pliers and pulled it (gently).
I went back and forth on whether to try making this light. This one fit my budget and was pretty simple, so I'm happy I went for it. If you love modern brass light fixtures, I have a bunch in my home. You can see all my light fixtures on the shop my home page or see close to ceiling light fixtures that I recently considered in the basement.
Other projects in this space were:
Pin for Later: DIY Brass Light
DIY Brass Light with Parts from Grand Brass
A modern DIY vanity light made out of brass parts from Grand Brass.
Materials
- *Buy the kit from Grand Brass instead of purchasing the individual items below.
- Black, Canopy Cross-bar Set – $2.85 (1)
- 5in. Matte Black Flat Canopy – $5.80 (1)
- 2in. Brass Pipe – $1.15 (1)
- Side Tee – $2.50 (1) (
- 5in. Brass Pipe – $4.60 (2)
- Black Porcelain Lamp Socket – $9.60 (2)
- 18/2 SPT-1 Wire – $2.10 (6 ft) (
Tools
- Screwdriver
- Pliers
- Electrical Tester
- Electrical Tape
- Electrical Caps
Instructions
- The assembly was straightforward. The pieces just screw in together.
- We found that assembling part of the light and then threading the wire through worked best for us.
- Getting the wire through the components when the wire was doubled through the brass pipe was by far the hardest part. It was helpful for that step, to have an extra set of hands.

Brooke
I can't believe how great the light looks. We are house hunting right now and I am debating how much of a project I want to take on. I want to do this in ALL the bathrooms!
Ashley Mayes
House hunting sounds so much fun! We have a few bathrooms (that we haven't tackled) that I'd love to do this DIY Modern Brass Light in or one that's similar.
Lacy Gaskill
All we need to do is purchase the 20 dollar kit? This is amazing! Thanks for sharing!
Ashley Mayes
Yes! They made it easy.
Carmen Gomez
Hi Ashley, I love the DIY fixture, thank you for sharing the tutorial. Where did you get the bulbs? I've been looking for something like this in LED but all I can find are ones with a yellow filament. I would appreciate it.
Thank you!
Carmen
Ashley Mayes
Thanks Carmen! I think we got these at Walmart but I just added some Amazon links to some online in the post. Make sure to get a standard socket. We've used the chromed tipped ones before too and those can be fun.
Beth
Hi! Just came across your blog and loving it! I tried the link to the DIY light kit but it doesn’t work is there another link I can follow?
Ashley Mayes
Hi Beth,
I fixed the post. Sorry about that! It looks like something broke the blog formatting and links. Should be good now.
Jes
I love this update so much! Great work!
Ashley Mayes
Thanks Jes! It was such an easy DIY and I just love how the brass light turned out so that's a win!
Janine
Love this bathroom project! I so need to work on our bathroom! Yours is so gorgeous. Awesome lighting!!!!
Ashley Mayes
Thanks Janine! We had a super small budget but I think that made it even better! The modern brass light is my favorite though!
Stephanie @ Casa Watkins Living
Oh my gosh! This is awesome Ashley!!!
Joe T
Grand Brass Has Made an Easy to Purchase Kit - Here is the Link: https://www.grandbrass.com/item/fxk101/diy_lighting_kits/
Ashley Mayes
I'll include that in the post, thanks.
Francel Aquino Betz
I love this! About to order this, but can you tell me the total width of the fixture. I'm about to order 3, however I'm afraid it may be too long. I appreciate it!! Love your blog BTW!!
Ashley Mayes
21 inches with lightbulbs. Can't wait to hear how they work out!
Shonee
I love how it turned out! The black is so fun too.
Shonee
Ashley Mayes
Thanks Shonee! I do too!
Carolann
I'm loving it! What a great idea! It looks so chic and expensive. Thanks for sharing!
Ashley Mayes
Thanks Carolann! For a super simple project (and a cheap one to boot!), it's a great one.
megan
love this. But can you tell me the total lenth of the fixture. I to order 3, but I’m afraid it may be too long. I appreciate it!! Love your post. Like this bathroom project! I so need to work on our bathroom! Yours is so gorgeous. Wonderful light.
Ashley Mayes
21 inches with lightbulbs. If that's too long, you could always go for a shorter brass tubing.
Lindsay
Do you feel this gives off very much light? Could it light a small bathroom on its own?
Ashley Mayes
I think so! It's a sconce with two lights so of course, it's not going to be as bright as an overhead with three but it gives off quite a bit of light.
Lindsay
Great thank you!
Patricia
Beautiful! What light bulbs did you order?
Ashley Mayes
I just picked up some round one's from Walmart.