

Learn how to cut picture mats for oversized mat frames. Using a picture mat cutter you can change the size or color to make your own custom picture mats!
I'm shooting you straight here before you dive in to learning how to cut a frame mat, this project is definitely doable as a DIYer but you'll need to practice a few times to get the hang of it. It'll save you lots of money on large matted frames though, so buckle up and learn. You'll thank me, later!

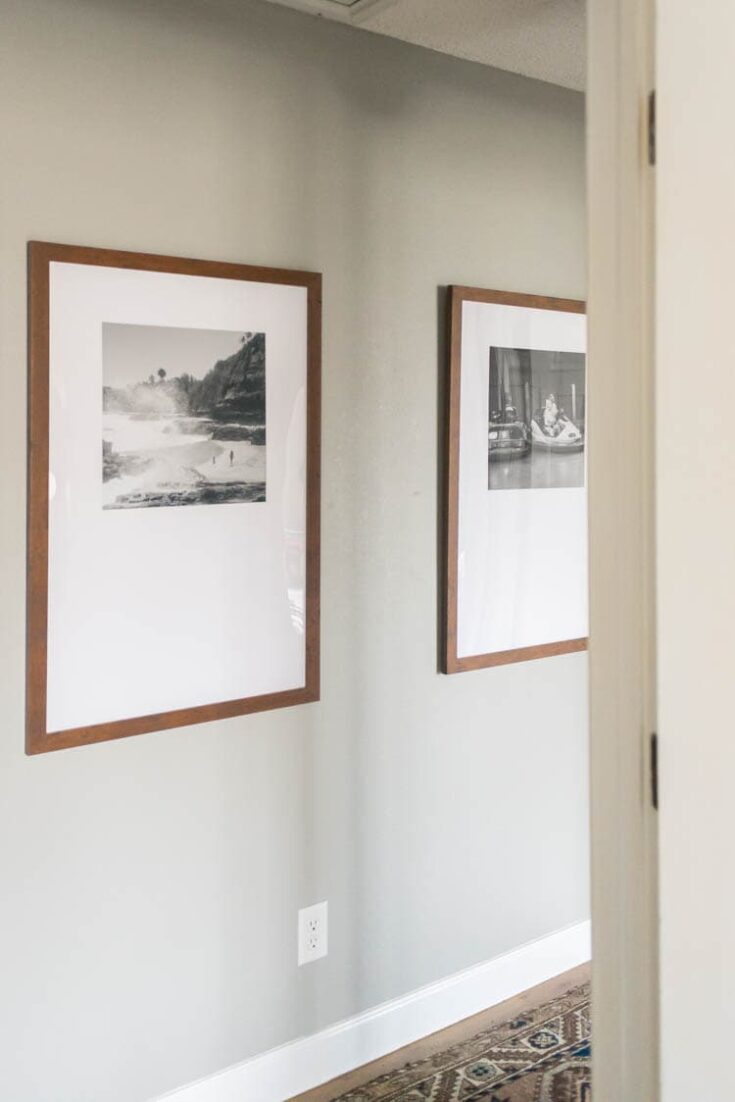
Adding Custom Picture Frame Mats to our Hallway
When I set out to add travel photos to my hallway, I knew that the project could get really pricey, really fast.
I priced out large matted frames for the hallway remodel and each option came up to over $120 per frame. I knew I wanted at least five frames so $600+ for a gallery wall was not going to cut it.
Affiliate links below. Click to read my privacy and disclosure policy.
After quite a bit of research about what to DIY or how to DIY part of this project, I decided on buying a picture mat cutter and the rest is history. =)
Supplies Needed to Cut Custom Mat for Frame
- Belmont 24x36" Frame - Honey (these go on sale for $16 quite frequently)
- 24" by 36" White Mat board - In store at Michaels for around $8
- Photo Mat Cutter
- Level or other straight edge
- Razor blade
- Photo - For irregular, large sizes, Nations Lab does a GREAT job and I've found them to be the most affordable.
- Cardboard (to protect your floor)
- Extra set of hands (you need one person to hold the level and another to use the cutter)
Cutting a Custom Mat for Frame
1. Have your photo printed to the size you want. For my project, I printed a 15.5 x 15.5 square photo.
2. Practice cutting with the mat board cutter on scraps of mat board.
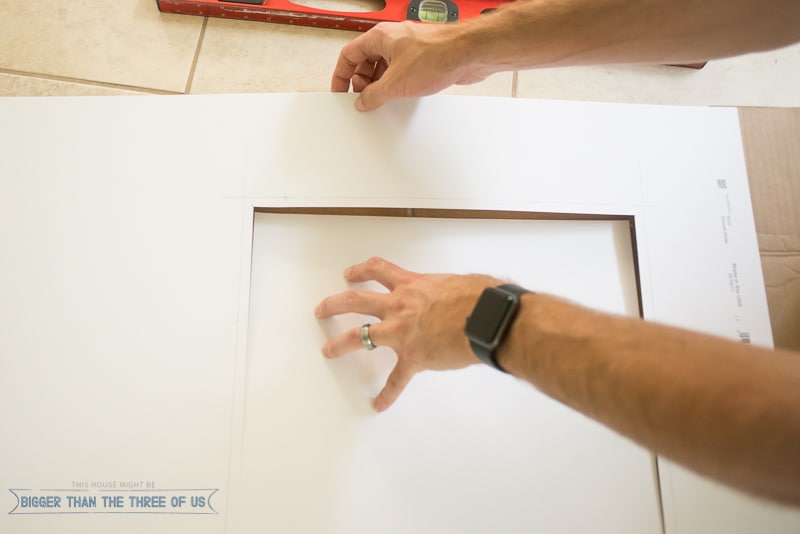
3. Take your photo and place it on top of the back of the mat board to visualize where you want to cut your mat board. *
4. For my 15.5" square photo, I knew I wanted my photo centered from left to right but offset from the top to the bottom.
5. I went with 4.25" on left and right as well as the top. Using a straight-edge, draw lines to create your cutting pattern (which is essentially the frame around the photo) on the back side of the mat board.
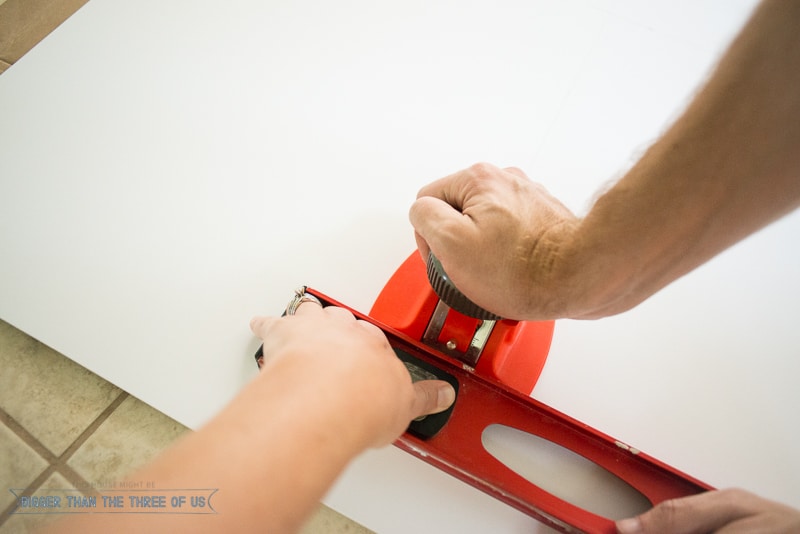
6. Using the straight edge as a guide, firmly press down on your mat board cutter and start cutting. When you get to the end of the line, stop about ¼" from the end so your cut line doesn't show through the mat board once you flip it over.
7. Work on your cuts in a clockwise motion.
8. Gently tap out the cut mat board. You can use a razor to help clean up any stray pieces.
* We have done this process quite a few times now and tend to do it a bit differently, now. We've found it easier to trace the photo shape on the front of the mat board. You'll actually want to draw something a tiny bit smaller than the photo on the front of the mat board. Then, you'll cut the board from the front. This makes lining up the corners easier and makes the whole process a little less error-prone.
How To Cut Your Own Picture Mats Video Tutorial
If you want the step-by-step written instructions to print for cutting a frame mat, those are the very bottom of this post!

Cost Savings For Cutting Your Own Custom Picture Mats
Each of the custom picture mats took us about 15 min per mat (after the first one). I ended up with five large matted frames for my hallway remodel with a total cost, out of pocket, of $40 per frame.
The cost of picture frames and matting goes with the size. The frame that I used was 24x36 so it's definitely a large frame. By cutting my own photo mat board, I definitely saved money but if you have small square frames with a mat... the cost savings would be less.
In a big box store near me, I was quoted $50 per frame mat. For my 24x36's frames, that would have been over $250 for all the photo frame mats alone.
It's by far the cheapest to use pre-cut frame mats but those are usually only available in standard sizing and in standard cuts (such as a 5x7 mat board for a 8x10 frame).

For a totally custom look, I'd definitely suggest investing in a picture frame mat cutter and learning how to cut frame mats yourself!
Or, honestly, you can paint your own mat board and add custom engraved brass tags for a really nice look as well! We did that in our basement and I love the look.
How To Cut Picture Mats using a Picture Mat Cutter
Learn how to cut picture mats for oversized mat frames. Using a picture mat cutter you can change the size or color to make your own custom picture mats!
Materials
- Belmont 24x36" Frame
- 24" by 36" White Mat board
- 15.5 x 15.5 Photo
- Cardboard
- Pencil
Tools
- Photo Mat Cutter
- Razor blade
- Level
- Extra set of hands (you need one person to hold the level and another to use the cutter)
Instructions
- Have your photo printed to the size you want. For my project, I printed a 15.5 x 15.5 square photo.
- Practice cutting with the mat board cutter on scraps of mat board.
- Take your photo and place it on top of the back of the mat board to visualize where you want to cut your mat board. * (see notes below)
- For my 15.5" square photo, I knew I wanted my photo centered from left to right but off set from the top to the bottom.
- I went with 4.25" on left and right as well as the top. Using a straight-edge, draw lines to create your cutting pattern (which is essentially the frame around the photo) on the back side of the mat board.
- Using the straight edge as a guide, firmly press down on your mat board cutter and start cutting. When you get to the end of the line, stop about ¼" from the end so your cut line doesn't show through the mat board once you flip it over.
- Work on your cuts in a clockwise motion.
- Gently tap out the cut mat board. You can use a razor to help clean up any stray pieces.
Notes
We have done this process quite a few times now and tend to do it a bit differently, now. We've found it easier to trace the photo shape on the front of the mat board. You'll actually want to draw something a tiny bit smaller than the photo on the front of the mat board. Then, you'll cut the board from the front. This makes lining up the corners easier and makes the whole process a little less error-prone.
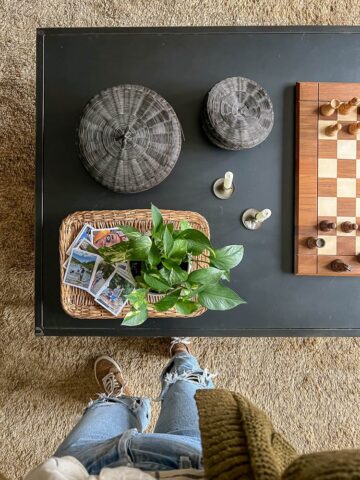
p.s. If you are looking for other fun ideas for wall art, check out how I framed a rug.
}
Jill Catrinel
This is exactly what I needed, so thank you! I didn't realize mat cutters were so inexpensive and made such a clean cut at home. I was just looking into a couple of larger mats and my mind exploded a bit!
Ashley Mayes
Yay! Happy to hear that Jill. You can get more expensive mat cutters and if you planned on doing a bunch... that might be a good option. But for cutting mats for one project or just here and there, this one definitely works.
Annie
This is so smart! There is nothing I love more than something that looks expensive, but doesn't cost much. I need to try this!
Robin from Frugal Family Times
So cool, Ashley - I had no idea those mat cutting tools existed - let alone how affordable they are! Thanks for the tutorial. 🙂
Lorah
Sorry if I'm missing something, but what are the actual dimensions of your photos? Got my frames ready, and my mat cutter ordered, just need to order the prints. Can't wait to tackle this project to see how it looks in my front hallway.
Ashley Mayes
I didn't list it in the tutorial - they are 15.5 X 15.5. Shoot me an email with the after picture if you try it. I'd love to see it.
Elizabeth
Thank you soon much for posting this video on Hometalk. Wonderful step by step instructions! Thanks again : )
Ashtyn
Where did you order your 15.5 x 15.5 prints from? I normally use Mpix but they don’t have that size.
Ashley Mayes
Nations Photo Lab!! I love using them.
Danielle
I might be crazy but I don't see the link posted?
Ashley Mayes
Hi Danielle, It's an embedded video how-to under HOW TO CUT YOUR OWN PICTURE MATS VIDEO TUTORIAL in the post. If you have a video control to not play, it might not show. Here's the link to the video on youtube if you'd like to view it that way: https://www.youtube.com/watch?v=i5xx3YJLGck
Andrea
I love this! What size did you cut out of the mat? And what size pictures did you order?
Ashley Mayes
The photos are 16x16 and I believe the mat ended up being cut 4.5" in on the three sides.