

Hi Guys! Did you have a great weekend? Hope so! Our weekend was full of projects, family time, and some time at the pool. It was pretty much a perfect mix of things for a weekend. Anyways, I'm here today to share a special project that we just completed in our little man's room... a Magnetic Map Wall DIY! Our little guy has been in love with maps, street names, how to get from a to z, etc., for quite some time. We thought the perfect thing for his room would be a map mural to help foster that love. So, we jumped right in to create one. Hope you love it as much as we do!
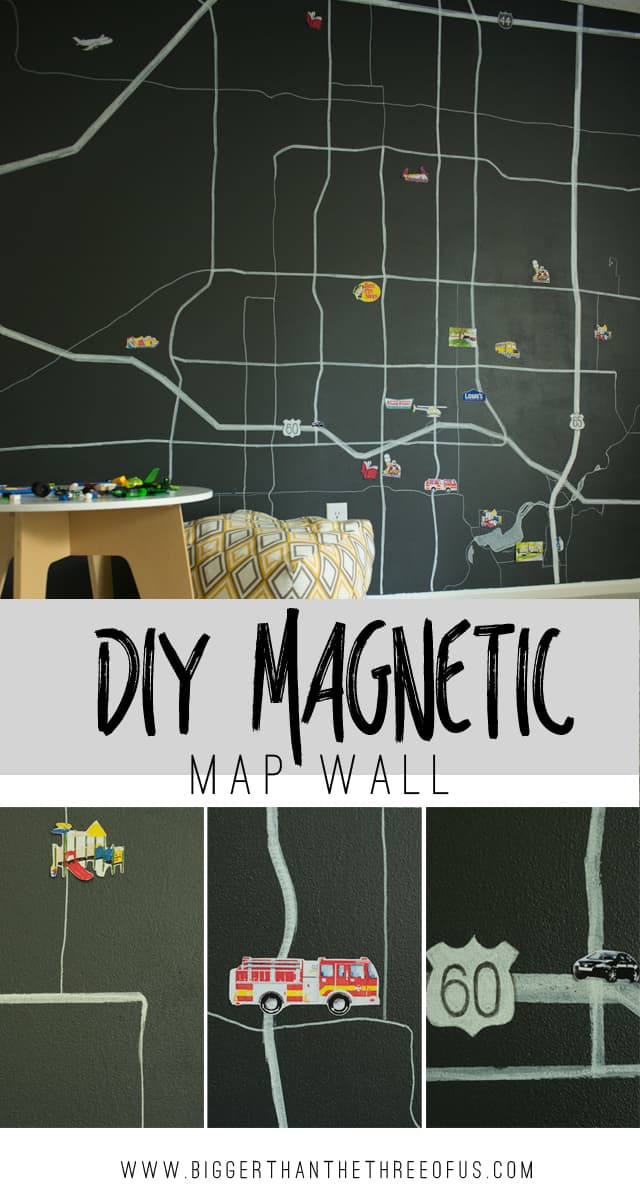
Awesome, right?! Before I get right to the tutorial, let's go back to his room before.
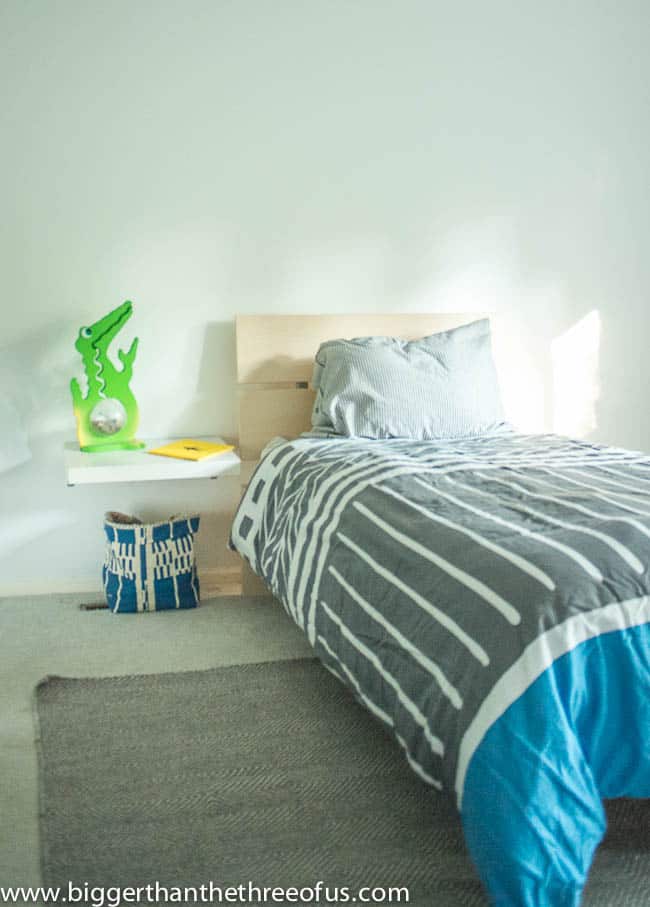
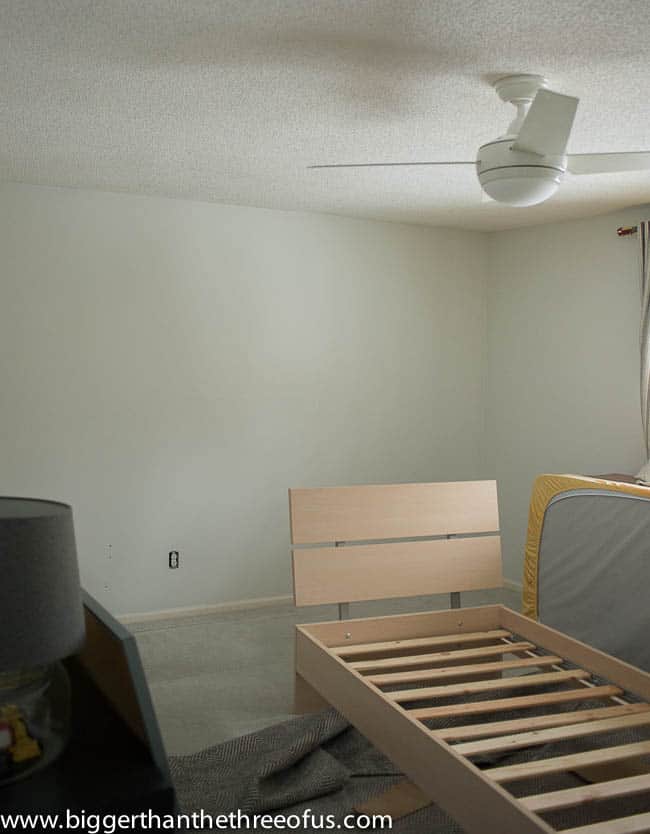
Nothing was wrong with his room before, but it had no personality. It had a few things that we had DIY'd (the floating nightstand, the oversized print, the car switch, and the DIY loft), but nothing on the major wall in his room. I believe (as Luke constantly pushes me toward it) that all rooms need a bit of breathing room. But, this wall just had way too much breathing room. I proposed that we do a map mural and Luke was on board.
First thing we did was to move all the furniture away from the wall.
Next, we used Rust-oleum Magnetic Primer and rolled it on.
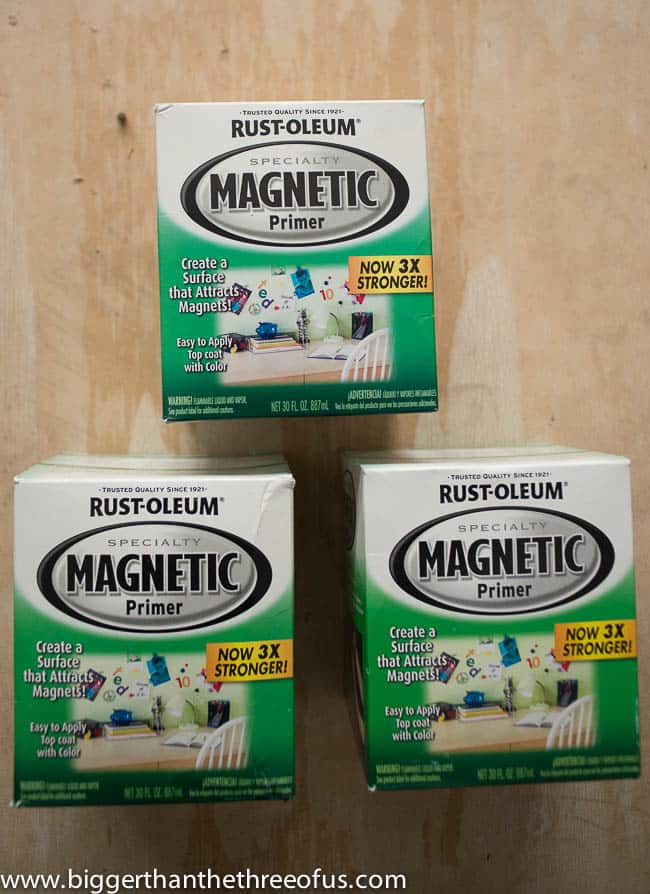
This was the pricey part of the project, because each of those cans are about $25 and they don't go very far. We barely made those three cans cover that one wall.
After following the directions of the primer, we put on a top coat of one of our favorite colors.
Next, we found a city map of our city and had it printed at Staples on a transparency print. We put the print on a projector and adjusted it till we liked how it showed on the wall.

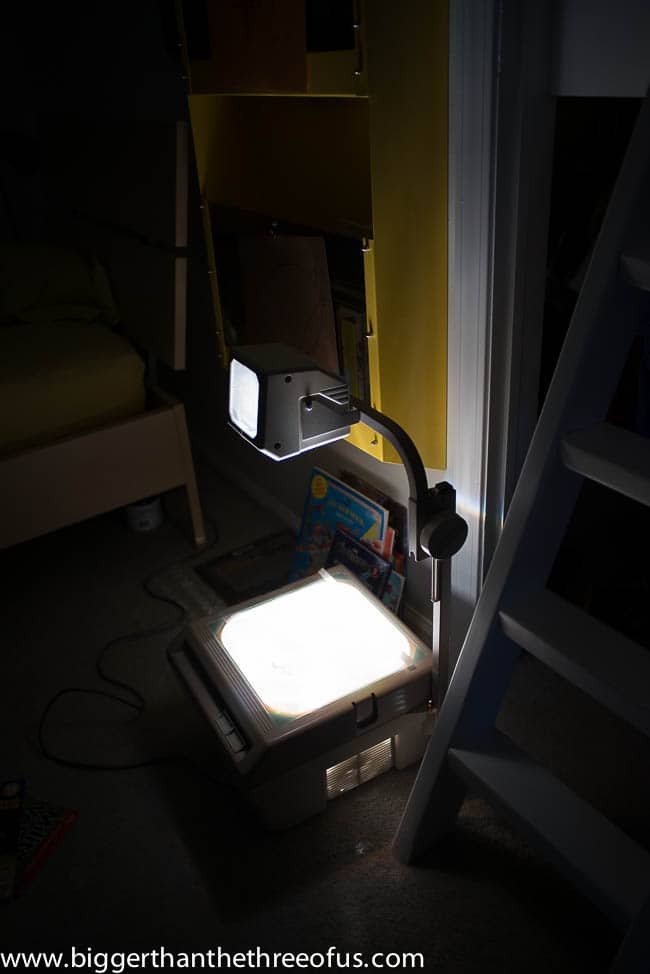
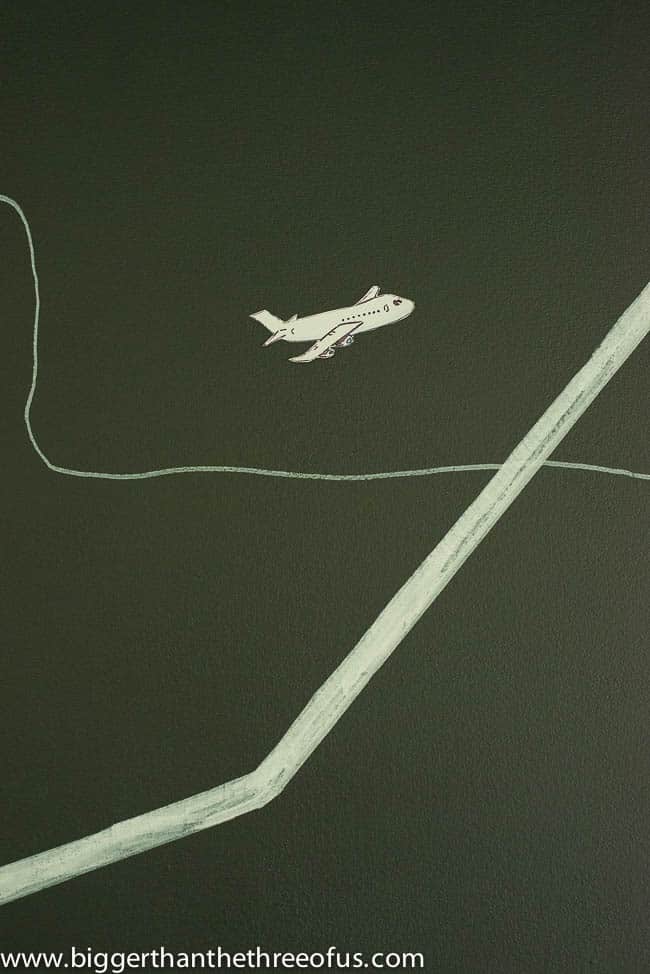
Luke used Sharpie Water-based paint pens to draw the lines of specific roads and lakes off of the projected map. I knew I didn't want it extremely detailed, so he started with the main roads and then added some in from there.
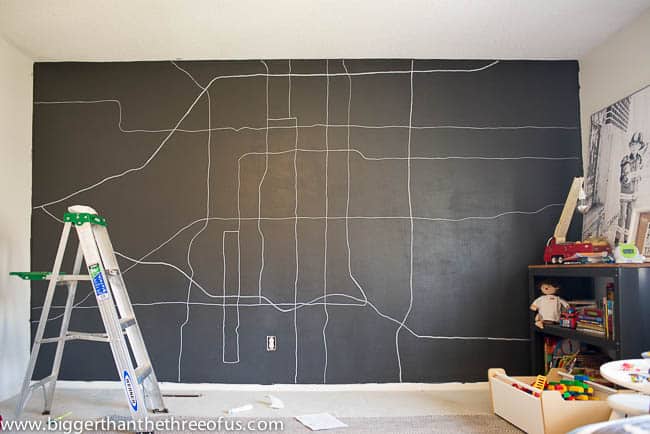
At this point, I was really worried about how the map was looking. In my mind, I expected a grid-like map kinda like subway maps are. On the wall, it was a more organic, wavy map. I hadn't completly thought out how the map would look based off the map that we printed and that was a mistake. So, basically, all I'm saying is that you should really like the map you print for your transparency because that is how the wall will look.
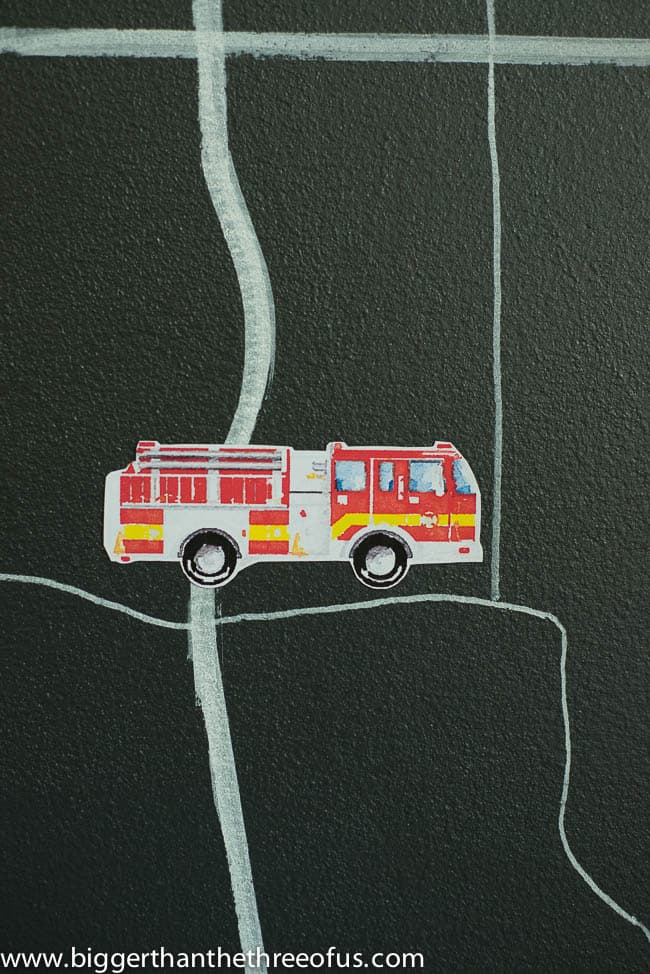
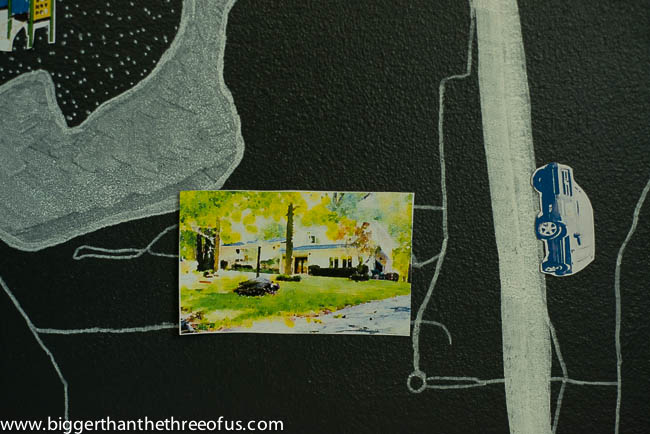
Next, we gathered pictures of all the grandparents houses and clip-art from things that we do around town (book to represent the library, helicopter to represent the hospital helicopter, firetruck, etc).
We brought all the images into the Waterlogue app (you can find my Waterlogue tutorial here) and ran the app on all the images so they had a more cohesive feel.
I saved the new images to the desktop and then opened them all in Photoshop. I arranged them all on a sheet of paper in Photoshop and then printed them off on magnetic paper.
 Once they were printed out, I cut them out to size.
From there, all I had to do was place them on the wall in their correct spots.
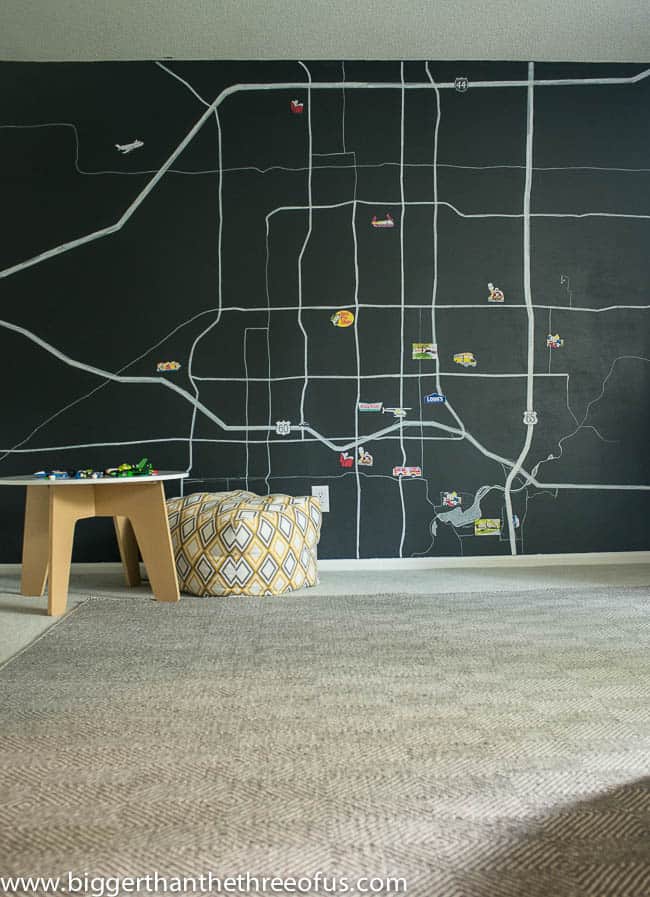
As far as scale goes, they aren't scaled to size. I printed a test sheet out to see what sizing I liked best and just went with what I thought looked good to the eye.
Greyson has requested more of his favorite places be added (specific restaurants, all the parks in town, another jump place, etc.).
I think it's safe to say that he really likes it.
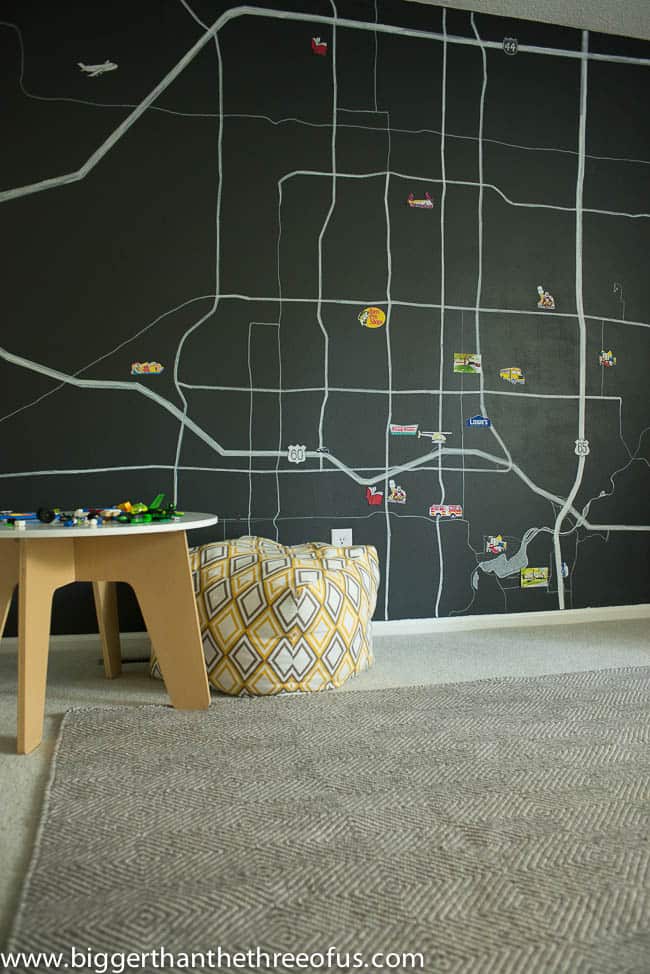
One thing that I really love about it is that I see this map wall lasting in his room for quite awhile. We can either change out the magnets when his favorite things change or get rid of them all together when the time comes. If you take them off, then we are just left with a map of Springfield (where we live) and it looks pretty cool on it's own as well.
Make sure to check out the final Room Reveal!
Linking up to:
Found and Foraged, Hit Me With Your Best Shot, Work It Wednesday, Think and Make Thursday, The Inspiration Gallery, Creativity Unleashed - The Bold Abode, and Remodelaholic.
}

cassie @ primitive & proper
LOVE it! just did my first ever transparency project and had so much fun!
Ashley Mayes
Thanks Cassie! I'm totally hooked on the transparency projects... I need a new one. =)
Kristi
Oh my goodness! Seriously! This has to be THE coolest wall I've ever seen!
Ashley Mayes
Thanks Kristi! Trying to meld his interest with aesthetically pleasing things can be difficult, but fun. Overall, I like how it turned out.
Laura
Wow - that's amazing! I didn't know that magnetic primer was so expensive...yikes! Good to know for future reference. 🙂
Ashley Mayes
Thanks Laura! Yes, it's definitely a bit pricey but really fun to work with.
Charlotte W
LOVE IT! The funny thing is A really wants a black wall in his room - like he was seriously ANGRY when I painted his room and didn't not paint a wall black. We may have to try something list this!
Ashley Mayes
Thanks hilarious! So, now he's going to need a loft and a black wall! lol.
Brynne@TheGatheredHome
This is so awesome Ashley! I love that you made customized magnets - GENIUS!
Ashley Mayes
Thanks Brynne! The customized magnets just added to the fun.
Tara @ Anything & Everything
So cool! Turned out fabulous!
Ashley Mayes
Thanks Tara!
Amy W
This is really fun! I love maps so this is a great way to incorporate it in a kid's room!
Ashley Mayes
Thanks! I love maps as well... can't get enough. =)
Jenny @ Refresh Living
Oh, this is so creative, and perfect for your little guy! I'm always amazed how much of that magnetic paint is needed. I love the idea of custom magnets. Great idea!!
Ashley Mayes
Thanks! The paint definitely didn't go very far, but it was well worth it. =)
nancib
Would love to see pictures of the complete room now including the loft. The magnet wall would be great for a teen's poster wall.
Ashley Mayes
It would be cool for a poster wall! The full reveal will be coming soon! Probably another week or two and I'll be ready.
Sage @ Plaster&Disaster
Love this! I've been working on a map wall of my own, and would have loved to do something like this except my walls are textured paneling. It looks awesome!
Ashley Mayes
Textured paneling is hard! We have textured wallpaper plaster and are at a loss at what to do with it short of completely having the walls redone.
Christi Chambers
So cool Ashley!!! I'm obsessed with maps... maybe I'll make one of these for me haha 🙂
Ashley Mayes
Thanks Christi! We love it. Most of the time when I go in the room, he has my car parked at Andy's. lol.
Tisha Allen
Great Idea!!! My 5-year-old LOVES maps, too!
Ashley Mayes
Thanks!! You should totally do one. =)
Ama
Such a nice a idea for a kids room! Thanks for sharing
Ashley Mayes
Thanks Ama! We love it!
btybtln
Where did you get the overhead projector? So cool!
Ashley Mayes
I got it for $10 off of Craigslist. My friend did tell me that you can sometimes borrow them from a school or library though. Just an idea! Thanks so much!
Ema @ Painters Lewisham
Congratulations for the great idea! This magnetic map is one of the best DIY ideas I've seen for a kid's room. The room looks much better than before!
Ashley Mayes
Thanks so much! We really love it and think it can grow with him.
Vineta @ The Handyman's Daughter
What an adorable idea! I had no idea they made magnetic paint. Now I need to think up a project where I can use it!
Ashley Mayes
Yes! It's so much fuN!