

Learn how to do popcorn ceiling asbestos testing, where to get asbestos test kits, what supplies are needed for mail-in asbestos testing, and more.
During the planning process of our basement remodel, I knew that there was a good chance that we would need asbestos popcorn ceiling removal (also called asbestos abatement). Our house was built in the 70s, which is in the timeframe that asbestos was heavily used in building materials.
The backstory on some of the asbestos dangers and how we knew to test for asbestos are in the blog post, asbestos removal and drywall install. That post also includes details about the asbestos inspection, process of the asbestos popcorn ceiling removal and drywall installation costs.
When we started our kitchen remodel and were testing for asbestos fibers, we hired a technician to take the sample and send it to an asbestos testing lab. This time around, for the basement renovation, we knew we could easily save ourselves money by doing the popcorn ceiling asbestos test ourself.
Everything You Need to Do Popcorn Ceiling Asbestos Testing
Supplies needed to test potential Asbestos popcorn ceiling
* We've bought the Schneider Labs Asbestos Testing Kit on Amazon twice now. It's an all-in-one kit that walks you through how to test a potential asbestos popcorn ceiling (and other surfaces). It includes the cost for the lab fee, the mailer, etc. We've purchased the five day testing kit both times but they do have quicker turnaround kits available at higher price points if you have to have your results sooner.
If you want to read more about the lab that we went with, here's more of Schneider's services.
How to Test for an Asbestos Ceiling (or other surface)
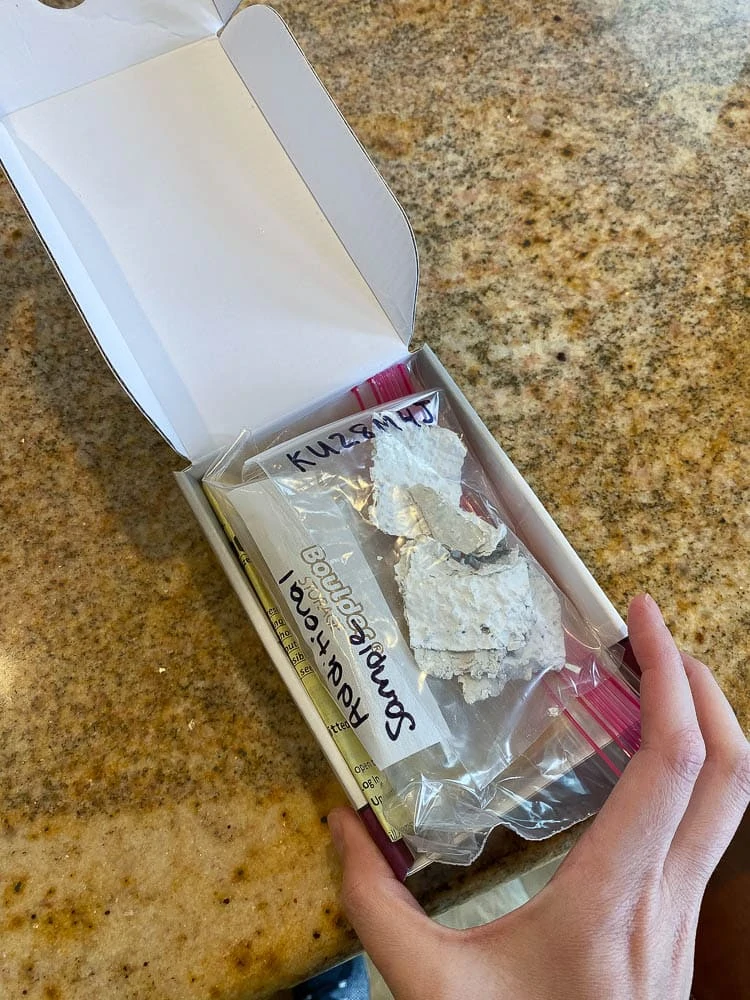
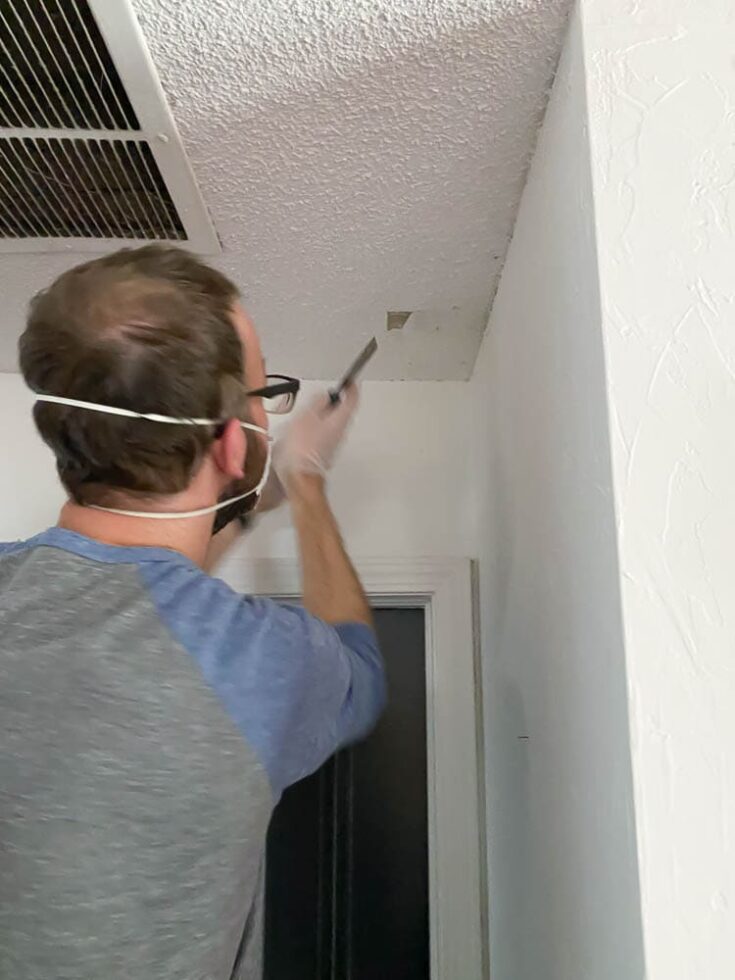
The process of using the asbestos test kit is super simple! Using the directions in your kit, scrape a small section of popcorn ceiling and add it to the enclosed bag.
It's a good idea to test multiple areas (in your house), not just assuming that one small patch is a good enough section.
We wanted to check for asbestos in our ceiling tiles as well. For this, use a utility knife and cut a section of the ceiling tile and place it in a separate bag (you don't want to add multiple samples in the same bag).
Follow the instructions on the asbestos test kit to send in. If you go with Schneider Labs, they will have you create an account on their website. You can track when the kit arrives in their lab and they update results and send you an email when they get the kit processed.

Asbestos Ceiling Testing Results
When you get your report, it will look like this (I've hidden personal information on mine):

As you can see from our report, we were testing our popcorn ceiling for asbestos. 96% Non Fibrous Material was found in the popcorn but 4% Chrysotile asbestos fibers were found.
Chrysotile asbestos is the most common type of asbestos found in popcorn ceilings. The higher the percentage of asbestos found, of course the worse it is, but even a very small percentage isn't good.
With the home asbestos test that we used, you can send in multiple samples for an added price. Each sample will be processed and you'll get a report just like the one above for each one.
Do I have to buy asbestos test kits to test for asbestos?
If you want to do the asbestos testing without a kit, you can definitely do it that way, too. Google, Asbestos labs, and there are quite a few of them that specifically tell you what to do and how to send your samples in. This will run you about $40 for the first sample and $25 for the next few. I feel like the kit is worth it but just know that you can go directly to the labs themselves.
When did they stop using asbestos in popcorn ceilings?
If your house was built in 1978 or later (in the U.S.), it's very likely that you don't have a popcorn ceiling with asbestos. It's always good to check but around 1978, asbestos was banned in a lot of locations.
Like I mentioned earlier, we've gone through this process twice now and have done it two different ways. Asbestos abatement is the next step after finding out that you have asbestos. It's expensive and can be scary and I always think that, with those type of projects, the more information you have... the better. So, if you want more information, definitely check out asbestos removal and drywall installation.
Asbestos Testing: How to Test for Popcorn Ceiling Asbestos
Learn how to do popcorn ceiling asbestos testing, where to get asbestos test kits, what supplies are needed for mail-in asbestos testing, and more.
Materials
- Asbestos Test Kit
Tools
- Putty Knife
- Mask
Instructions
- Read directions in your kit, first.
- Using putty knife, scrape a small section of popcorn ceiling.
- Add to enclosed kit bag. Label.
- Following the same instructions, repeat process in a few other areas of your home.
- Follow instructions on your kit to mail in.
- Create an online account.
- Mail kit in.
- Log in and get results in five business days.
Notes
We’ve bought the Schneider Labs Asbestos Testing Kit on Amazon twice now. It’s an all-in-one kit that walks you through how to test a potential asbestos popcorn ceiling (and other surfaces). It includes the cost for the lab fee, the mailer, etc. We’ve purchased the five day testing kit both times but they do have quicker turnaround kits available at higher price points if you have to have your results sooner.
FAQ'S
DO I HAVE TO BUY ASBESTOS TEST KITS TO TEST FOR ASBESTOS?
If you want to do the asbestos testing without a kit, you can definitely do it that way too. Google "asbestos labs" and there are quite a few of them that specifically tell you what to do and how to send your samples in. This will run you about $40 for the first sample and $25 for the next few. I feel like the kit is worth it but just know that you can go directly to the labs themselves.
WHEN DID THEY STOP USING ASBESTOS IN POPCORN CEILINGS?
If your house was built in 1978 or later, it’s very likely that you don’t have don’t have a popcorn ceiling with asbestos. It’s always good to check but around 1978, asbestos was banned in a lot of locations.
Pin for later: Popcorn Ceiling Asbestos Testing


Leave a Reply