

I've struggled this week with being in a rut... staying in a rut... living in a rut. This house renovation or lack-of-renovation is totally getting me down. The hallway bathroom (yep, the one we started over a year ago) still doesn't have painted cabinets. We've made progress, but they aren't done and it's no one's fault; it's just life. But, that bathroom is holding other BIGGER things from being able to be picked out or installed. So, I'm just down. Spring Break was also this week, which was nice but also more difficult. Greyson and I are both very schedule-oriented. So, to have an unusual week was different.
So, excuse the lack of exciting, in-depth, fun posts. Crafting-type projects have been a front runner this week. It's not like I have anything against crafting projects, but we have an old house so I would rather have renovation type projects. But, crafting projects are projects that can be done in an hour or two and I can feel satisfaction having completed them. So, that's what I've been focusing on lately.
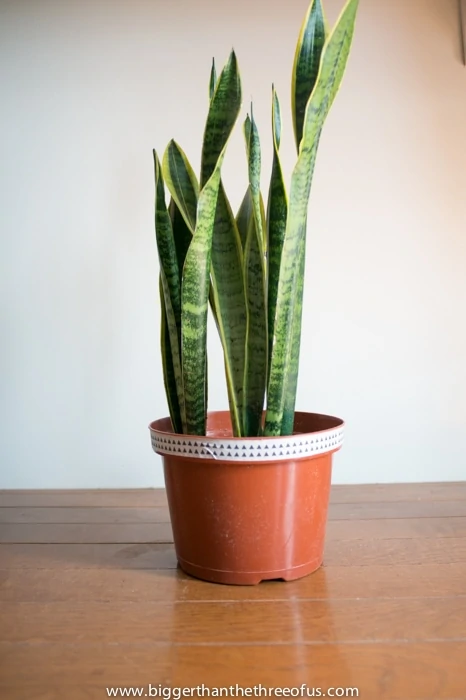
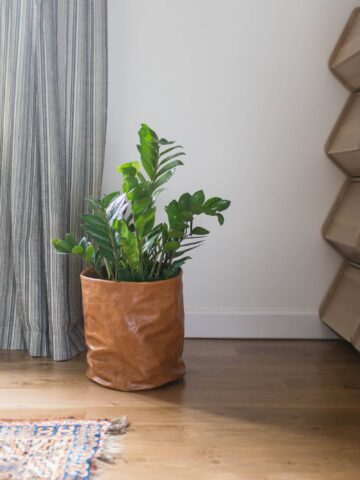
Do you remember when I posted some Valentine's Day Ideas including a few different types of plants? Well, I didn't get one for V-day, but Luke and I picked up the Snake Plant (Sansevieria trifasciata) a few nights ago. Home Depot had two different sizes, one for like $12 and then other for $17. We grabbed the smaller one and took it home.
It came in this maroon-rust colored plastic pot; which I updated by adding some tape around the edge.
I left it like that for a few days and then decided that I didn't like it. So, I decided to just buy a new pot and replant it, but I seriously have been all over town (Gordman's, Target, Lowes, Home Depot, Marshalls, Ross, etc) and have not found a pot the right color, size and price. You wouldn't think it would be that hard. So, I kept looking at the rust colored pot and realized that the color didn't go terribly in our room. I kinda liked it but I was seeing too much of the rust color for the space. Then, it clicked to try covering more of the pot with something.
I saved the leftover bamboo sticks from the the DIY Bamboo Shades. I got those out and started randomly cutting them. I cut them in bunches with scissors anywhere from 2.5-5 inches.
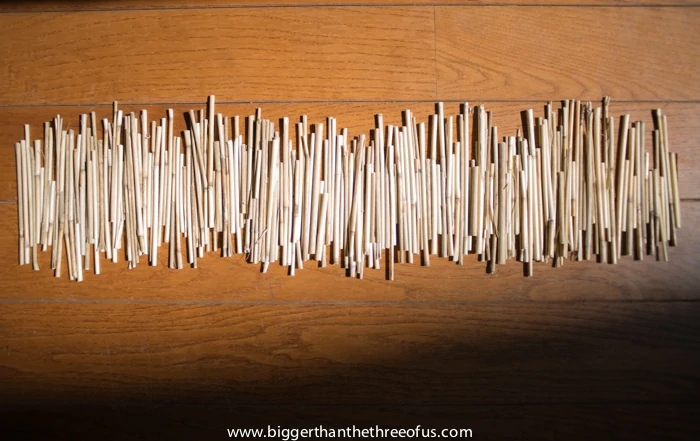
Then, I put some hot glue on the side of the pot and grabbed a handful and stuck them on. A few fell off and that was ok, because I wanted it to look random. I had originally thought it would be fun to make it wave-looking, but instead I just opted for a more organic (think - easier) feel.
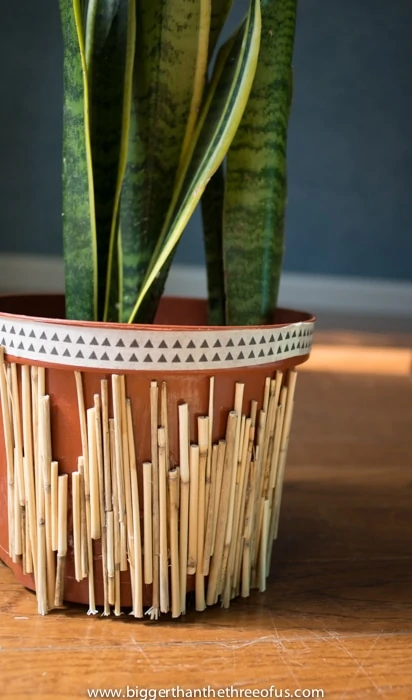
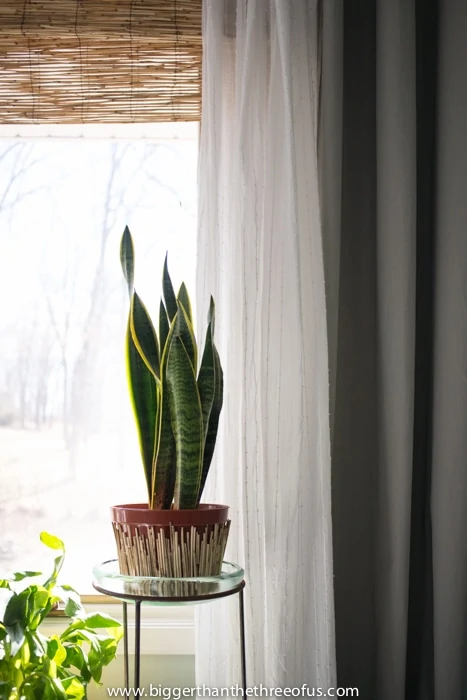
In all, this was super simple and could be done using toothpicks, bamboo skewers, sticks, etc. I think adding the texture to the cheap pot made it more visually interesting and, for me, it was a way to cover up some of the rust color to match our room. For thirty minutes of my time and $0 cost, I'm really loving my new pot makeover (especially after I peeled the tape off the top).
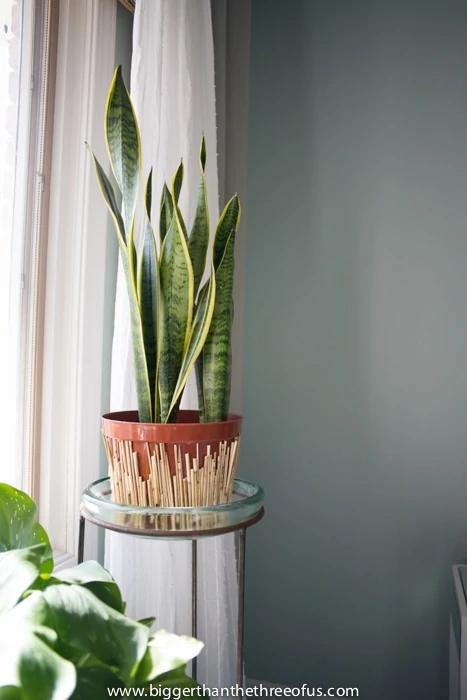
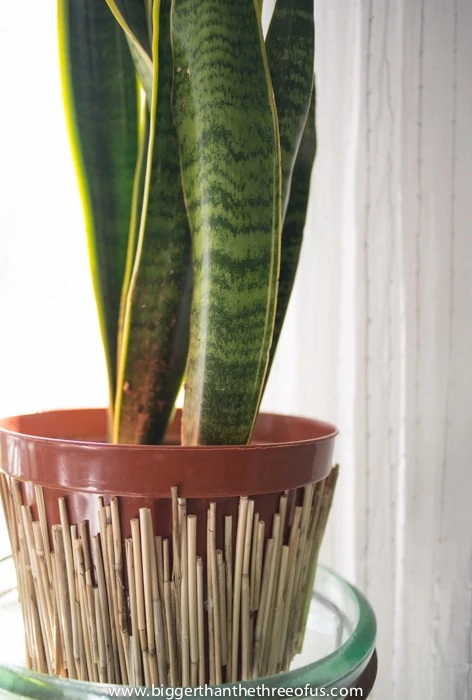
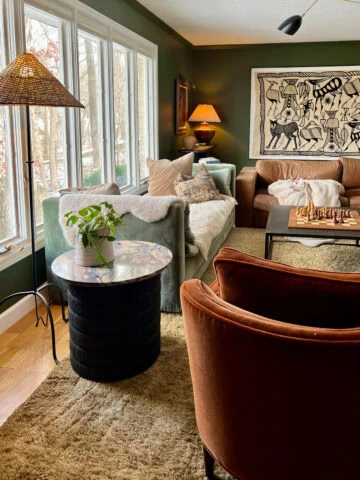
I think the bamboo on the pot going vertically looks really fun paired with the horizontal bamboo shades.
Oh, and can you believe I scored this 4ft plant stand at Habitat Restore this week for only $10? It's one of my favorite finds to date. =)
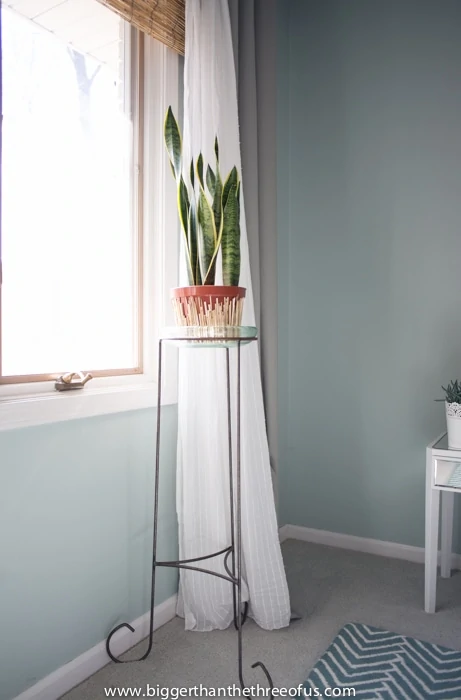
And on to good news, I'm closing in on the finish line in our bedroom. I'm loving how it's coming along and, seriously, just giving myself a kick in the rear to finish off that last 10-20% has made a huge impact. Luke and I have caught ourselves spending more and more time in there because we just love how calming it feels. So, more updates are coming with a room reveal soon!
Linking up to:
C.R.A.F.T., Rain on a Tin Roof, Project Inspire(d), The Makers, The Winthrop Chronicles, Home Stories A-Z, Work It Wednesday, Making Home Base, Fry Sauce and Grits, Liz Marie Blog, The Inspiration Gallery, Creativity Unleashed - The Bold Abode, Remodelaholic, Whipperberry, Tatertots and Jello, Spotlight Saturday, Link It or Lump It and Frugal Crafty Blog Hop.
}
Charlotte
Loving that plant stand!! I'm going to have to go by our Habitat Restore - I haven't been there in years. Just some Plant FYI - you should double check how your plant is "planted" in his little store pot, sometimes they get pretty root bound or may not have good drainage.
Ashley Mayes
I try to hit ours once a month or so. It's either a hit or complete miss... but I kinda like that. Thanks for the heads up on the plant. What should I look for by being root bound?
Charlotte
It will be really obvious if it's root bound - if you gently lift the plant out of the pot the roots will be snaked all around the edges of the dirt or there will be a big mass of roots at the bottom of the dirt. If it is root bound it just means it needs a bigger pot. If you have to re-plant it unravel any bound up roots and stick it in the dirt.
Ashley Mayes
Ok... that makes sense. Thanks!
Emily
I came across your blog on the young house love forums. I am in the same boat as you with being in a design stand still. I get antsy not doing things, even though I think I will enjoy being rebellious and doing nothing. But these little projects give great ideas. I am going to keep this in my mind for when spring hits and I want to update my outdoor area. So excited I found your blog!
Ashley Mayes
It's nice to know that I'm not the only one who enjoys little projects! Happy to have you here from YHL. Thanks Emily!
Sherry
That is very cute. Makes me think of my favorite tropical resort.
Sherry
Ashley Mayes
thanks Sherry!
Julia@Cuckoo4Design
Great idea and update! I just bought a snake plant yesterday and need to find it a pot!
Ashley Mayes
Good luck! I think I may be too cheap that that's my problem with the whole pot thing. =)
Lauren @ The Thinking Closet
Hey Ashley! Thanks so much for your sweet comment on my blog because it afforded me the opportunity to pop over here and visit you in your neck of the woods. (Your blog title is captivating by the way.) I totally can understand the frustration of feeling like you're stuck in a rut. I have a few big projects that I NEED to do but just keep putting off for simpler craft projects. I think I'm just bracing myself for how involved they will be. But I have to say, your "simple craft" is actually quite brilliant! There's a lot of creativity in it, so don't get too down on yourself. You'll get back in the renovation game before you know it! Hugs.
Ashley Mayes
Thanks Lauren! I love the positive vibe you are throwing my way. =)
Emily
This turned out so cute! What a great idea!
We would love for you to come link up Mondays 8:00am EST at Your Designs This Time. http://www.elizabethjoandesigns.com.
Ashley Mayes
Thanks! I'll come by to link up.
Alexis @ Persia Lou
I've been feeling the rut lately too. I just haven't had the time to get to the larger projects, but sometimes I enjoy the little things more anyway. Your pot update looks great! And I love that plant. I keep thinking I need to get some more plants in our home. Thanks so much for linking up at The Makers! 🙂
Ashley Mayes
Thanks! Apparently that particular plant (the snake one) is super hard to kill. We'll see. =)
Gail
Clever, effective, simple ...all good
Ashley Mayes
Thanks Gail!
Adrienne
Super cute idea! Thanks for linking up to the Be. You. Tiful link party!
Ashley Mayes
Thanks so much Adrienne! Have a great weekend.