I'm finally sharing the details on Painting an Interior Brick Room. Over the summer, we worked on the sunroom and basically got it to a blank slate. The biggest part of that was cleaning, prepping and painting the sunroom. I'm not a patient person so I knew I'd never commit to painting a space as large as ours unless we were able to speed up the process with a paint gun. Some people thought I was crazy to power wash the INSIDE and OUTSIDE of our sunroom and then paint a sunroom with a paint gun... but it worked like a charm!
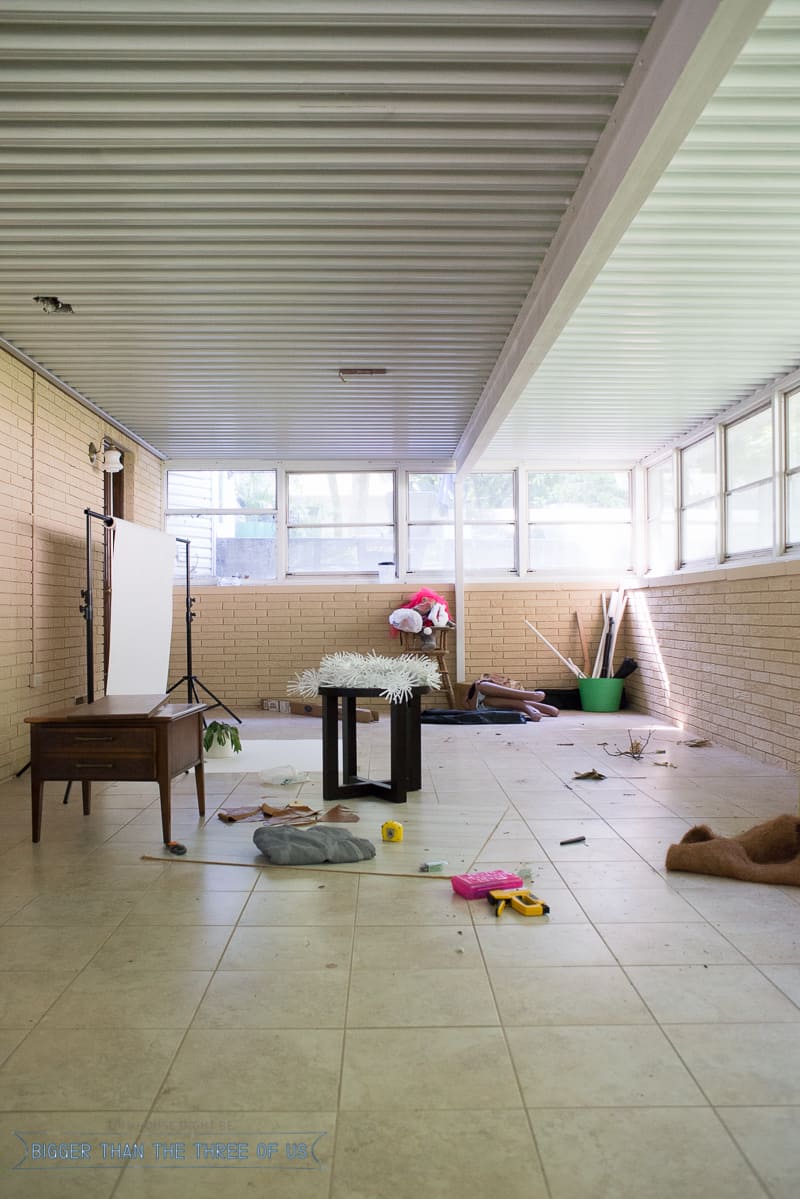
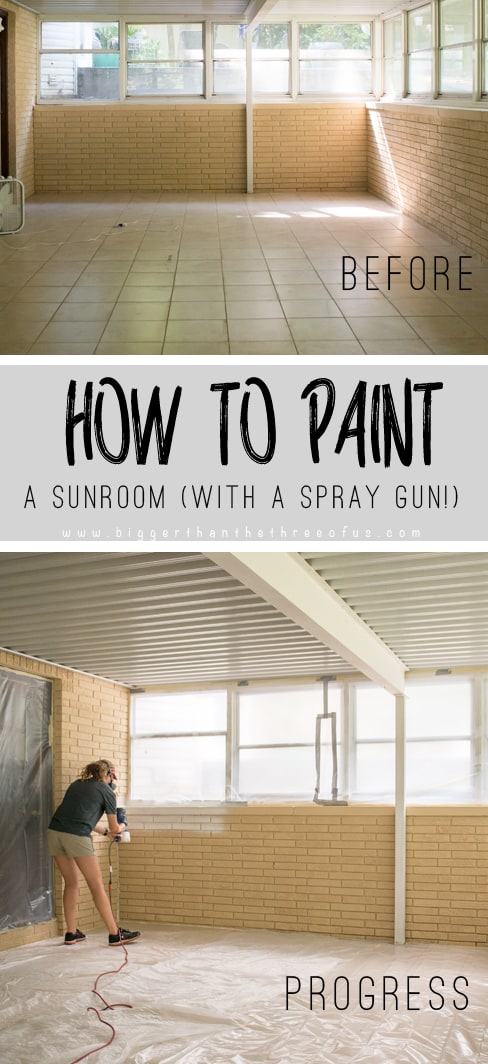
BEFORE:
I transformed this space during the $100 challenge. If you want to read all about the posts during that challenge, see them here:
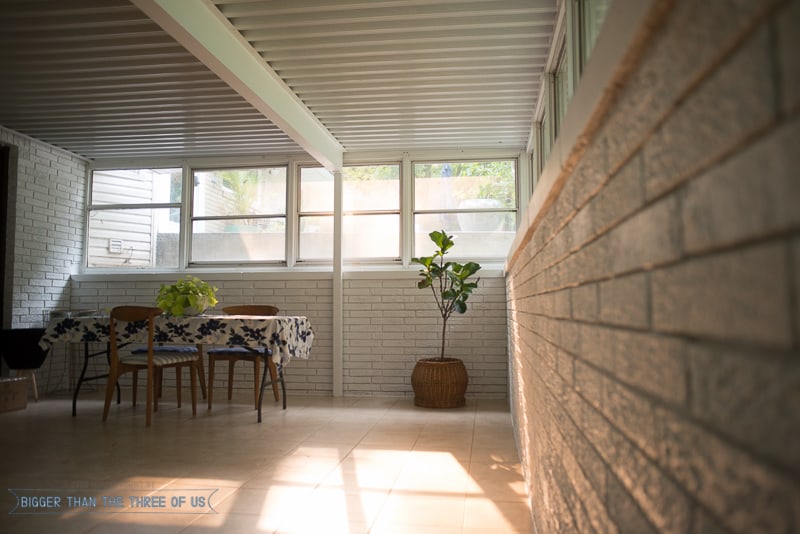
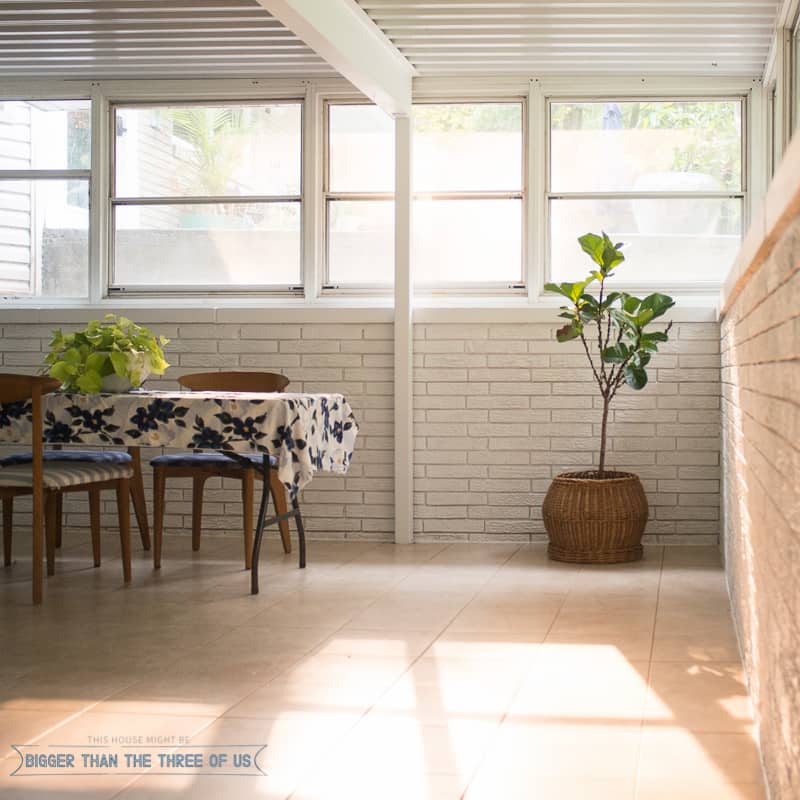
AFTER:
Taking the space from a yellow, dingy brick to bright white has been amazing. You might have to take my word for it (or watch the video at the end) but the difference in the two colors is pretty extreme. Ready to get on to the project?
AFFILIATE LINKS BELOW. AS ALWAYS, CLICKING ON A LINK DOESN’T COST YOU ANYTHING! I MAKE A SMALL PERCENTAGE BASED ON WHAT YOU BUY AND IT’S HOW I CONTINUE TO RUN THIS BLOG. THANKS FOR SUPPORTING THIS BLOG. CLICK TO READ MY DISCLOSURE POLICY.
Supply List for How To Paint a Sunroom
- Power Washer (this is the one we have and love)
- Paint Sprayer (we have this one and it's small but mighty)
- Caulk
- Caulk Gun
- Caulk Saver (otherwise known as "lil pecker" ... seriously!)
- Plastic (LOTS)
- Masking Tape
- Paint
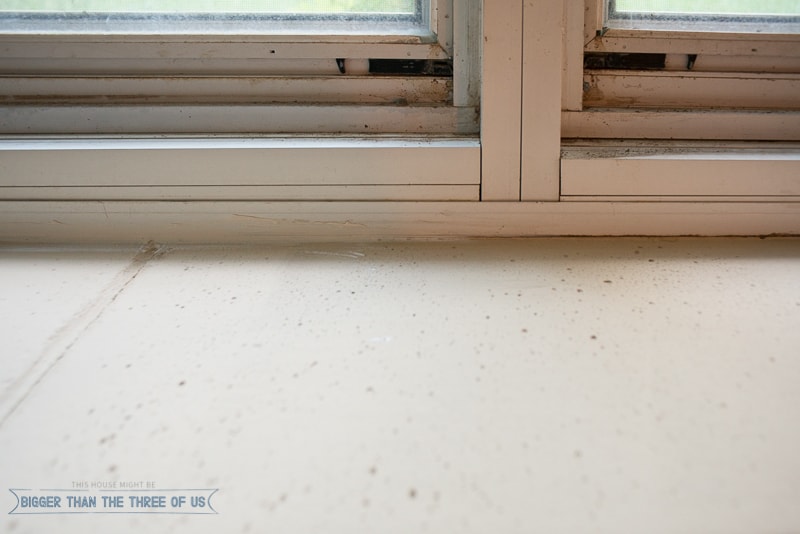
The absolute first thing that we did was to clean out the space. It had accumulated random stuff, as most rooms that sit unused do. After we did that, we caulked all the windows, corners and floors. We had been having quite the bug problem in there so I knew if I was going to use this space daily... the bugs would not be able to be a problem.
Of course, I underestimated how much caulk I would need and had to run to the store a few times. I ended up using four caulking containers.
See the before/after of caulk below (left side with caulk and right side without caulk).
Eventually, replacing all the windows will be done but we wanted to be sure that this space was going to be used before we invested in that.
After the caulking dried, we covered all the electrical outlets with electrical tape and then covered those with plastic. We also turned the power off (at the breaker) in the sunroom. We took down the lights and covered the wires with plastic as well as covering the vents.
Next, I started power washing. We weren't sure how it would go but it went well. Well, other than the fact that I started inside and then once I got to the outside, realized that the windows are so crappy that when I sprayed the windows, dirt came back in on the inside. That was a bit annoying for sure.
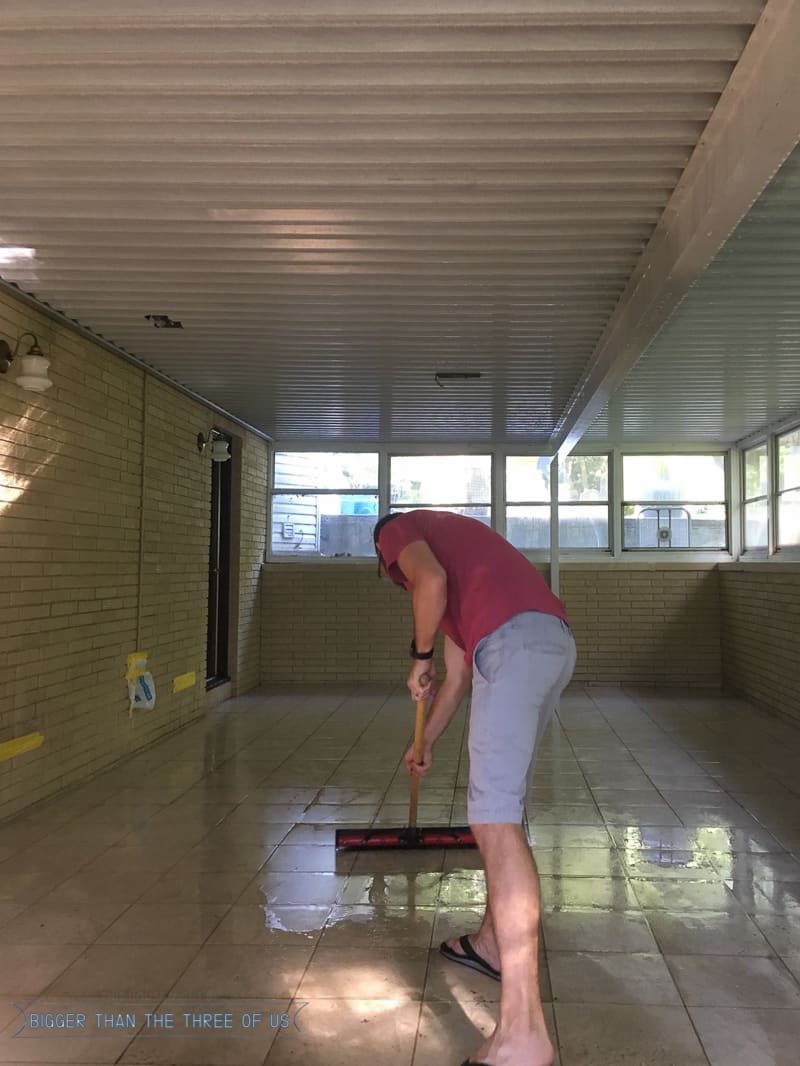
Basically for power washing the inside, I used a lighter flow and just went for it. Luke came behind me and squeegeed the water out. There was a good amount of water, but to be honest, it wasn't crazy. With a tile floor and a space like this, we feel like this was a huge win.
You can watch some of the power washing on the video below; but, for the outside, I just power washed it like normal.
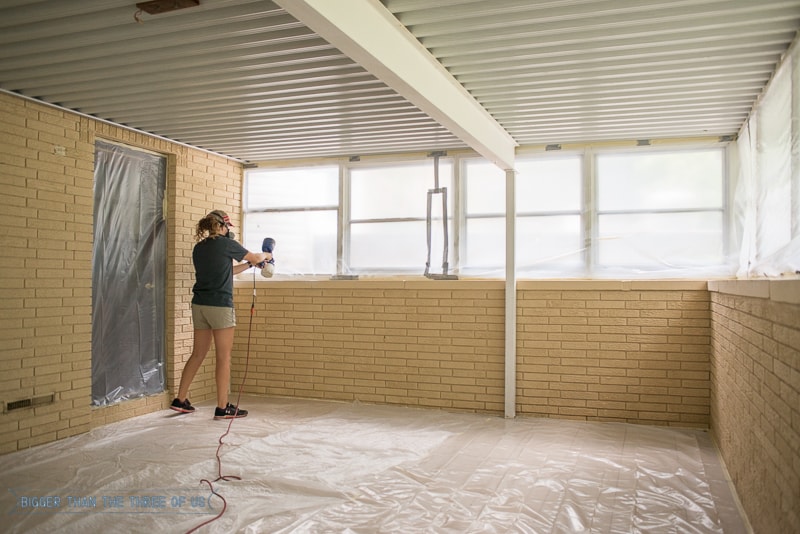
By far, the most intensive part of this project was taping plastic down. We covered the doors (all three of them), all the windows and the floor. On the floor, we were extra careful to tape down all seems and where each piece met up with the brick.
After finishing that, I was off to painting. I used Benjamin Moore Ultra Spec paint and ran it through our little spray gun. I'll admit that I made it through half the room and then my arm was about to fall off so Luke took over.
The room needed two coats so we each did parts of both. I'd definitely recommend spraying the paint in one direction and then the second coat, twisting the nozzle to have the spray pattern spray in a different direction. This helps a ton with coverage.
See more on the video!
My friend, Cathy, just did an amazing post on everything you want to know about painting with a sprayer, so definitely check that out if you want more information!
Now, we are ready for the mini split and some safety upgrades. After that, boom... it's going to be a fun space to work in (and decorate)!
PIN FOR LATER: How to Paint a Sunroom
If you loved How to Paint a Sunroom, then you will love:
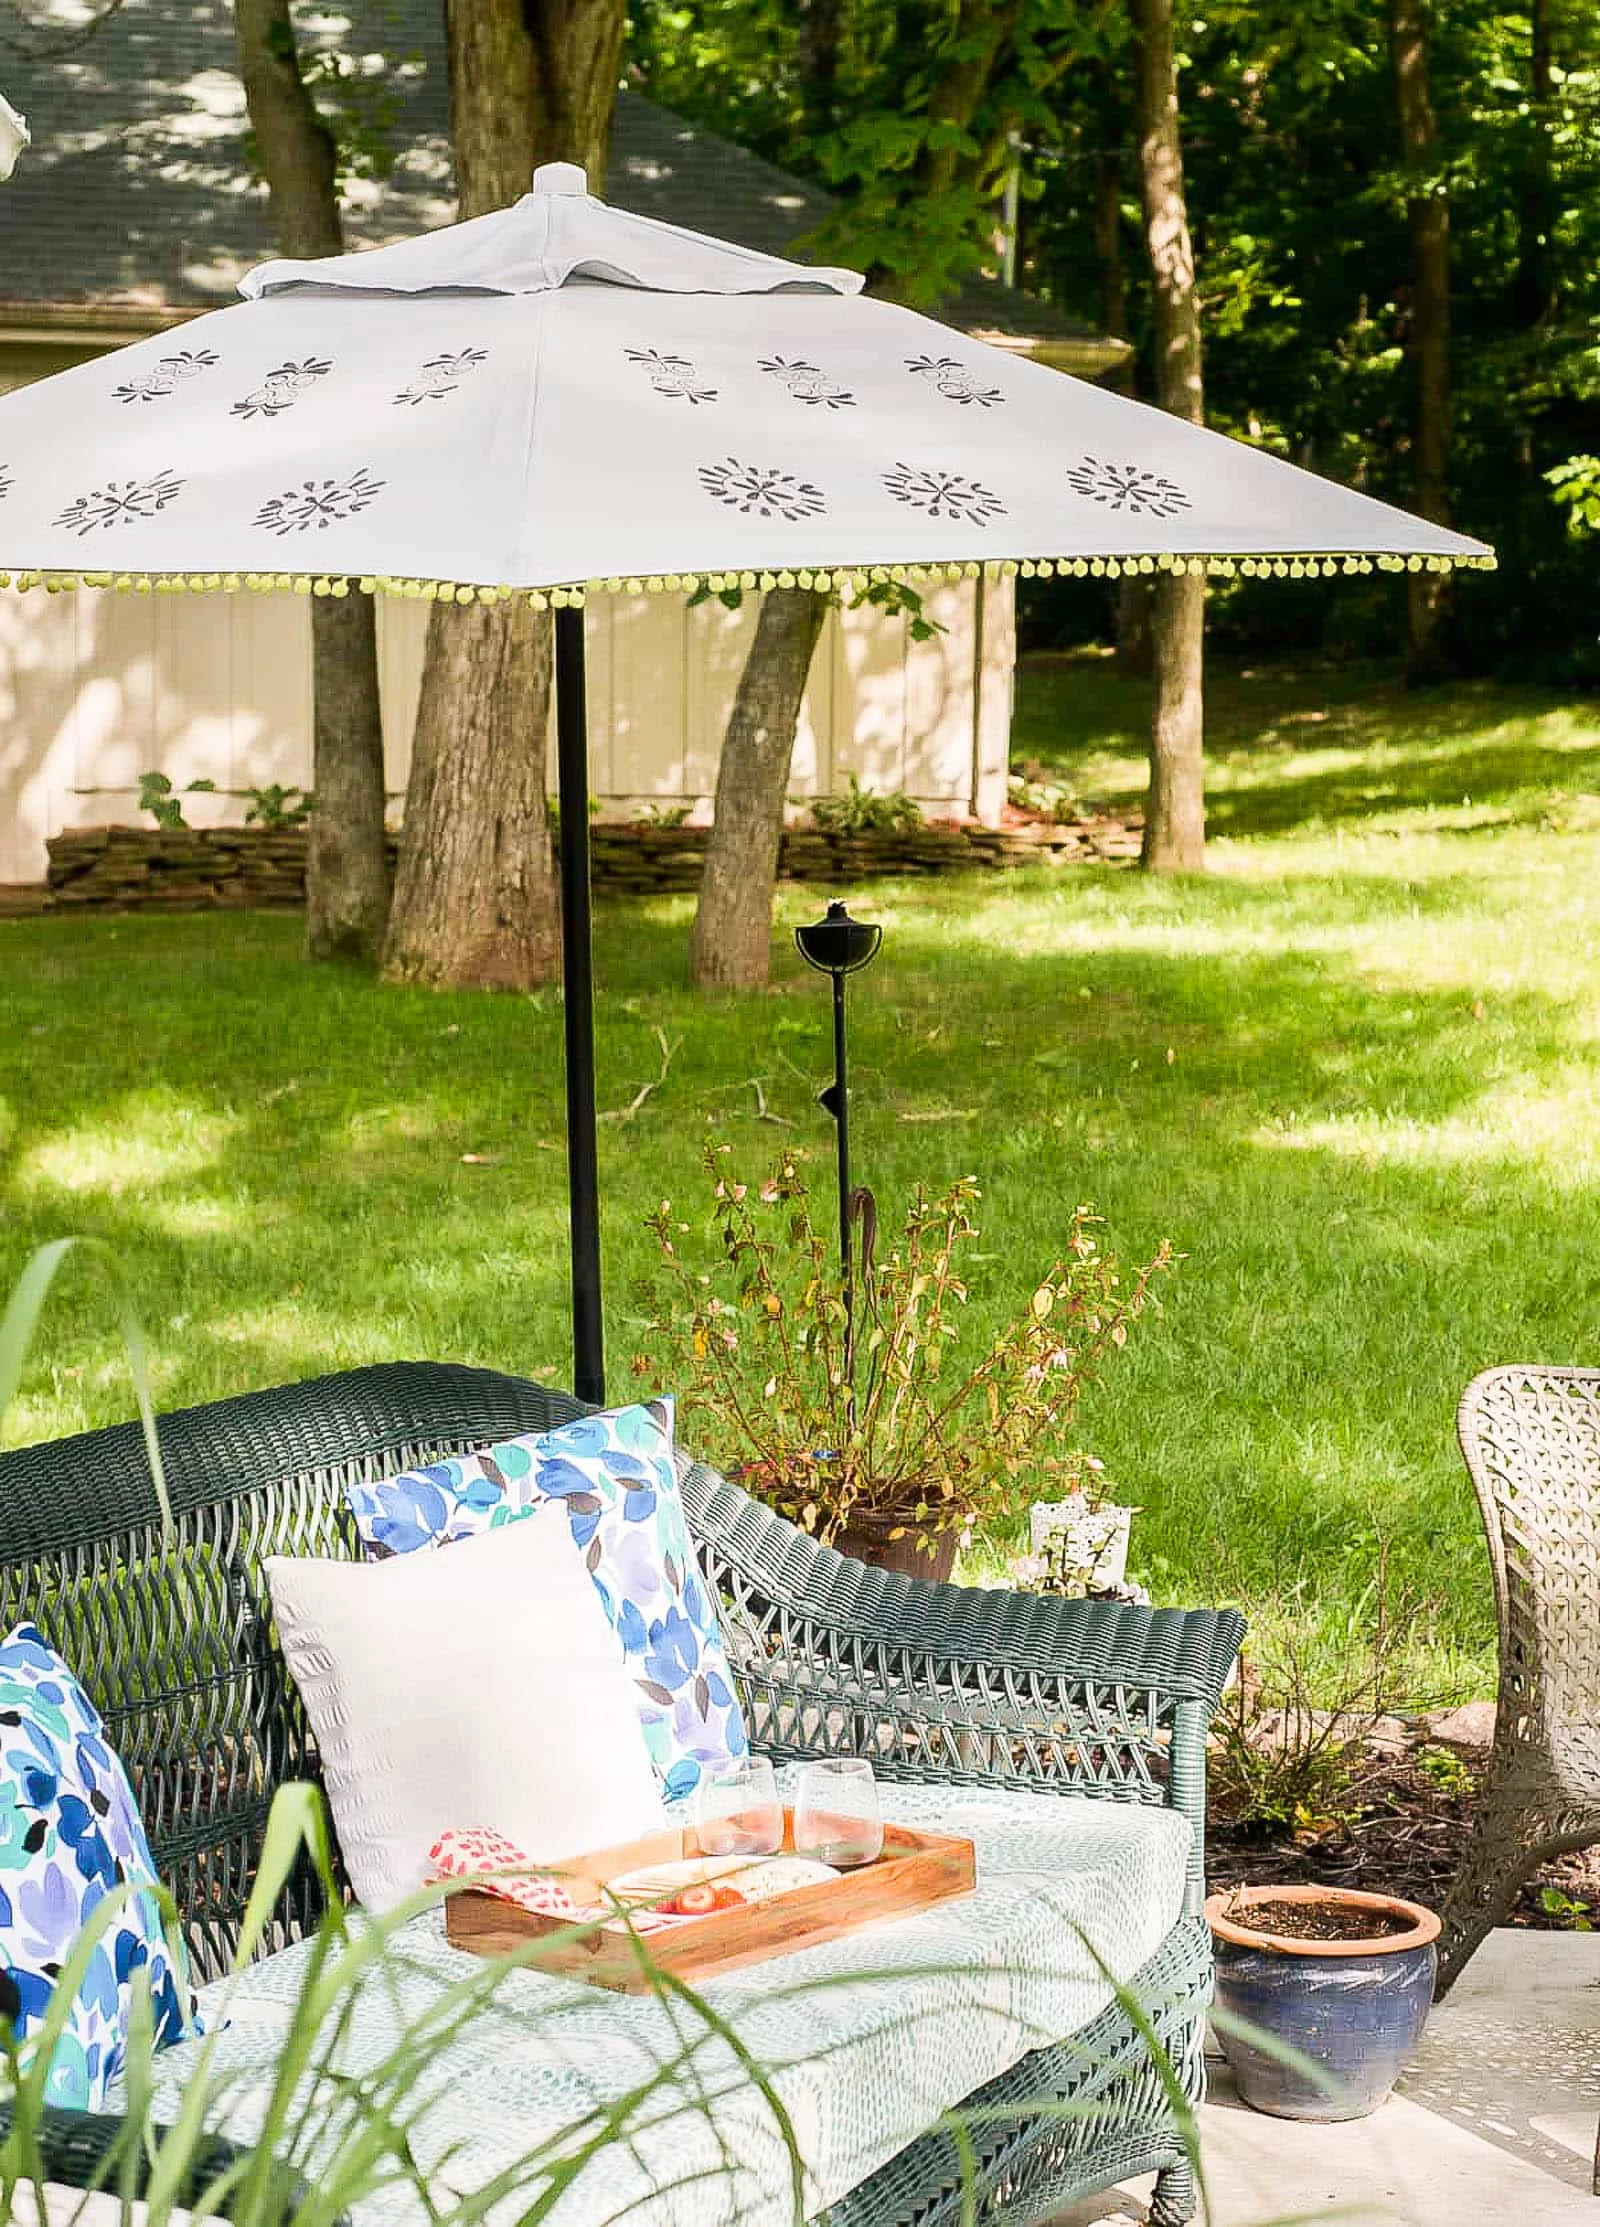
Patio Umbrella Makeover using a paint sprayer!




Cassie Bustamante
we have a big loft above our garage and i dream of spraying it all white inside one day!!! or i dream of you coming and doing it for me... 😉
Ashley Mayes
lol! It was a big job but not a bad one. That being said, there were two of us working together. I feel like I'm missing out that I haven't seen this loft that you are talking about.
Julia@Cuckoo4Design
Wow so much better than before. I love my sprayer too. It really safes time and makes the job so much easier.
Staci Jo
What color paint did you use?! My friend really loves this and I’m painting her porch off of this theme!
Thanks!
Staci Jo
Ashley Mayes
Ultra white by Valspar.