

Learn about basement flooring options and how and why we installed Rigid Core Luxury Vinyl.
When shopping for waterproof basement flooring, I looked at many different options of vinyl planks and ordered a few different vinyl flooring samples. Ultimately, I decided to go with Armstrong Rigid Core LVP and I'm so happy with my choice.
Today, I'm sharing about the luxury vinyl plank installation (we did it ourselves!), more details about the basement floor, why we chose it, color, and more.
Choosing Basement Flooring
A must-have is waterproof basement flooring
As I started shopping for the basement floor, I knew I wanted to pick a product that would be waterproof. If you have a basement then you know that water can sometimes be an issue. We took steps to help insure that we didn't run into problems in our basement but it's always better to play it safe.
Our Must-Have's in flooring for basement
- Waterproof Flooring
- Durable Flooring
- Wood Look Flooring (to match upstairs)
Stained or painted concrete as an option
If we wanted the cheapest way to do the basement flooring, it probably would have been to stain or paint the concrete floor that was already there. My mom did a stain treatment in her basement at her previous house and it looked pretty nice. I wanted a wood-look flooring in my space to keep up my house style flow.
Since we had a concrete basement floor, we had almost any option we wanted for the floors. I pretty quickly keyed in on luxury vinyl planks as the right material for our basement floors.
What are luxury vinyl planks?
LVP is a waterproof (or water resistant) vinyl flooring that comes in planks that resembles wood floors.
Order samples of vinyl basement flooring to look and feel the differences!
After getting vinyl flooring samples, I really loved the Armstrong Vantage Rigid Core Luxury Vinyl. It had the underlayment attached and it was a click-lock installation, which were both things that we were looking at.
The sample I ordered also resembled our white oak flooring that we have upstairs. It felt like a cohesive, durable flooring choice for the basement.
I looked at a few rigid core flooring reviews and felt pretty confident that the Armstrong Vantage was the right product. But, like I mentioned, we did order quite a few samples of LVP. Some of the samples looked more like plastic and others, just didn't at all resemble wood. I think there's a pretty big difference in quality (and price) for LVP, so do your research. =)
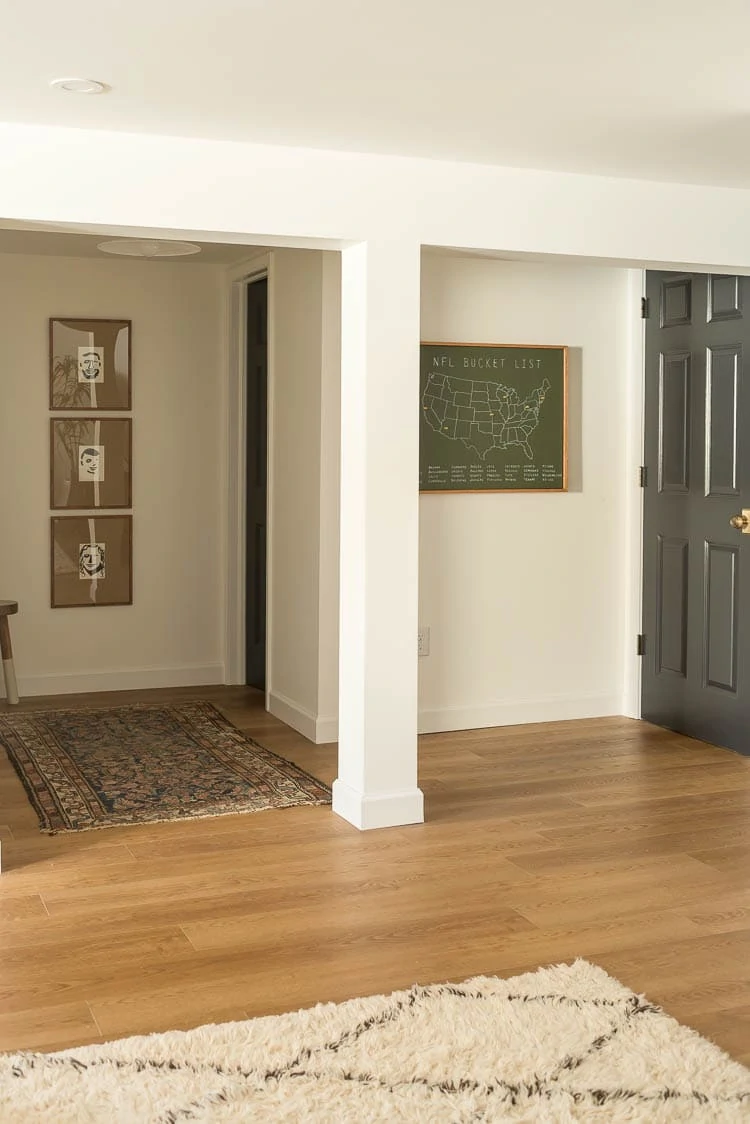
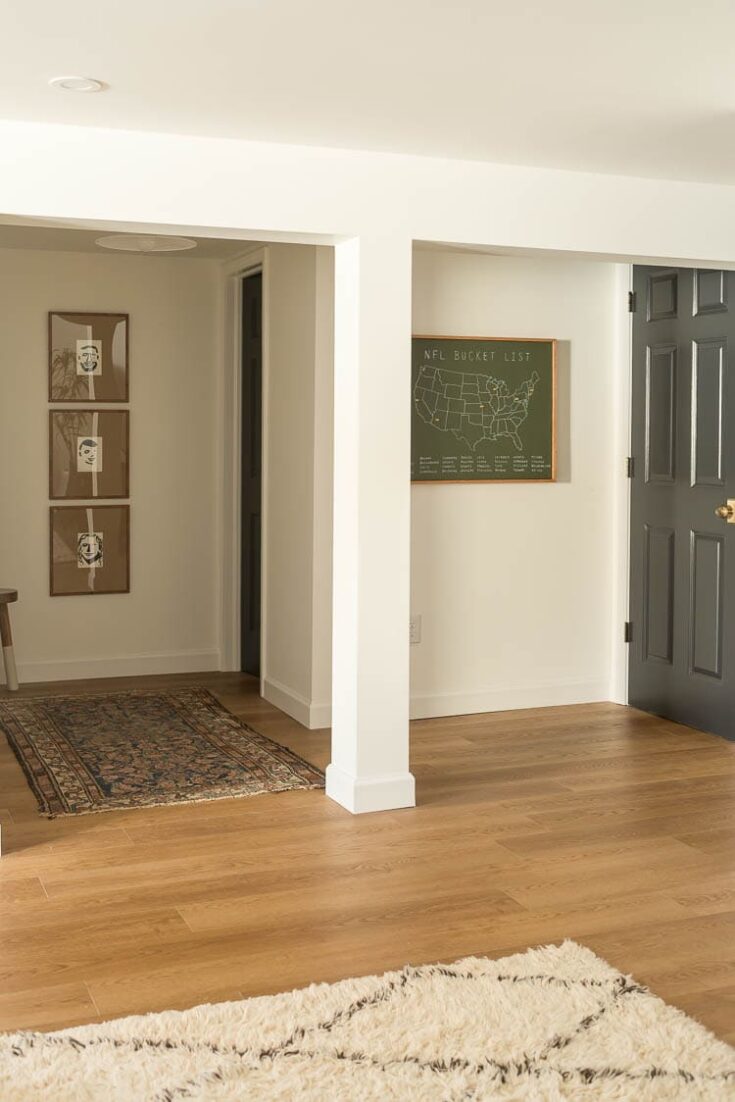
We went ahead and placed a big order for the LVP in the Summerfield Oak Sandcastle color. It had a nice variation of wood tones.
Once we got the flooring, we followed the manufacturer's suggestion for temperature and then started to figure out how to install the the vinyl planks. The click lock vinyl plank install took a few tries (or an hour or so!) to get in the groove and understand how it worked.
I recorded quite a few videos of the process for installing the Rigid Core luxury vinyl, so thought I'd share the how-to with you to help you get past any of the tricky parts we ran in to.
How to Install LVP
- Prep the floors by removing carpet, tack strips, baseboard and glue.
- To remove glue: a multi tool with a soft scraper works great.
- After sweeping the floors, draw a chalk line across the main sight line of the space.
- To keep everything square, you can draw another chalk line in the opposite direction.
- Pull LVP out of multiple boxes to make sure you are duplicating board variations.
- Lay out a few rows to find a pattern that works.
- Using a rubber mallet and a wood block, tile the LVP into the groove and tap it in.
- Double-check your work to make sure you aren't repeating the same tone/variation of board next to each other.
- Use a miter saw to cut your boards when needed.
- For tricky cuts (see video for more), use a square and jig saw. You might have to work backwards with tricky cuts to install them first so they don't break. Again, see video for more information.
- Use a pull bar to install planks on the wall side.
- Mop and admire your work!
I hope it was helpful to see the process of the luxury vinyl plank installation. We got faster at the install as we went along but this was a big job. Definitely doable, but a big job, nonetheless.
Review of our basement flooring
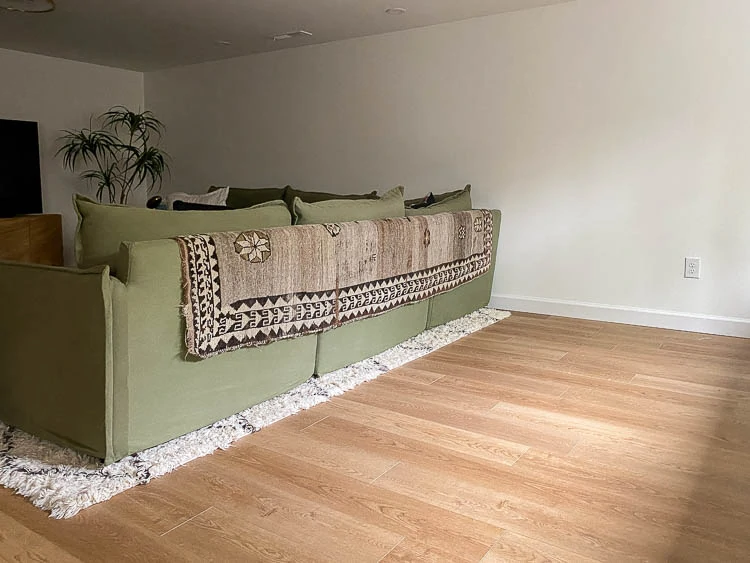
We've now had the rigid core luxury vinyl flooring installed for about two years now and it's been great! It looks great in person and when people come over, we get complimented on it. There's not a visible pattern or flow to the floor, which was something that I was really particular about.
We've also had some water seepage on the floor and it's been easy to clean-up with no lasting issues. We are definitely pleased we decided to go with the basement floor option that we went with.
Play catch-up on the basement renovation with these posts:
- Egress Windows
- Basement Drywall Cost and Installation
- Tips for Painting Drywall
- How to Soundproof a Basement
- Secret Door Installation
Installing our basement floor
Materials
- Basement flooring
Tools
- Gloves
- Multi-tool with soft scraper
- Chalk line
- Broom
- Rubber mallet
- Wood block
- Miter saw
- Square
- Jig saw
- Pull bar
- Straight edge
- Mop
Instructions
- Prep the floors by removing carpet, tack strips, baseboard and glue.
- To remove glue: a multi tool with a soft scraper works great.
- After sweeping the floors, draw a chalk line across the main sight line of the space.
- To keep everything square, you can draw another chalk line in the opposite direction.
- Pull LVP out of multiple boxes to make sure you are duplicating board variations.
- Lay out a few rows to find a pattern that works.
- Using a rubber mallet and a wood block, tile the LVP into the groove and tap it in.
- Double-check your work to make sure you aren't repeating the same tone/variation of board next to each other.
- Use a miter saw to cut your boards when needed.
- For tricky cuts (see video for more), use a square and jig saw. You might have to work backwards with tricky cuts to install them first so they don't break. Again, see video for more information.
- Use a pull bar to install planks on the wall side.
- Mop and admire your work!


Jessica | House Homemade
It looks so great! I’m so happy to see this just a couple weeks before we get ours in.
Ashley Mayes
Thanks Jessica! I'm excited to see how yours turns out.
Marla
Your floor looks beautiful and you make the process look relatively easy . Thank you for sharing. I am contemplating using the exact flooring after many months of searching. We are installing 2000 square feet on our main floor. Are you still happy with the floor? We have pets so I am concerned about the scratch factor, do you have any issues with it scratching easily?
Ashley Mayes
Hi Marla,
We are happy with it but we don't have big pets. We only have a cat. Have you ordered a sample and tried to scrape it to see how it would do? I would say as far as general wear and tear... we are pretty careful with moving furniture and only have one kiddo. So, I don't feel like I can speak to that, yet. So far, we are super happy with it but I wanted to share more about how we live with them in our space.