

Happy Monday guys! Did the weekend go fast for you? It did for me. The weeks since school started have been so different. It's kinda crazy. I've been telling Luke that I'm going to have to get better with time management. I feel like there's a thousand things on my to-do list everyday yet I'm only accomplishing a few of them. Do you ever feel like this? I hope I'm not the only crazy one out there. =) I am happy to report that one of the few things on my to-do list last week was to finish Greyson's room and photograph it. I'm happy to say that I accomplished it. Wahoo. One thing down! Ha. So today, I'm sharing Greyson's Toddler Room Before and Progress. On Wednesday, I will be back with his "Big Boy" room reveal. Spoiler alert - it's pretty awesome!
Enough yapping, let's get to it. Fair warning though, some of these pictures are OLD (meaning poor quality).
Before:
Feb 2013
The day before we moved in, his room was mauve and had this amazing floral border.
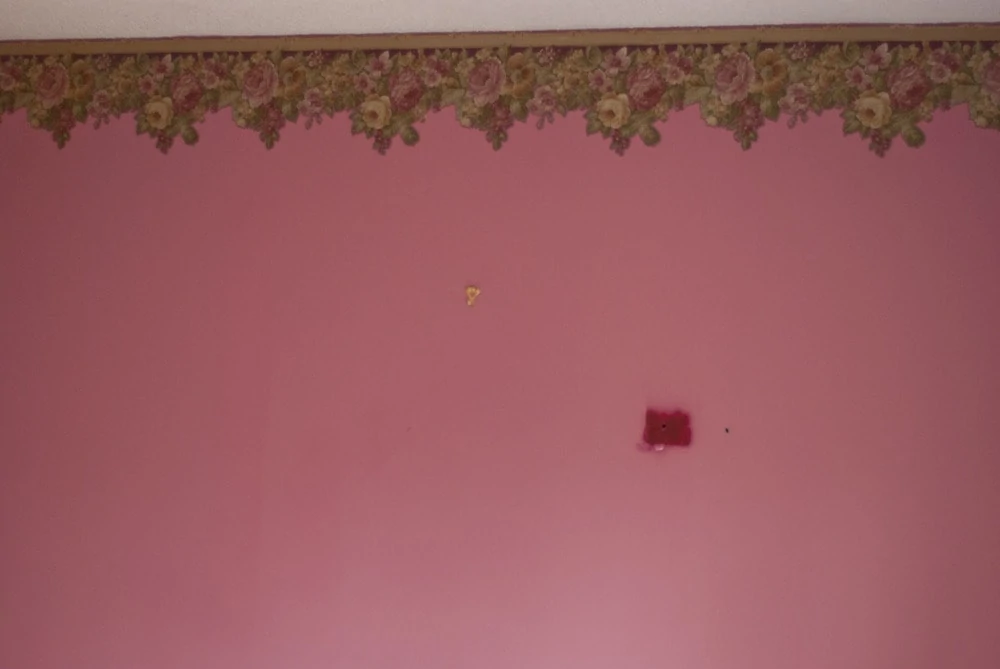
With little experience picking paint colors, I rushed to the hardware store and picked a light blue/white. We ripped the wallpaper off and painted right before we moved in.
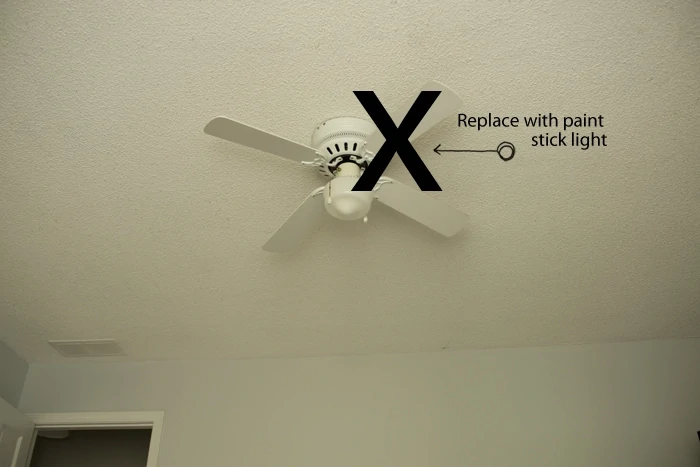
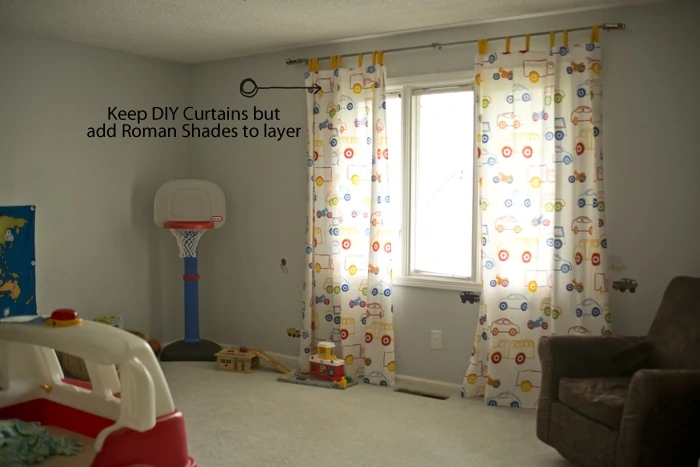
May 2013
We managed to get things up in his room, but I quickly found things that needed to be updated/replaced.
See that blue wall color? It looked so dingy in person. I hated it every time I looked at it.
2014
1st Half of Year:
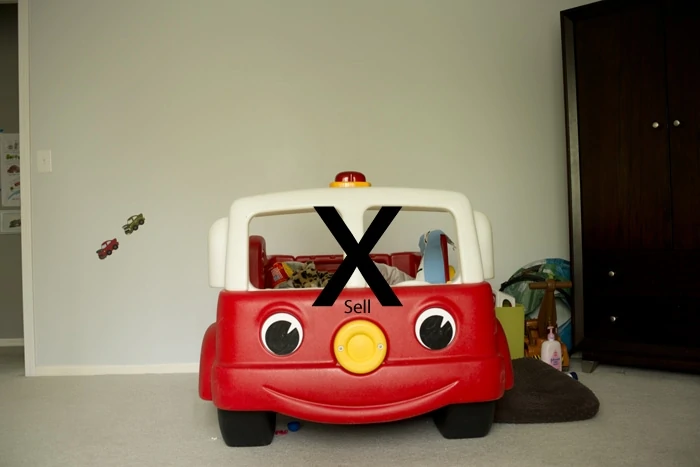
We sold the firetruck bed and bought a modern twin bed and new bedding.
Next, we added the DIY Car light switch.
The next project was the DIY Dress-Up rack.
Mid-2014:
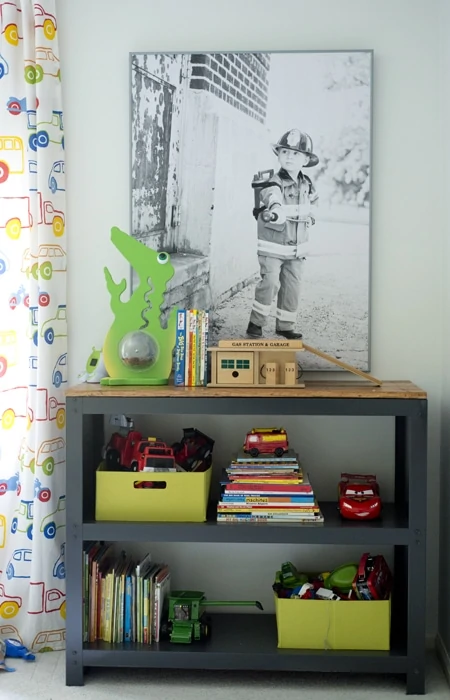
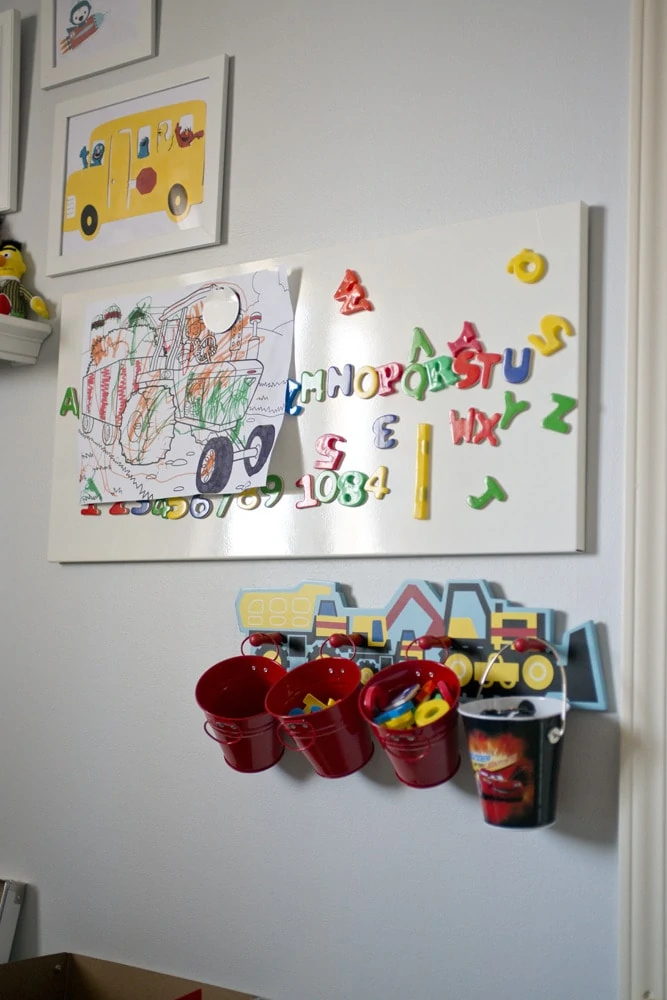
We updated some thrifted furniture, printed some large scale art and organized.
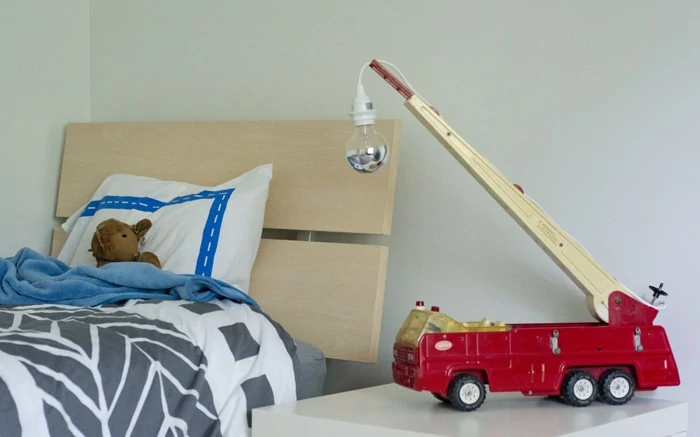
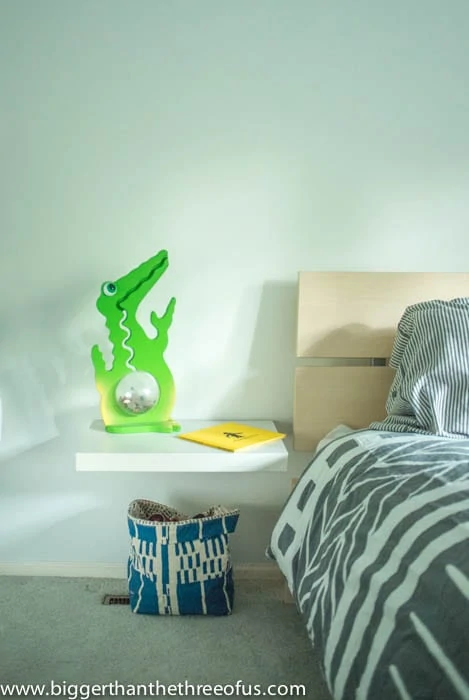
Next, we made the DIY Firetruck light and brought a cheap table in to serve as a nightstand.
End of 2014:
I decided that the room would look more inviting with a rug over the carpet. I moved the old living room rug up to the room.
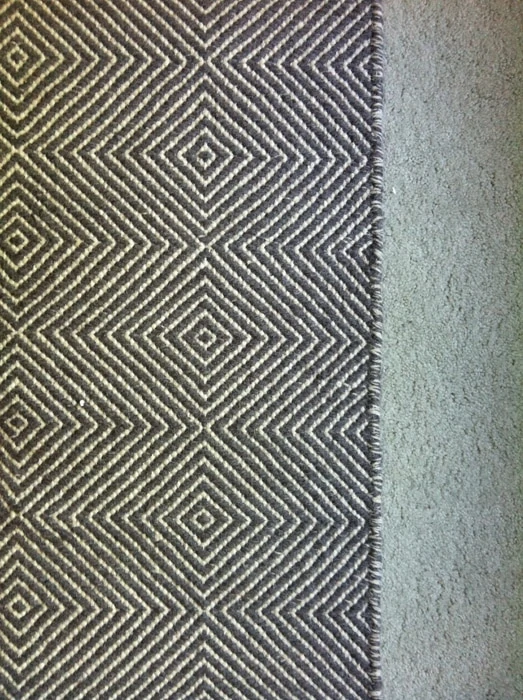
The rug helped anchor the space.
The next thing that we did was to DIY a floating nightstand.
2015
1st half of Year:
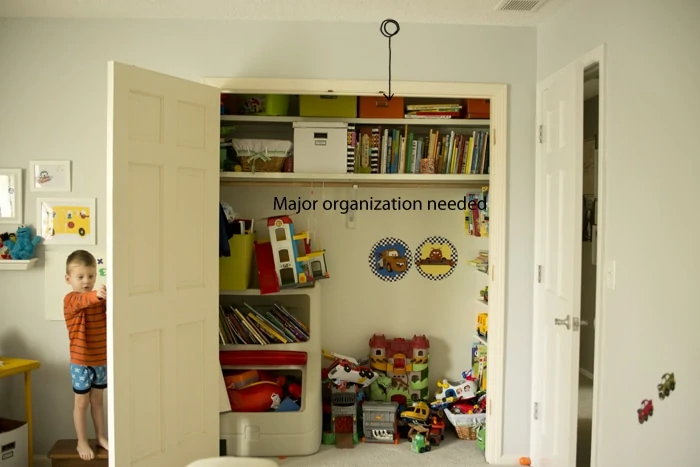
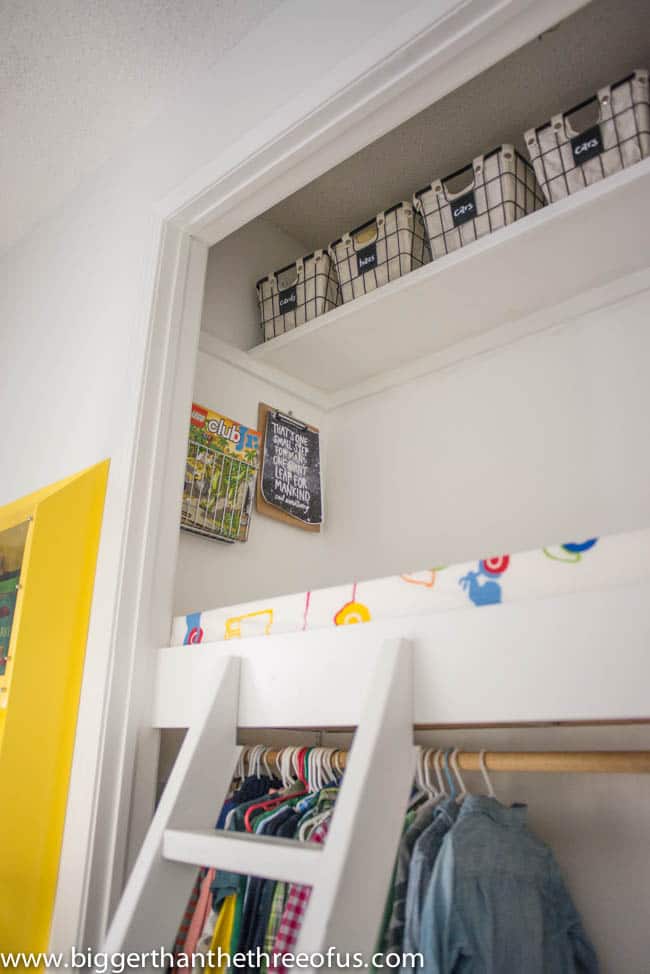
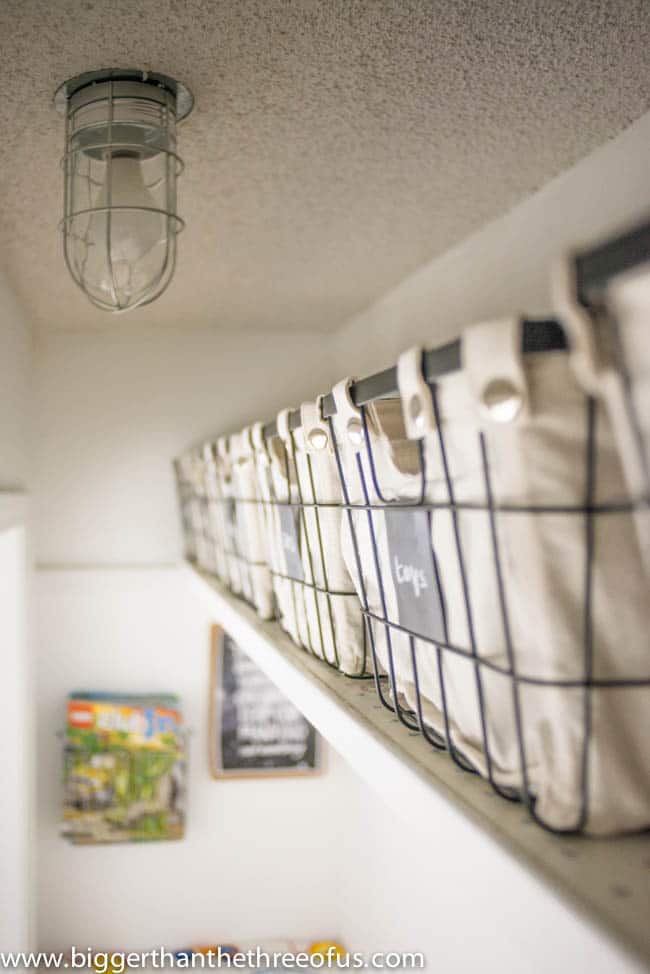
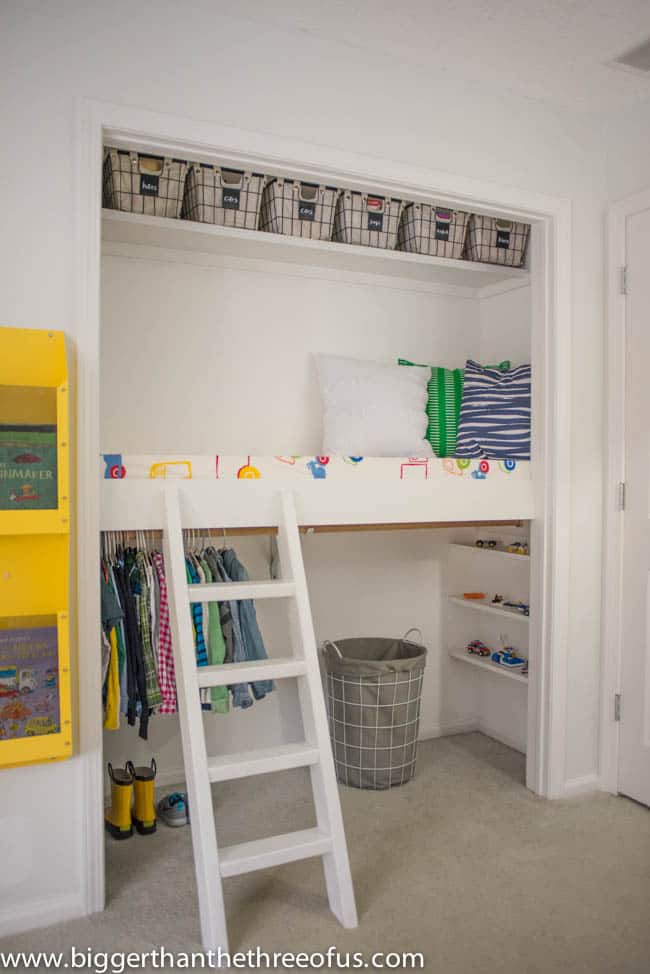
We focused our projects on how to utilize the space of his room better by making a DIY Closet Loft with lots of storage.
Mid-2015
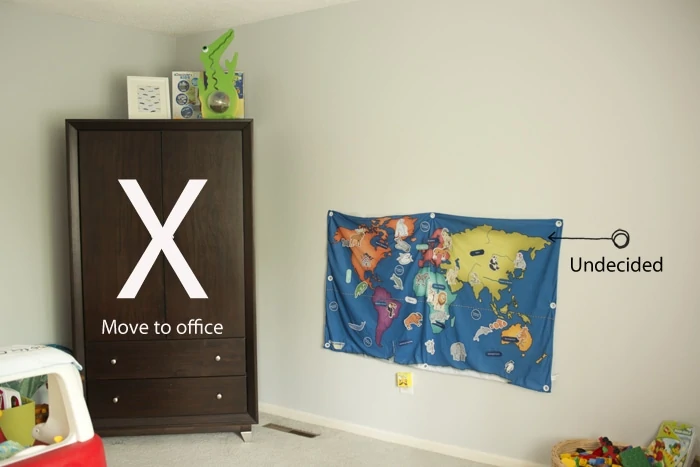
With the loft completed, we turned our attention to what Greyson's interests are and how to incorporate them into the room. With his interests in mind, we made the DIY Map Wall.
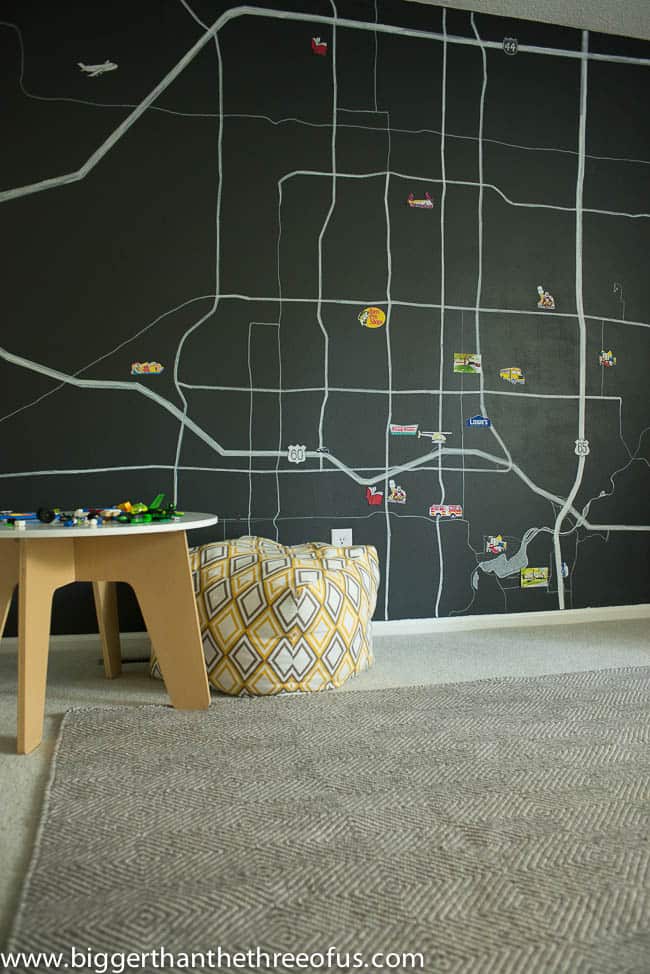
After finishing the map wall, we painted the room again! This time, I got the paint right and it looks so fresh and bright.
The map wall leads right up to the room reveal. Last month, I focused my attention on finalizing his room. It's definitely been a process (what, like 3 years?) but we are there and I'm happy with it and, better than that, our little guy loves it. #winwin
Whew, if you are still with me then you get a high-five.
Make sure to come back on Wednesday for the reveal!
}

Anni
I love the way this post shows how a room can evolve over time at a realistic pace. I get overwhelmed sometimes with my "big dreams but little time" situation so this post was encouraging to me. This is such a cute little boy's room and I'm looking forward to the reveal on Wednesday!
Ashley Mayes
Thanks Anni. I get overwhelmed all the time with wanting things changed now instead of over time. The funny thing is that when I have changed things 'now' it's not something I love long-term. I think I can afford things I love over time and that contributes to the long-term decorating. Thanks for your sweet comment.
Amy W
What a transformation... so glad you shared how long it took, often people just "whip" these rooms together in a weekend, what??! It takes time and it looks great!
Ashley Mayes
Thanks Amy. We don't know the meaning of "whipping" rooms together over here. lol.
LZ Cathcart@ The Summery Umbrella
I seriously ADORE how you explained what you have done so far with this room over the years. Isn't it amazing how much it has changed, and how great it looks? Great job!! 🙂
Ashley Mayes
Thanks so much! It's always fun to look back a bit to see the changes.
Julia@Cuckoo4Design
You've accomplished so much! That loft is the bomb
Ashley Mayes
Thanks Julia! I'm ready to have this one crossed off the list and focus more energy on the kitchen (the never-ending project!).