

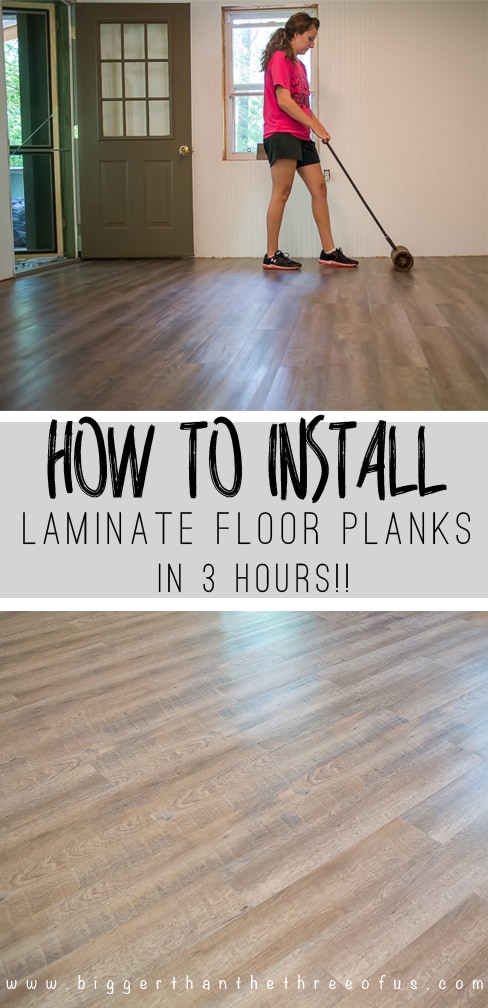
Hey guys! Sorry I've been MIA. I threw out my back about two weeks ago and it's been extremely hard going around here. With therapy, massages and adjustments... I'm just now starting to get up and about a bit. I'm hoping to get my stuff back together and be back on a regular posting schedule soon. Today though, I'm sharing the tutorial for How to Install Laminate Flooring. This project was the turning point in how the cabin looks and I really can't wait to share.
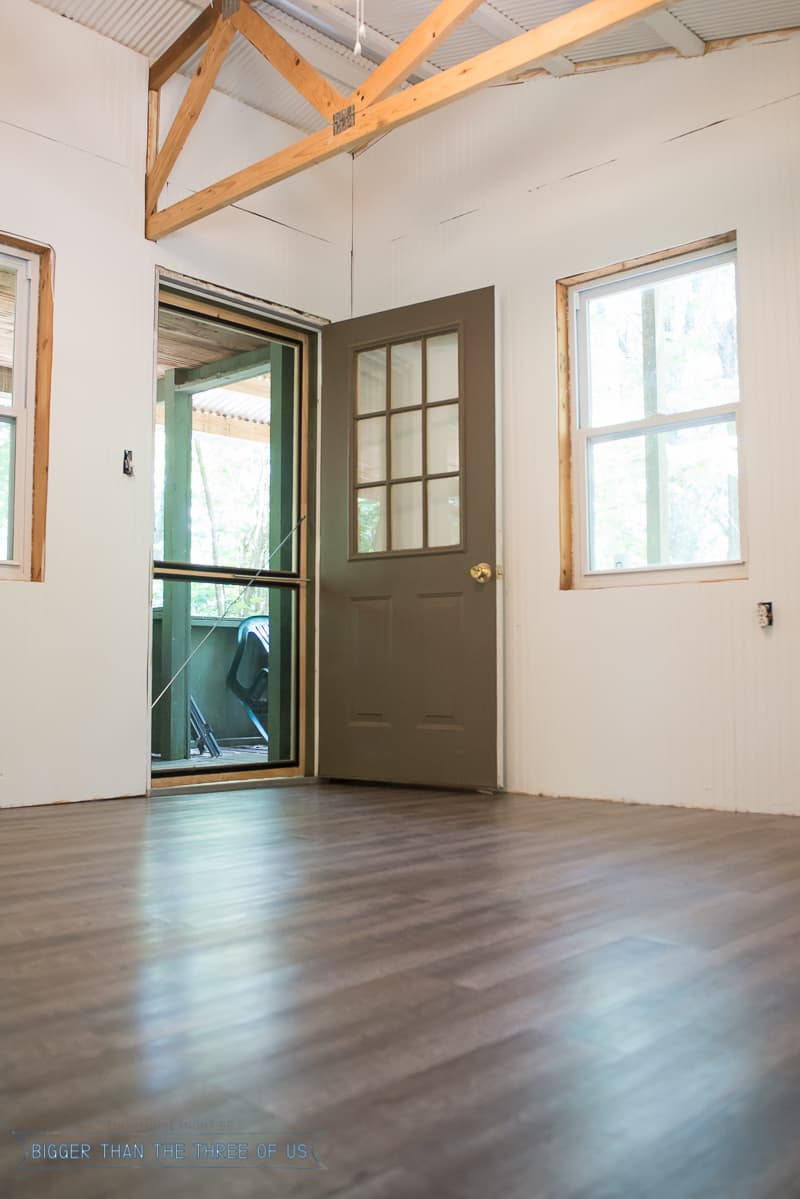
Doesn't it look so good? I bet you aren't going to believe this but, the whole space took about three hours!!! Seriously, three hours to lay a floor?! Crazy, right?
Ready to get on to the tutorial?
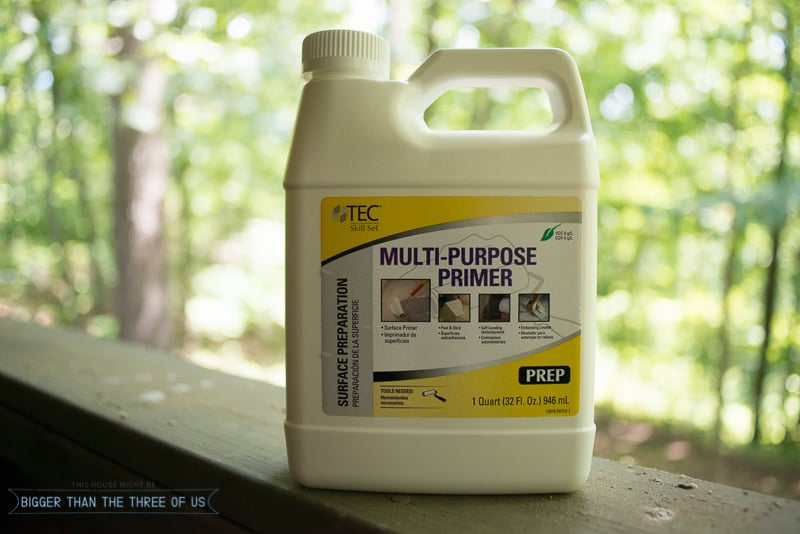
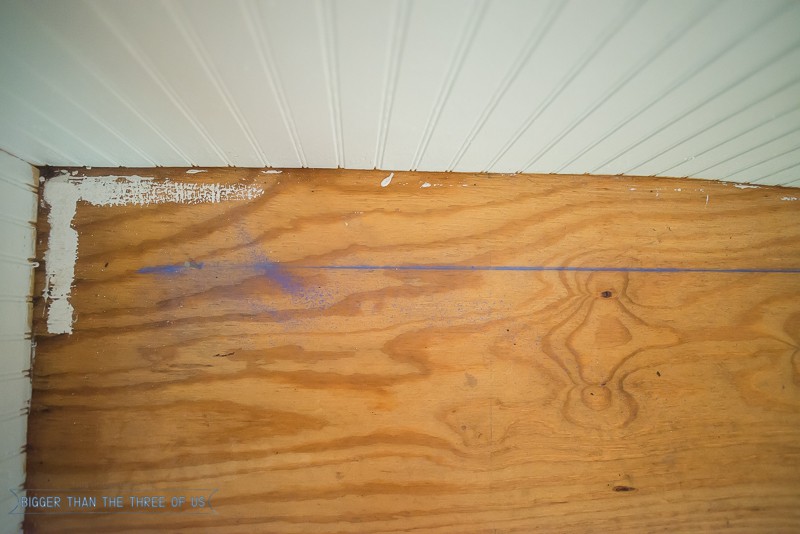
First step, prep the floors. Sweep them really well and then use a multi-purpose primer.
Next, get ready to lay the floors.

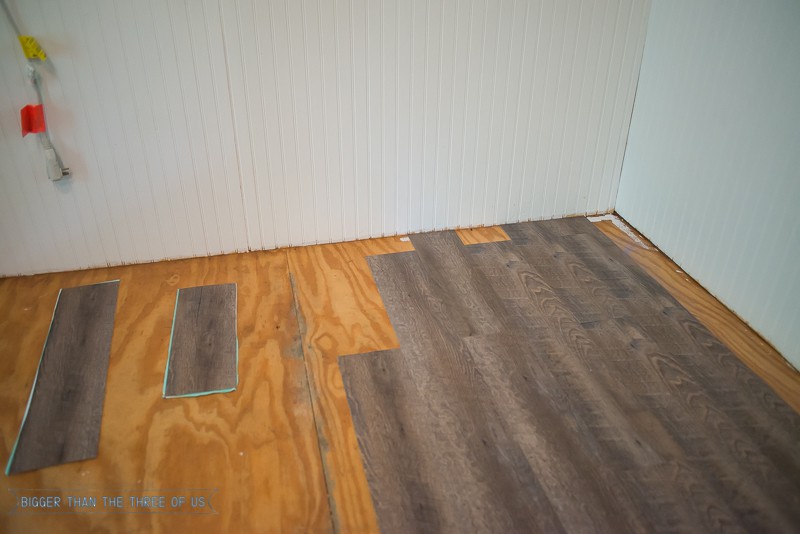
Measure your floor space. Decide where you want your floor planks to lay (or where you want your cuts to be).
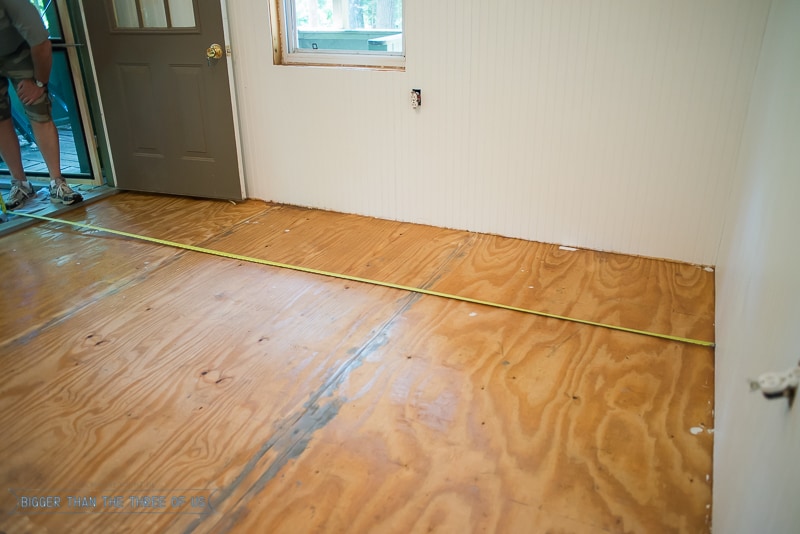
Use a chalk line to mark your straight edge for where you want to start.
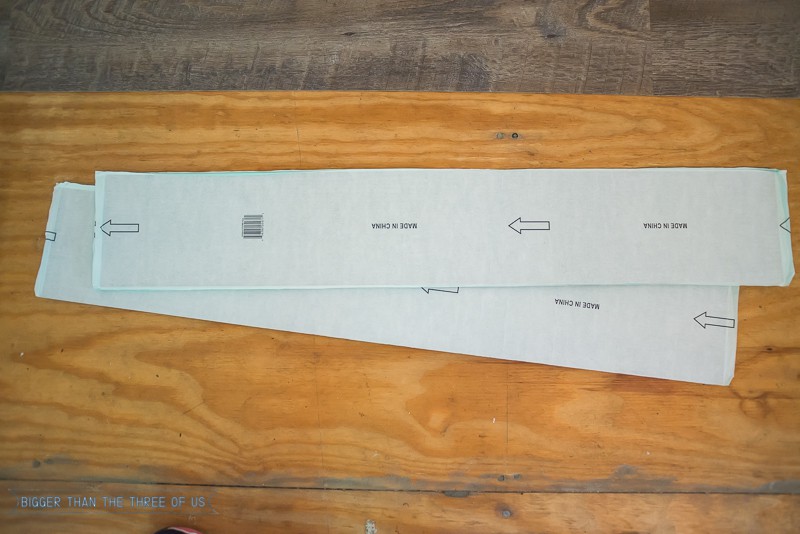
Peel off the protective backing and start laying the planks. Make sure to keep your planks facing the same way (the arrows all need to be facing one way).
Push down in place.
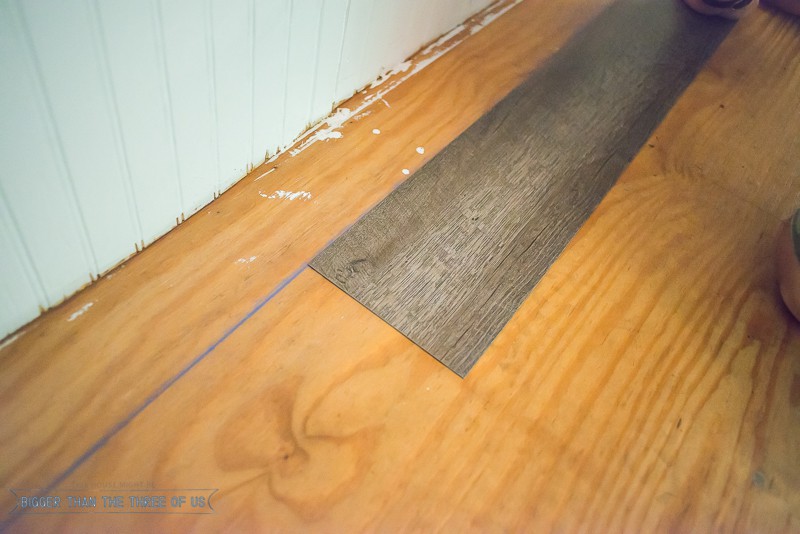
After you get a few down, go back over them with a rubber mallet.

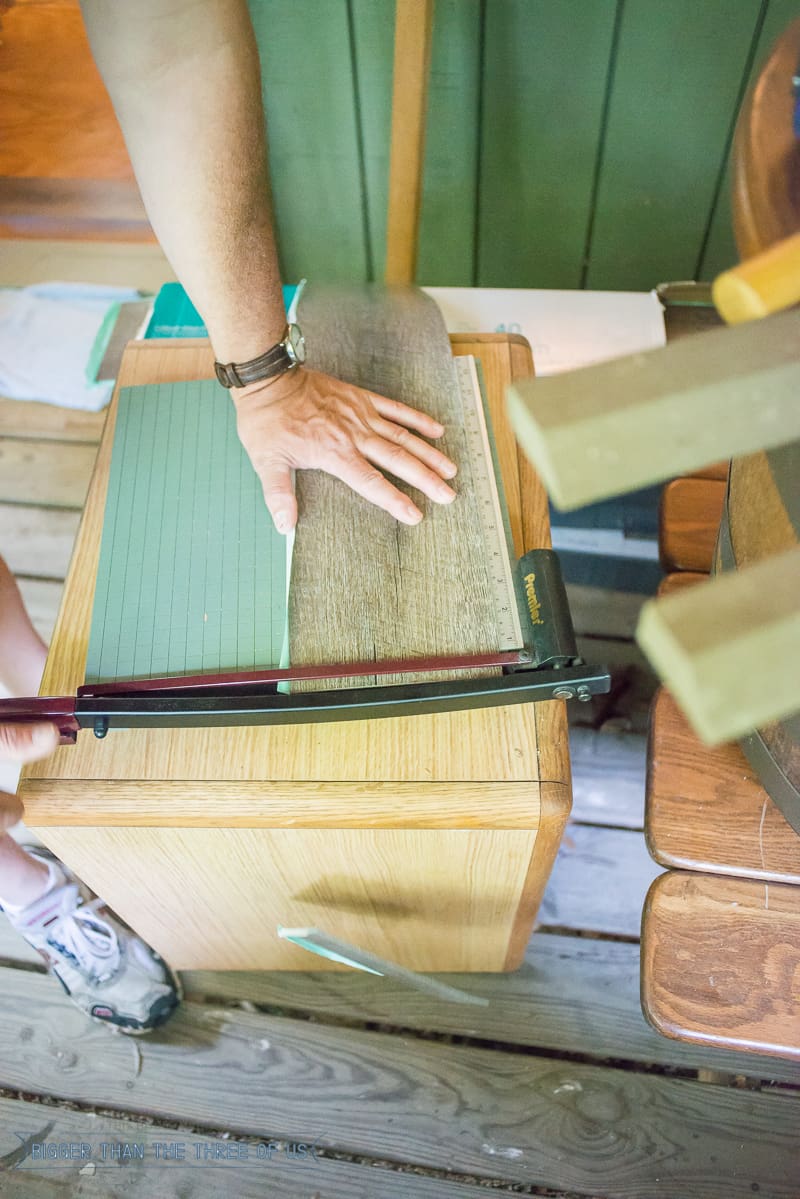
Keep going until you reach the edge where you will have to cut. Measure for your cut and then cut your plank. We found it easiest to use a paper cutter but you could also use a straight edge razor.
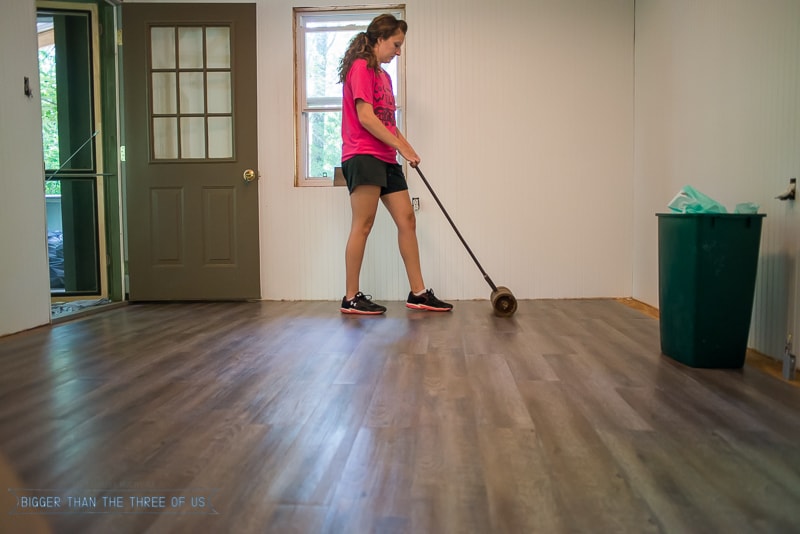
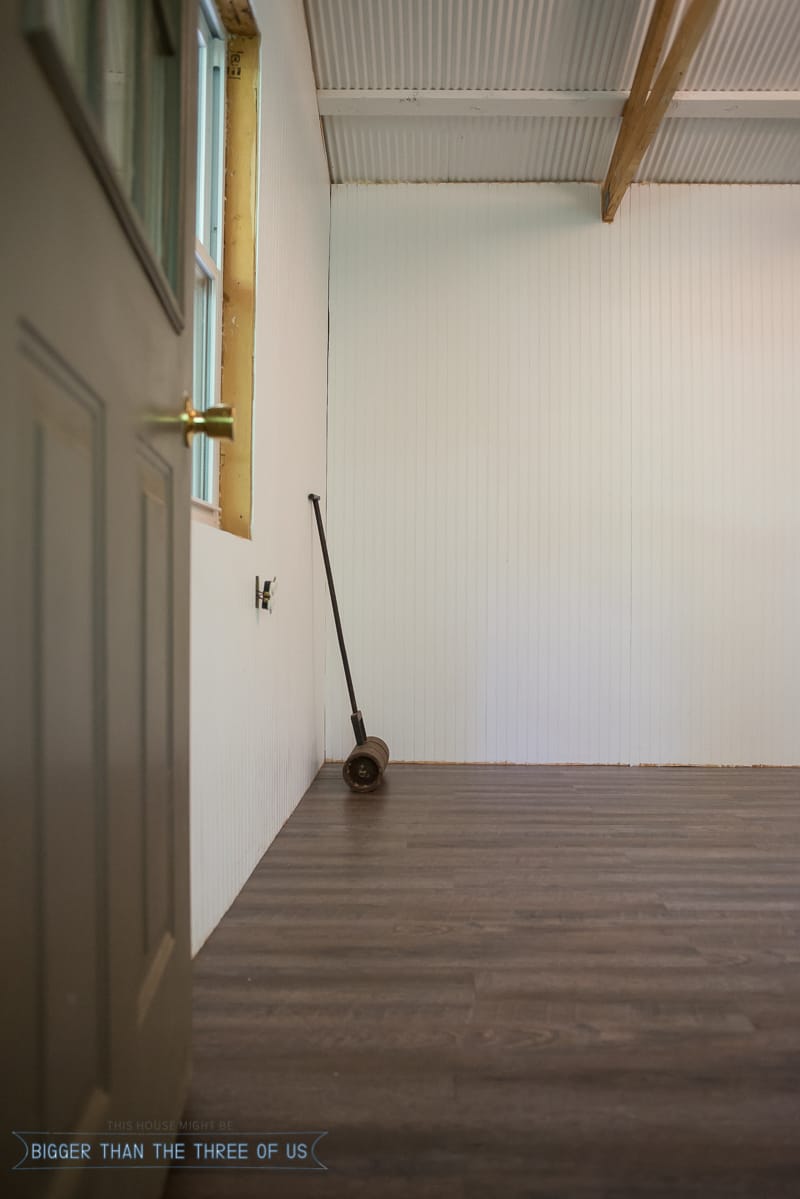
You will need a heavy duty roller to really get the tiles to adhere well. You can rent these or buy them. Roll the floor one way and then the other. You can repeat this a few times during the whole process.
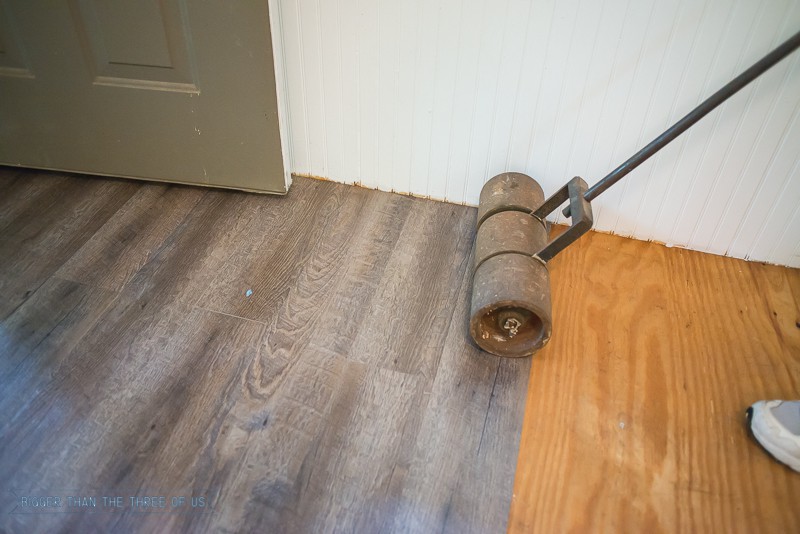
Once you get the whole floor laid, go back over with the roller.
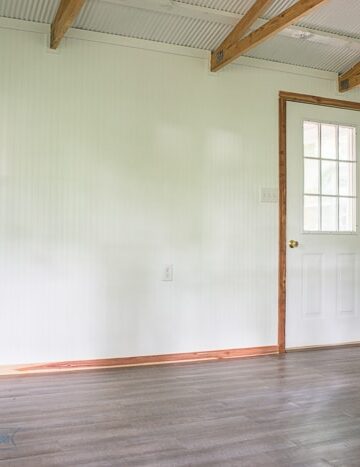
That's it. Pretty simple, right?
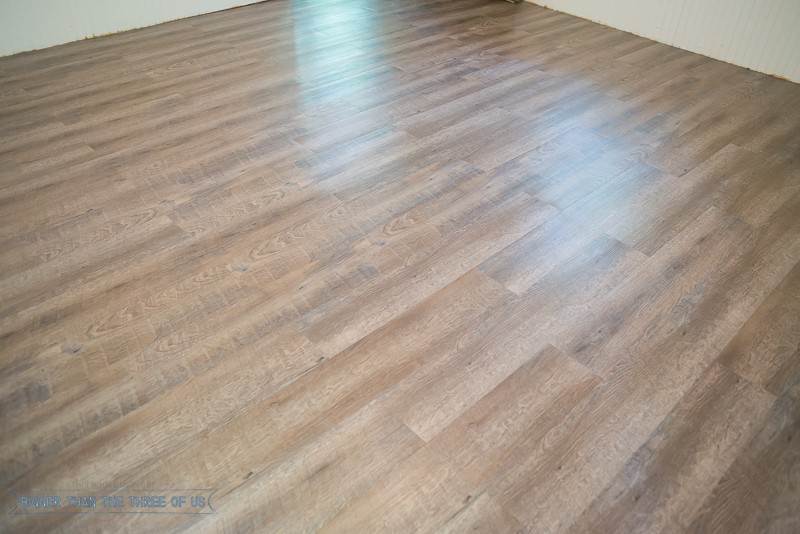
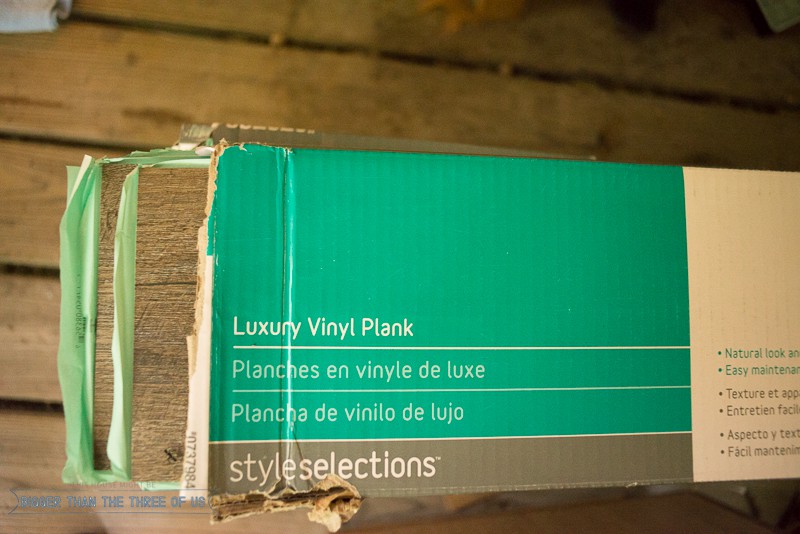
Laminate planking is pretty inexpensive and so easy to install.
Here's the other cabin posts in case you missed one!
Building Walls and Finishing the Ceiling
}

Lisa
The floors look great! We're about to put the same type of flooring in a camper we just purchased, so this was a great post to read. We do have a lot more angles to cut in such a small space, so I bet it will take more than 3 hours for us, but I'm confident we can knock it out in one afternoon!
Stephanie @ Casa Watkins Living
Wow you did all that so quickly! I love that color of laminate! It looks fantastic. 🙂
Kati
I'm so impressed! This floor looks awesome.
Amy
Looks amazing! I have been pricing vinyl plank flooring and I have a couple questions. I may have missed it but how much per square foot and where did you buy the flooring? Also, is this vinyl plank flooring or laminate? I thought "laminate" was the Pergo type flooring.
Ashley Mayes
It's from Lowe's (in store). You caught my mistake - it's actually vinyl planks. I can't remember how much they were but I think right around $1 per sq ft.
ron pichan
Good job- but your first picture showed you beginning a strip away from the wall, showing the bare floor? I am thinking that this was done to get a straight line for the rest of the room- and then come back and trim the laminate to fit into the uneven, or the "wave" in the wall. Thanks
Ashley Mayes
Yes, exactly! the wall was not straight so that's why we found a straight line first.