

Happy hump day! Greyson, our little man, started school today. I'm equal parts happy and sad. I'd love to be one of those schools who have a nontraditional schedule. Like they go, 8 weeks on and then have two weeks off and do that all year around. Maybe, eventually we will have that; or maybe I'm dreaming. Ha. Anyways, today, I want to share a tutorial for How To Install Paneling Without It Looking Like the 1970s!
Do you hate paneling? I'm totally on the fence. I definitely think it can, and usually does, look dated. However, I think it can add a certain type of warmth or charm to a space as well. We have it in our playroom/office/library/whatever room and I don't hate it. I'm not sure it's going to stay but I'm open to the possibility of it. So, I'd say I definitely don't hate paneling on sight but I'm not gungho about putting paneling in either.
For this project, paneling definitely was the way to go. It's inexpensive, easy to install and forgiving with rooms or spaces that aren't quite square. So, if you have a room or space that you don't want to invest the time/effort to install drywall in... I'd recommend thinking about paneling. Ready to get to the tutorial?
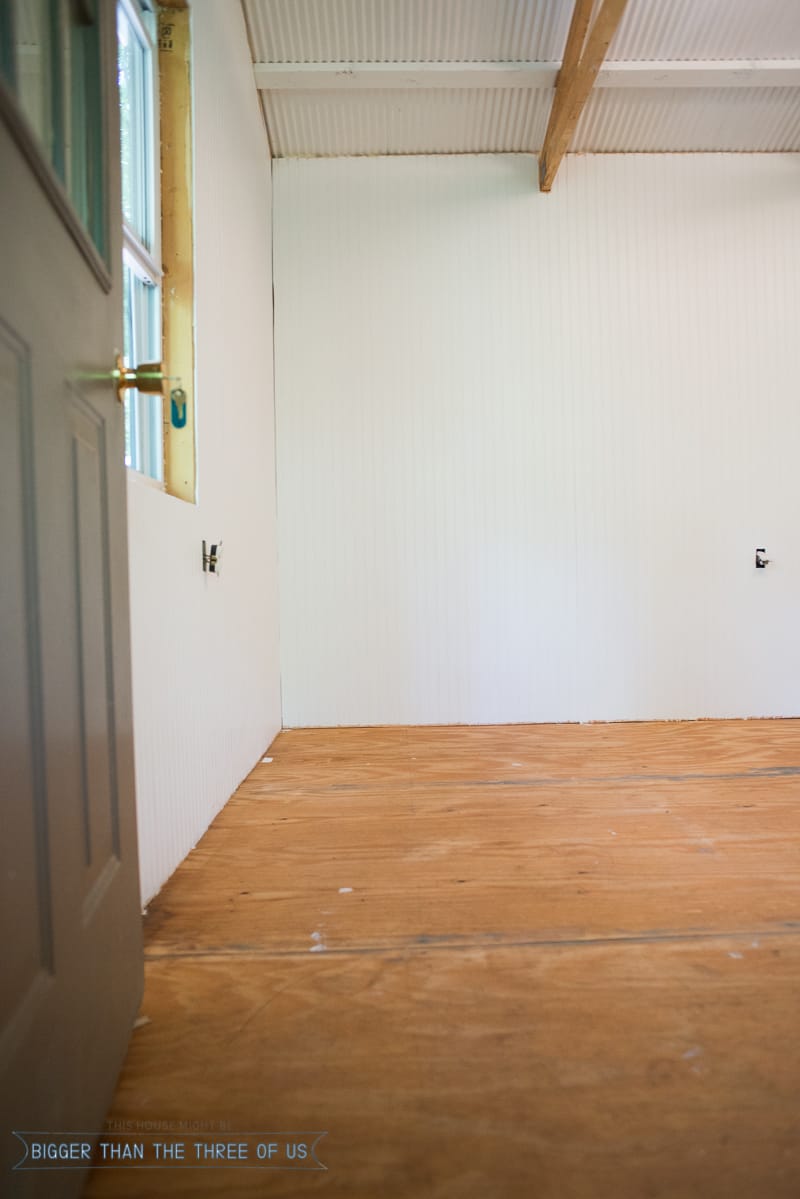
First things first, measure your space. You need to estimate your materials and how much you will need.
I desperately wanted the walls white and I *might* have put my foot down on this part. To keep things easy, we bought white paneling (kinda like beadboard) but weren't thrilled with how it installed. We got in installed on one wall and just thought it looked crappy. So, all of that went back to the store.
We ended up getting wood paneling. The quality of the wood paneling is so much nicer (but so is the price). So, just think about where you are planning to install the paneling and what you want the look to be before you go to buy it.
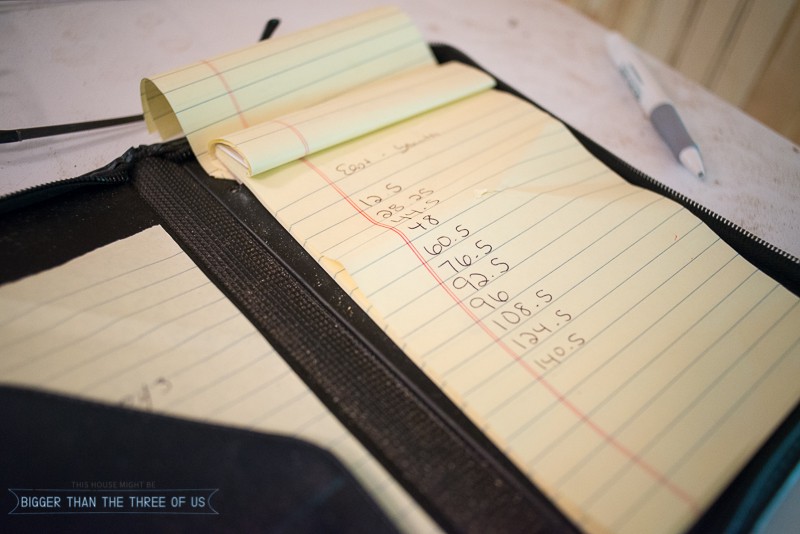
The next thing we did was measure the studs on each wall. I wrote them down for every wall so that we knew where to nail the paneling in to.
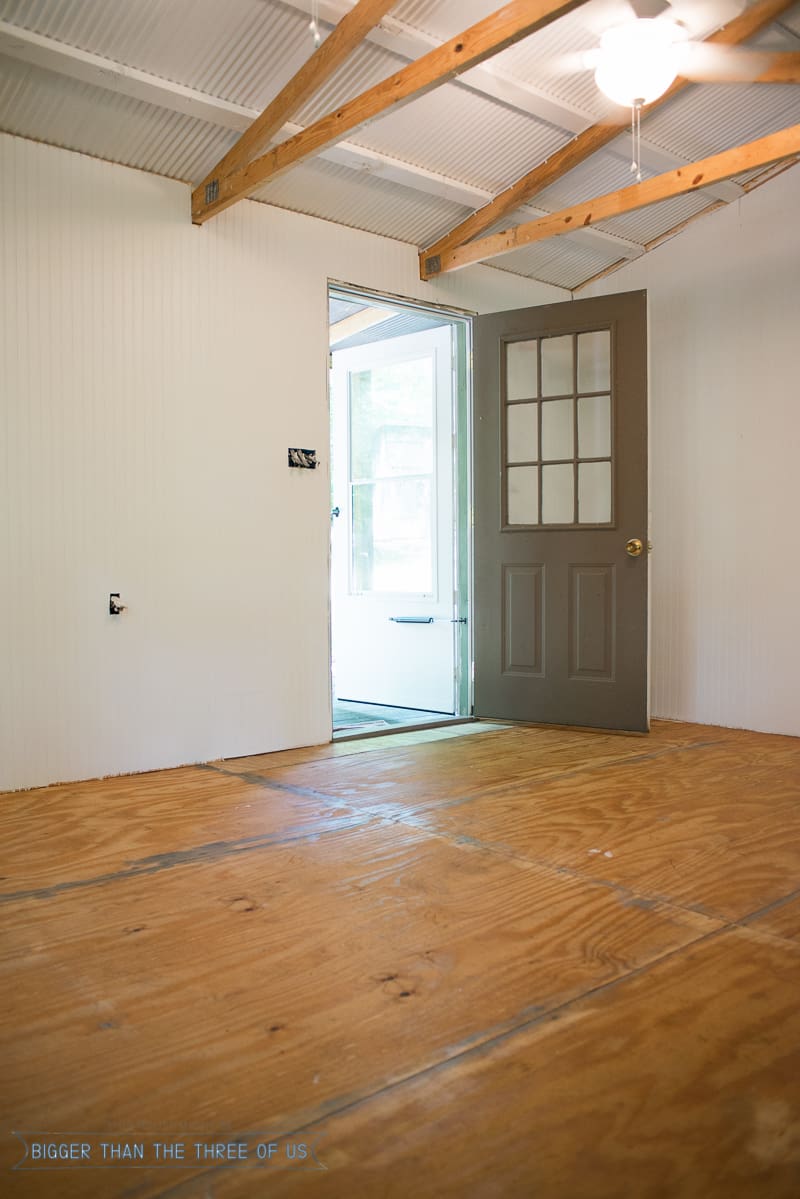
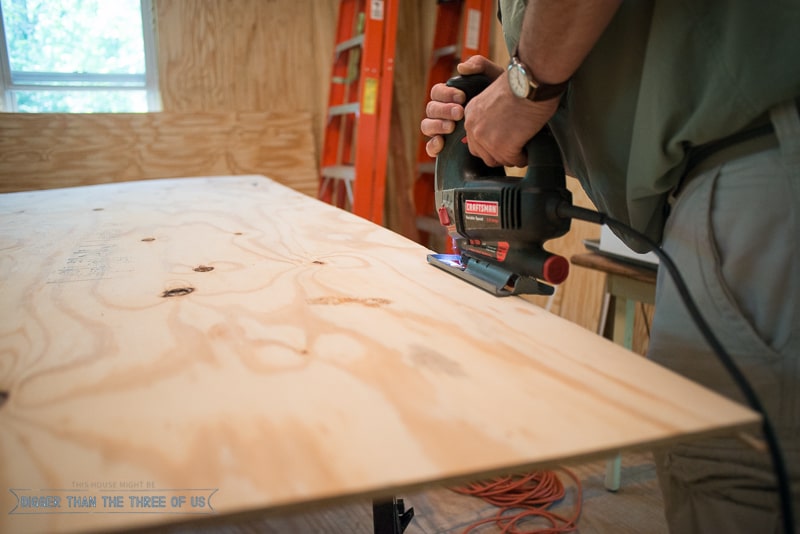
Once you know where your studs are, you need to cut off the lip to the starting board (see the lip below).
We used a jigsaw to cut it off.
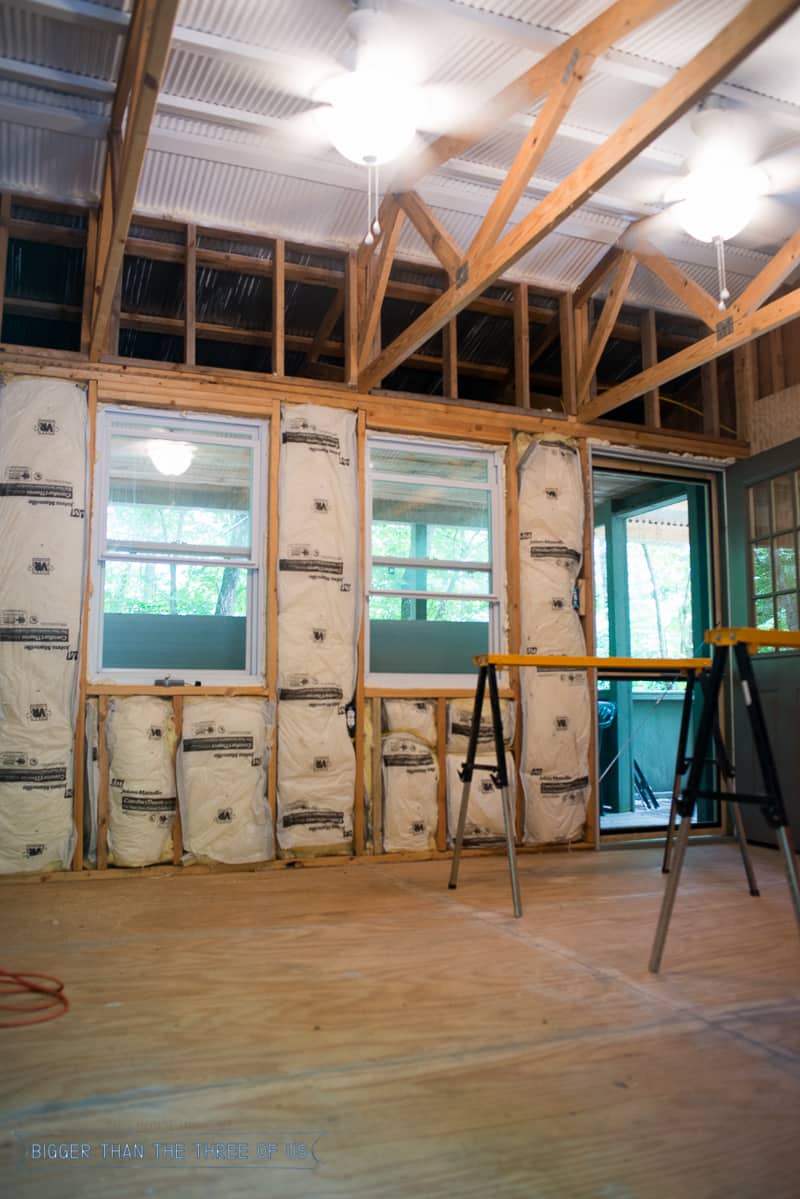
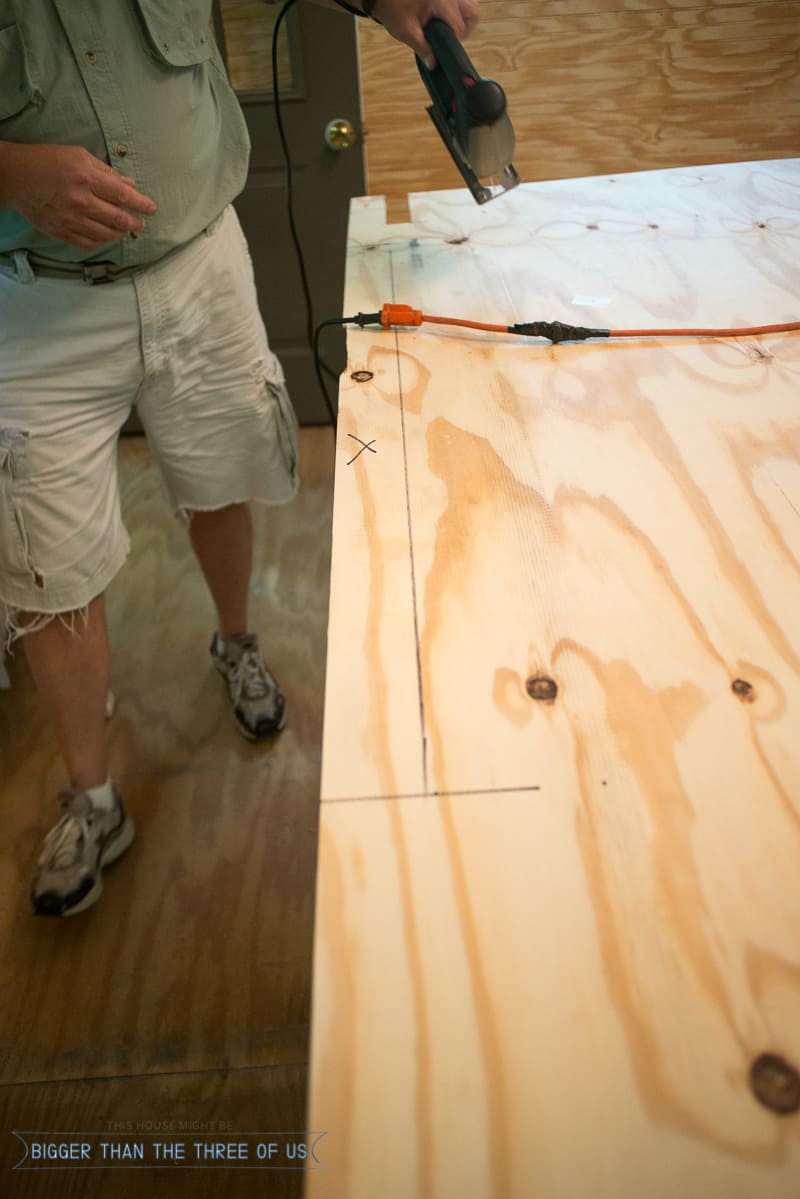
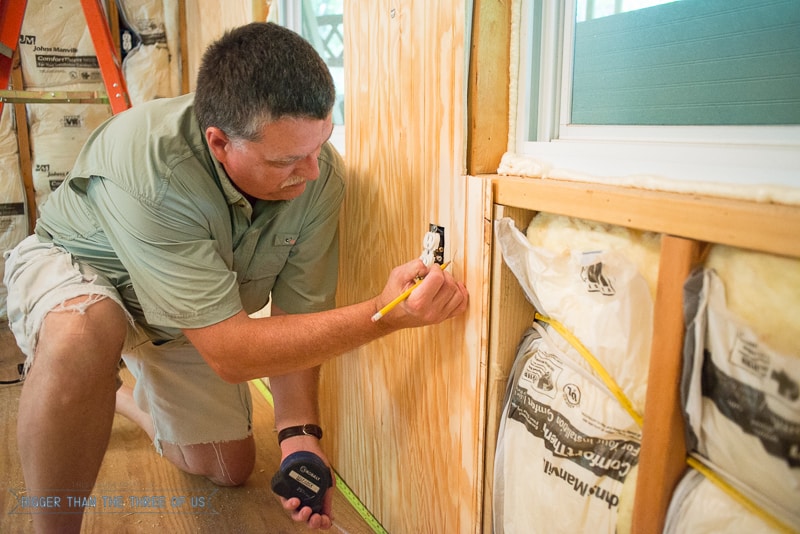
Next you need to measure where your "extra" cuts need to be. We had a window, an electrical outlet and cross beam that needed to be accounted for on our first plywood panel. So, for this, we measured out where each issue (outlet, beam, window) would be and made marks on the back of the paneling where the cuts needed to be.
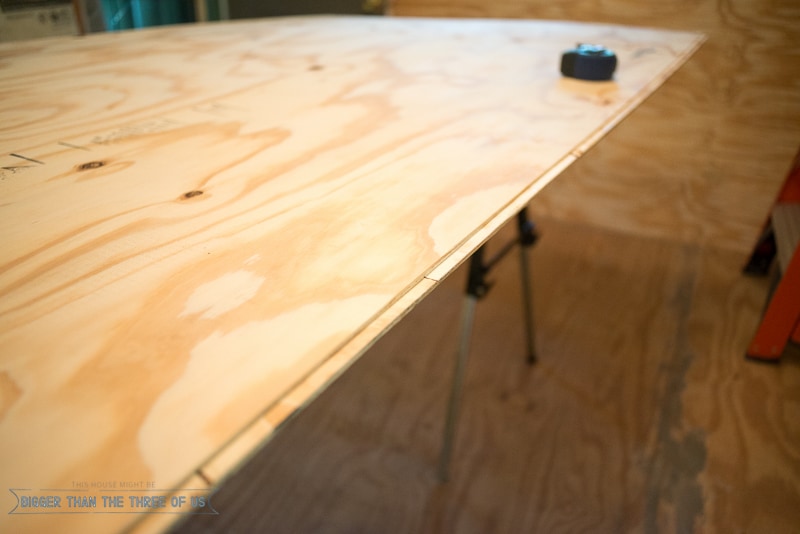
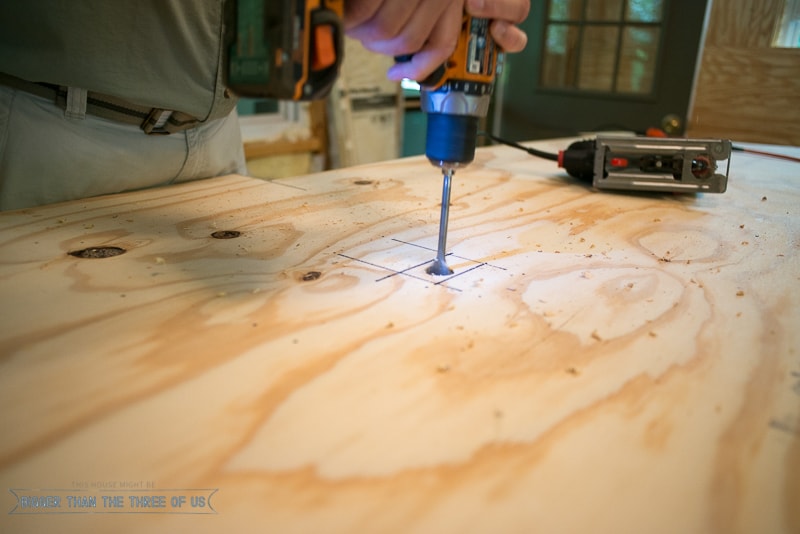
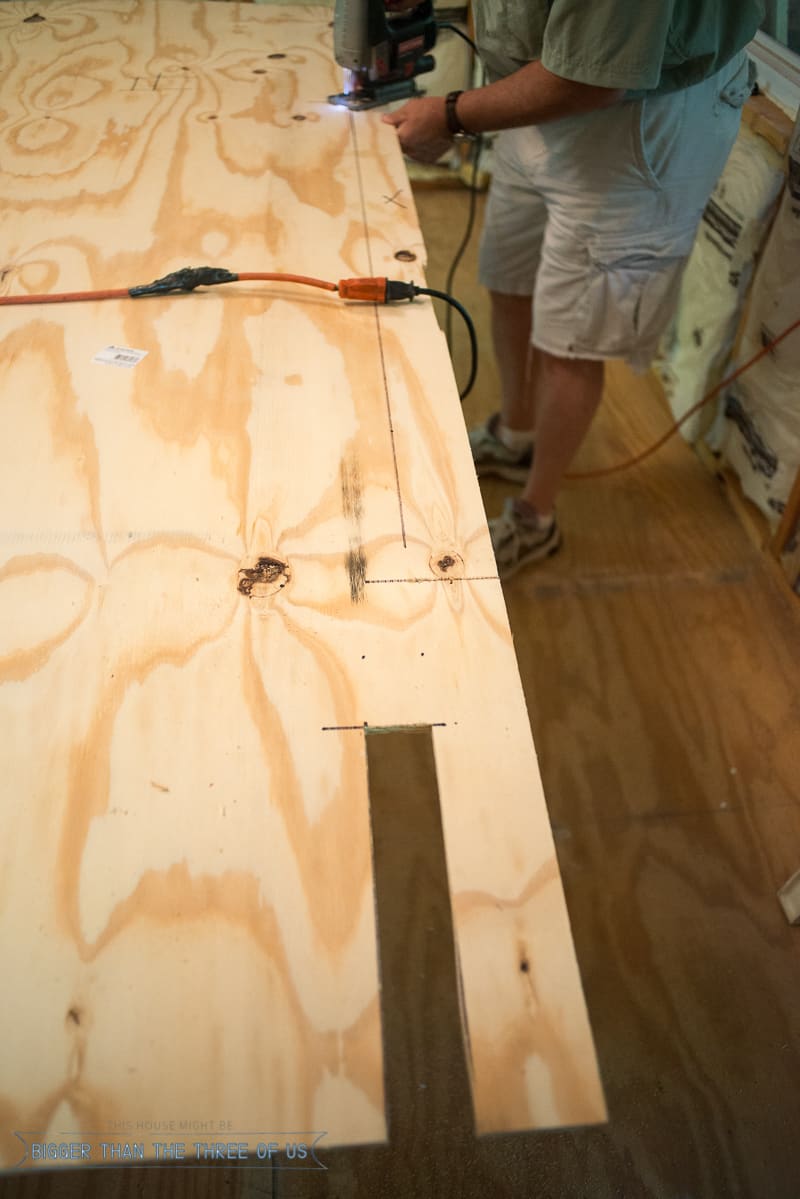
For smaller cutouts, use a drillbit to get your cut started before using the jigsaw.
Push against the wall to see if you have a good fit.
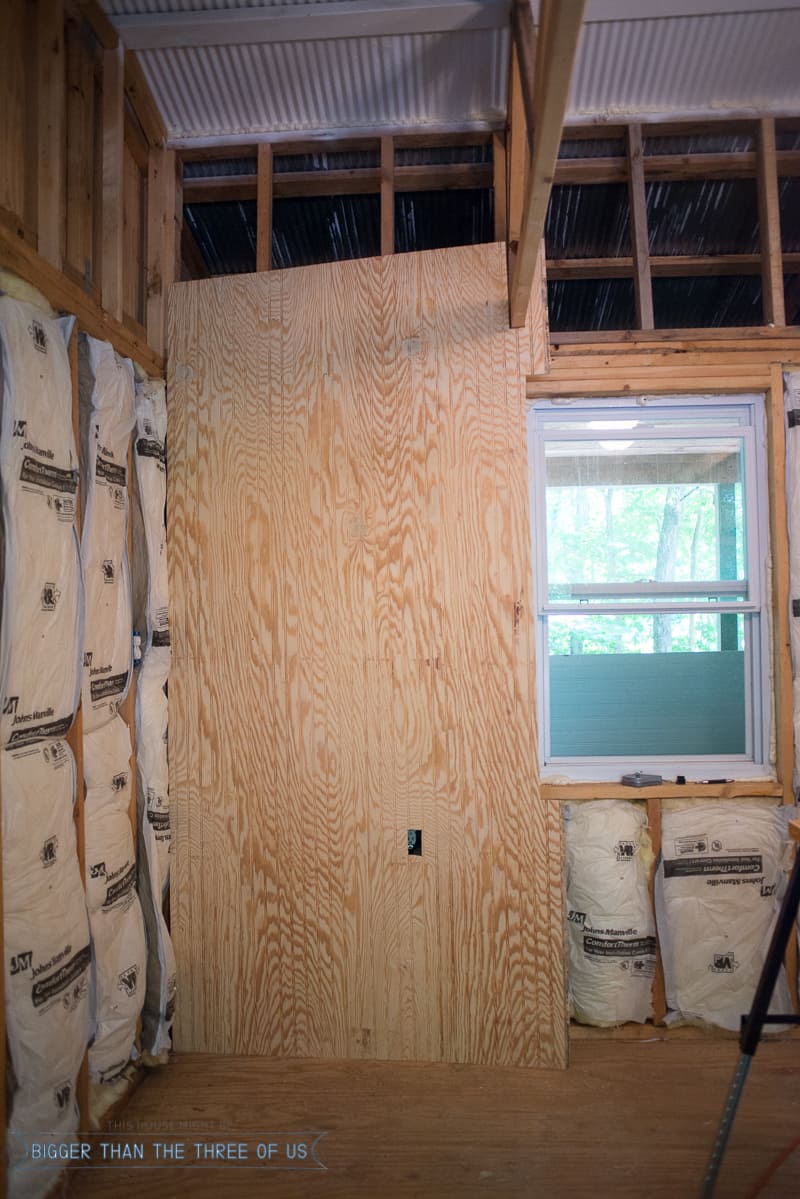
In the picture above, the fit was too tight on the beam. The paneling couldn't be pushed against the wall on the right bottom side. So, we had to pull it down and take a bit more off the top where the beam hit.
Once you have a good fit, use an air compressor and a nail gun to nail the board in. We used 2" nails.
After nailing the paneling in, go to your next board. You do not need to cut off the lip on this board because the lip will sit on the paneling that you just put in.
Measure and cut as needed.
Keep this up until you have completed the walls.
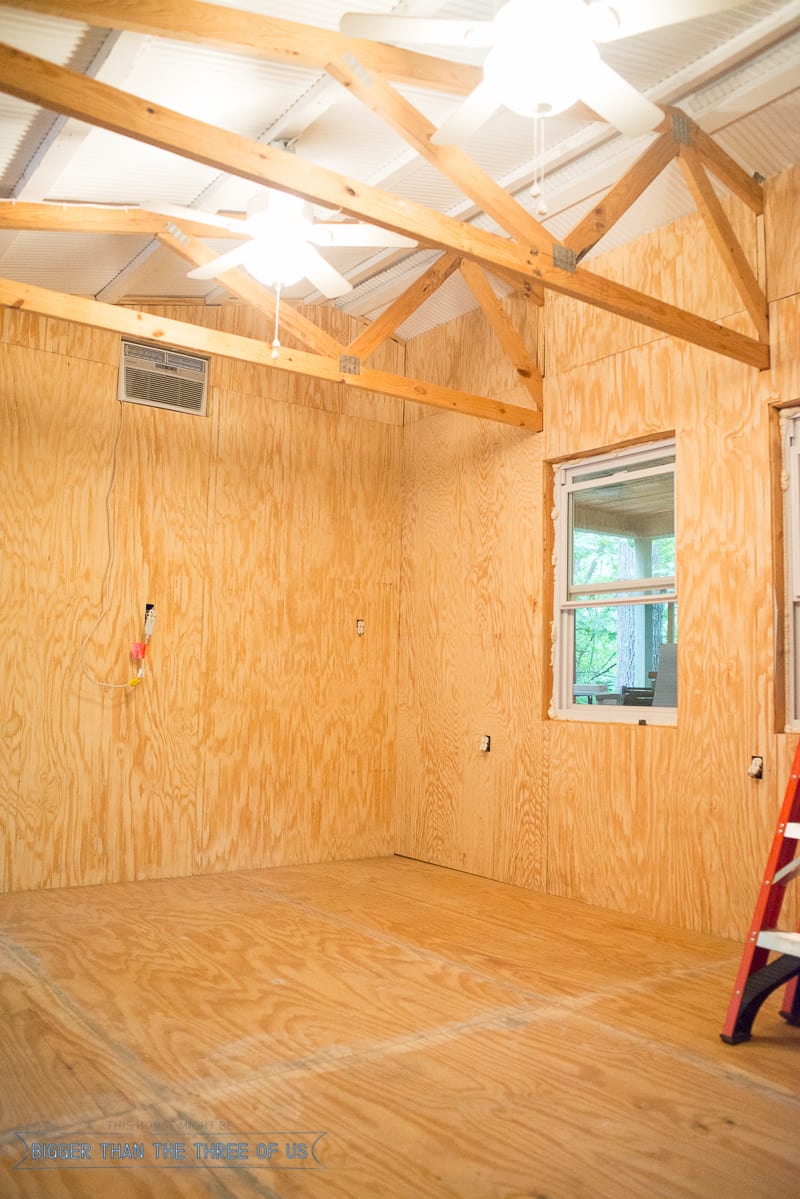
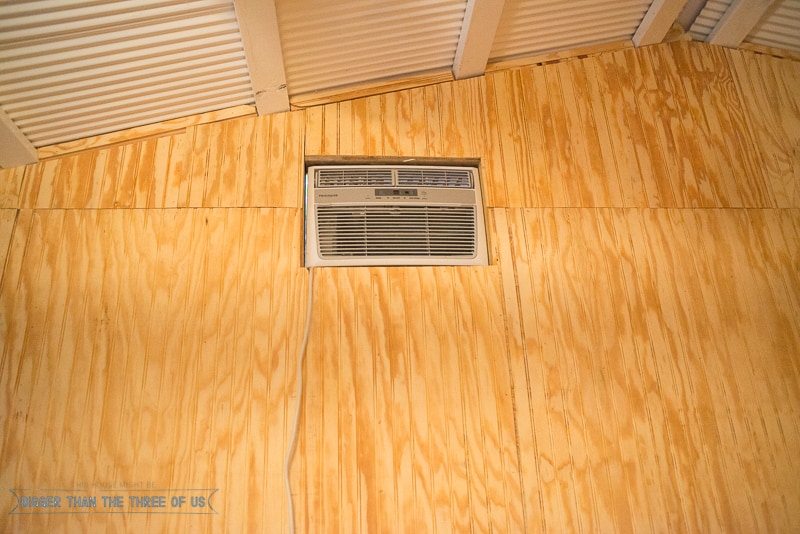

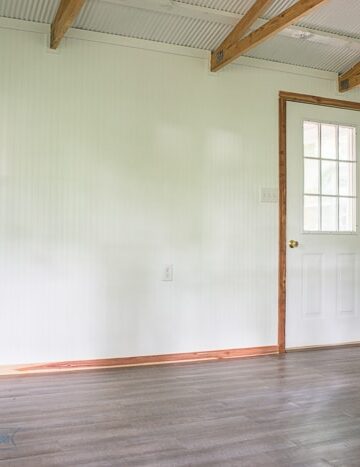
As you can see, our wall height was taller than the paneling. We came back with a second row above the first. The seam in the photos doesn't look the best, but trust me... we have plans to help it blend.
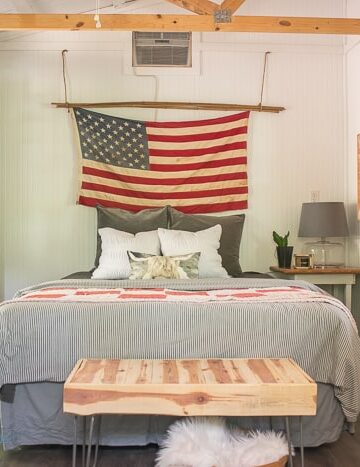
Everything got primed and painted.

All in all, this part of the project took awhile. There were quite a few cuts and especially at the top part (where we had to angle our cuts) it took some time. I'd say this is a beginner type project but it is a bit intense on time involvement. So, what do you think? It's definitely paneling but it still looks bright and fresh, right?
Here's the other cabin posts in case you missed one!
Building Walls and Finishing the Ceiling
}
cassie @ primitive & proper
that looks awesome, ashley!
Ashley Mayes
Thanks Cassie!
Suzanne
Love your site....the green door in the cabin....could you please tell me the mfg. amd if it came in that color?
Thanks
Ashley Mayes
Oh, I have no idea! They are original to the cabin.
Julia@Cuckoo4Design
I love how it looks
Ashley Mayes
Thanks Julia!
PENNY KING @ Massage Device
Wow what a great idea
Panel is common, cheap and easy to install and forgiving. So, I don’t have to invest the time and effort to install drywall in my warehouse
It also make the room look so vintage and elegant. I love it and will try it
Hope it not too hard to do
Thanks for your tutorial
Ashley Mayes
Glad you like it!
john morrison
IF I WAS GOING TO PAINT IT WHITE ,I THINK 1/2 INCH GYPSUM WALLBOARD WOULD LOOK JUST AS NICE AND STRONGER.
I WOULD ALSO LIKE TO KNOW THE DIFFERENCE IN PRICE BETWEEN WALLBOARD AND PANNING.
I KNOW IT ISN'T MY HOUSE, ITS YOURS, AND IT CAME OUT NICE.
MY MAIN QUESTION SHOULD HAVE BEEN WHAT IS THIS ROOM GOING TO BE USED FOR?
Ashley Mayes
Thanks John! It's a small cabin on a lake. It's used for quick overnights and weekend stays.
jennifer
love so much, the room seem bigger with panel white bút with me its a mighty progress, wall s too tall but im too short. need helping, so sad
Thompson
I really love how it turns out but is this really less time consuming than going for a drywall?
Ashley Mayes
It really wasn't bad and it was the look that we were going for. BUT, that might just be my opinion because sanding drywall is like the worst job ever. ha.
Tanesha F. Lambert
Oh wow, good job. This is definitely something i'm forwarding to my husband. He could use a brush-up on how to install paneling properly 😀
Jill Roberts @ Wellness Geeky
That is look amazing, 1990sh!!! 🙂 JK. Thanks for sharing
Ashley Mayes
Haha! Thanks Jill!